Hackintosh - worklog and overclocking report (update: May 9 - cost summary and two months with macOS)

As I wrote last week and discussed on Nadgryzieni, my Mac Mini is being replaced by a Hackintosh. Most of the parts have arrived, so it's time to assemble everything and install Windows. macOS will have to wait until the Wi-Fi/Bluetooth card gets here, but that's fine because I want to see what living with Windows is like anyway. That will get a separate post or video, though. This one is about the hardware. Rather than cluttering the blog with computer posts, I'll keep updating this single article as a kind of worklog and overclocking report.
Final Hackintosh configuration:
- i9 9900K processor
- Gigabyte Aorus Z390 Master motherboard
- 32 GB RAM, 3600 MHz, 16-19-19-39
- Sapphire Radeon RX 5700 XT Nitro+ graphics card
- Corsair HX850i 850W power supply
- Cooler Master MasterBox NR600 without ODD case
- CPU cooler: Noctua NH-D15 chromax.black
- Case ventilation: Noctua NF-A PWM: 4 x 140 mm and 1 x 120 mm
Table of contents:
- February 3, 2020 - Building the computer and first impressions
- February 4, 2020 - First CPU overclock
- February 5, 2020 - Changing the case cooling
- February 6, 2020 - Cutting the case and replacing the Wi-Fi/BT card
- February 18, 2020 - Custom case fan speed settings and GPU overclocking
- March 2, 2020 - Installing macOS and first impressions of using a real Hackintosh
- May 9, 2020 - Cost summary and two months with macOS
- November 2, 2021 - Conclusion: buying an RTX 3090 and giving up macOS
February 3, 2020 - Building the computer and first impressions
Everything is still "under construction," so cable management, sorting out the lighting built into the components, and anything else that doesn't affect how the computer works will be done later.
Case
In the end, I ordered a Fractal Design Meshify C case and paid far too much for it because it's practically impossible to get in Thailand. The order was eventually canceled because the store lied about having it in stock. That's a shame, because the white version would have looked perfect on my desk. I ended up with the other case that worked for me in terms of airflow, although I'd prefer it to be 3 cm shorter. It's the Cooler Master MasterBox NR600. It isn't especially pretty, but at least it doesn't assault you with plastic like gaming cases do.
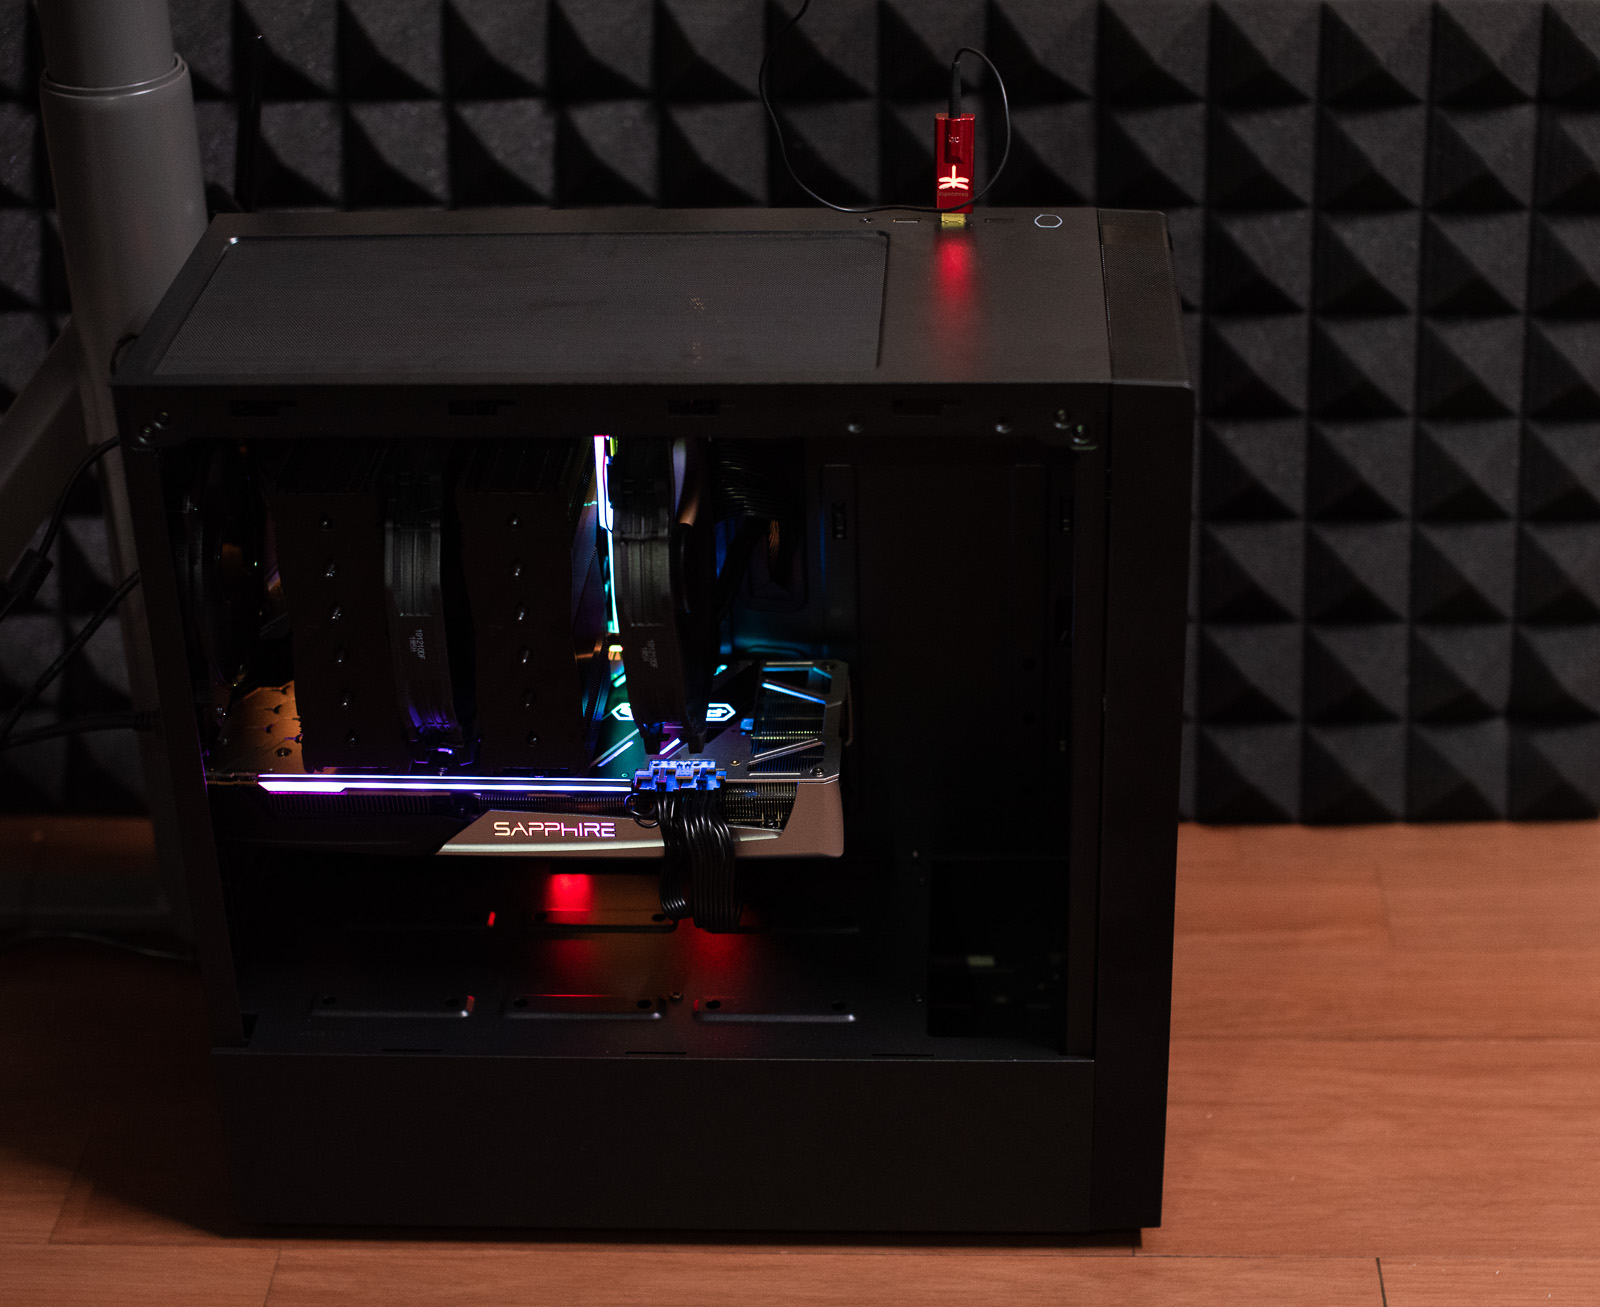
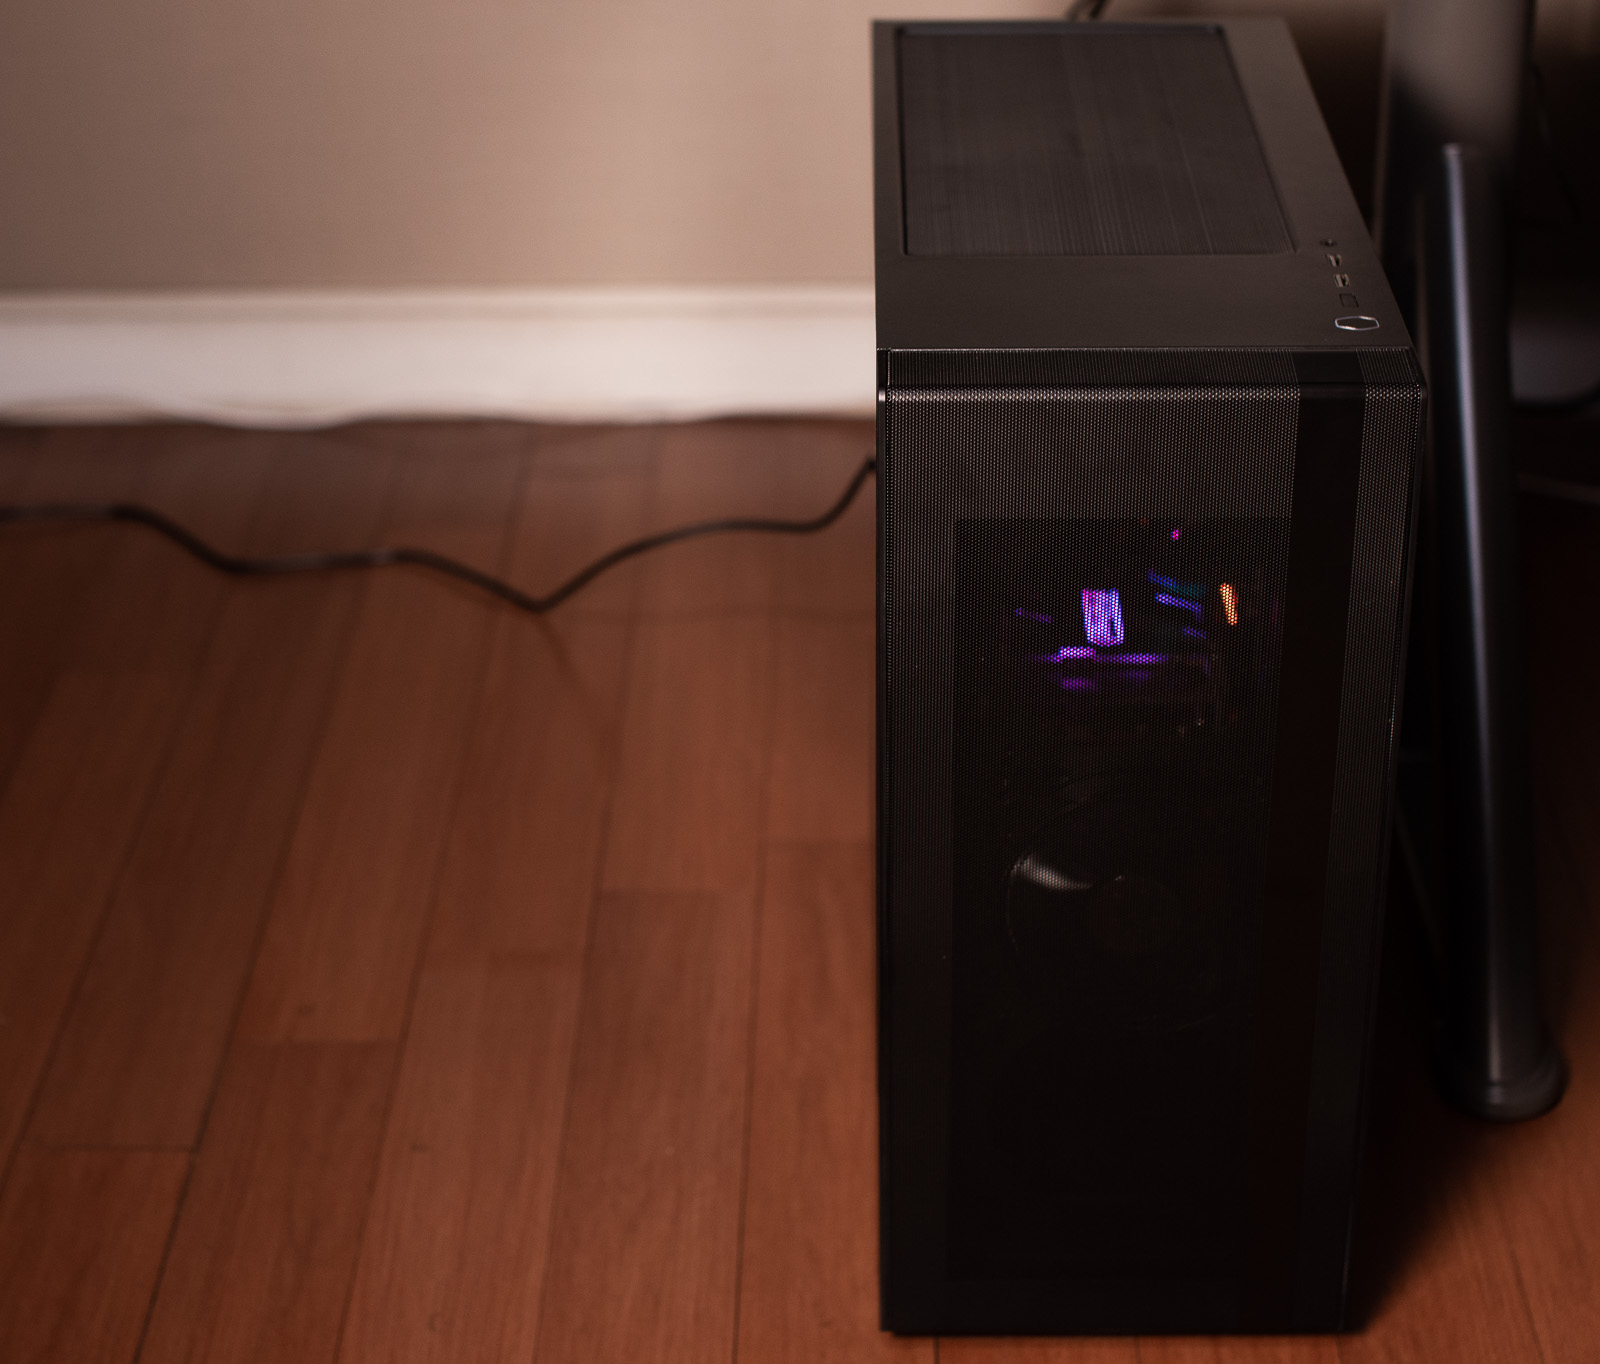
The CPU cooler fits down to the millimeter. Literally. Another 1 mm would be the absolute maximum, and with 2 mm more, the fan would touch the case window. I was worried this would prevent me from installing the second CPU fan, the one meant to sit directly above the RAM. That concern was pointless. No matter how much room I had, I still couldn't mount it sensibly :D. My RAM simply sticks up that far. So I mounted the fan a little farther away, where it blows across both the heatsink and the memory. For now, it's held in place with only wire and a zip tie:
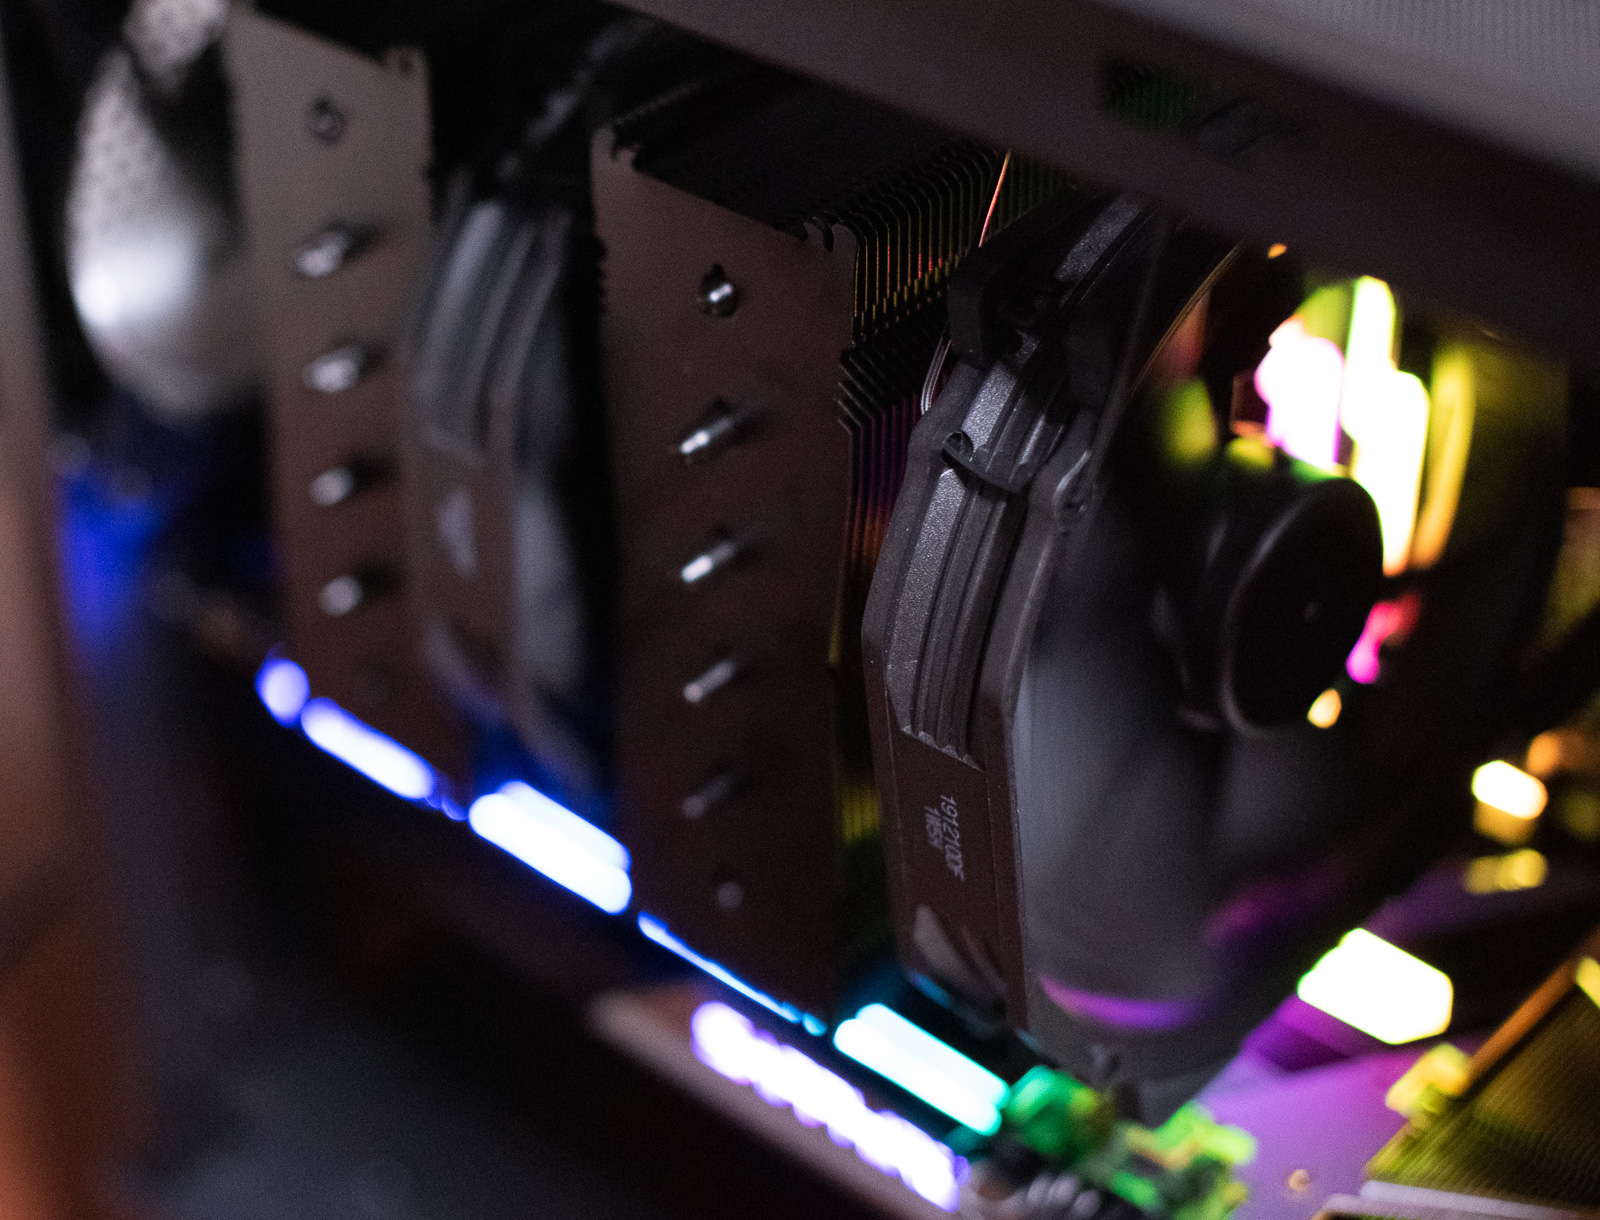
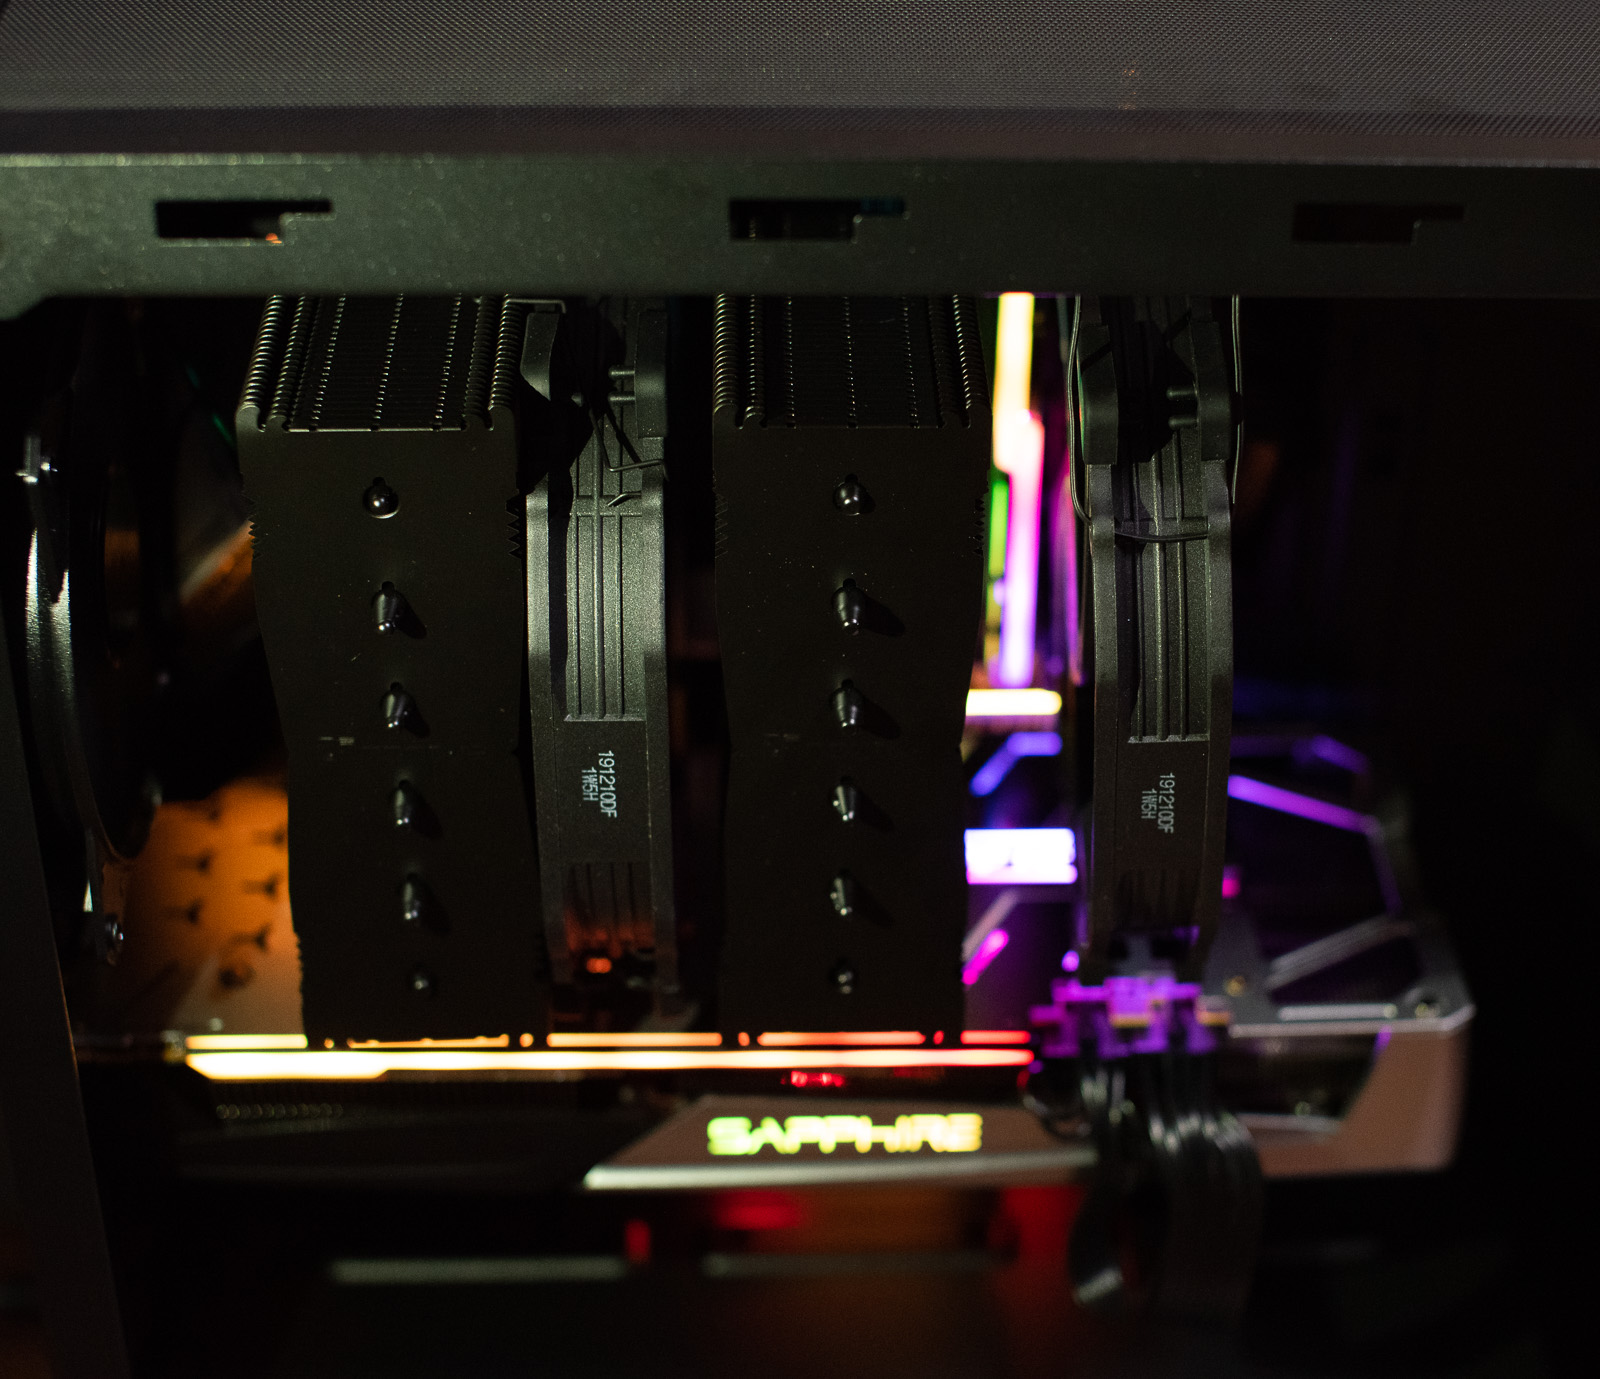
The alternative is to install a 120 mm fan instead of a 140 mm one, but it would move half as much air or be considerably louder. I'm leaving it like this for now. Eventually, I may make a duct connecting the heatsink to the fan.
Processor (i9 9900K)
After reading about fake Thermal Grizzly thermal paste and the results some people were getting, I didn't mess around and used the paste included with the cooler, which, as a reminder, is a Noctua NH-D15. The results aren't bad. With the room at about 30°, the CPU sits at around 37° in the operating system and reaches 71° in 3DMark. That's with the basic stock case cooling, because the decent fans mentioned in my configuration are still on the way. They should bring a substantial improvement, and an even bigger one in noise levels. The stock case cooling is far too loud. For now, switching the CPU to Gaming mode, which raises the clock by 100 MHz and may change something else too, gives a 3.7% performance increase in 3DMark and adds 2 degrees. Better testing will come once the cooling is finished. That's when real overclocking starts instead of this little warm-up. I've also been away from the subject for so long that I'm still catching up on what's changed in the OC world and how far you can safely push things.
SSD
The motherboard I'm using has cooling for every M.2 drive. For now, I've installed them in the first and last slots, but that may change because I need to read more about how these ports share PCI-E lanes.
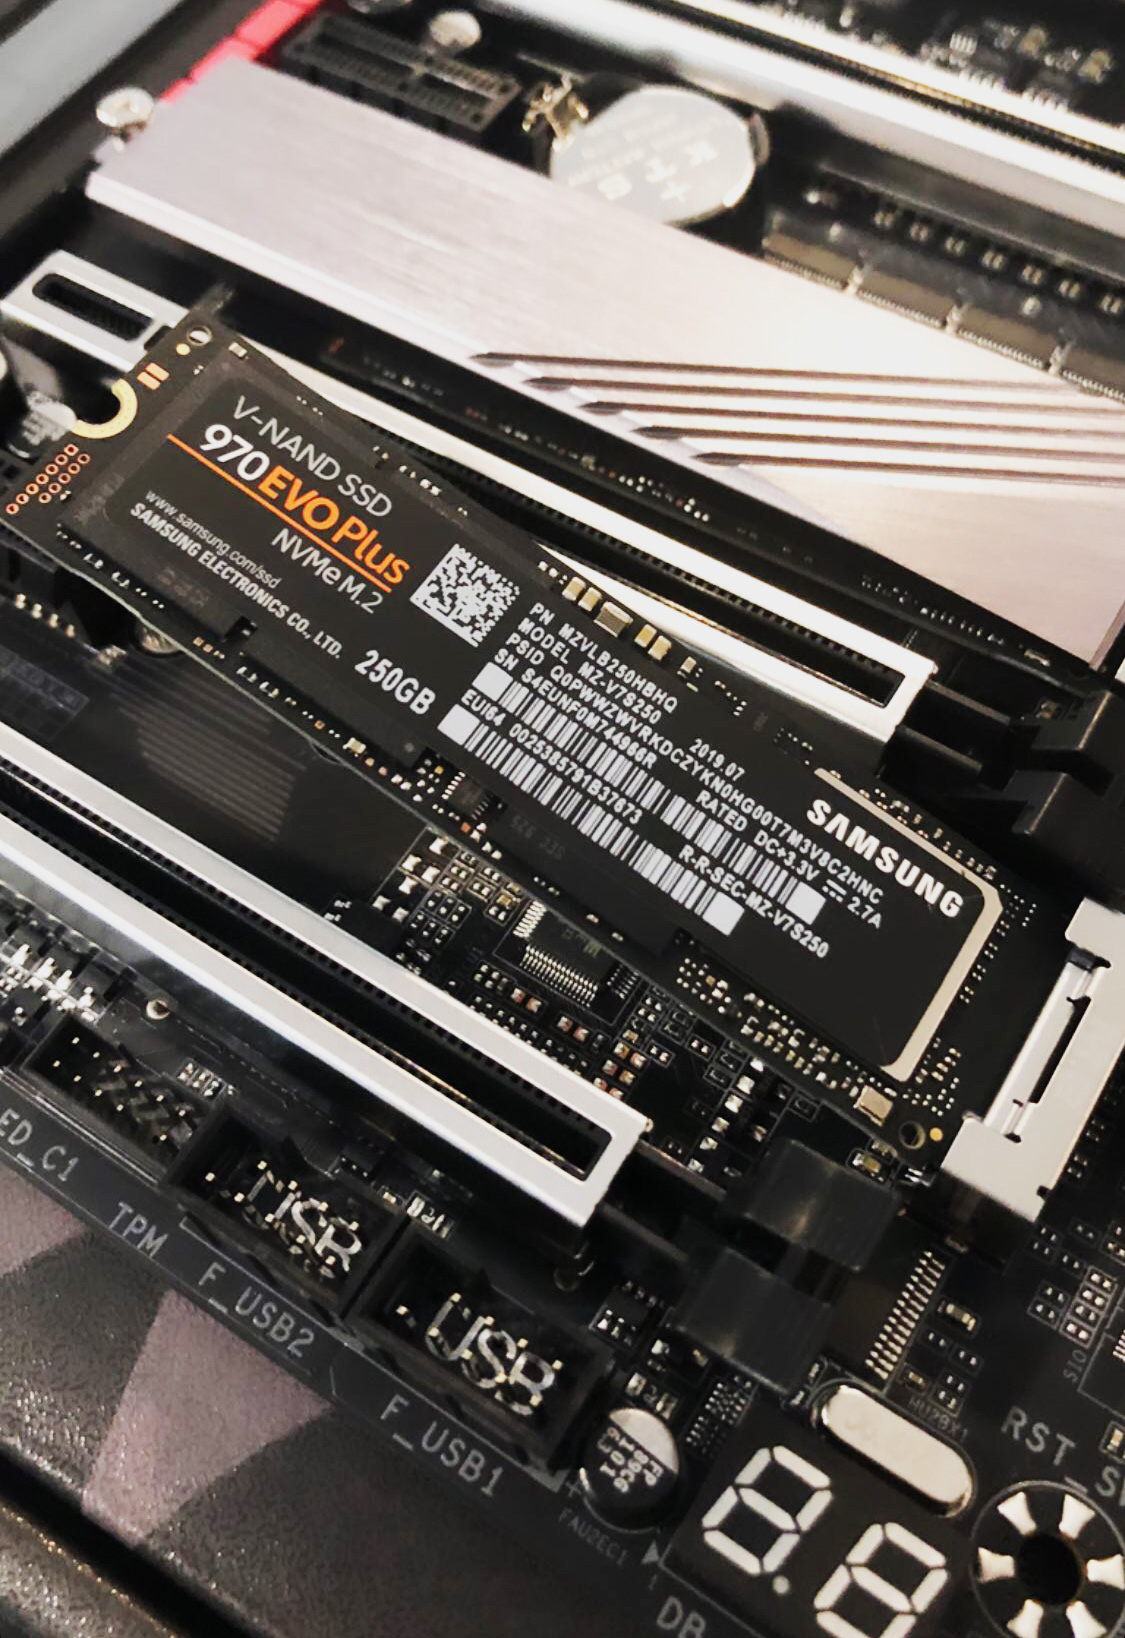
That silver rectangle above the SSD is another SSD, a 1 TB Samsung Evo Plus, but with the motherboard's built-in cooler already installed. I also have another M.2 SSD that, for now, will connect through a USB enclosure. Because of the temperatures, it may eventually end up on the motherboard as well, which would fill every slot.
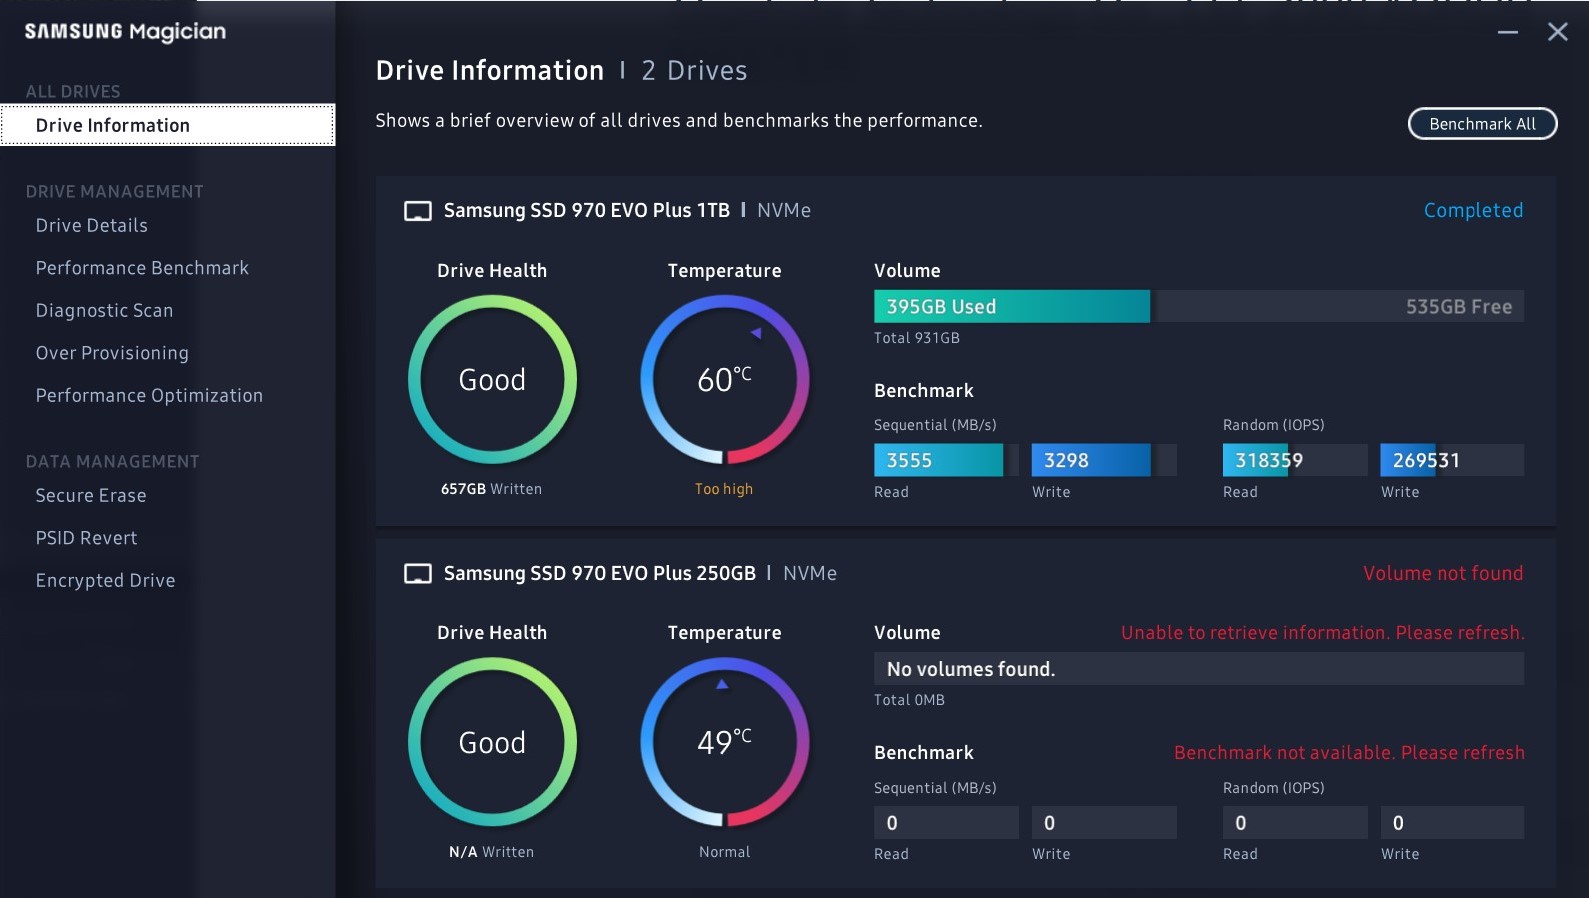
The second drive is waiting to be partitioned for macOS, while the third is still connected to the Mac Mini.
Graphics card
Choosing the Nitro+ version of the Radeon RX 5700 XT was probably exactly the right call.
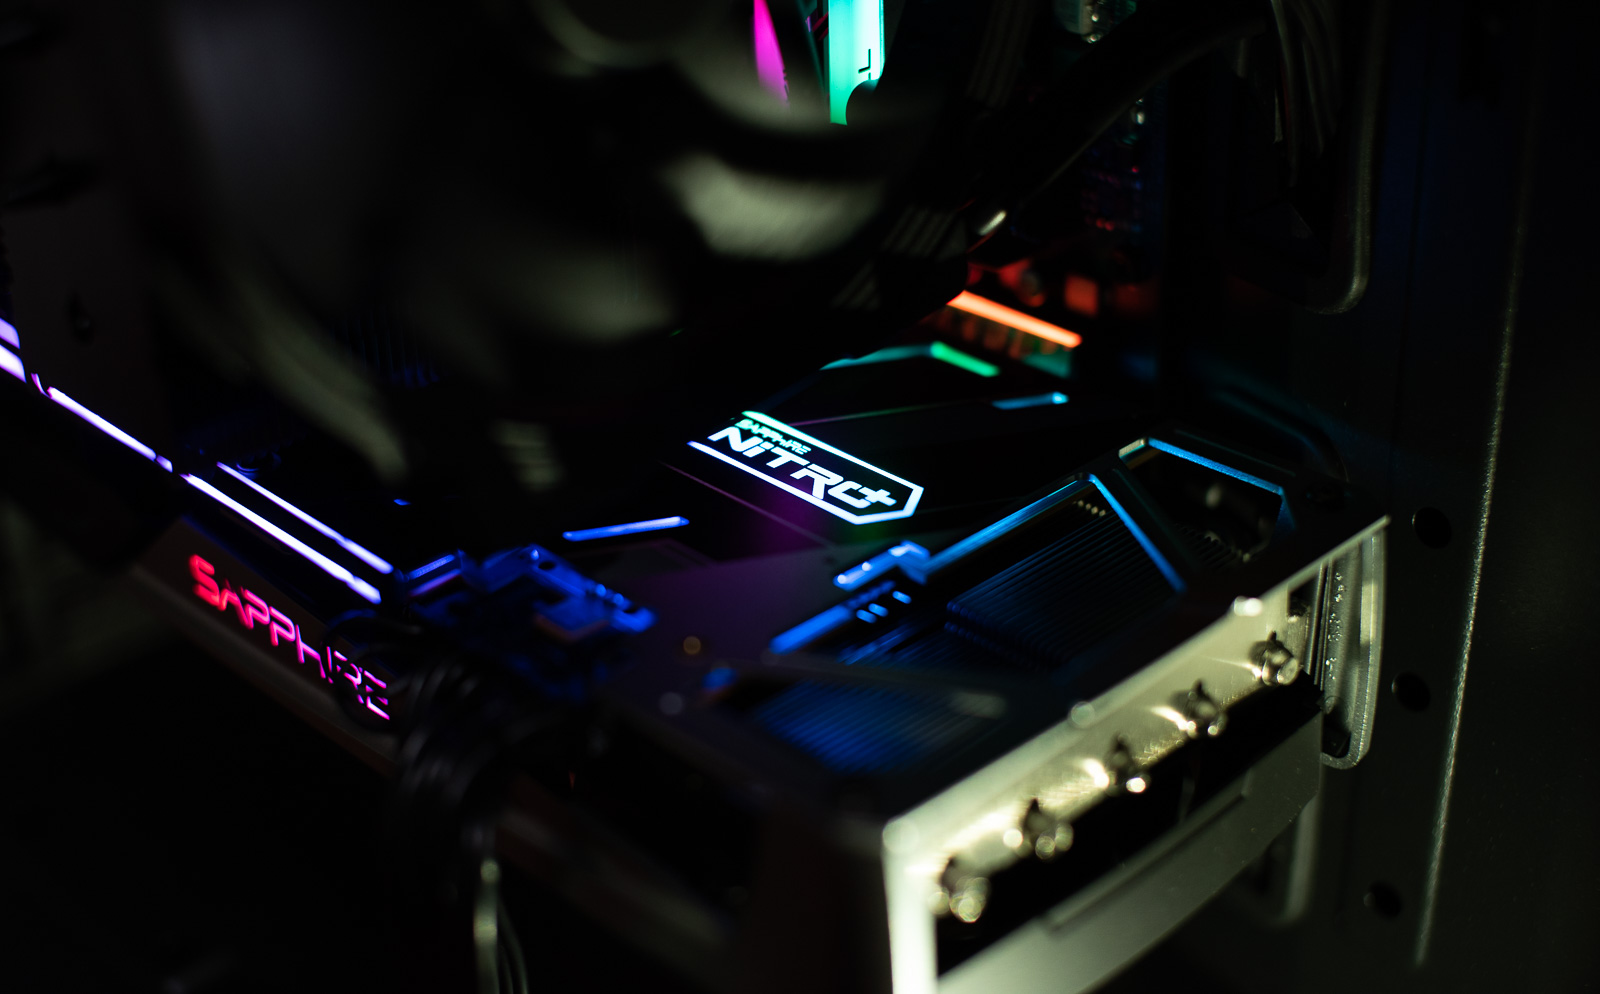
Besides reaching 2130 MHz with the factory OC enabled, it runs beautifully. That's the main reason I chose the Nitro+.
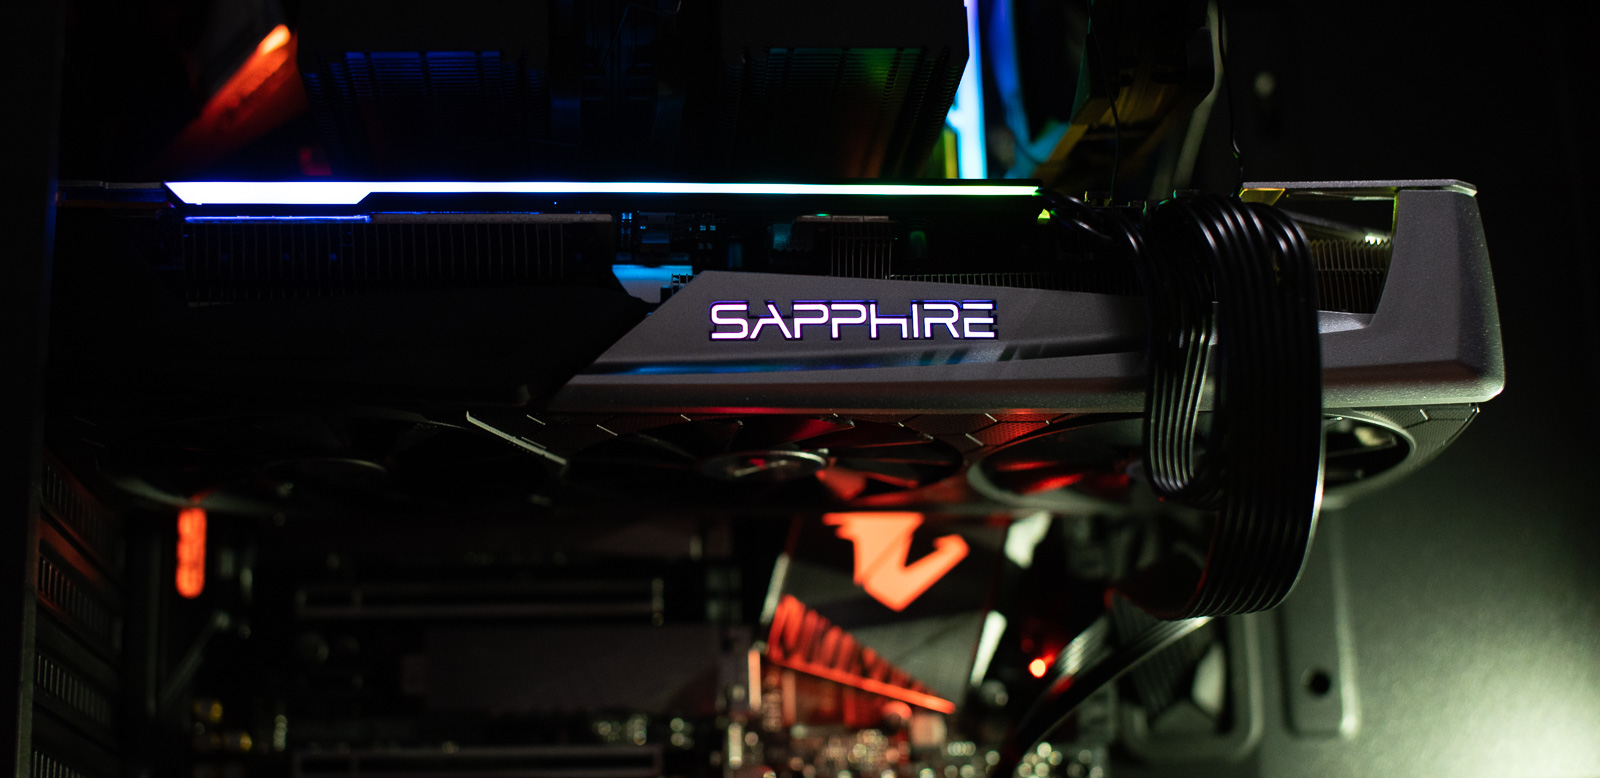
It runs passively in the operating system, remains unobtrusive in games, and only gets loud in benchmarks. I'll know whether that's really true after replacing the case cooling, which is also when the real overclocking will begin. I don't expect much more, though, because these cards generally don't have much overclocking headroom.
RAM
There's nothing to write about here yet. I loaded the XMP profile so the memory runs at 3600 MHz with 16-19-19-39 timings, and that's it. I'll think about the RAM after I sort out the CPU.
Power supply
Installing the Corsair HX850i in this case wasn't easy, or more specifically, connecting the cables wasn't easy.
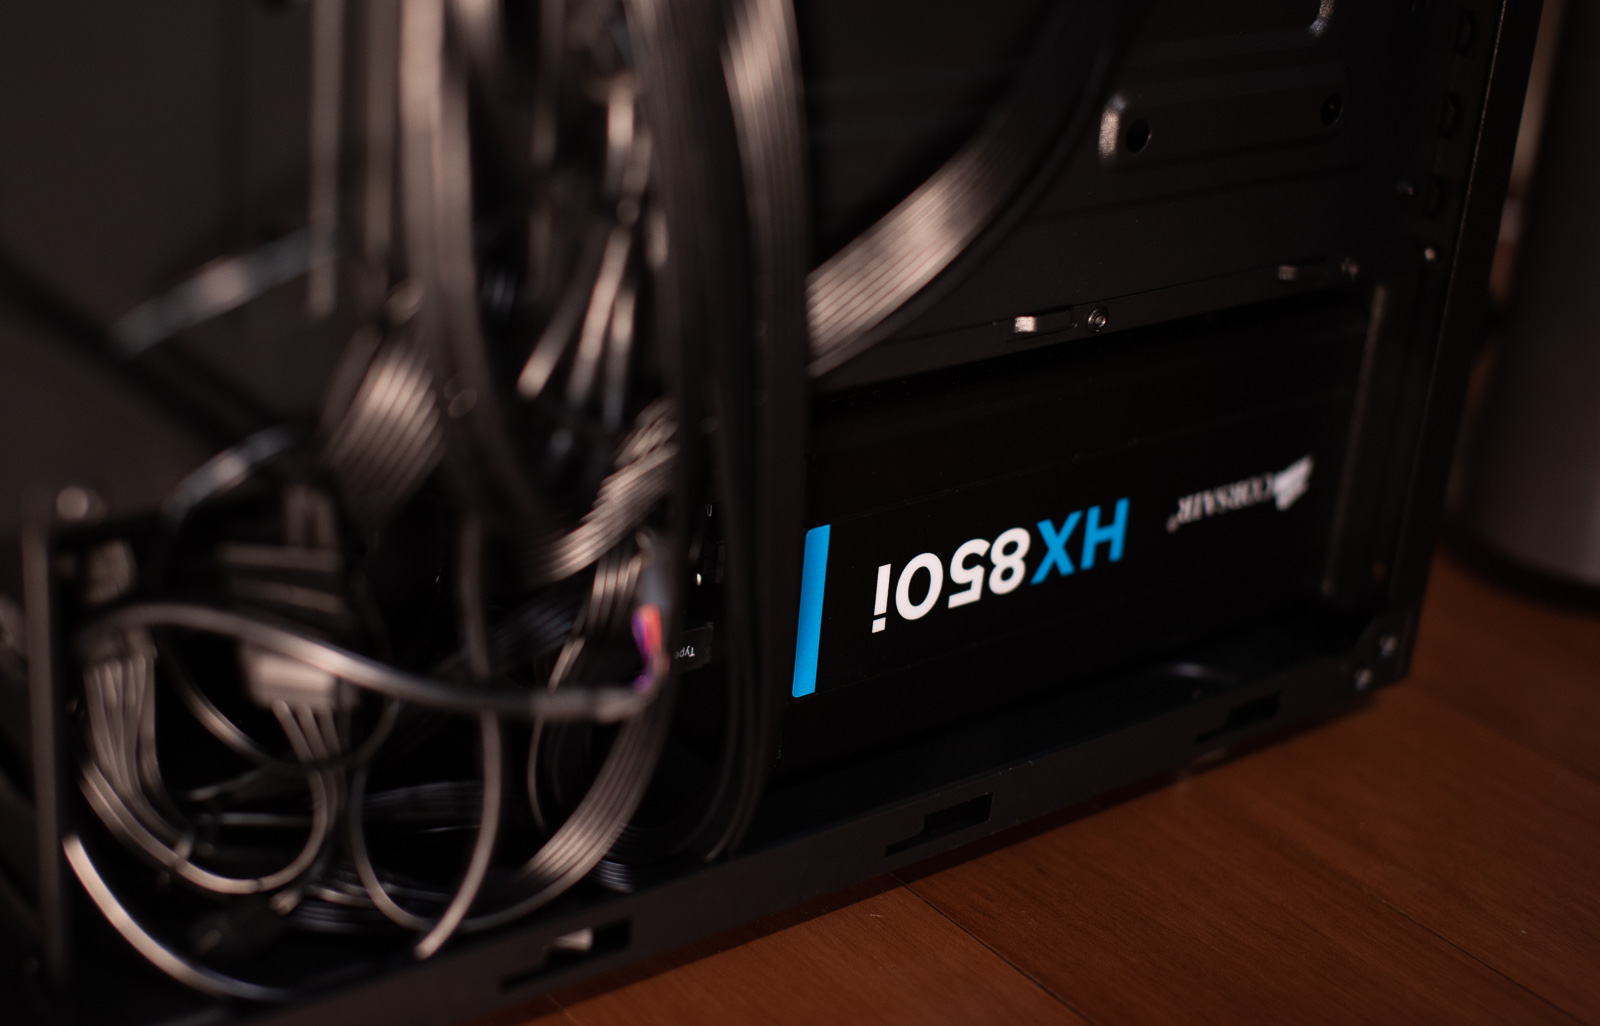
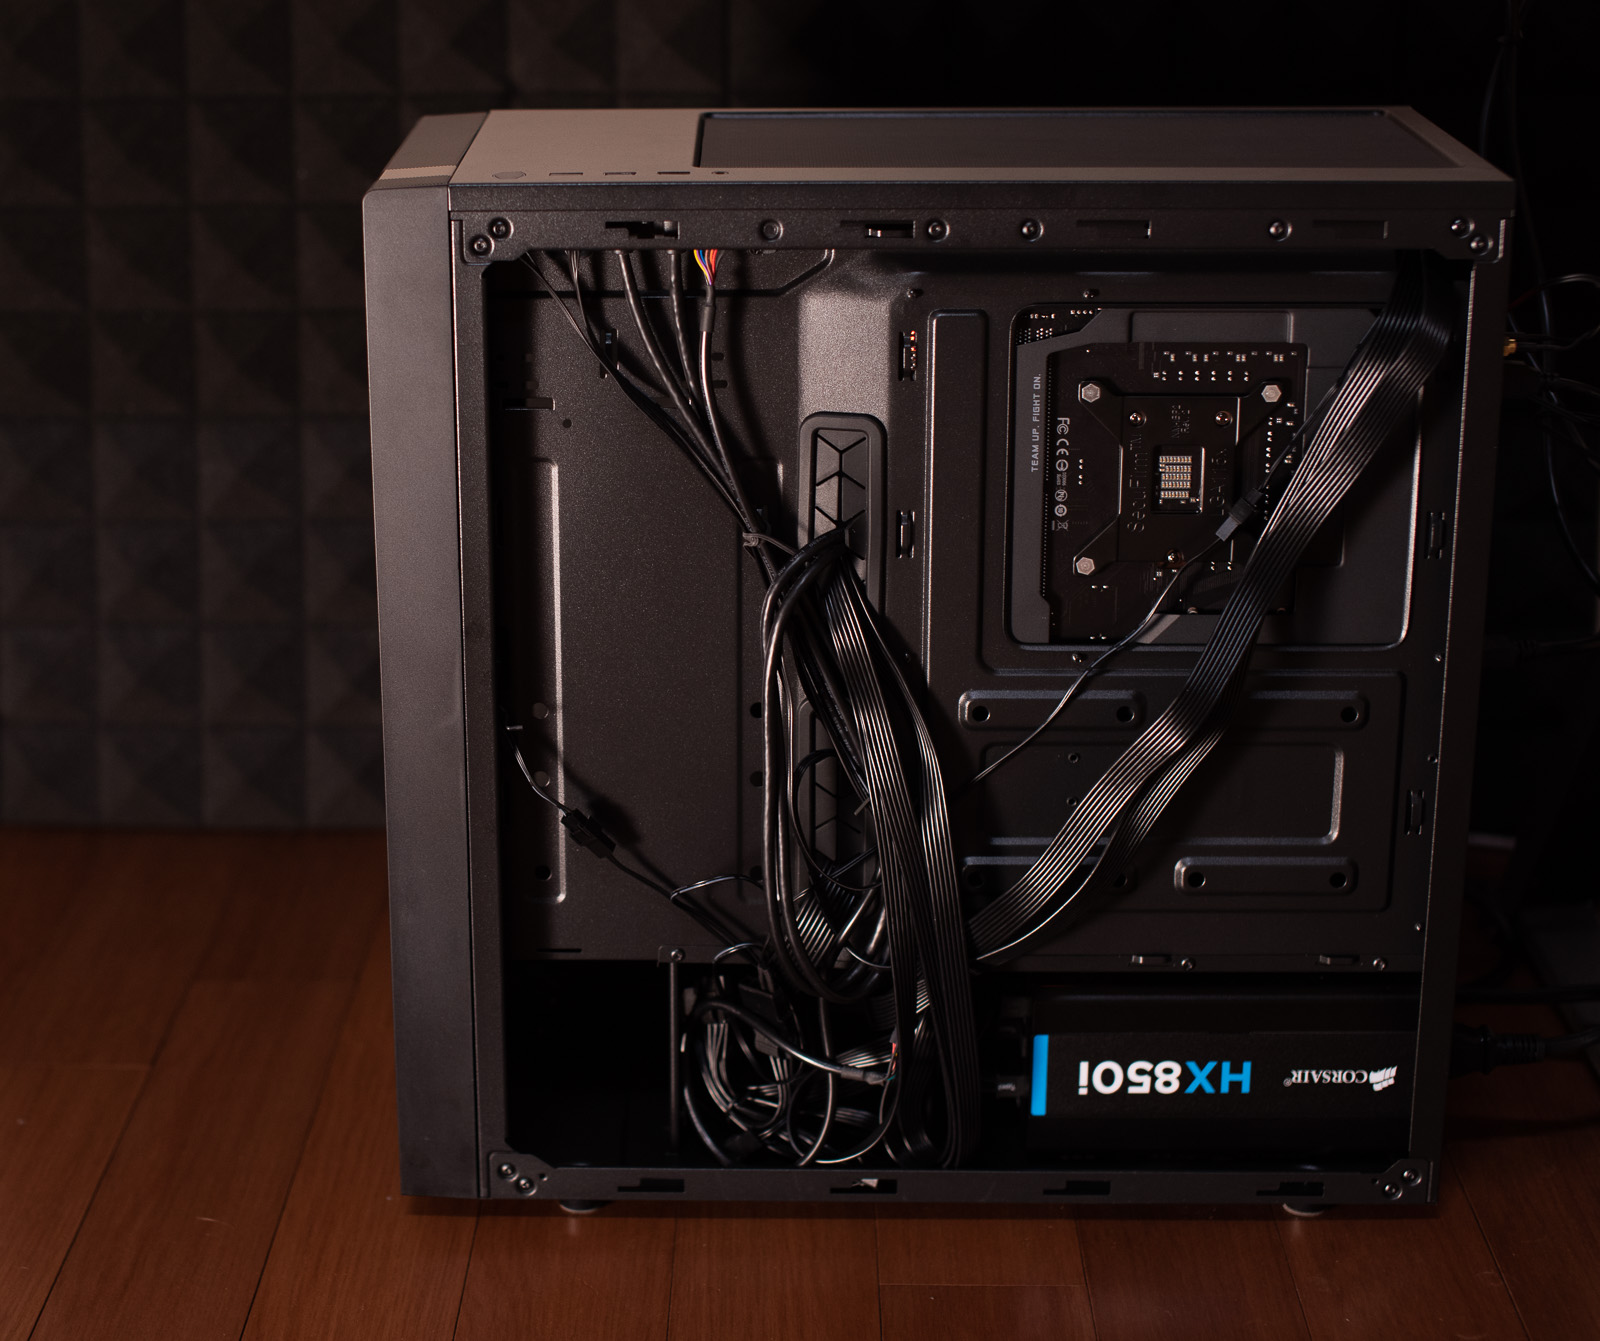
There's little room to maneuver because a metal panel sits right next to the cable connectors. It does have openings for the cables, but they're tiny, and I fought with it for a long time. Sorting this out took longer than installing everything else, and most of it is still temporary anyway. I'll return to it once the cooling setup is complete.
Audio
I don't have speakers, only some lousy 2.1 set, so I didn't even connect it. The speakers built into the NEC handle system sounds and calls, while I use headphones for gaming. After I couldn't get game audio through Bluetooth on the Bose QC35 II, as if they were switching into call mode, I started plugging them in with a cable. The headphone amp temporarily has something to do again.
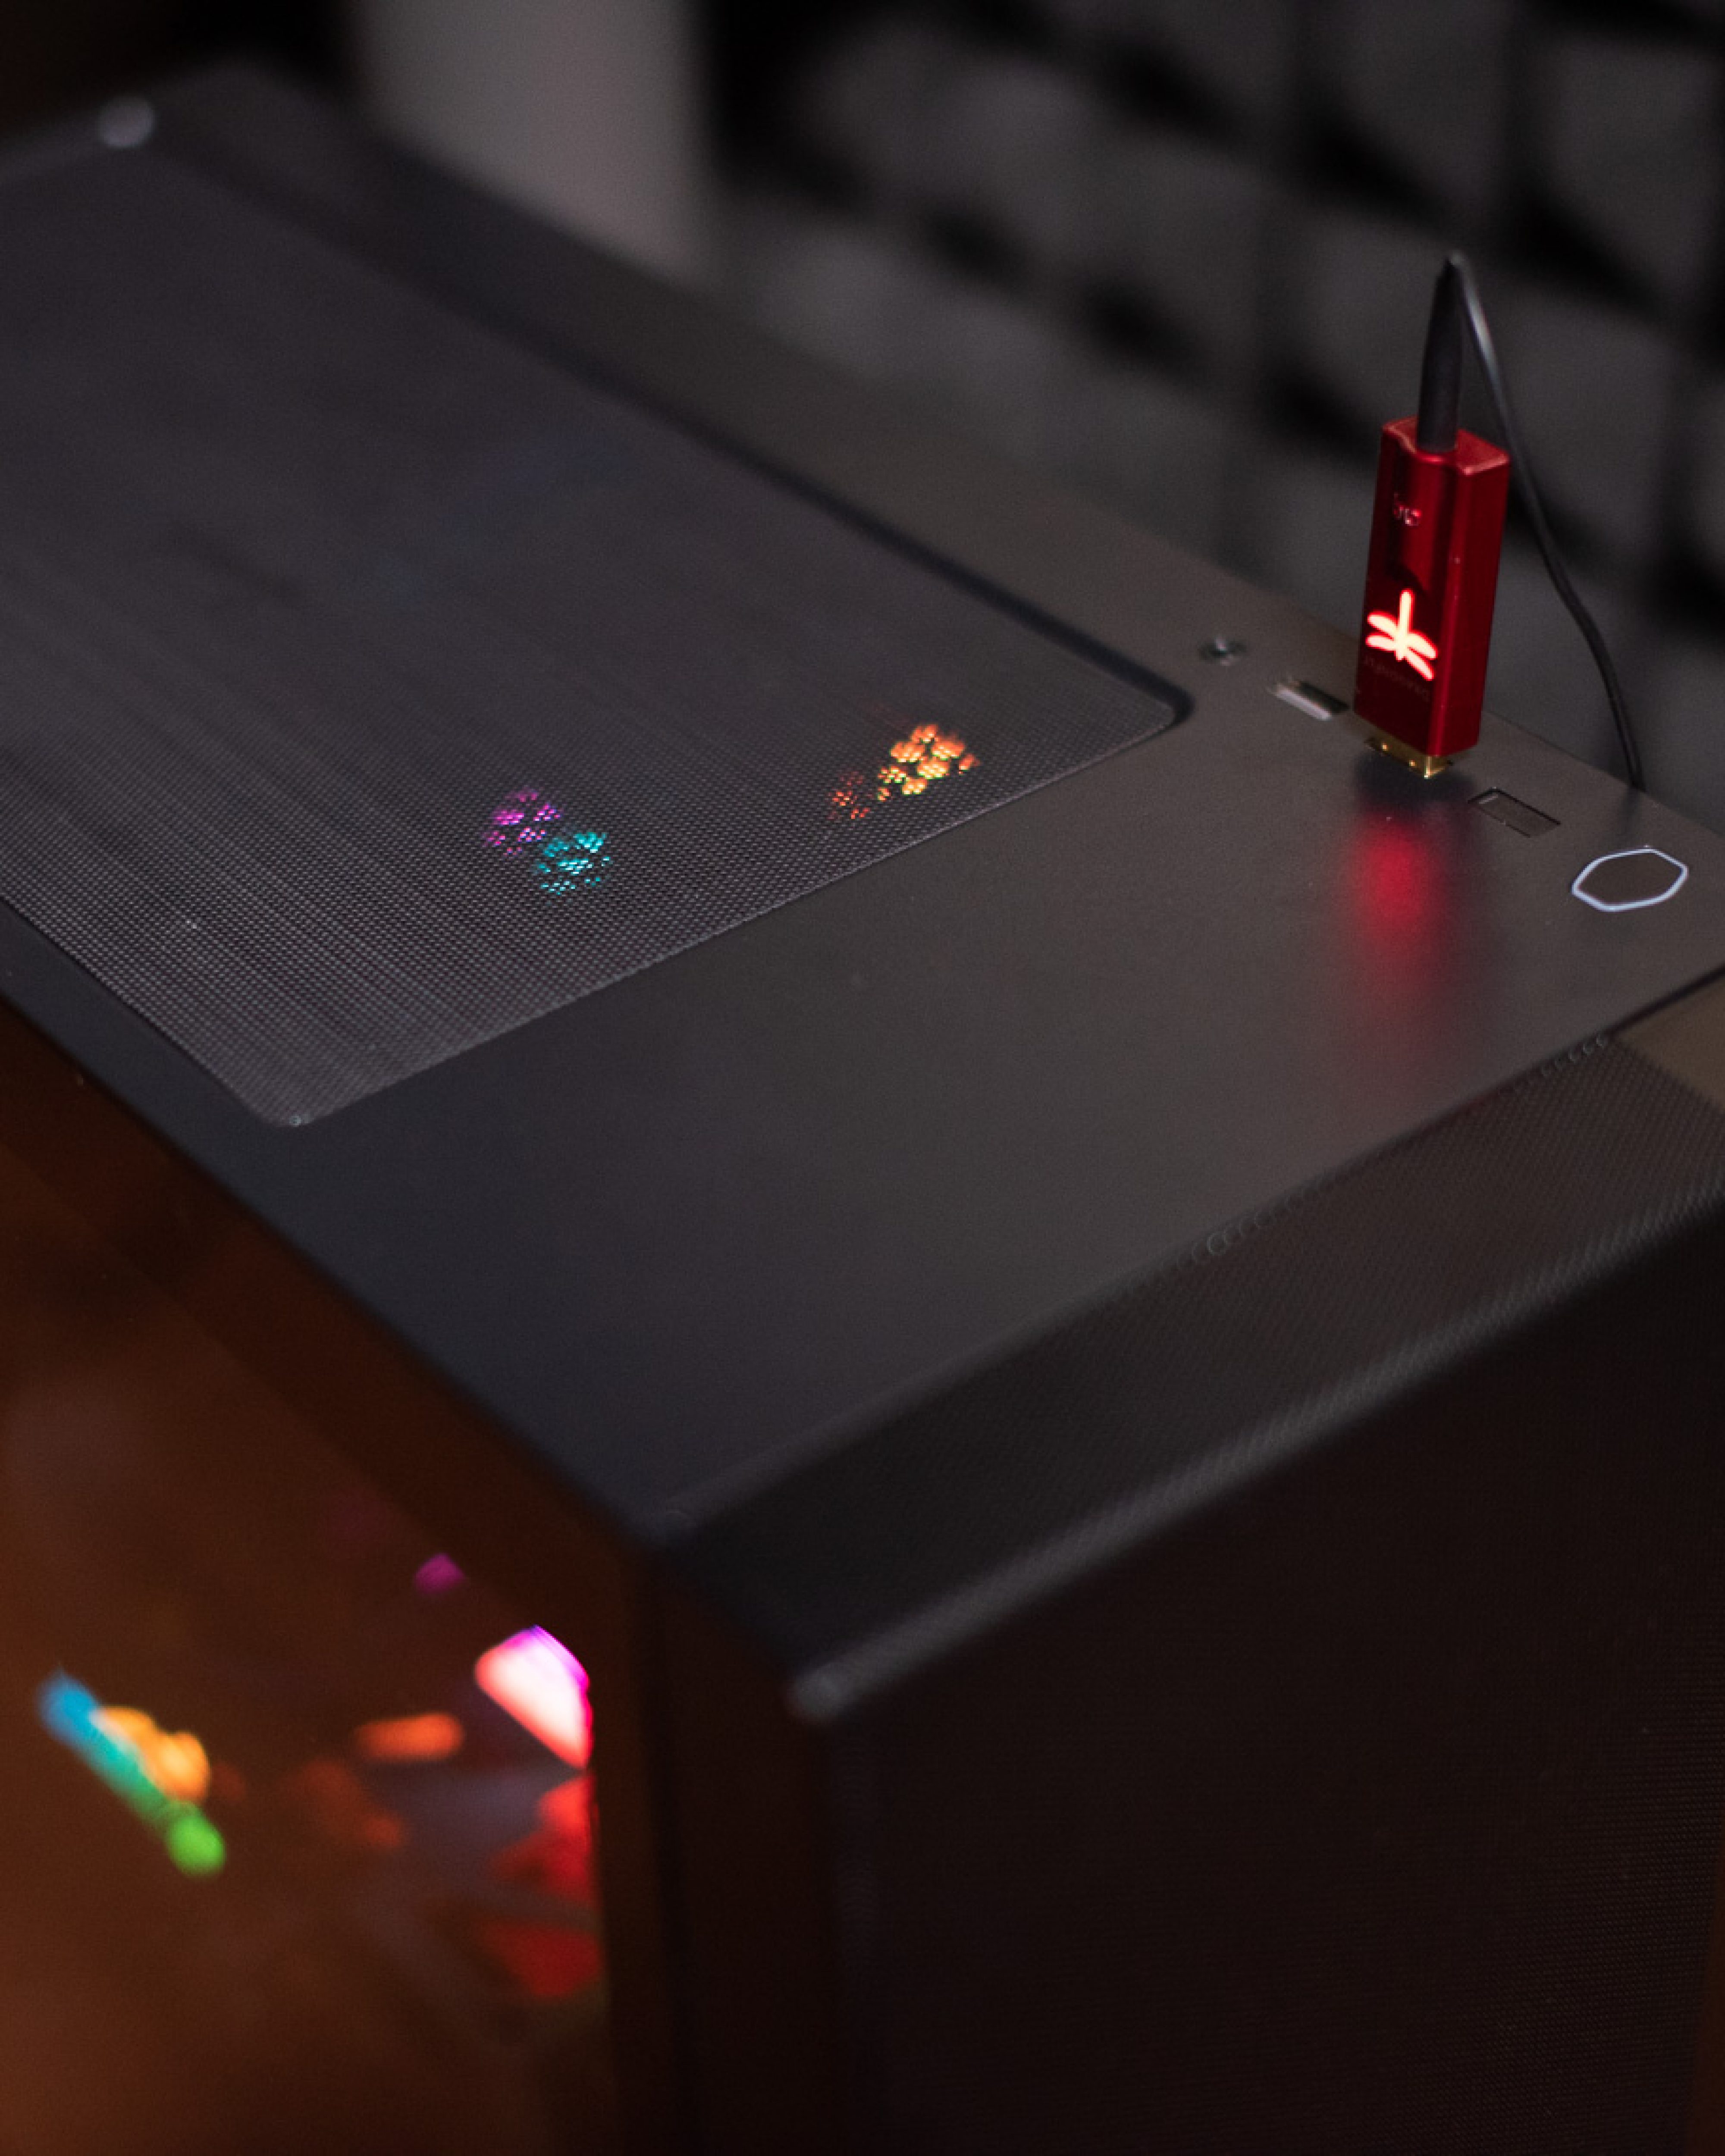
There probably won't be a conventional audio setup because I already have two HomePods in stereo on the desk for that purpose (my review is here), and they aren't useful for anything beyond music and movies.
February 4, 2020 - First overclock
Even before the case fans arrived, I ran some overclocking tests with the side panel removed so the computer had somewhere to draw "cool air" from. The quotes are there because I tested everything in a room at 30°. Tuning it for the conditions in an air-conditioned room makes no sense for me. I often don't turn on the air conditioning until it gets above 30 degrees.
First CPU overclock
I haven't yet tortured it overnight with the most demanding software. I'll do that once I reach the OC limit. So far, though, it has repeatedly passed a half-hour IntelBurnTest at maximum stress, Cinebench, and 3DMark.
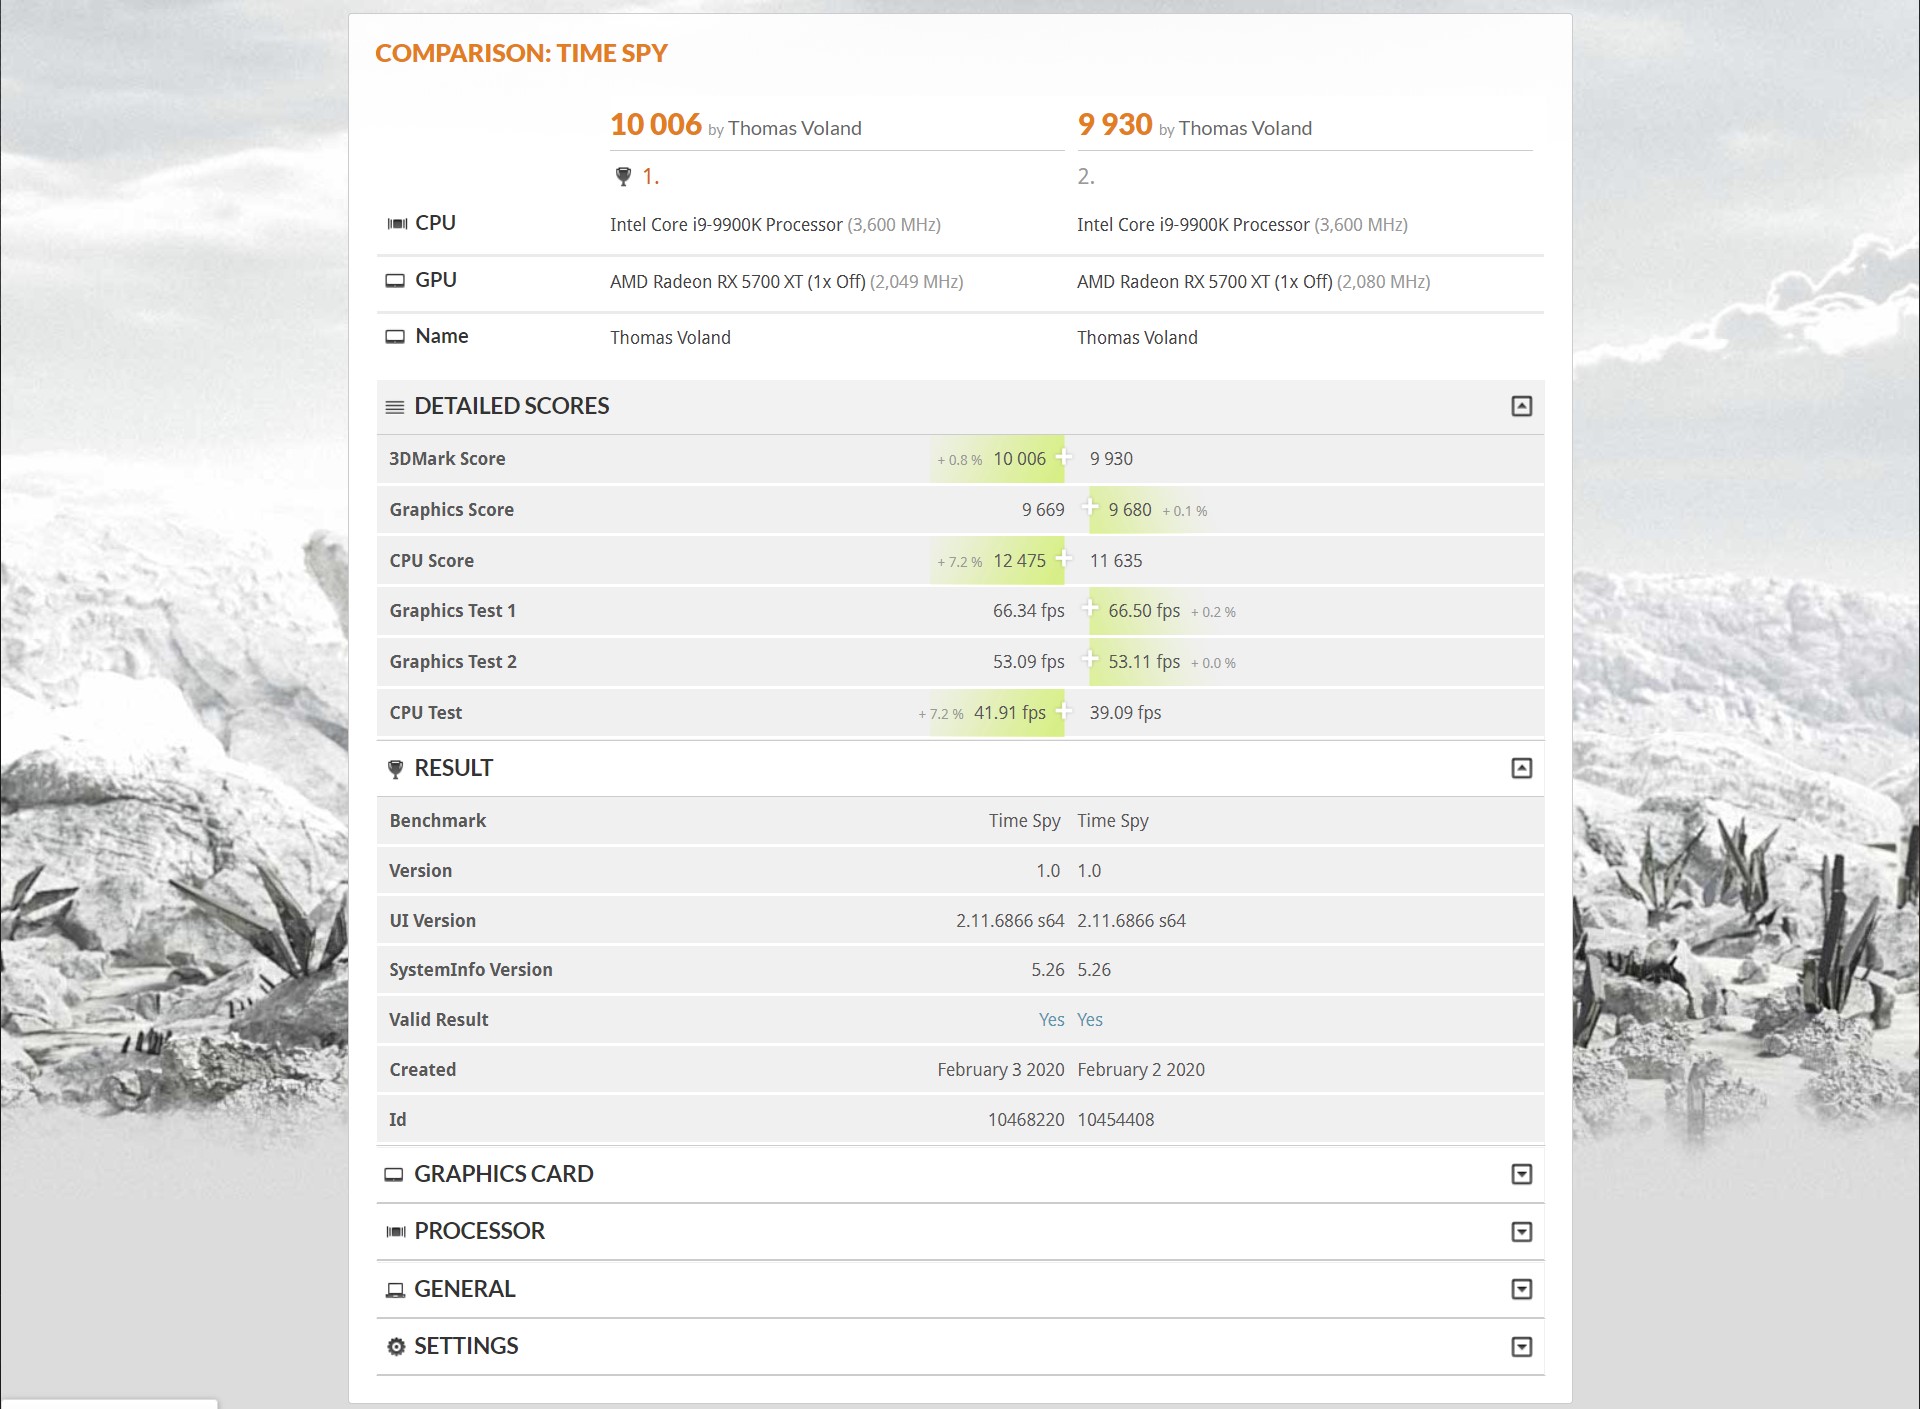
My overclock uses dynamic CPU voltage so the processor doesn't hold an unnecessarily high voltage while idle. Unfortunately, the motherboard's scale is somehow strange. Adding 0.0300V to 1.2V gives me 1.392V according to the BIOS reading. CPU-Z shows a little less, but it still doesn't add up. I need to check where this is measured and buy a meter because mine is in Poland, but I'm assuming the BIOS measurement is correct. In any case, I can still raise this voltage substantially if I can keep it cool. The i9 9900K runs at 3.6 GHz as standard, but Turbo Boost takes it to 4.7 GHz, or 5 GHz when no more than two cores are under load. For now, I've set all cores to 5.1 GHz at the same time, leaving the cache clock and so on, the Ring Ratio, at the standard 4.3 GHz. The memory and everything else also remain without an overclock, and I haven't set an AVX offset yet because I want to test the worst-case scenario. In 3DMark, this produced a CPU Score of 12,475, a 7.2% increase over the factory settings. The total score rose a little too, but you need to overclock the GPU to achieve anything meaningful in this benchmark, and I'll deal with that later.
Here's how it looks in Geekbench 5 for Windows:
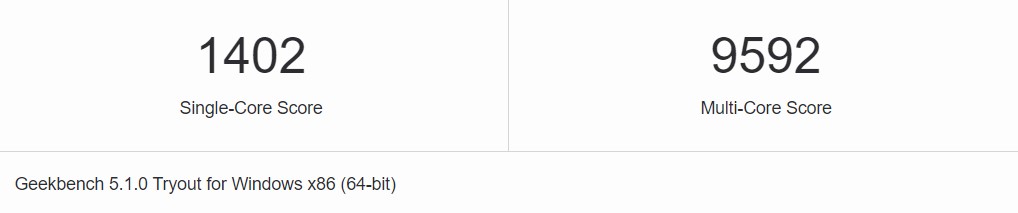
I didn't record the stock score, but by default this processor gets 1,343 single-core and 8,793 multi-core points. The CPU temperature while being tortured with AVX is usually around 85 degrees, so it'll probably reach 75 in games, and about the same in Geekbench. I did manage a one-second peak of 100° in IntelBurnTest and 93° in Geekbench. My Mac Mini runs at temperatures like these as standard :D.
The next update will cover changing the cooling throughout the case because the courier delivered the fans today. Once that's sorted, I can focus on overclocking and later turn this into a real Hackintosh.
February 5 - Changing the case cooling
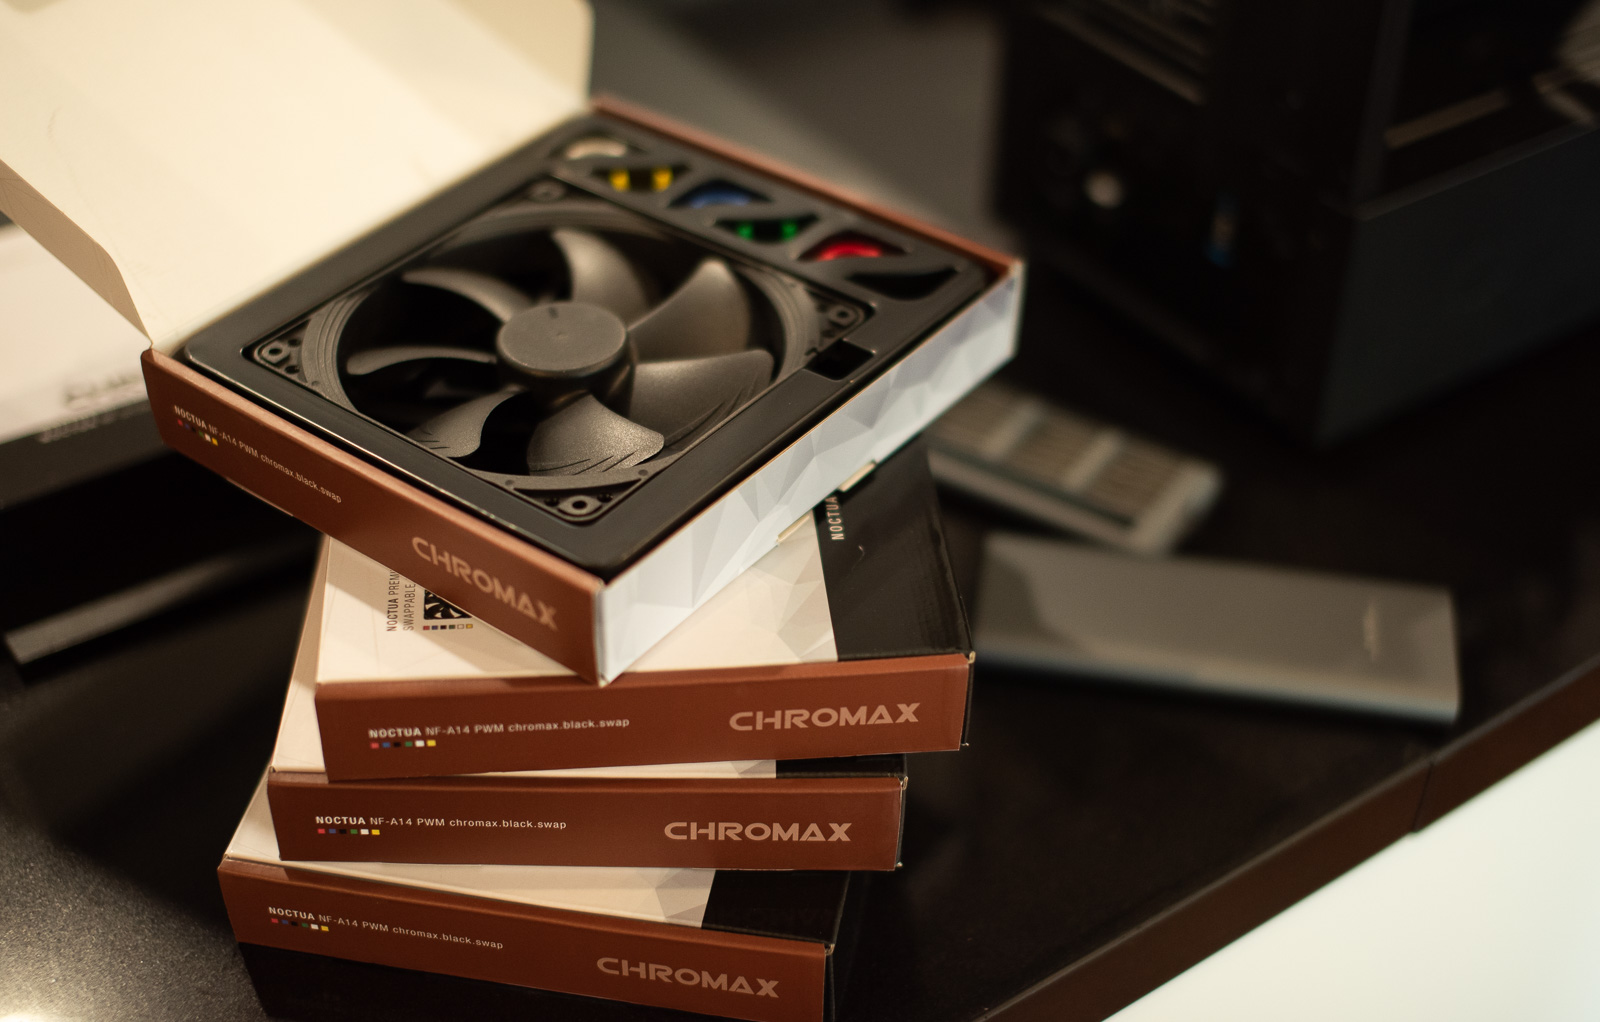
The fans I mentioned earlier have arrived:
The stock fans were terribly loud and didn't move enough air. There was only one 120 mm exhaust fan and one intake fan:
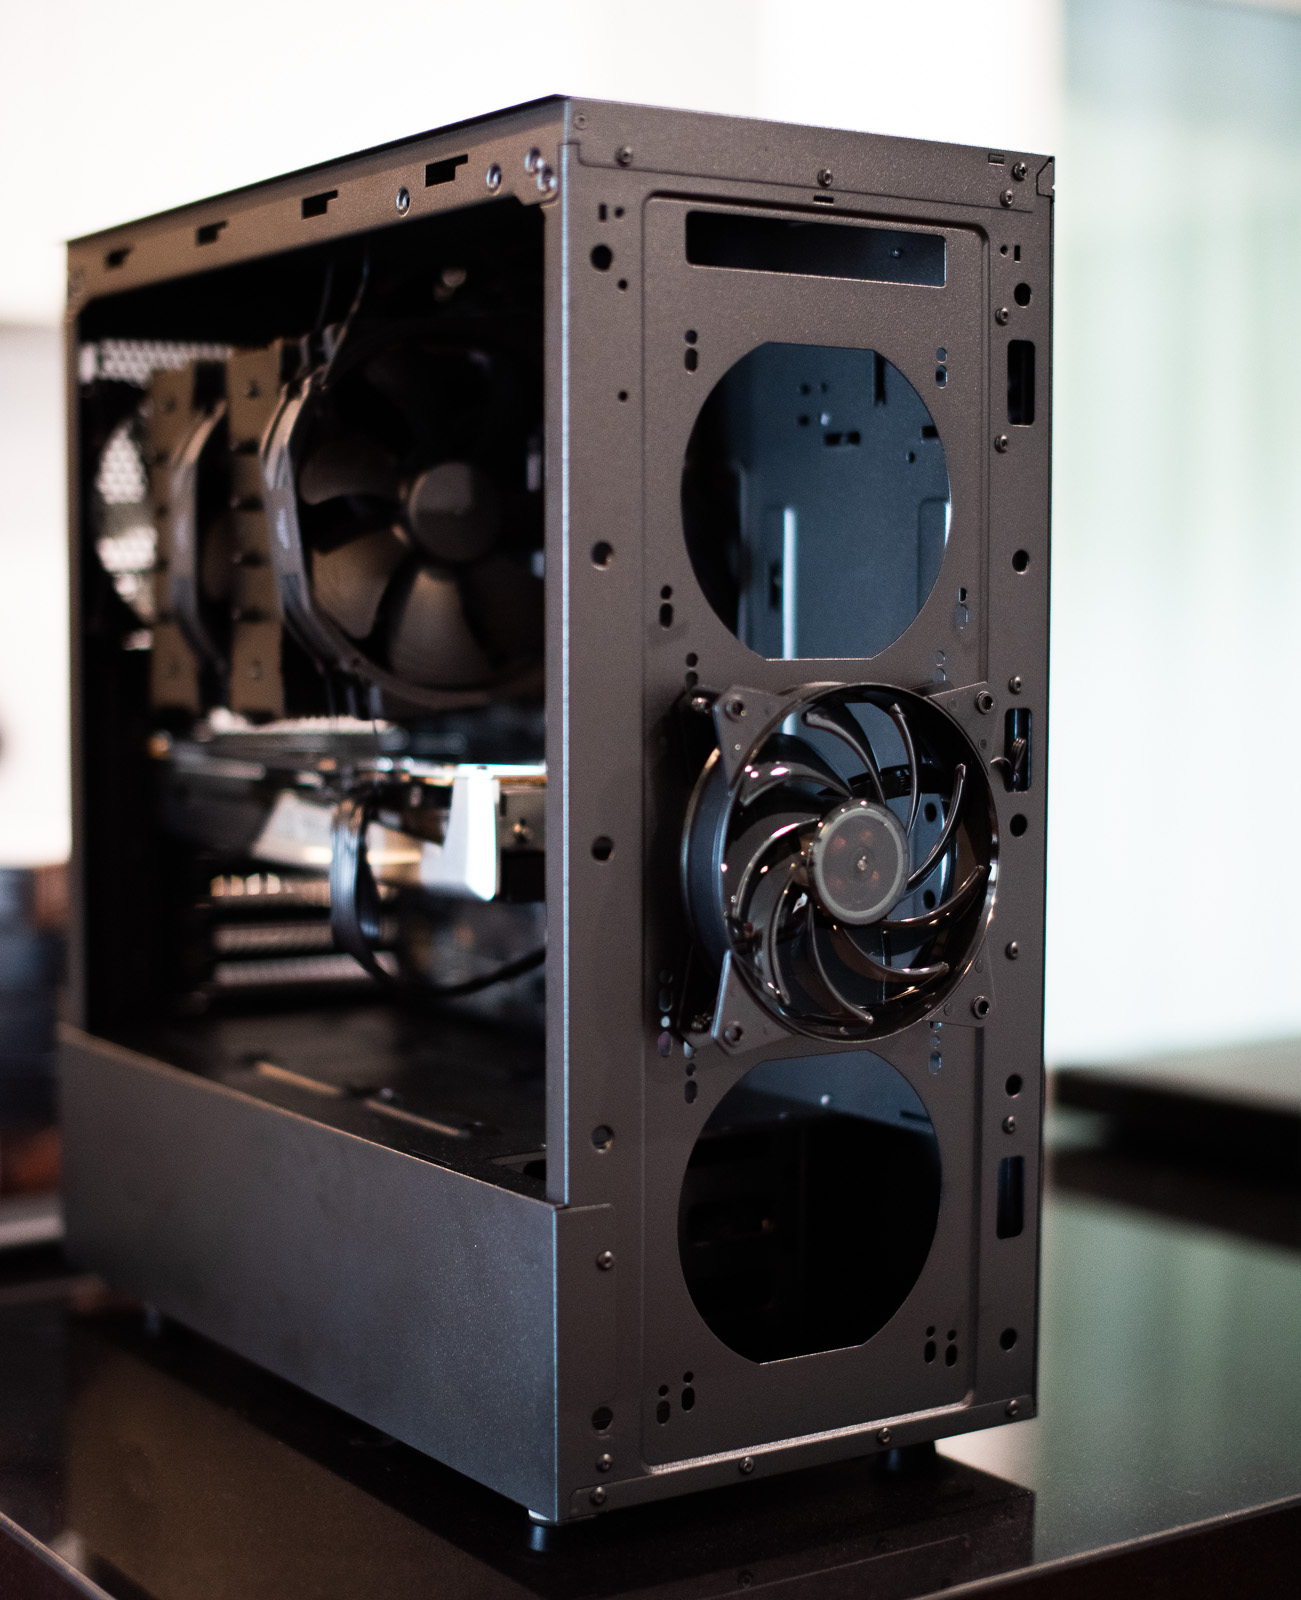
Unfortunately, the openings and mounting positions for 140 mm fans, which are what I'll be installing, are ABSOLUTELY TERRIBLE at the front of this case. First, they're too small. Second, there's a giant metal panel at the top and no holes for mounting a fan high up. I learned this the hard way after mounting one there anyway, only to discover that the case's front panel has no ventilation openings in that area because they begin lower down...
For now, I've installed the fans the way the case manufacturer intended for the Cooler Master NR600:
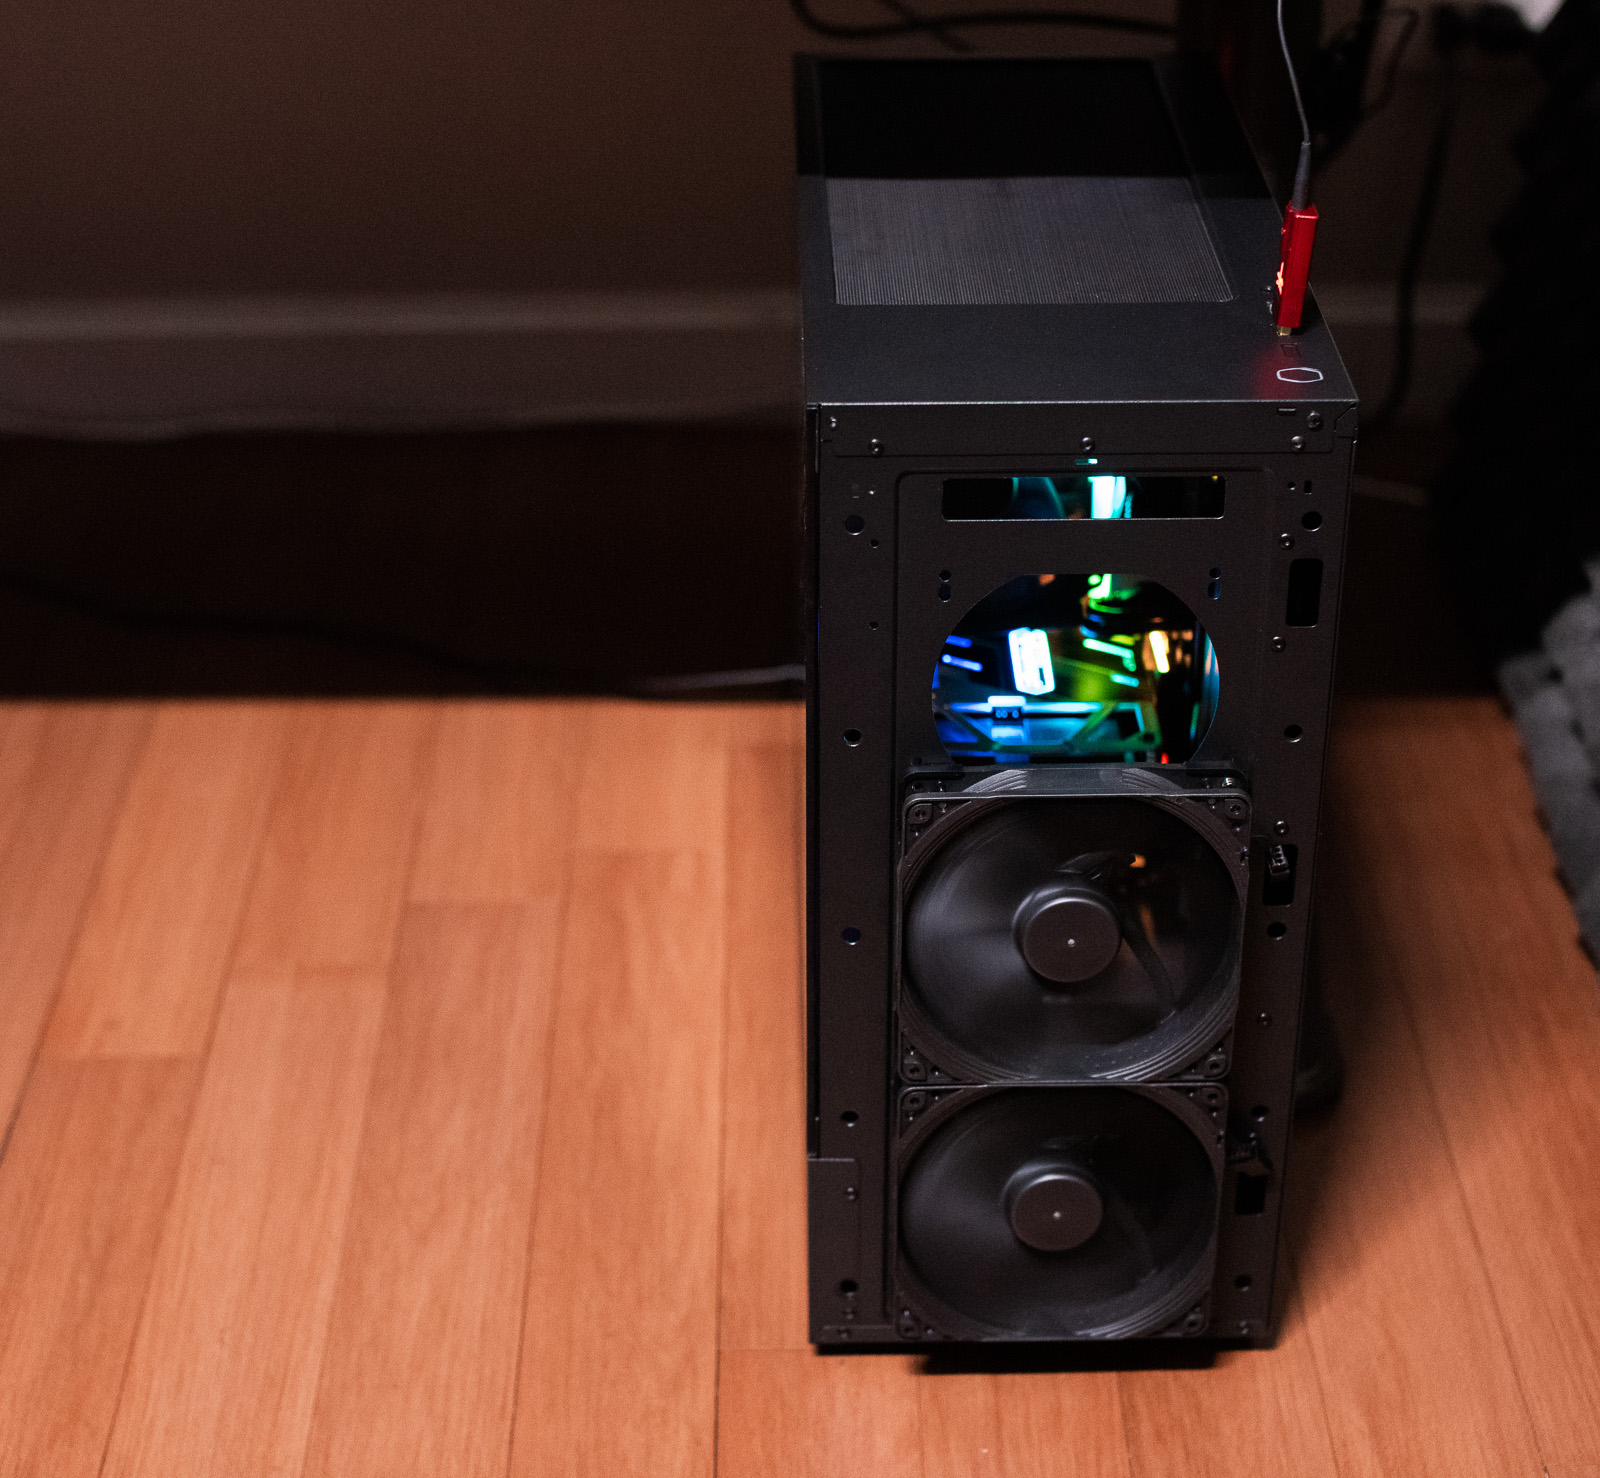
There's quite a lot of metal behind the fans instead of clear openings. This is how it'll stay for the moment, but as you can easily guess, a hacksaw will soon come out. Strangely enough, that would make room for as many as three 140 mm fans at the front, as shown below:
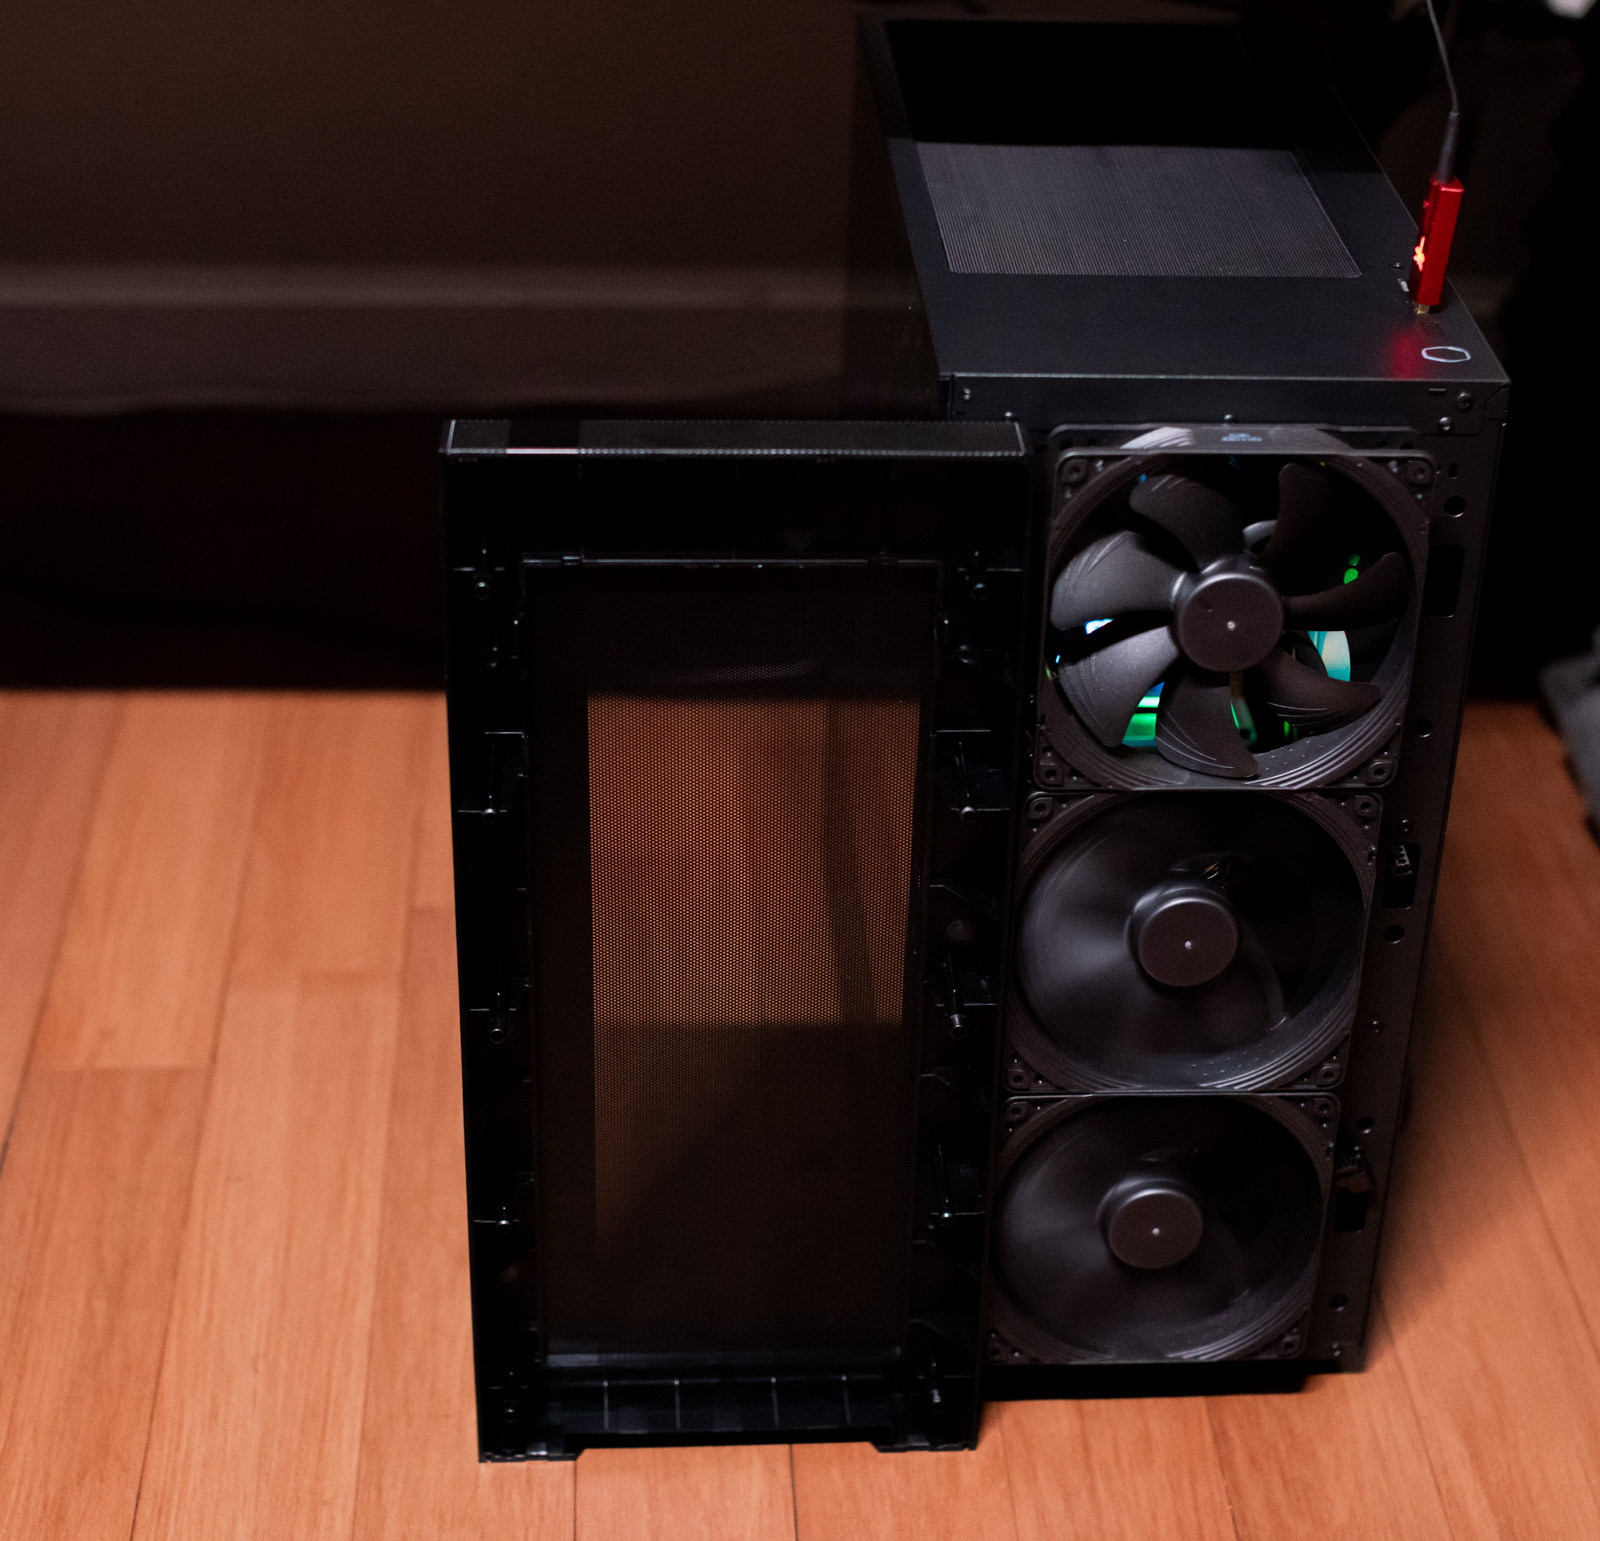
I'd only need to make some kind of mount and cut away the metal behind the fan. On top of that, plastic from the front panel covers one-third of its surface because nobody expected air to be drawn in from this spot. So I'll be cutting plastic too :). I already have an idea for doing it without changing the appearance while making the airflow ridiculous. I just need to go shopping. I have something for cutting plastic, but no metalworking tools at all.
I also installed exhaust fans at the top and rear of the case. Another one will probably go at the top eventually, but first I'll sort out the front. More importantly, I need to run smoke tests to see exactly how the air moves and make any necessary corrections.
After replacing the fans, the room measures 31-32 dB while I'm browsing the web. I have to measure 1 cm from a fan to get 33 dB. A NAS is also running here, and when its drive starts working, it becomes the loudest component. Fortunately, its fan is quiet. If I turn on the air conditioning, that becomes the loudest thing instead. For comparison, the room next door, which has no device capable of making even the slightest sound, is only 1 dB quieter. The fans can occasionally be heard faintly, but I'll probably adjust the curves that control their speed according to temperature so they better suit Thai conditions and spin faster only when the CPU is actually at least a little warm. One thing using Macs has taught me is that temperature affects CPU life so little that I'll replace the computer several times before the processor dies, even if it runs at around 100 degrees every day. I'm still aiming for muuch lower values, though.
And now it's time to go to the store for a hacksaw... I'll probably report back tomorrow.
February 6 - Cutting the case and installing the Wi-Fi/BT card
I bought the saw, so the cutting can begin, but first I'm installing a Wi-Fi/BT card from an iMac so macOS will work without trouble in the future.
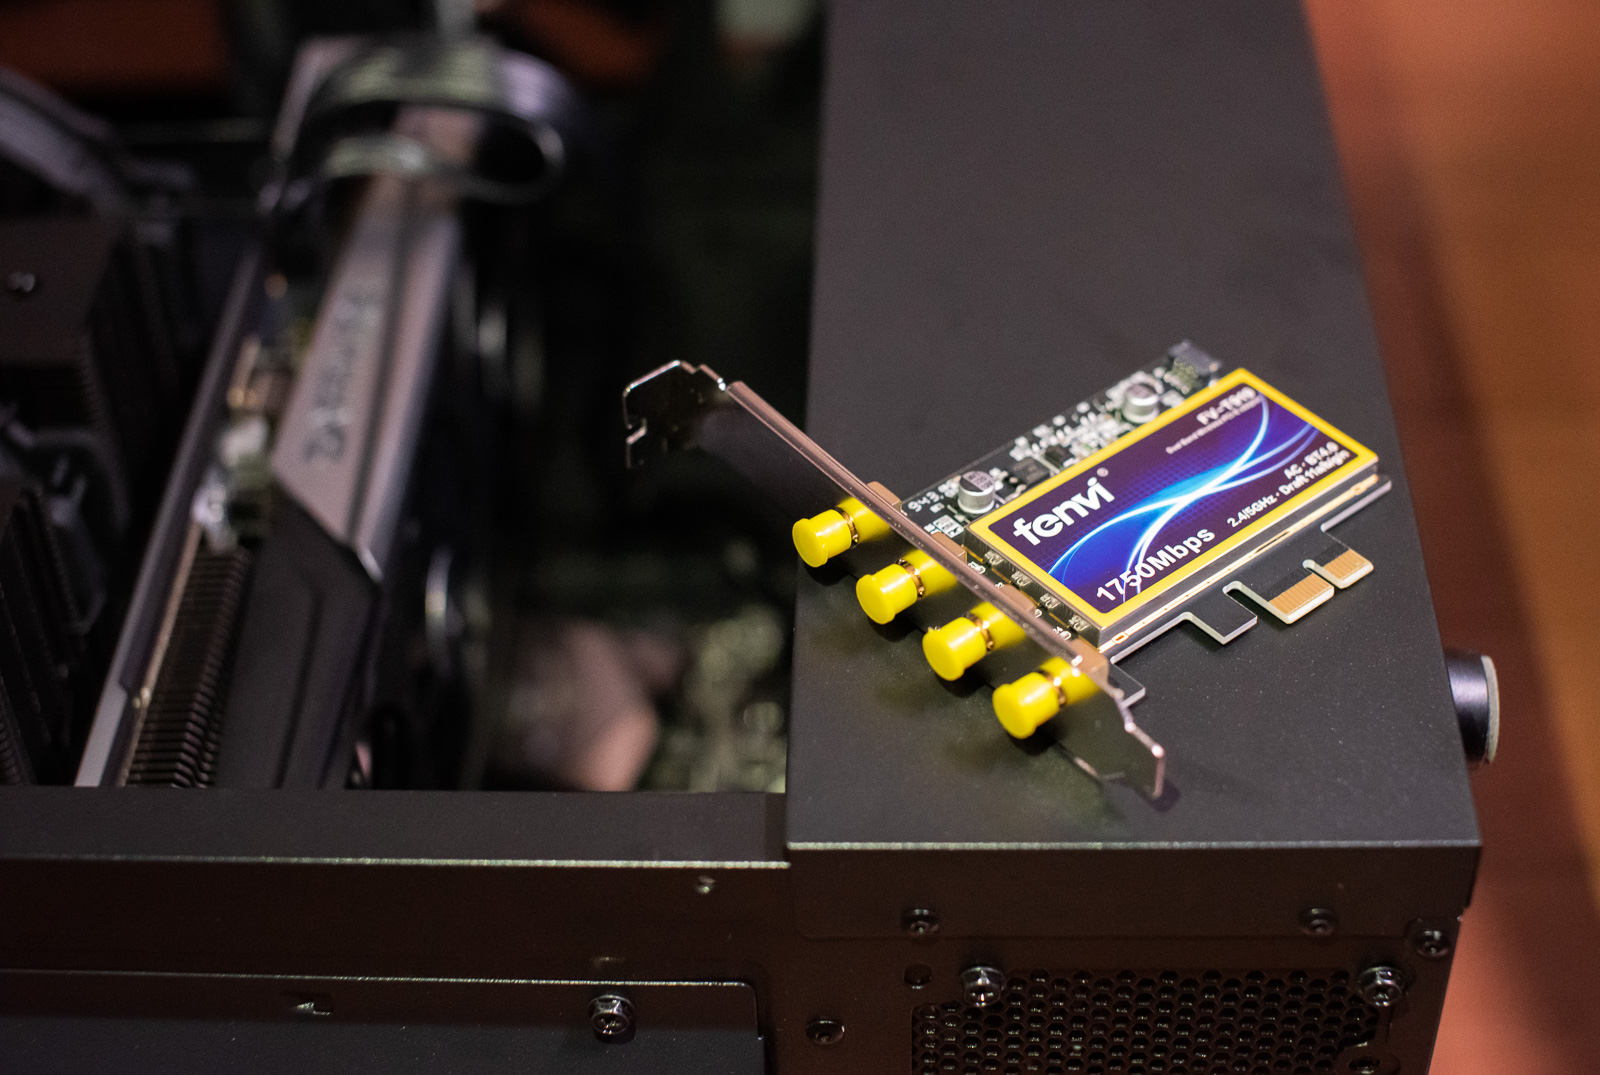
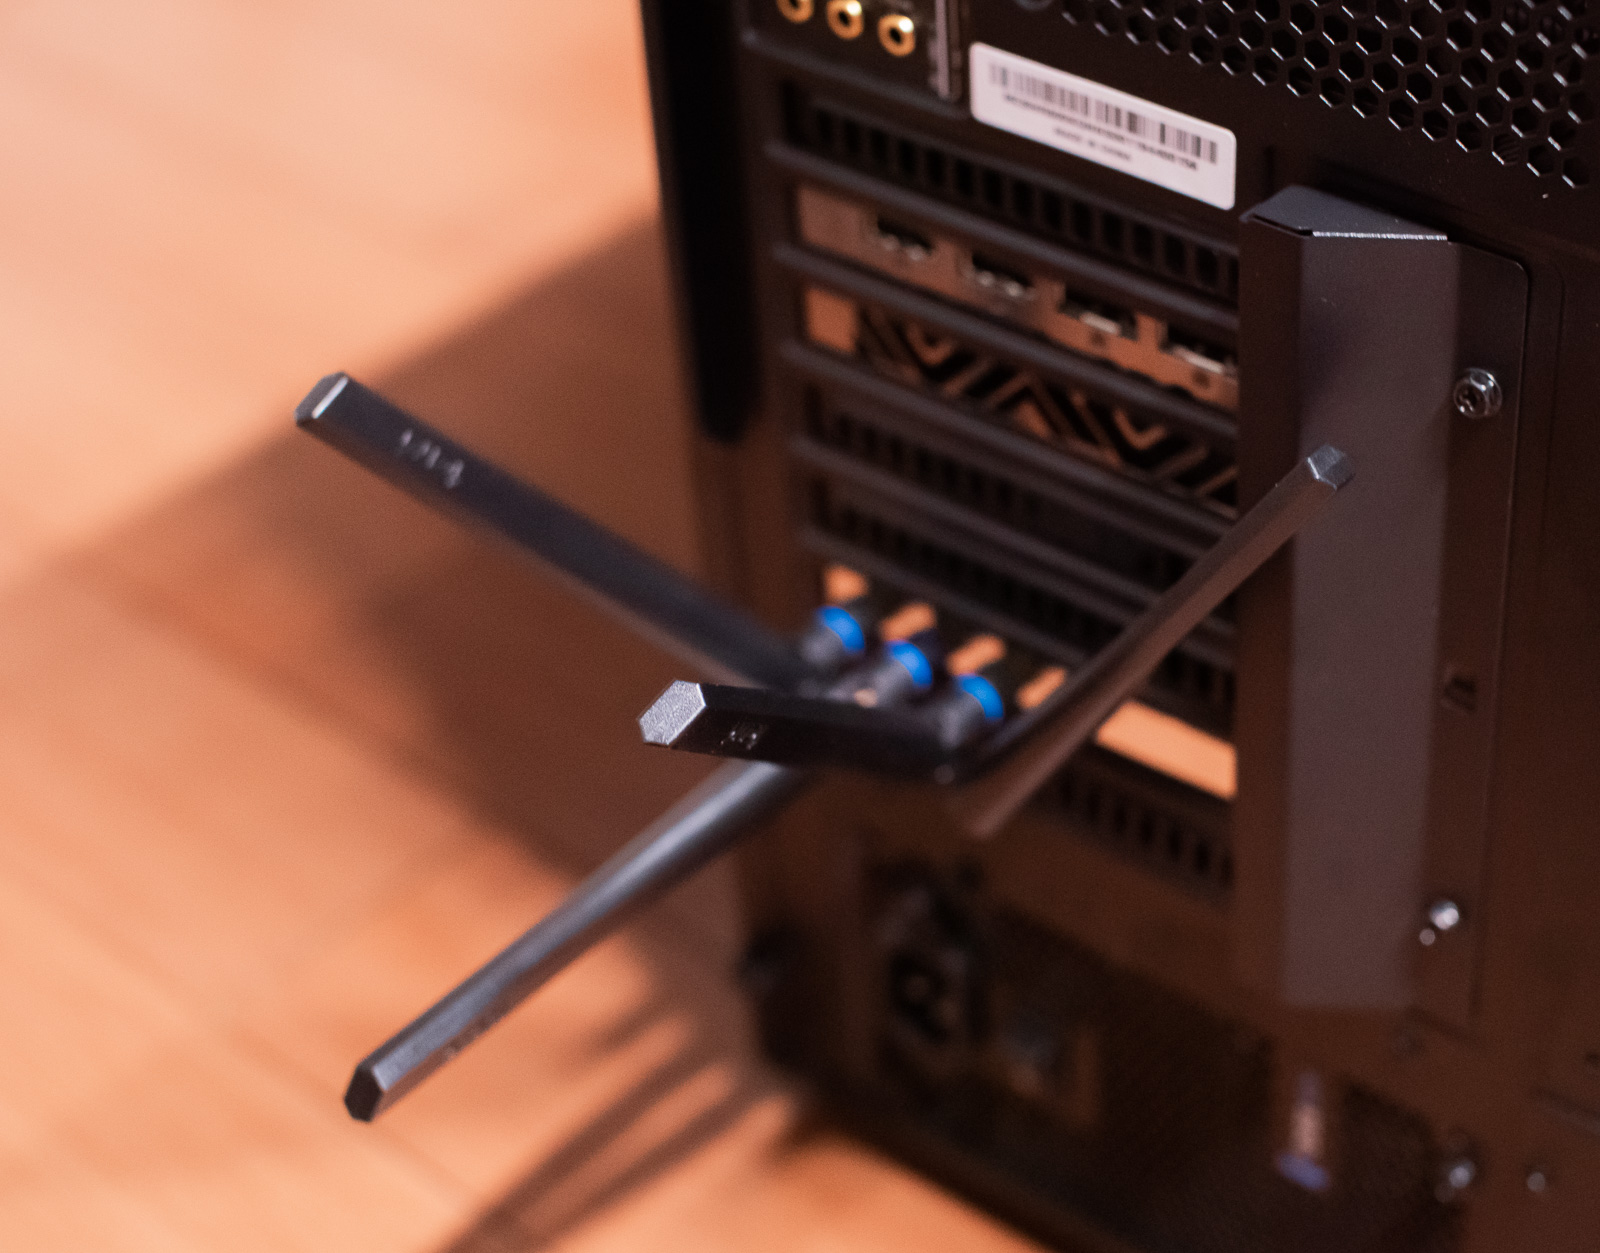
Now for the more interesting work. I mentioned earlier that the plastic under the dust filter covered a large part of the fan. This is how it ended up:
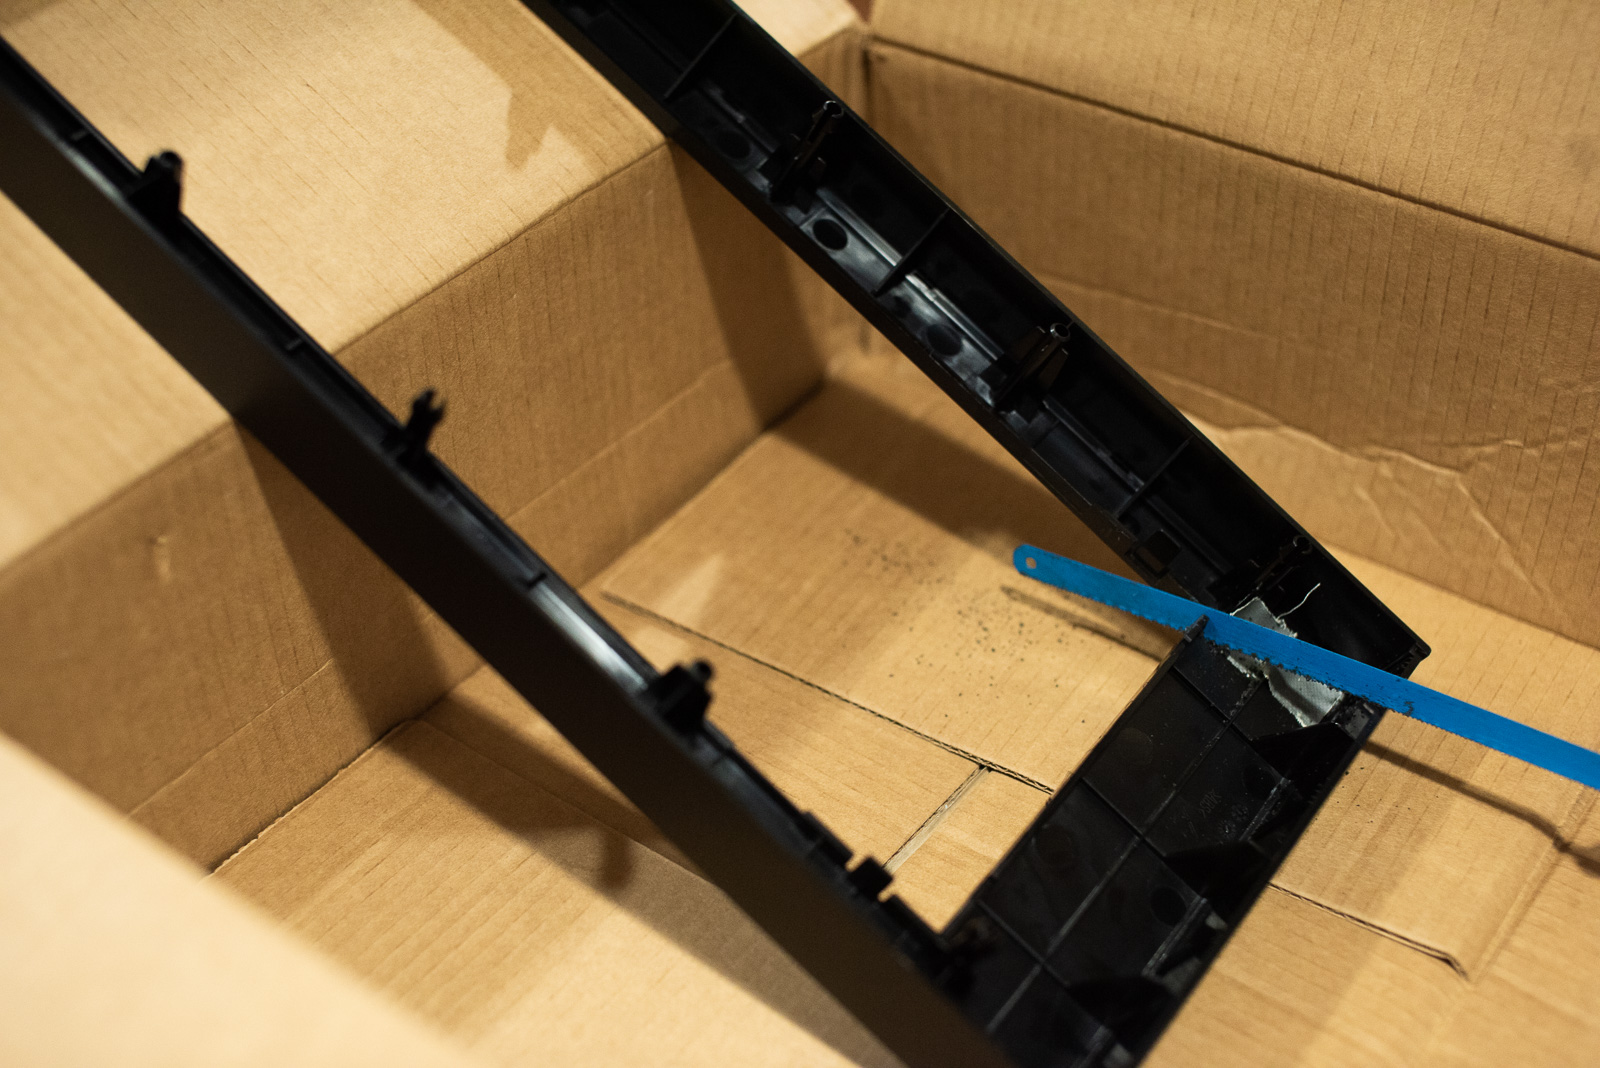
The end was easier to deal with using a knife:
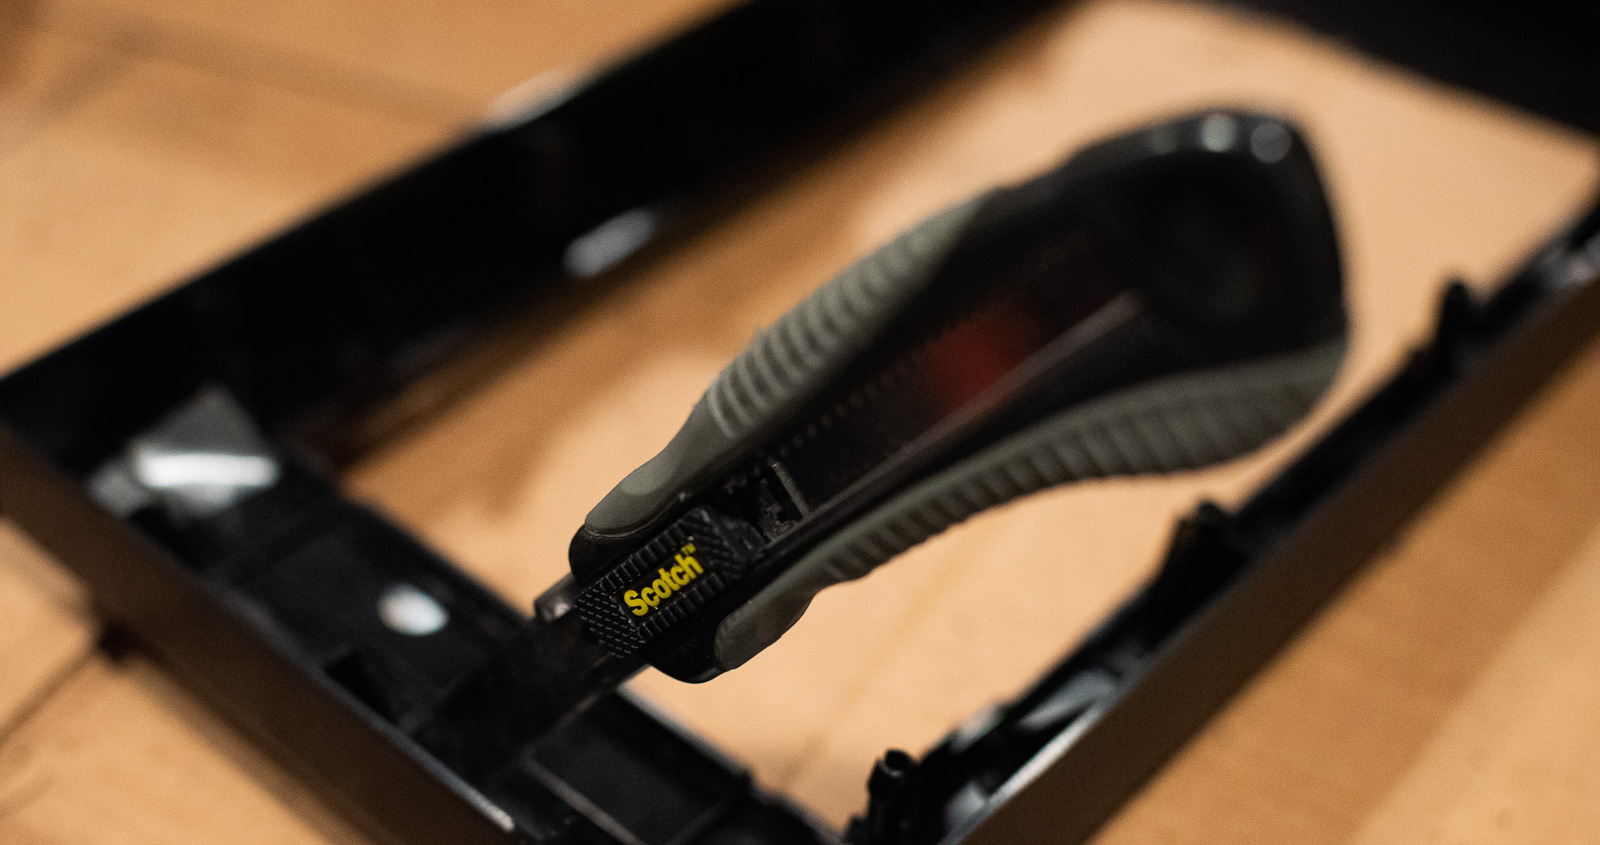
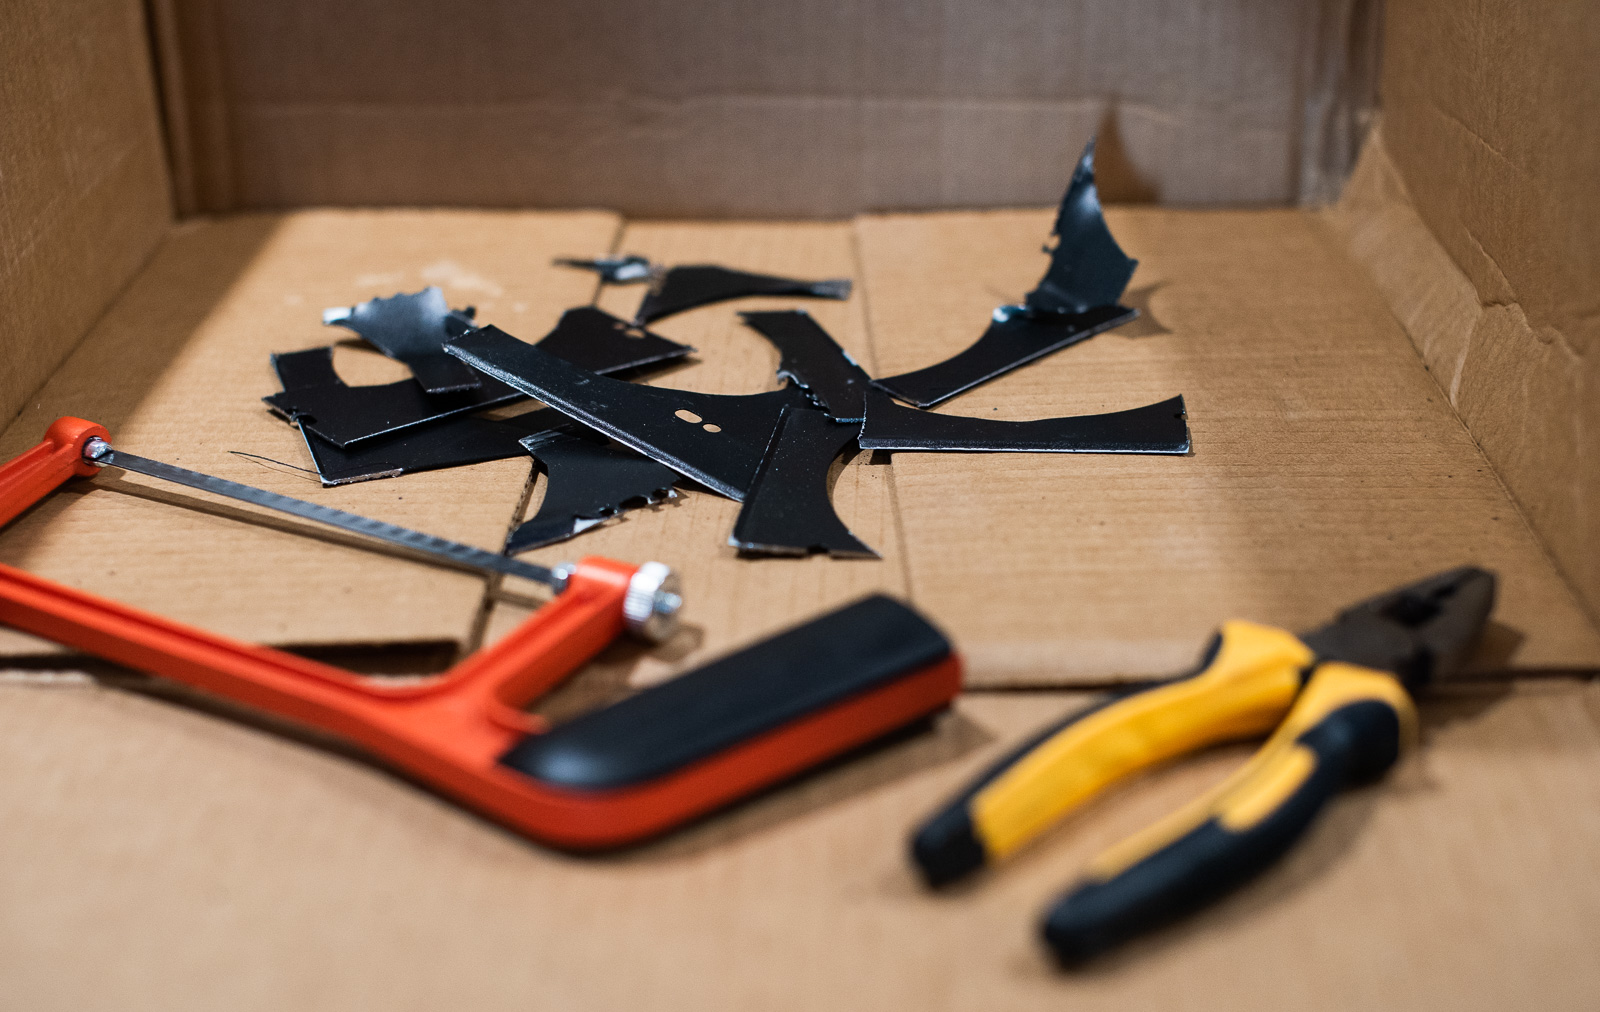
Now it's time to enlarge the ventilation openings for the third front fan, then cut the metal around the other two front fans because some idiot designed openings of about 120 mm despite providing mounts for 140 mm fans.
I didn't want to disassemble the entire computer, but I also didn't want metal dust from the case falling over the motherboard and other components. I solved that by simply wrapping everything in a cloth:
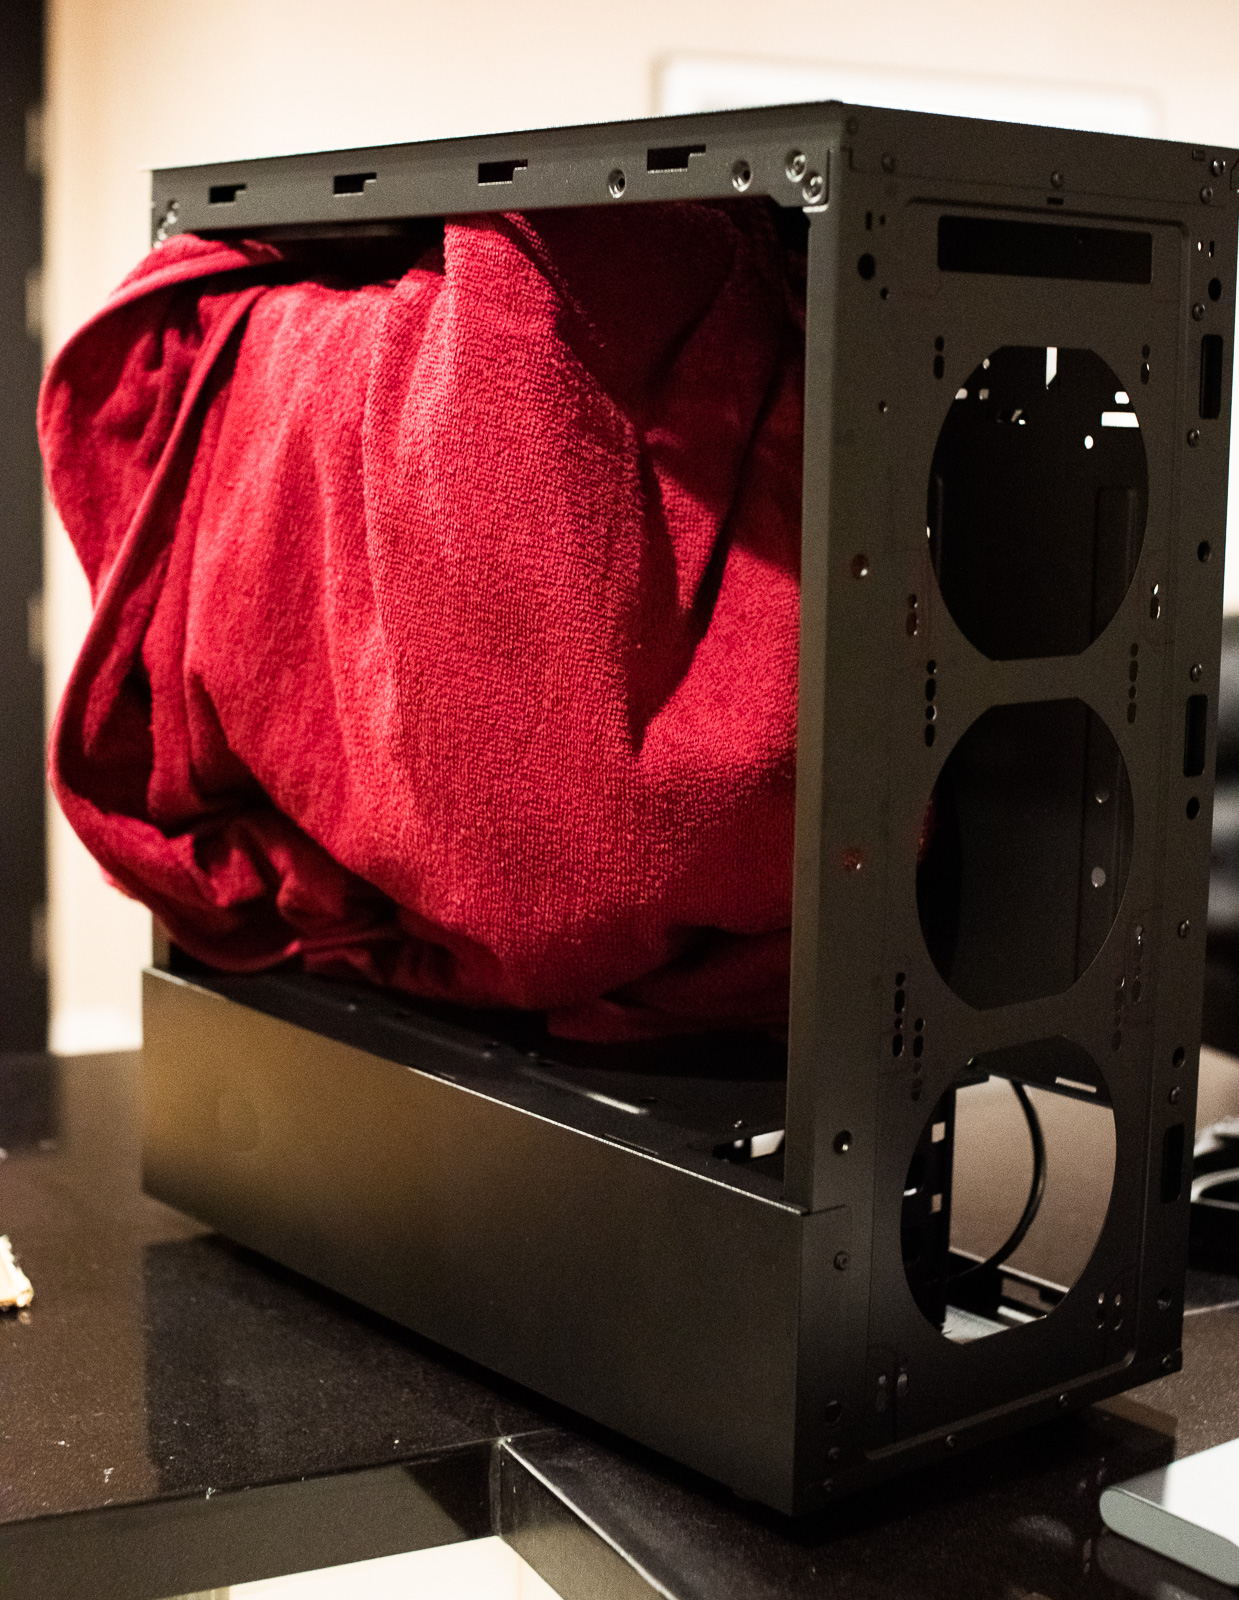
The saw wouldn't fit, and I didn't have a rotary tool or angle grinder on hand, so I had to cut it in stages...
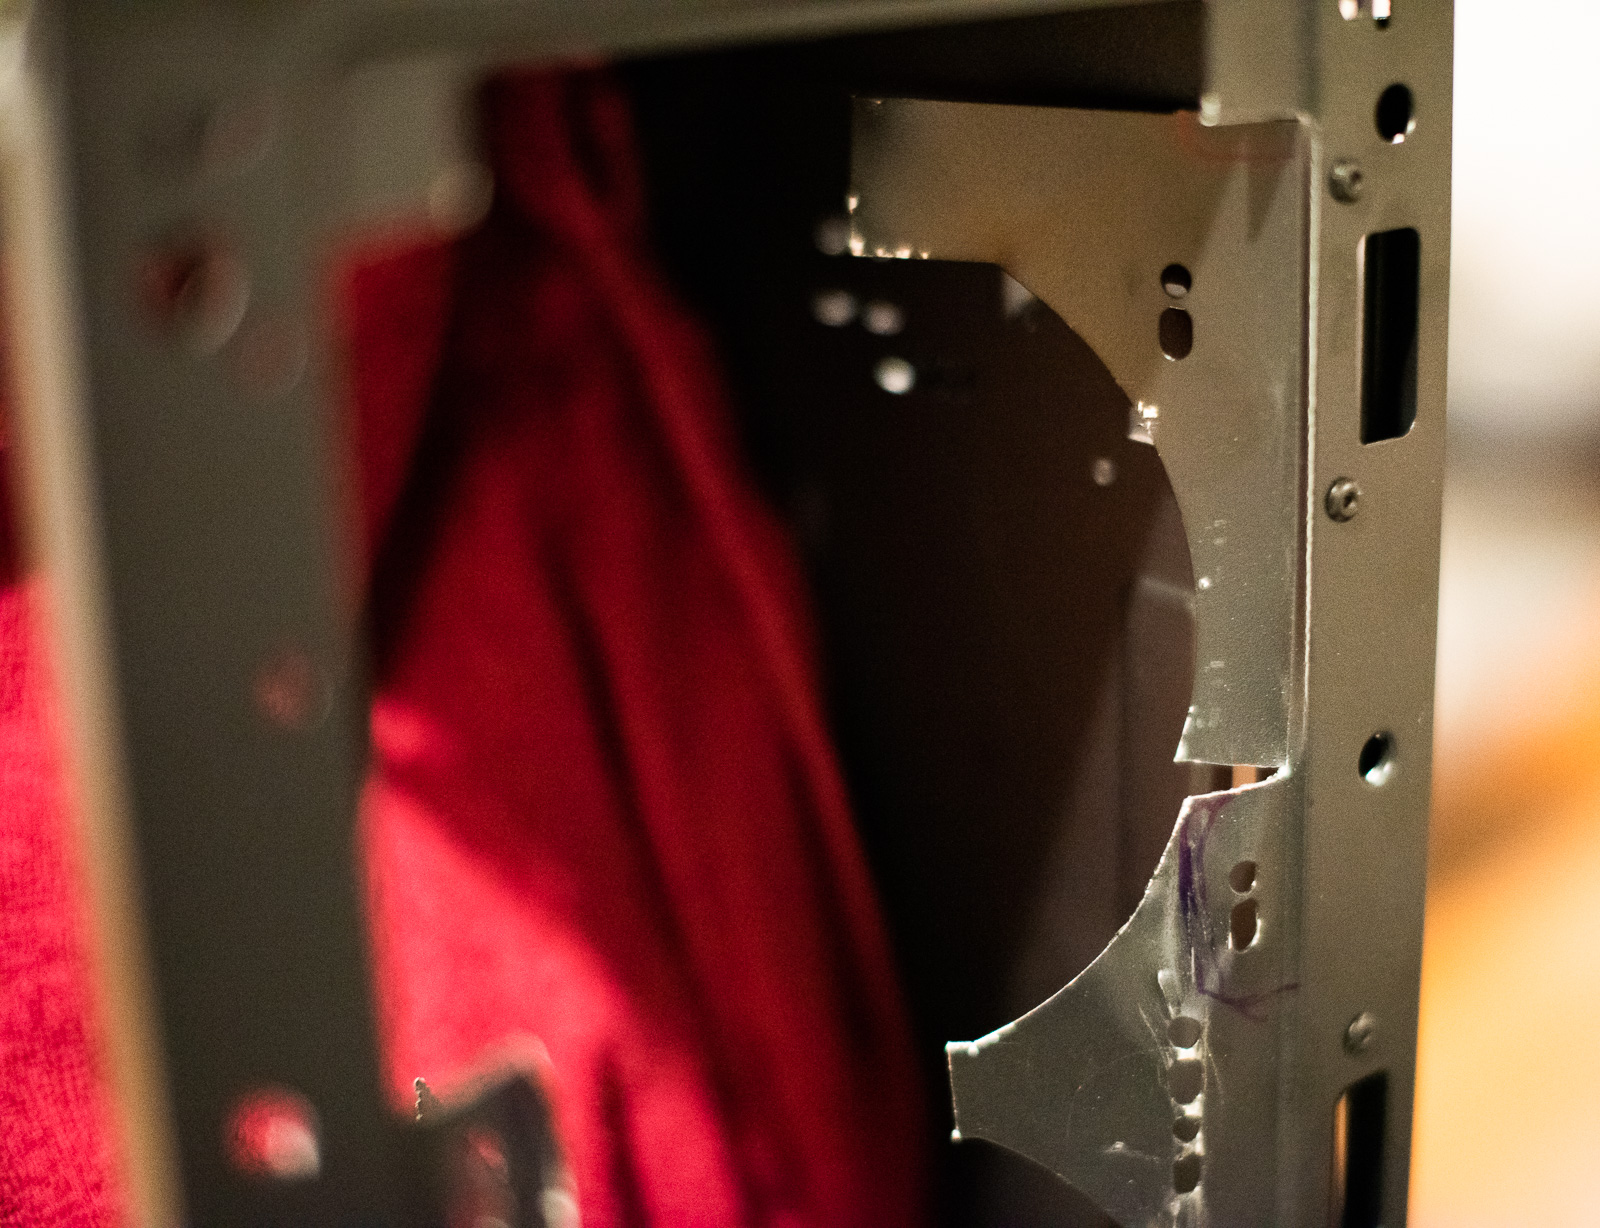
In the end, only the essentials remained:
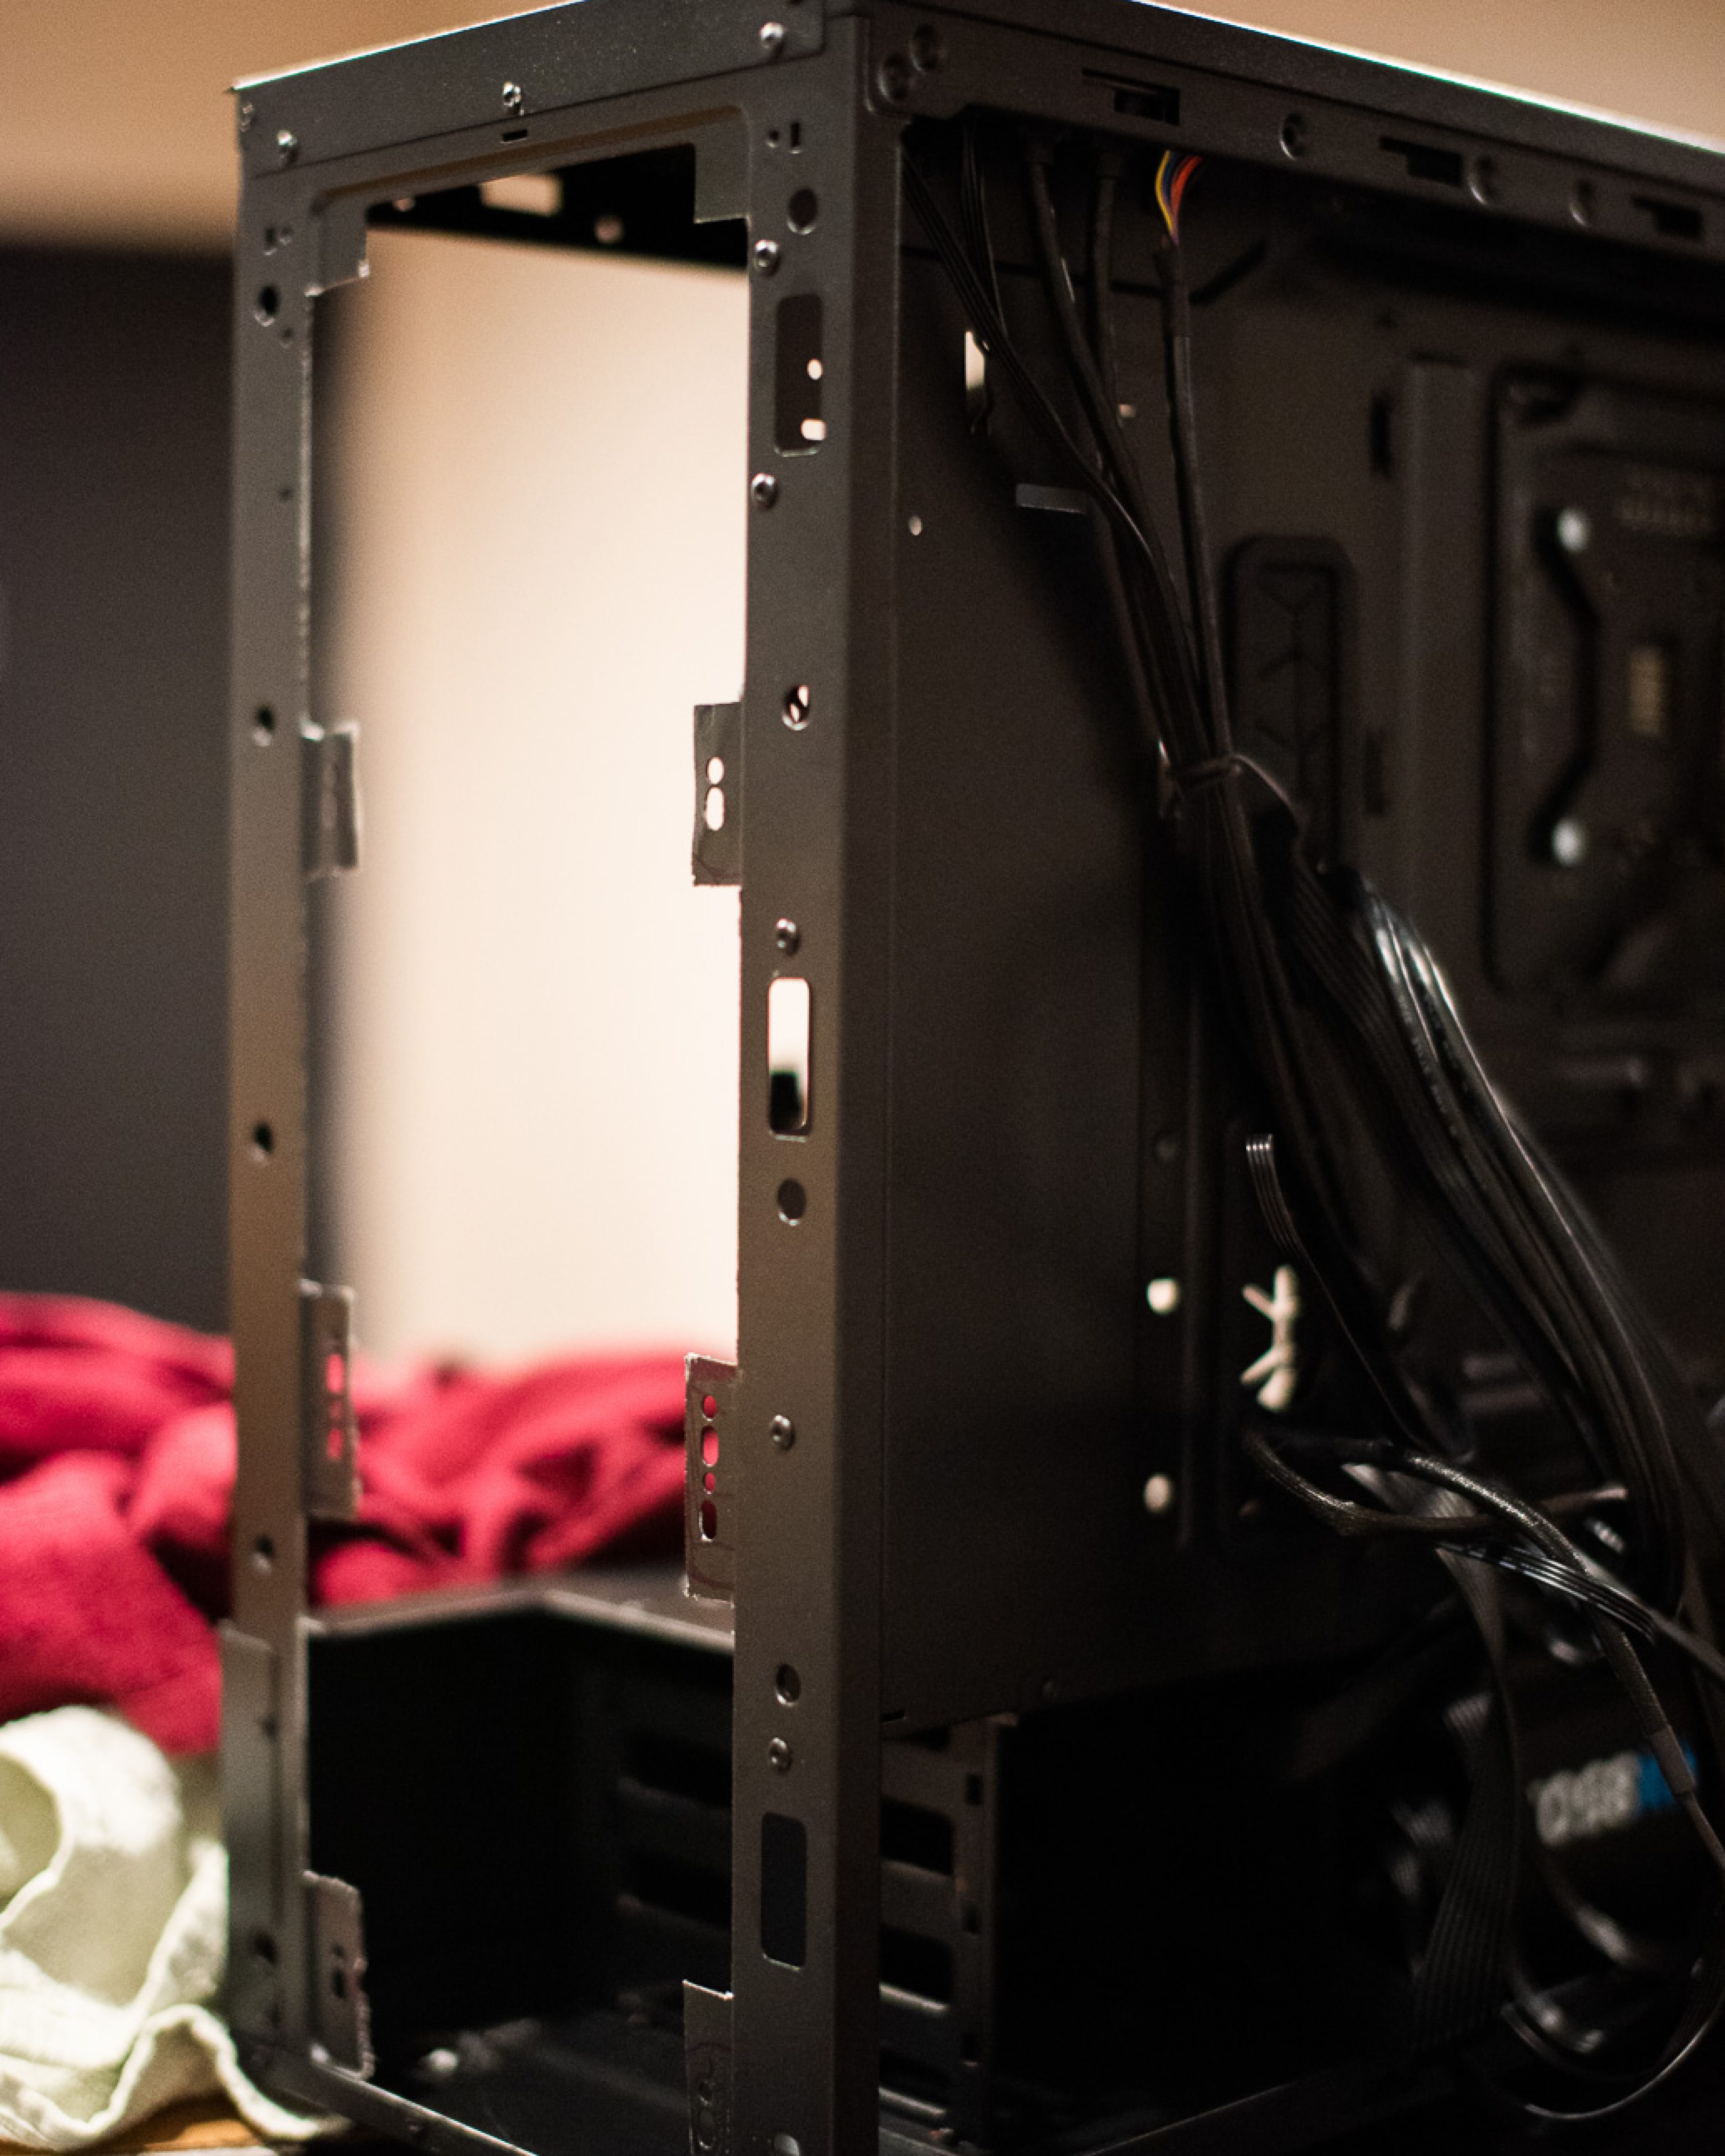
It isn't pretty or perfectly straight, but it'll all be covered, so there was no point wasting time on a perfect cut.
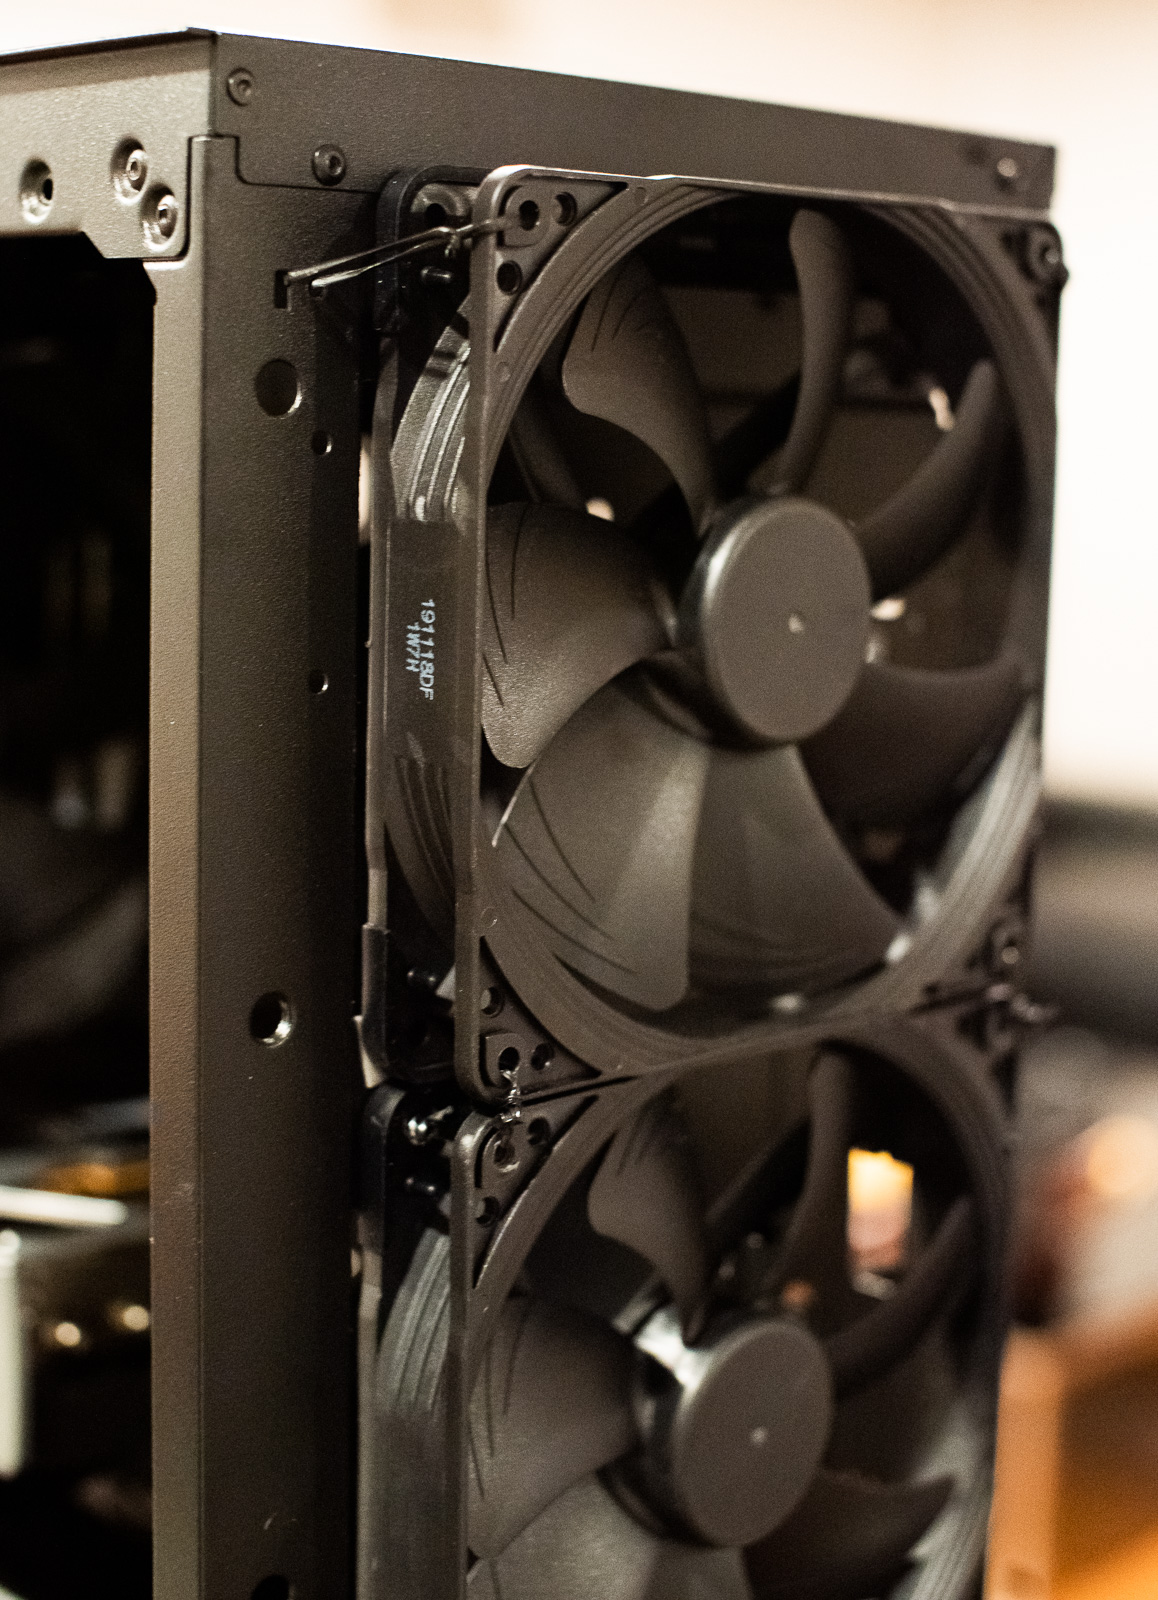
I didn't have a drill either, so I mounted the top fan with heavy-duty tape. Unfortunately, it turned out that the tape doesn't stick very well to the rubber pads on the fan. Without them, the Noctua wouldn't sit flush against the metal because the case's top edge protrudes slightly.
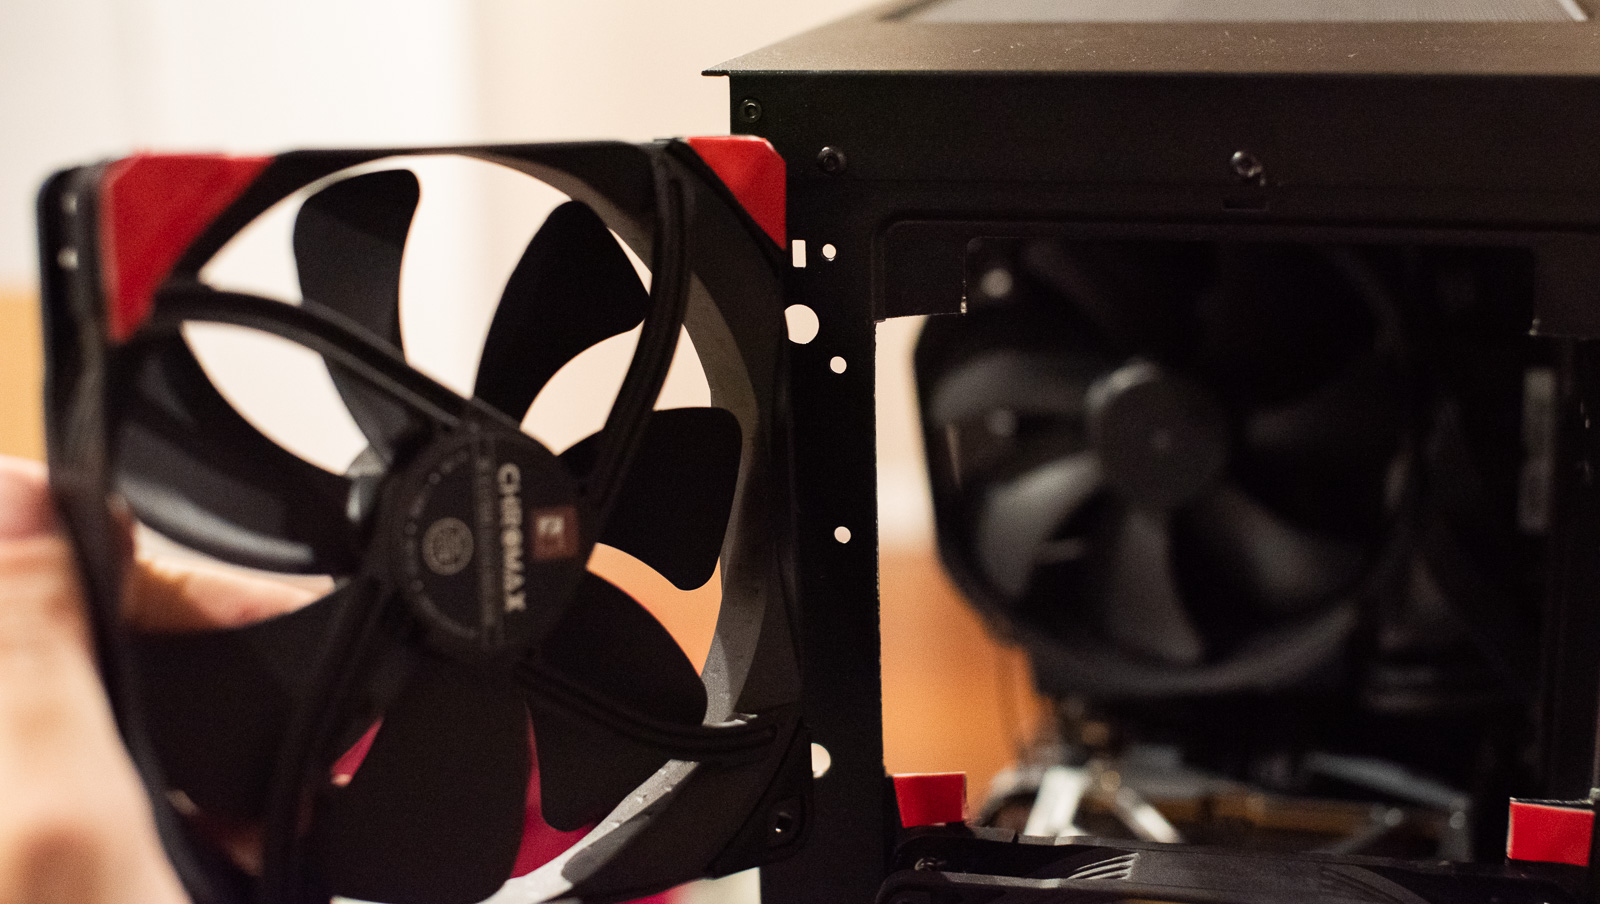
To be safe, I also tied the whole thing to the case and the second fan. Nothing will move it now.
Of course, despite the cloth, the rest of the case was covered in steel dust that the fans would have deposited on the motherboard in moments. So out came the magnetic tape.
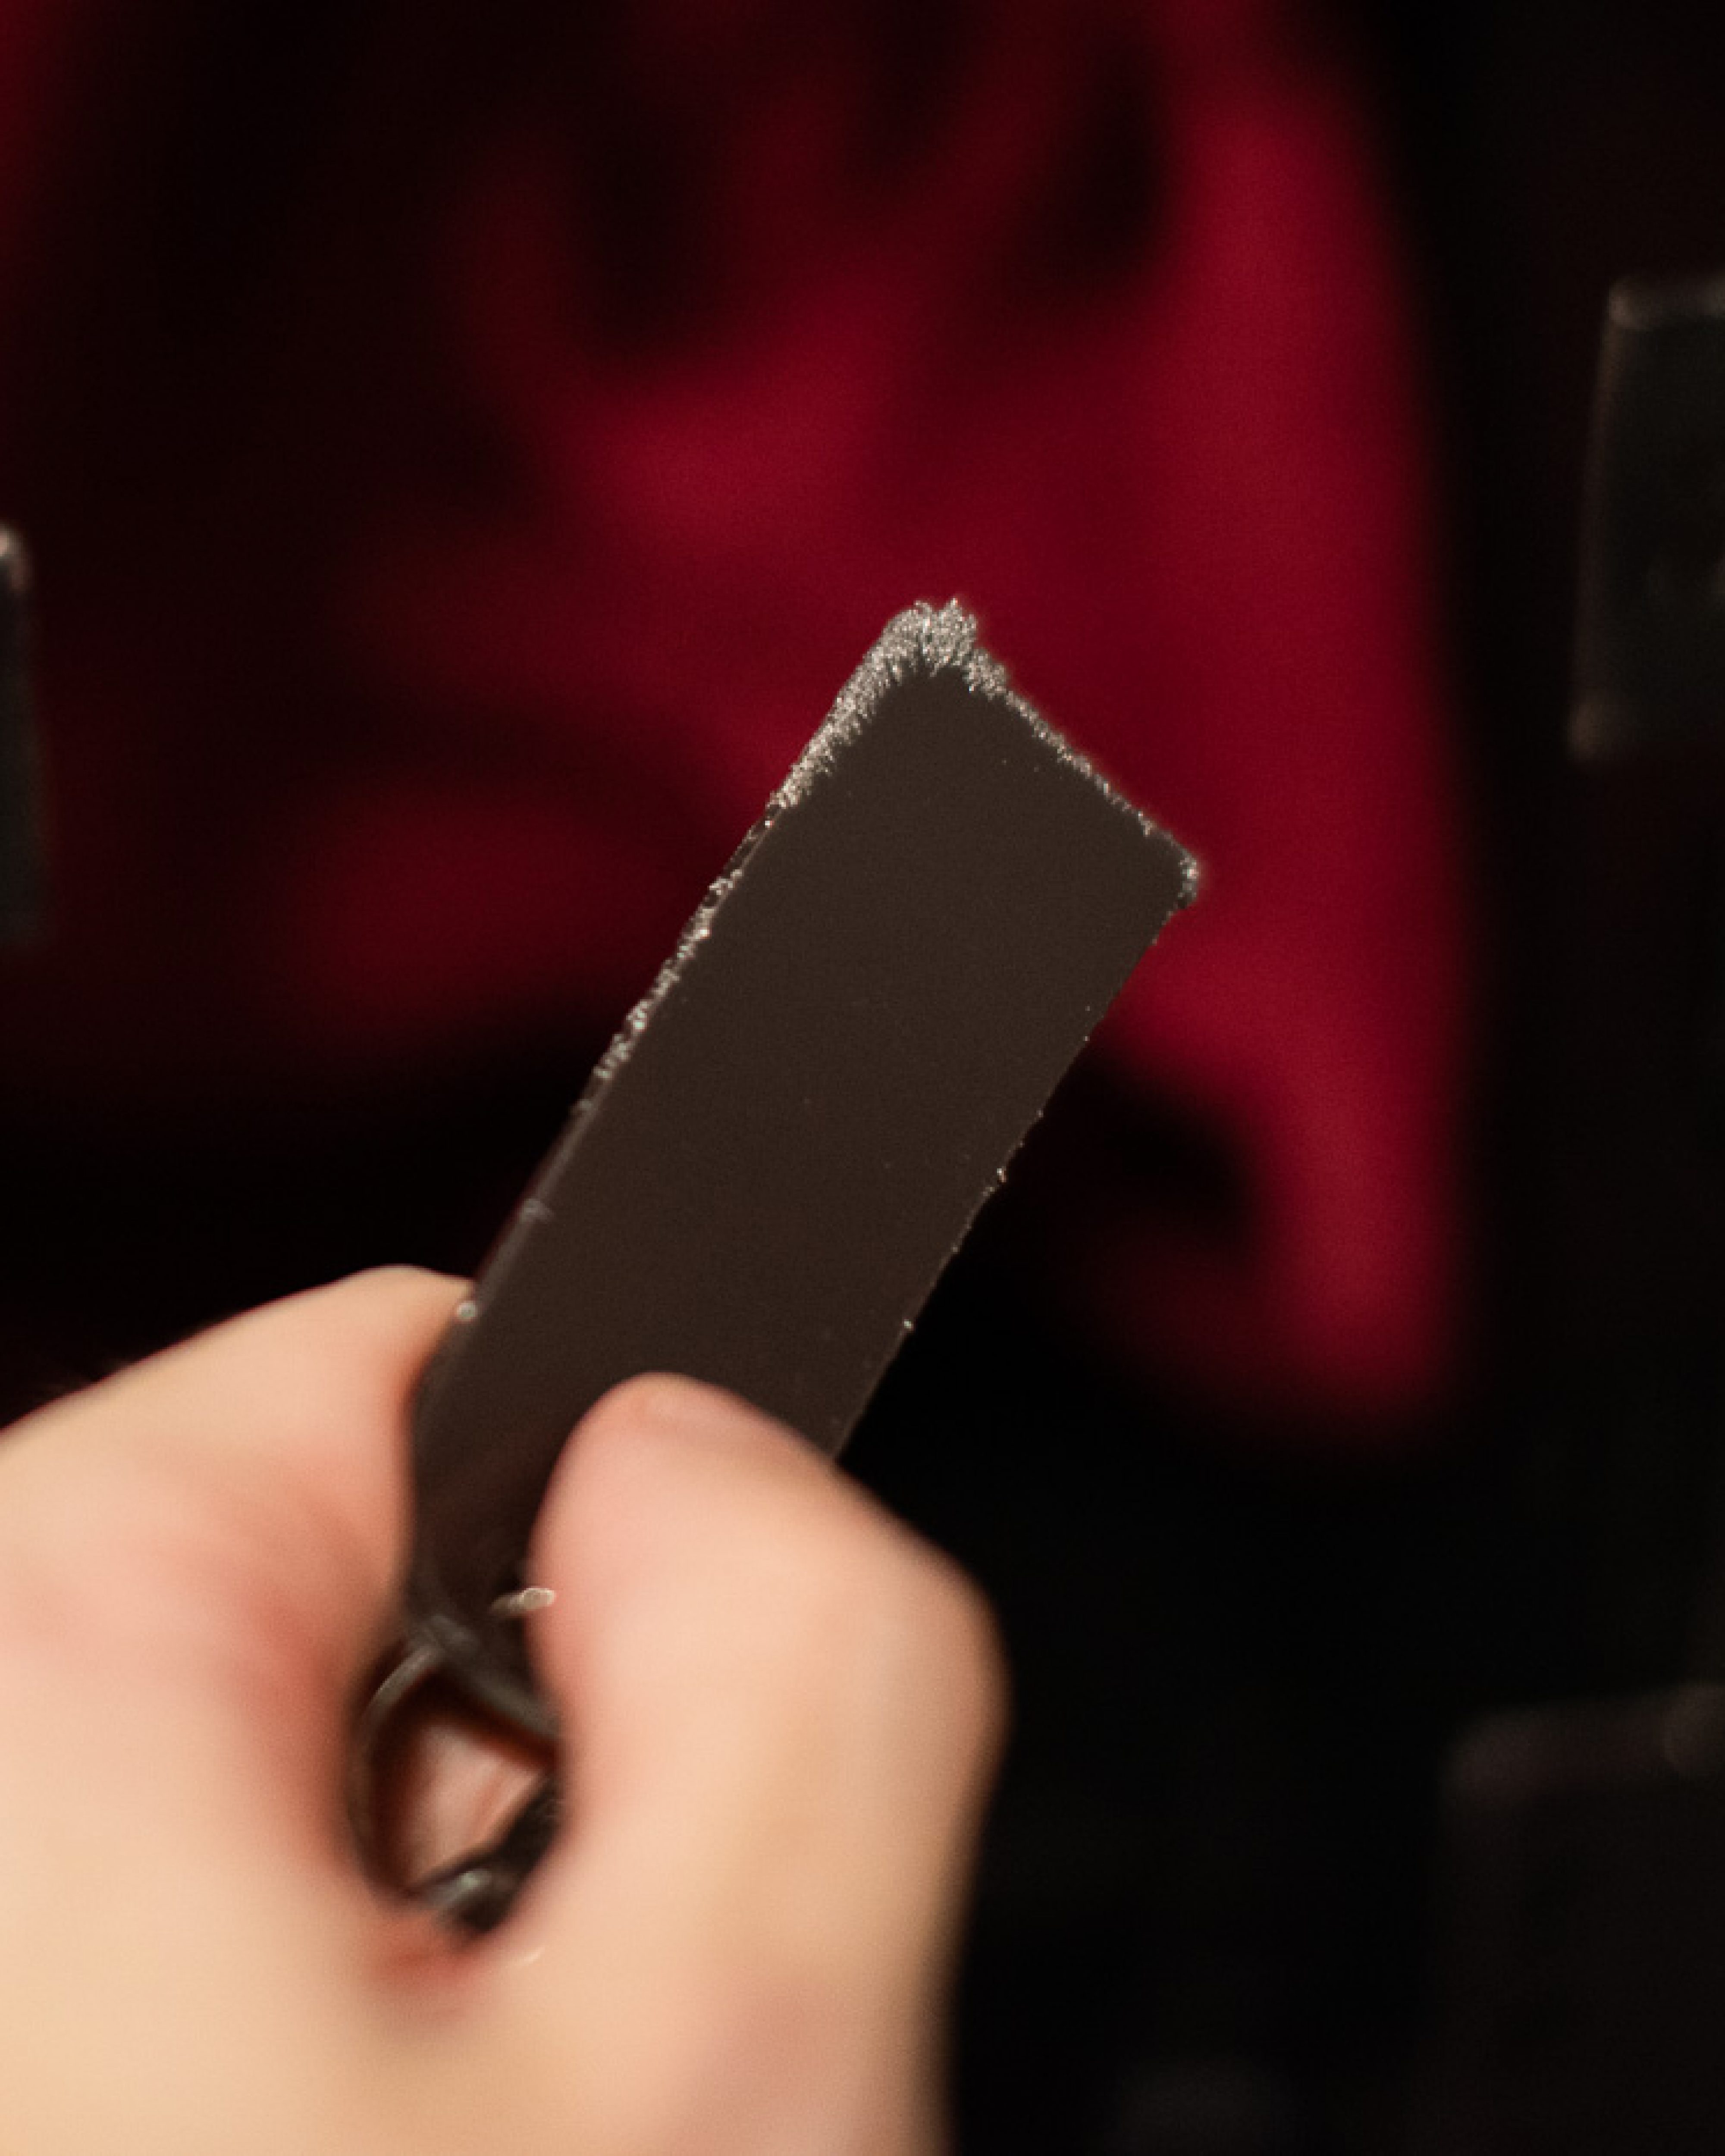
After a dozen or so rounds of "scanning" the case and pulling metal particles off it, everything was finally okay. Then I assembled it all. At last, the full surface of every fan draws in air.
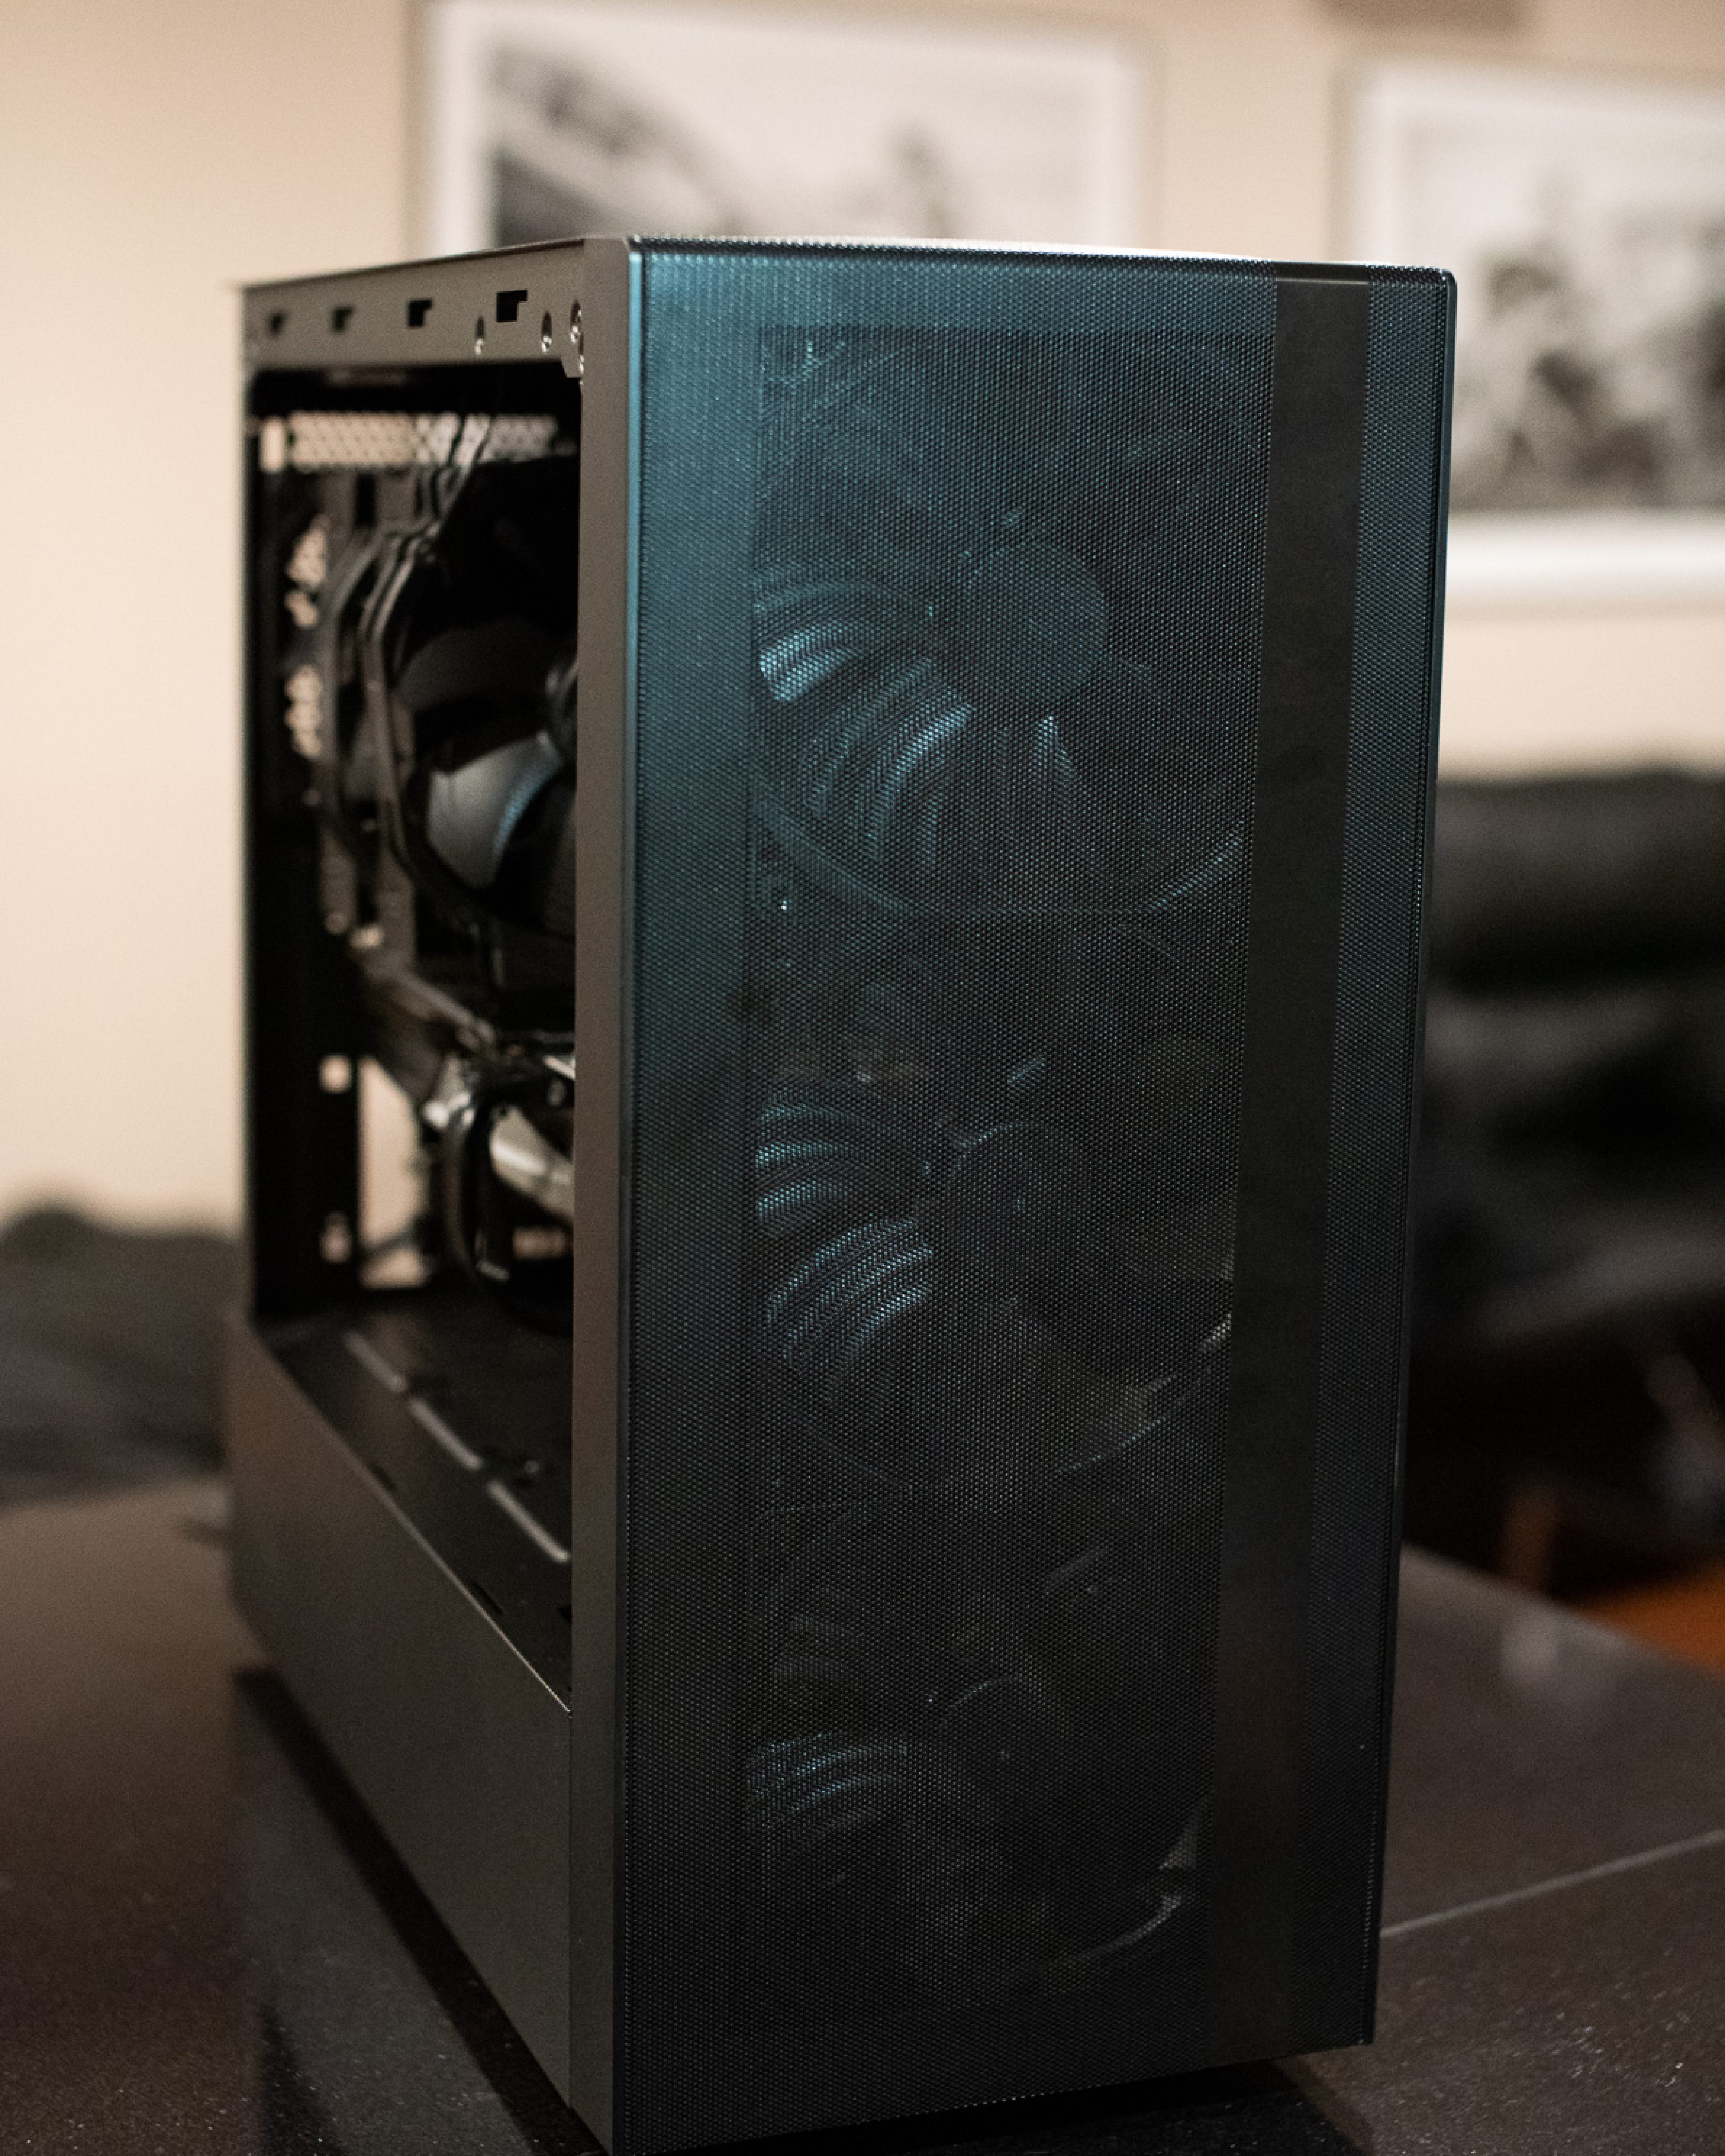
I should still wipe down the case, but this is what the intake looks like now. I don't yet have the final fan at the top of the case. There's one, but two would be useful with such a strong intake at the front. To stop air from being forced out through every gap, I temporarily removed the cover plate from the back of the case. You can see that in the photo above because the wall shows through there. The last fan may not arrive for another two weeks, so I'm taking a break from playing with the case for now.
I also think I posted the wrong Geekbench results last time. Every time I repeat the test, the score is higher than what I showed, even though I'm still at 5.1 GHz on every core with a Ring Ratio of 4.3. In any case, this is the correct result:
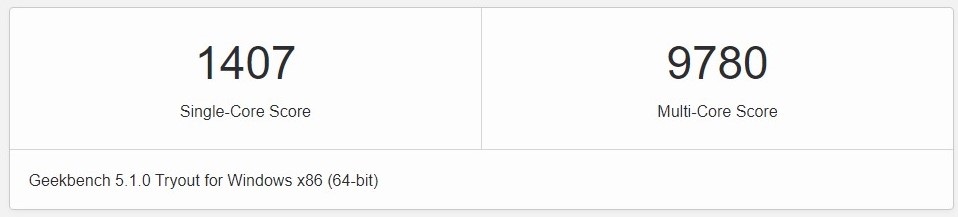
It definitely wasn't caused by earlier thermal throttling because I haven't managed to observe it even once. I'm wondering how hot the CPU has to get before it slows down. Unless there's something I need to change in the BIOS?
P.S. I forgot to show how much unnecessary metal was blocking the fans:
February 18 - Custom case fan speed settings and GPU overclocking
I haven't written anything lately because instead of tinkering with the computer, I've simply been using it. I only installed the final fan at the top of the case and occasionally checked how far I could push the graphics card. Last night, though, I decided to make an improvement I'd had in mind from the start.
Custom fan speed settings
The standard speed settings for the case fans make no sense with quiet Noctuas. They don't need to be turned down to very low speeds or ramped up to huge speeds under a moderate load. There are enough of them that airflow through the case is already enormous. They should only run fast at high temperatures. At low temperatures, however, the motherboard BIOS controls them within a range that doesn't make any sound anyway. The cooling could easily run faster then, delaying the point when the temperature gets too high. On the other hand, they become audible while the CPU temperature could still rise by several dozen degrees without a problem. As a result, even when the computer was completely silent, simply scrolling through a heavy website could make a fan jump to a very high speed, only to go silent again two seconds later. This happened far too often for me, and the 30-degree air in the room probably contributed considerably. These were the standard settings:
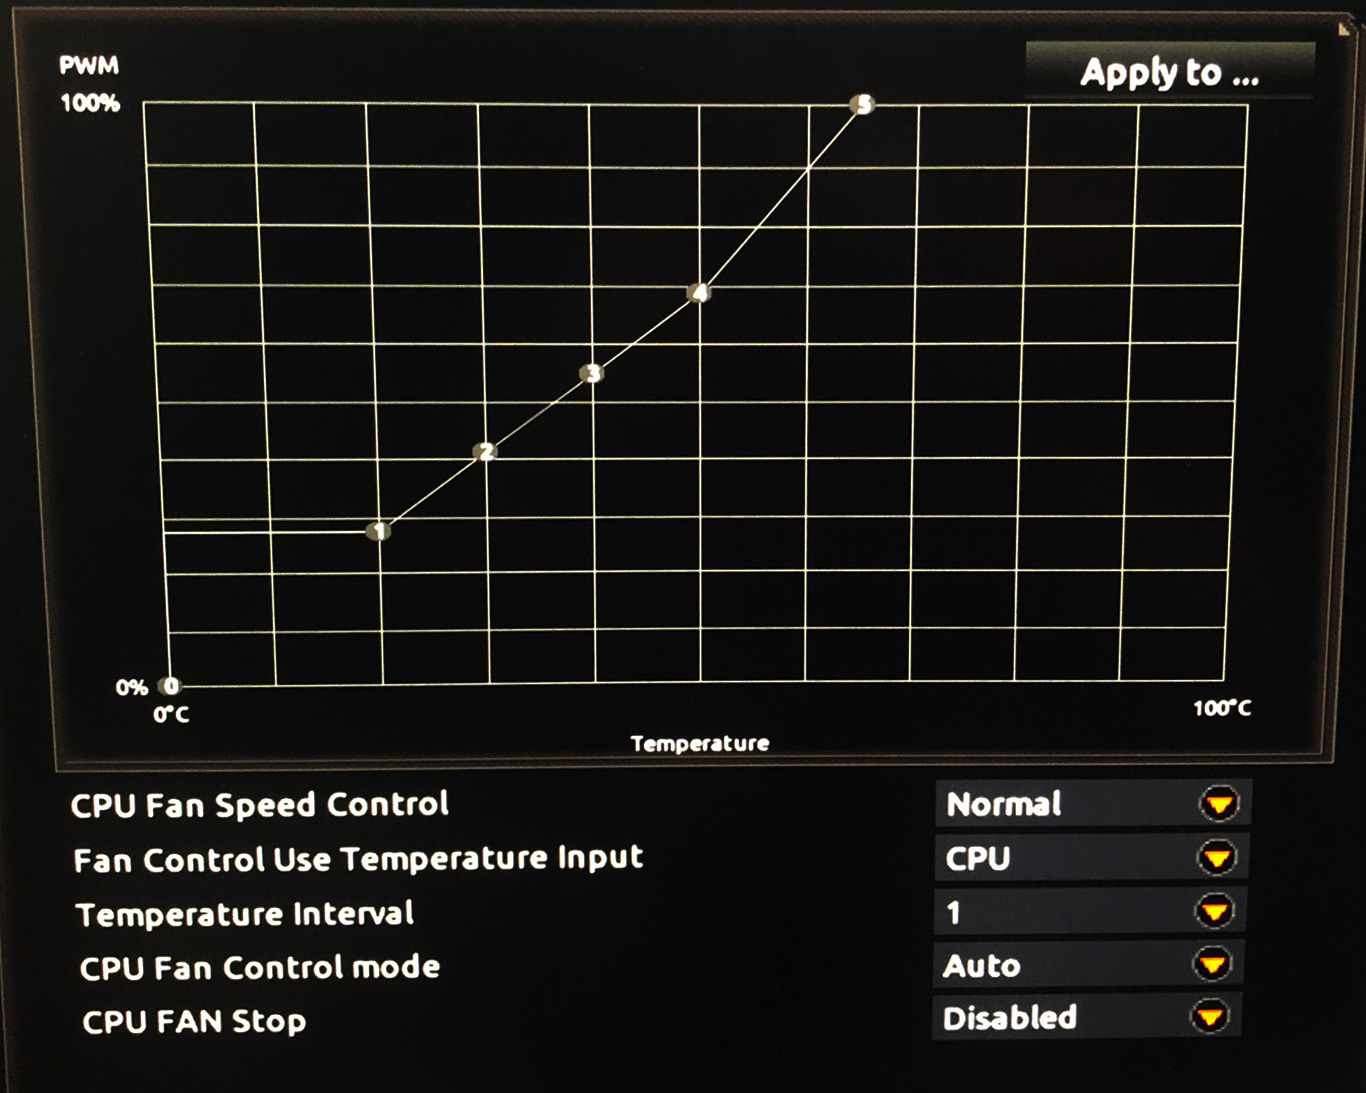
The Silent profile was just as useless, which is why I cared so much about custom settings. In the middle of the night, with complete silence, I checked the speed at which the fans become entirely inaudible. The NAS was running, but it always is, and its fan doesn't make noise. The room measures 32 dB under those conditions. I found that about 700 rpm would be ideal, while 800 rpm can be heard if you listen very carefully. So I decided the fans would never drop below 700 rpm. I still had to decide when they should become audible.
I had previously checked which temperature spikes caused those speed increases and found they happened above 60 degrees but below 70. The fans now go above 700 rpm only at around 70 degrees, then ramp up fairly quickly, reaching full speed at 80°:
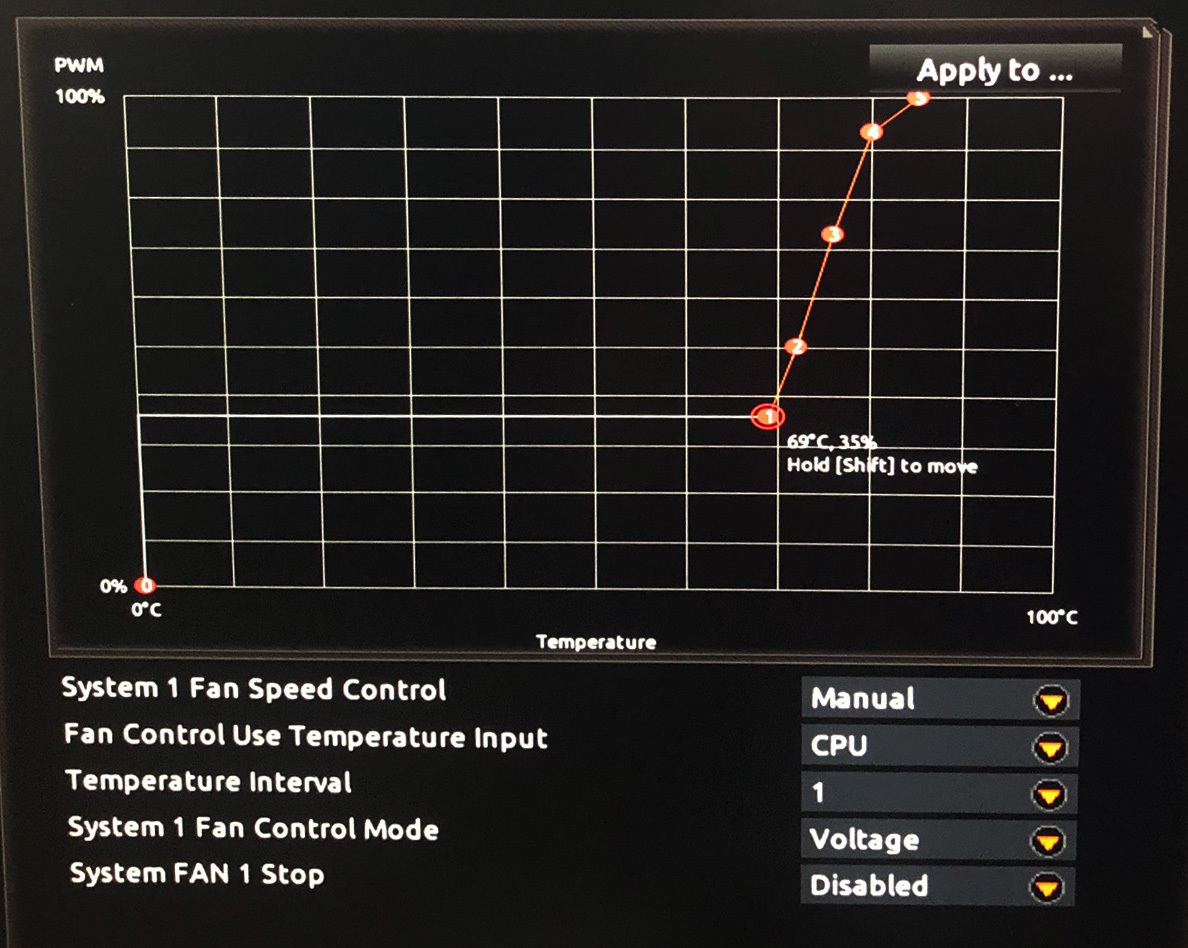
They're all configured the same way, with only slightly different thresholds for the CPU fans. The i9 9900K heats up in one second and cools just as quickly. Under a heavy load, the clock jumps, voltage rises, and even a momentary temperature increase is substantial. At present, every fan except those on the graphics card responds to CPU temperature rather than GPU temperature. The GPU runs passively in the operating system. I'll deal with that later if necessary, but so far it works brilliantly.
The system stopped pointlessly blasting air when there was no reason for it. I still need to test it in games, but in Destiny 2 the airflow was quiet enough that the monitor's speakers were all it took to stop me noticing the fans at all.
Gigabyte vs. Noctua
While experimenting with the fan settings, I discovered that the Gigabyte motherboard doesn't work correctly with the fan model I'm using in the case. After setting my own curves, the fans switched off even though they shouldn't have. They only started spinning under a very heavy load, then stopped again apart from an occasional turn. Not all of them did this. It depended on which motherboard headers they were connected to. The solution was to change fan control from PWM to voltage control. It only worked after shutting the computer down completely. Resetting it wasn't enough. It turns out this is a known problem found only on Gigabyte motherboards ¯\_(ツ)_/¯.
Gigabyte also has software for controlling the fans from Windows, but its settings were even more screwed up. I've already uninstalled it.
Overclocking the Sapphire Radeon RX 5700 XT Nitro+
I've also been regularly experimenting with overclocking the Radeon, but its software drives me insane. It resets the settings, so I have to change everything again and again. This probably isn't caused by instability because 3DMark and FurMark run beautifully. I use the latter while torturing the CPU with Prime95 at the same time, and then, once the system is under no load, the Radeon resets everything. It's a shame because manual overclocking gets better results than the automatic option, which at least doesn't deactivate itself. This is my best result, although it was achieved with the CPU set to only 5 GHz because, for now, I want complete stability without an offset, even in AVX workloads. That means the score could probably be pushed much higher:
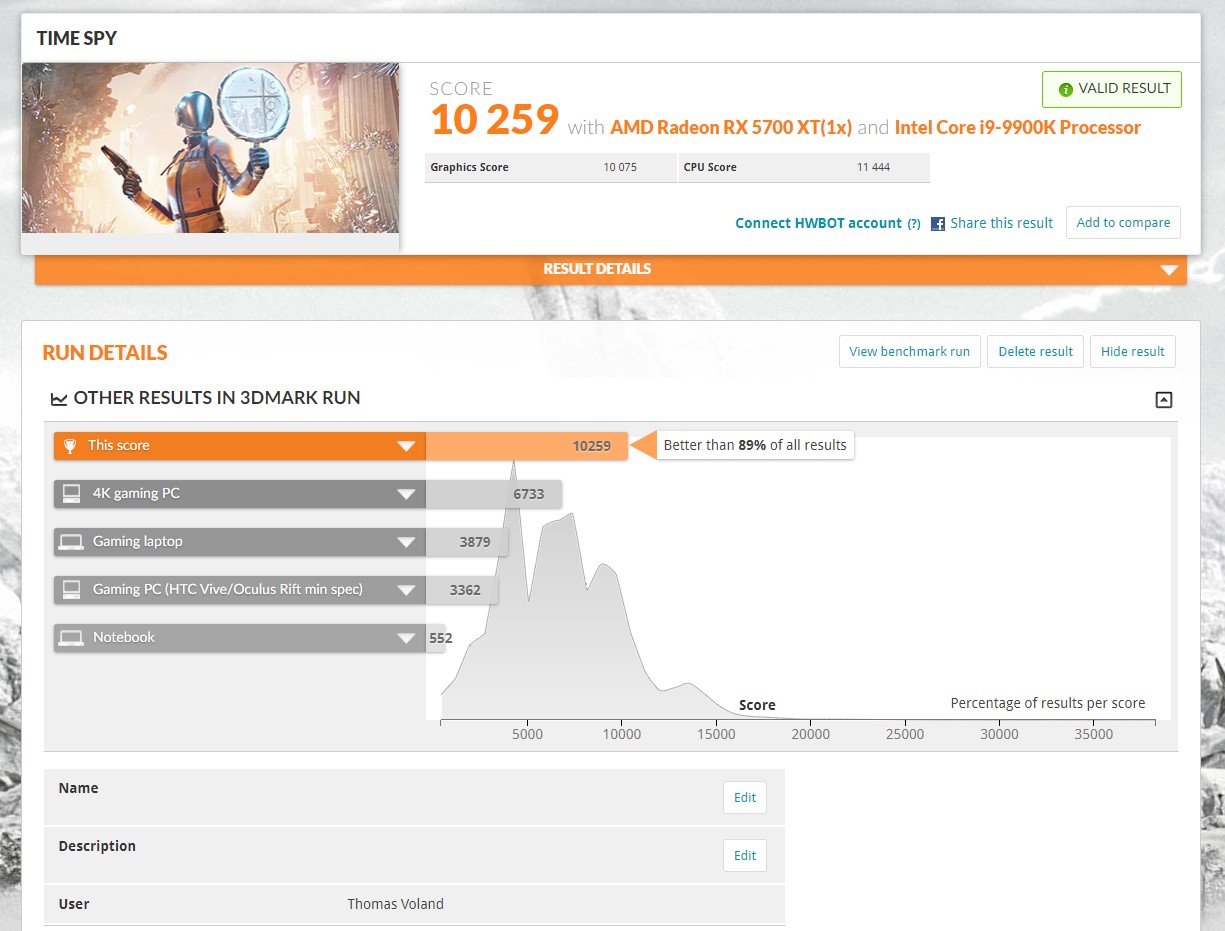
In any case, I now know roughly what clocks I can expect. The core seems to have more potential than the highest setting available in the drivers. Its stock clock is 1840 MHz, with boost up to 2035 MHz. It runs at 2150 MHz without a problem, according to the driver, which means less in reality because those readings are pulled out of its ass. AMD's software won't let me set it any higher because the scale ends at 2150. I still need to find out how to get around that.
The memory runs at 1800 MHz as standard and definitely works well up to only a little over 1830 MHz. The first artifacts appear with another 20 MHz. They're very occasional, but they're there. At 40 MHz more, they appear regularly. So 1840 MHz works great, but unfortunately the drivers only let me change the core voltage, not the memory voltage. For now, I have no way to get a better result. I care a lot about the memory because it probably has a major effect on performance.
In short, it's stable at least with these settings:
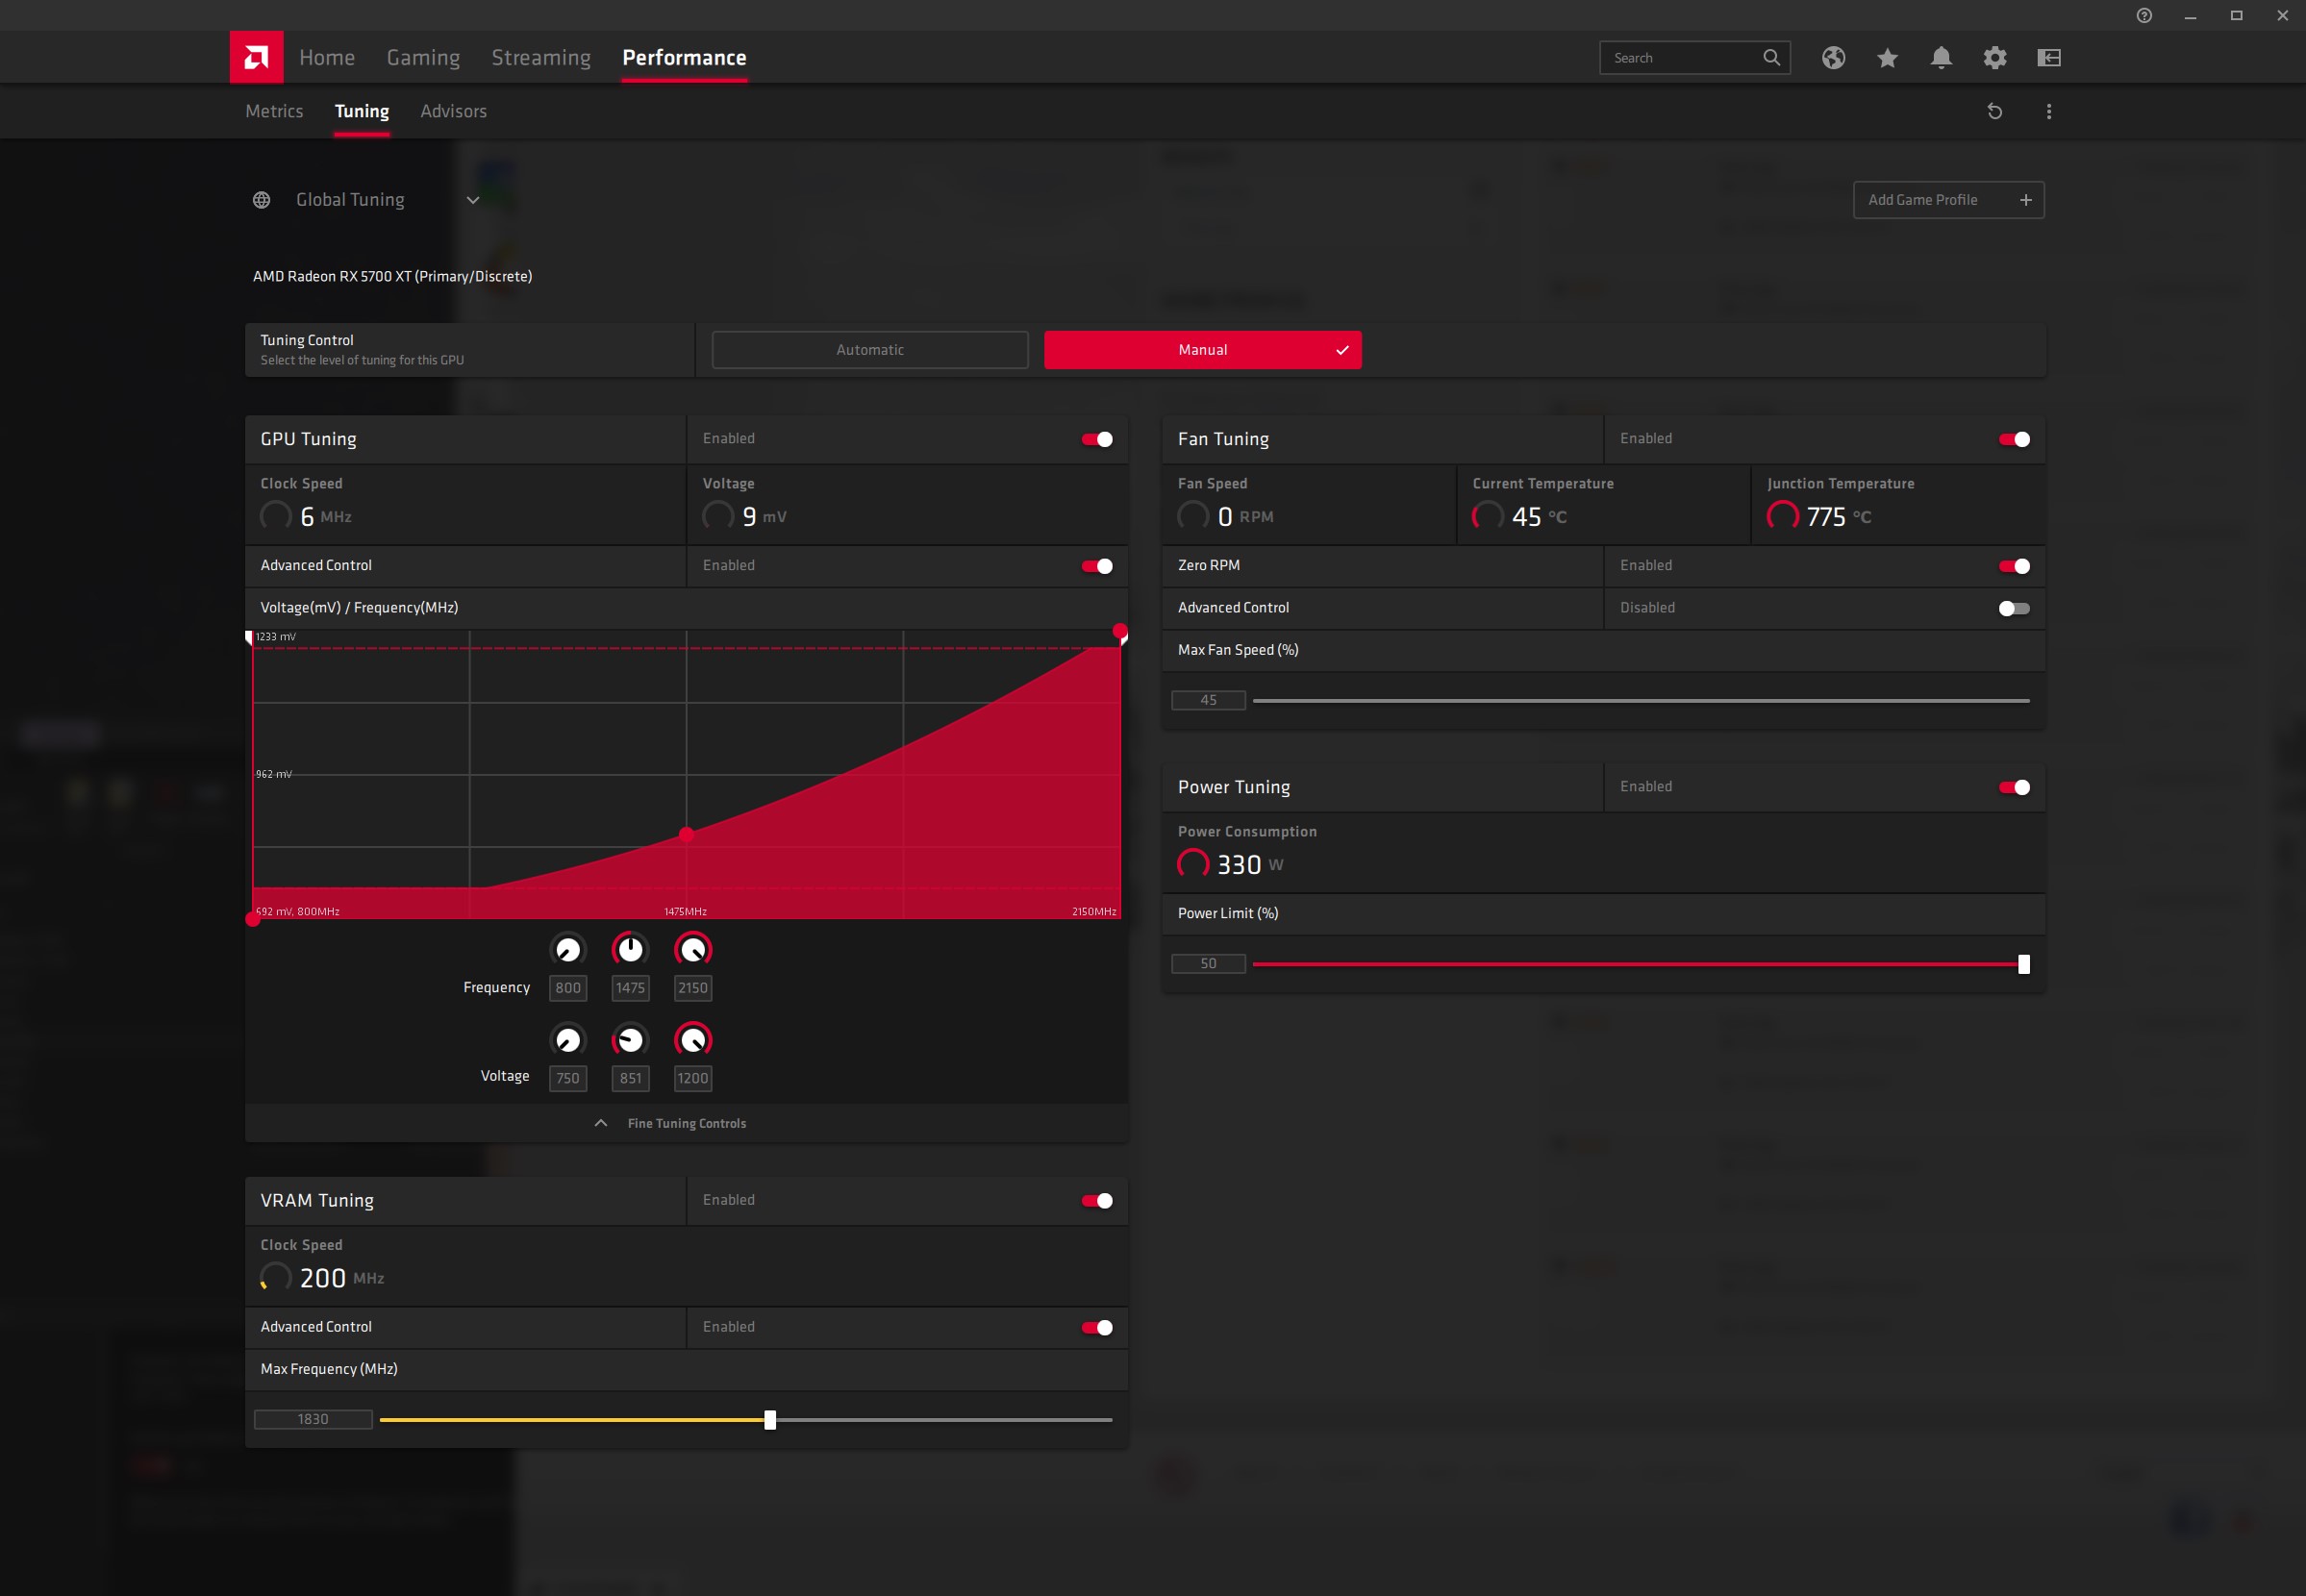
I admit that 775 degrees Celsius had me wondering... Eventually, I'd like to modify the graphics card BIOS so I can define all the parameters directly in it, but I don't yet know whether that's possible.
March 2 - Installing macOS and first impressions of using a real Hackintosh
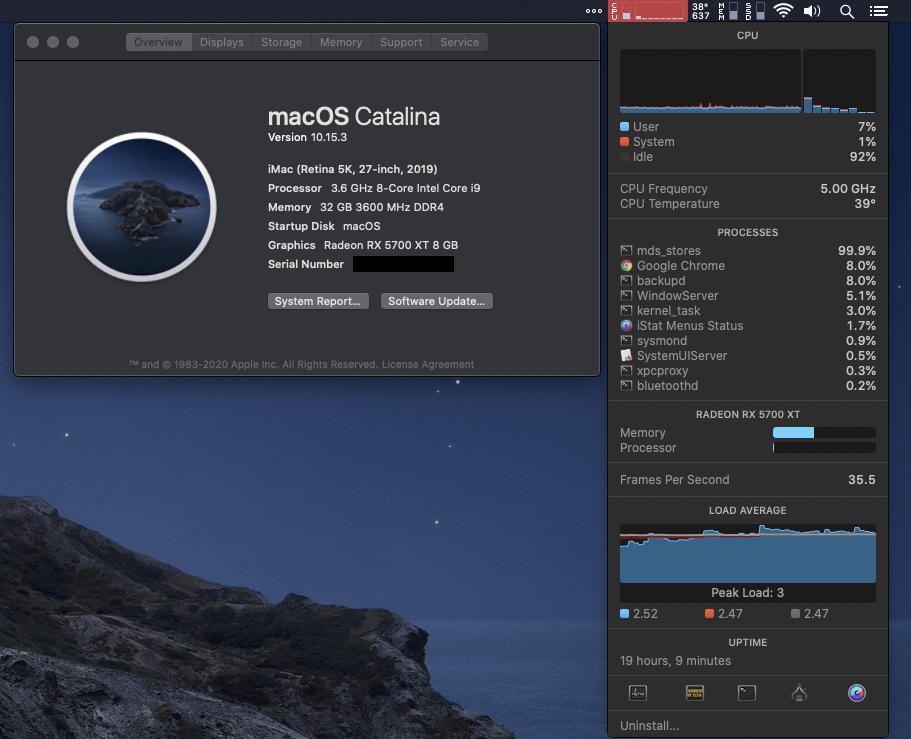
I started installing macOS so the computer could finally become an actual Hackintosh. Before that happened, a 10-meter active cable for Oculus Link and a 3-meter passive one arrived. Thanks to them, I can finally use PC VR in the living room as I did with the wireless version, instead of doing it in my cramped office. Remember, I replaced the Mac with the Hackintosh specifically because of VR. The KIWI cable pulleys arrived too, but all the VR-related stuff will have to wait for another time.
OpenCore from scratch, my way
I made my first attempt at OpenCore about two weeks ago and configured everything myself from scratch. I mainly wanted to learn how it worked so I could adjust the files and configuration to my needs if necessary, because ultimately I planned to use everything from Moridin. I eventually gave up on further testing because it was already throwing errors during boot. I solved many of them, but ultimately got a black screen. I now know what I should have done.
AudioGod
Only a few days ago, I decided to return to it, this time using AudioGod's files from InsanelyMac (Moridin ended up using them too). This was much easier. For example, the package includes a profile that unlocks CFG on the motherboard, which is no longer possible to do manually with the current BIOS version. It also linked to some useful instructions, such as leaving only 16 GB of RAM installed during setup, removing the other drives, connecting the Wi-Fi/BT card to PCIEX1_3 and its cable to F_USB2 instead of F_USB1, and so on. I couldn't install the system without taking these steps, although I'm not sure exactly what caused the problem because I changed many things at once. The system works now.
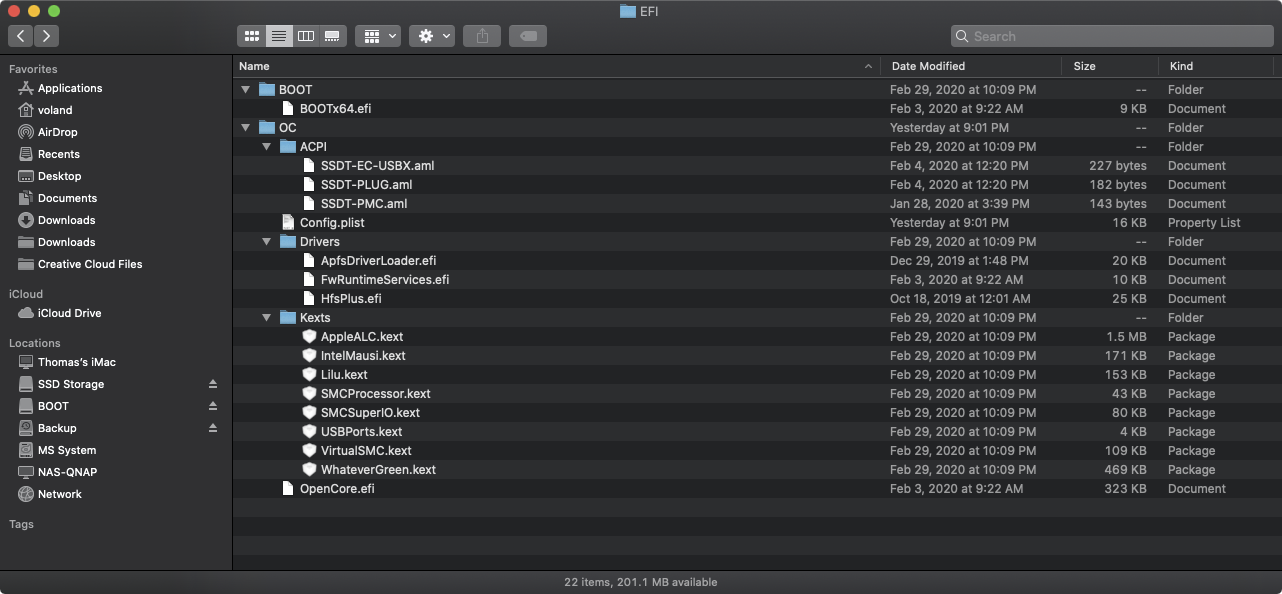
So far, I've used macOS on this computer for about 20 hours, excluding sleep time, so a reliable opinion will have to wait much longer. Still, I've tested nearly every scenario in which I use a computer, and so far it's very good but not perfect. I had to disable the integrated graphics and am using only the dedicated card. Even after changing the iGPU settings in the BIOS from 256 MB to 128 MB and from 64 MB to 32 MB, there were still problems. Everything seemed to work, but it didn't. After a few hours, the computer became sluggish and wouldn't boot. I'm not considering leaving it this way permanently. I definitely want the iGPU working eventually. The second issue is that USB drives are ejected while the PC is asleep. This only happens when the computer goes unused for longer. The third issue is booting, which takes two or even more than three times as long as on my Mac Mini. It can take over 30 seconds.
OpenCore is currently in beta, and it shows because major changes are being introduced constantly. That's why I'd rather not tinker too much with the config. If necessary, I want to be able to replace the files in a few seconds, make a handful of changes, and start the computer rather than spend time adapting the file to my needs every time. Once OpenCore reaches a final release, I'll gladly spend more time on it. I haven't touched Clover and don't plan to.
P.S. With the iGPU enabled, everything works for me, including Messages, FileVault, AirDrop, sleep, Netflix in Safari, and even Sidecar. Without the iGPU, Sidecar is unavailable and streaming apps use a software encoder instead of the hardware one.
May 9 - Cost summary and impressions after two months with macOS on a Hackintosh
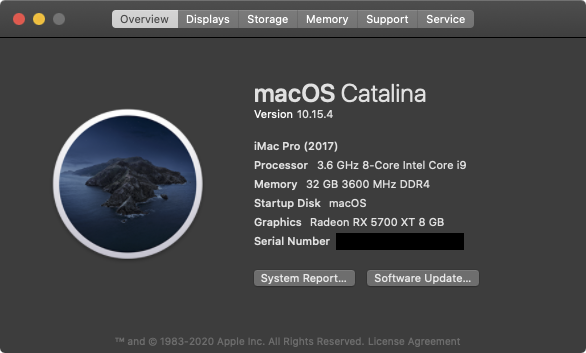
Windows disappointed me, but that's a subject for another time. In short, it has more problems than the Hackintosh. The Hack works almost perfectly. It still runs wonderfully, and the one thing that doesn't work matters little to me. Encoding works now! Sidecar doesn't display an image on the iPad. I think I know how to make Sidecar work too, but it would require a beta BIOS for the motherboard, so I'll wait for the final version. One other thing doesn't work, but it has also been broken on my Mac Mini since Catalina.
It's unlocking the computer with the Watch. This happened to me on the Mac before, and I had to reset the Watch to factory settings, but I don't feel like dealing with that now. It actually works better on the Hack than on the Mac. It didn't work at all on the Mini, while on the Hack only computer unlocking fails. Approving other actions works. Stability is excellent, and nothing makes it feel like this isn't a native Mac. I'm currently running OpenCore 0.5.8, but the system identifies as an iMac Pro rather than an iMac.
Costs
The Hackintosh was supposed to cost several thousand zlotys less than a Mac Mini plus an eGPU, but the final costs are similar. The difference is performance: much faster RAM and processor, plus a faster and larger SSD. My Hackintosh also runs much better thanks to the damn good cooling, although that affected the cost too. It could have been cheaper, but it wouldn't have been worth it.
Down to specifics. I'm converting the prices to Polish zlotys, but I didn't buy anything in Poland. Everything came from local Thai stores or Amazon.com. For Amazon purchases, I give the rounded final amount I paid, including shipping and taxes, because Amazon charges those in advance. I did receive some tax refunds, but they were small. Some items were a little or much cheaper than in Poland, while others were more expensive. The full system price came out very similar. I bought everything in February, when hardware availability was starting to get bad. Buying wherever it was cheapest often meant waiting over a month for delivery, so that wasn't an option. Below, I link each item directly to the German Amazon site.
Prices on the purchase date:
- i9 9900K processor 2,200 PLN
- Gigabyte Aorus Z390 Master motherboard 1,200 PLN
- 32 GB RAM, 3600 MHz, 16-19-19-39 920 PLN
- Sapphire Radeon RX 5700 XT Nitro+ graphics card 2,250 PLN
- Corsair HX850i 850W power supply 610 PLN
- Cooler Master MasterBox NR600 without ODD case 250 PLN
- CPU cooler: Noctua NH-D15 chromax.black 310 PLN
- Case ventilation: Noctua NF-A PWM: 4 x 140 mm and 1 x 120 mm 510 PLN
- Samsung 970 Evo Plus 250 GB 270 PLN
- Samsung 970 Evo Plus 1 TB 1,200 PLN
- Wi-Fi + BT Apple Broadcom BCM94360CD BT 4.0 315 PLN
That comes to 10,035 PLN. Add Windows on a USB drive with a boxed retail license for 580 PLN. You can use an unactivated version and live with the watermark and basic interface colors, but that would annoy me. I could also have chosen slower SSDs, louder cooling, and so on. Then I wouldn't have the computer I wanted. I also bought a Logitech MX Master 3 mouse for 380 PLN. I'm not counting accessories, drives, and so on that I already owned, or the Keychron K1 keyboard I wrote about here, because I would have bought it for the Mac Mini too. I still have Snow Leopard from my first Hackintosh somewhere in a closet, but that isn't a major expense now anyway. So I spent about 11,000 PLN. That's less than a thousand zlotys below what it would have cost to add the same graphics card used in the Hackintosh, plus an enclosure for it, to my top-configuration Mini. Does that mean building the Hackintosh was a mistake? No. In recent system versions, eGPUs under Boot Camp have caused problems for many people, and they aren't officially supported there at all. VR devours every bit of power I give it, and even this configuration isn't excessive. Performance is great, but a better graphics card would make it noticeably better. Unfortunately, if I want macOS, the GeForce GTX 2080 Ti is out. I'd probably hate to spend that much more on a graphics card anyway. Instead of 2,250 PLN, the GPU alone would cost almost 6,000 PLN, half the price of the current configuration.
Conclusion
I never finished the worklog because I ultimately needed a much more powerful graphics card than the Radeon 5700 XT. So in January 2021, I installed a GeForce RTX 3090 alongside the Radeon, and it doesn't work with macOS... That left me with switching to Windows. I wrote a separate article about my fight with that system. I also replaced the power supply with a 1300W Seasonic because the previous 850W unit couldn't handle the new hardware. I bought the RTX while the cards were still sold at MSRP, meaning the suggested retail price. Since Thailand has low VAT, it cost me a little over 7,000 PLN, clearly less than in Poland. That's still a lot, but it was also incredibly cheap because two months later it was worth well over twice as much. The computer mined cryptocurrency in its spare time, and by the time I'm writing this, the graphics card has already paid for itself, so it's as if I got it for free. For a deal like that and this level of performance in 3D graphics, rendering, and VR, I can live without macOS :). Still, there's no question that macOS is a much better operating system than Windows 10/11.
The two cards couldn't run next to each other because, combined with the gigantic CPU cooler, there wasn't enough cool airflow and temperatures rose sharply. So I mounted the Radeon vertically beside the case using a PCI-E riser, which is a cable extension that lets you install a GPU somewhere other than directly on the motherboard.