The Walking Dead – Jinbei Discovery and Aurora Firefly
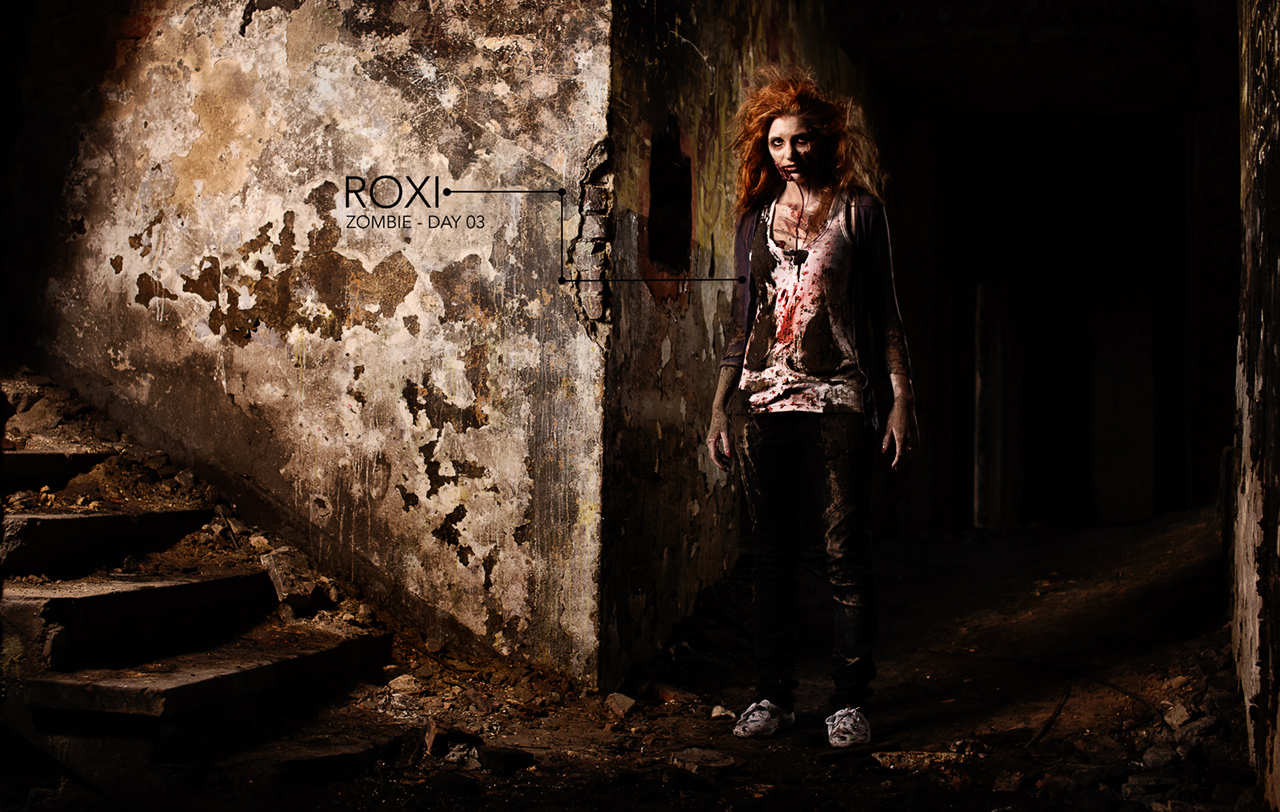
I had already done two shoots based on the game and film "Tomb Raider", shown my take on "Snow White", and created a cosplay inspired by "The Vampire Diaries". Now it was time for photos inspired by "The Walking Dead".
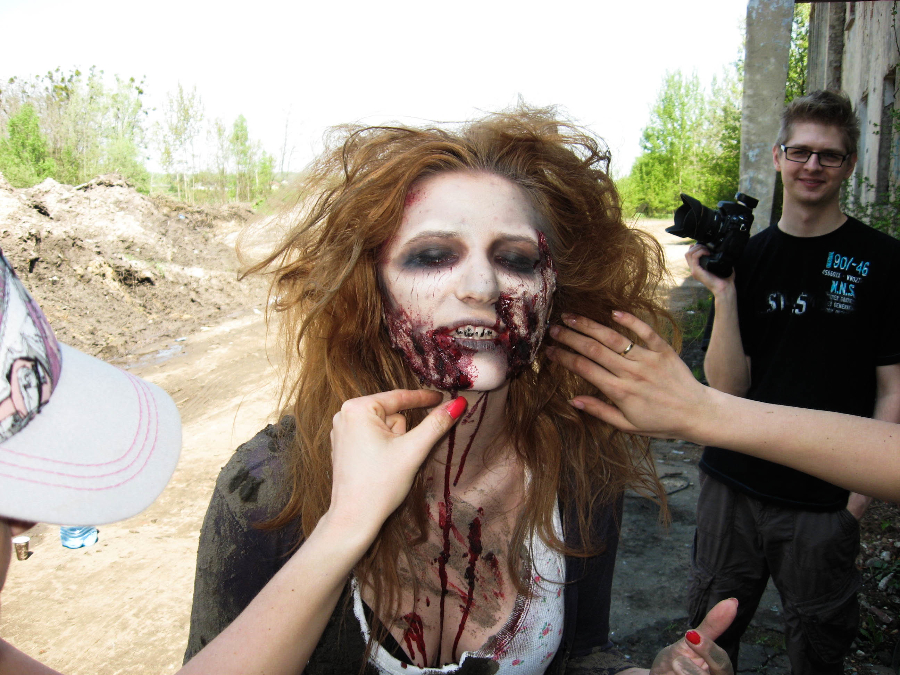
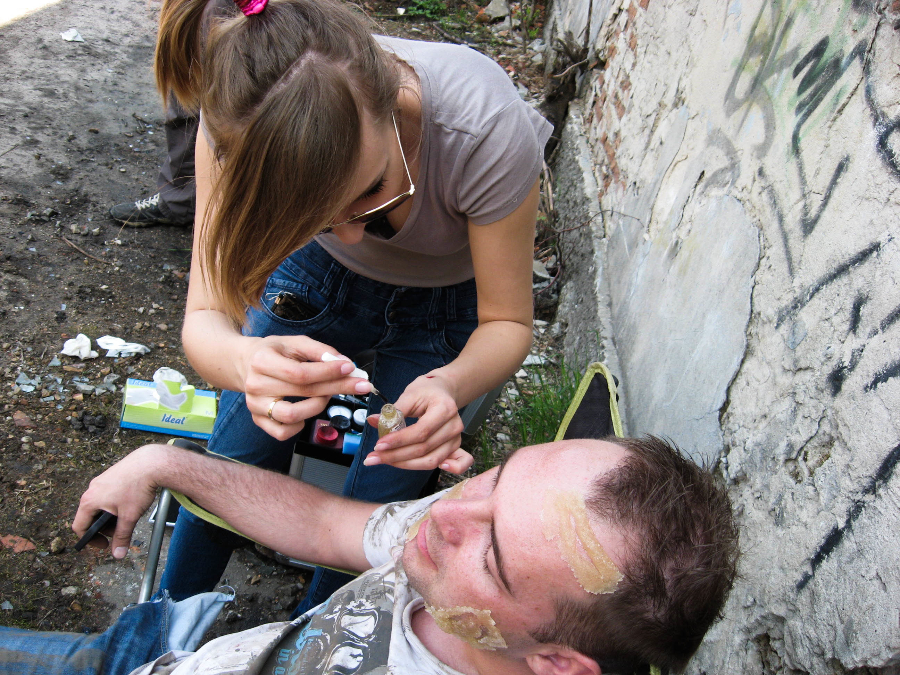
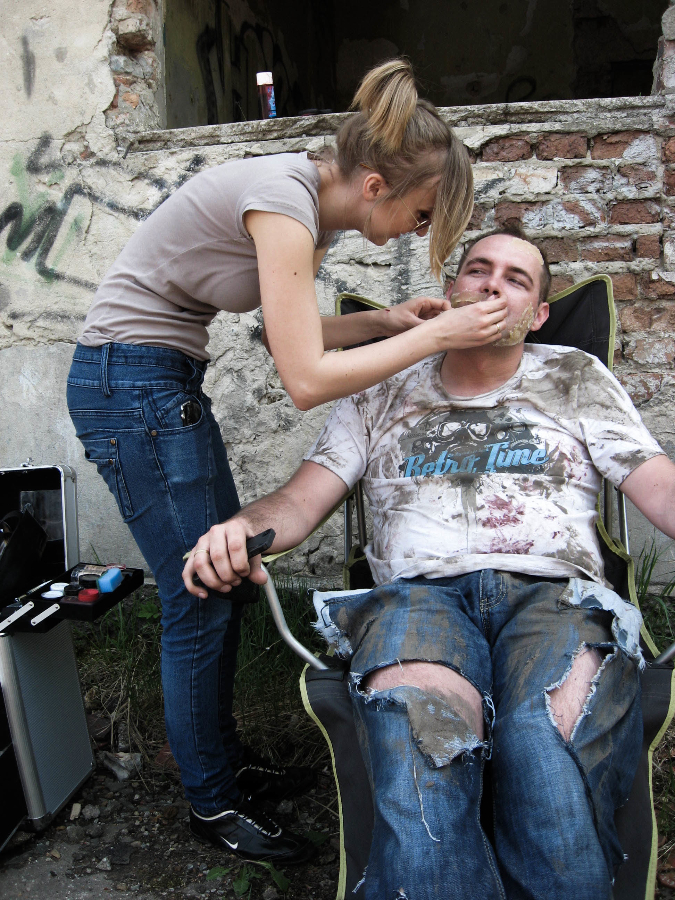
I had been planning this shoot for a very long time, but it finally happened only this year. Karolina Zientek handled the makeup, while Aga from Le'Prestige did the hair. Mateusz "Pro" Prociak assisted. I think this was the first time I didn't care who would be posing—professional models weren't necessary for photos like these anyway. It was also the first time you could see a man in my photos. And finally, it was the first time I had lights with power packs at my disposal, which allowed me to replace the beauty dish with something light and portable. But one thing at a time…
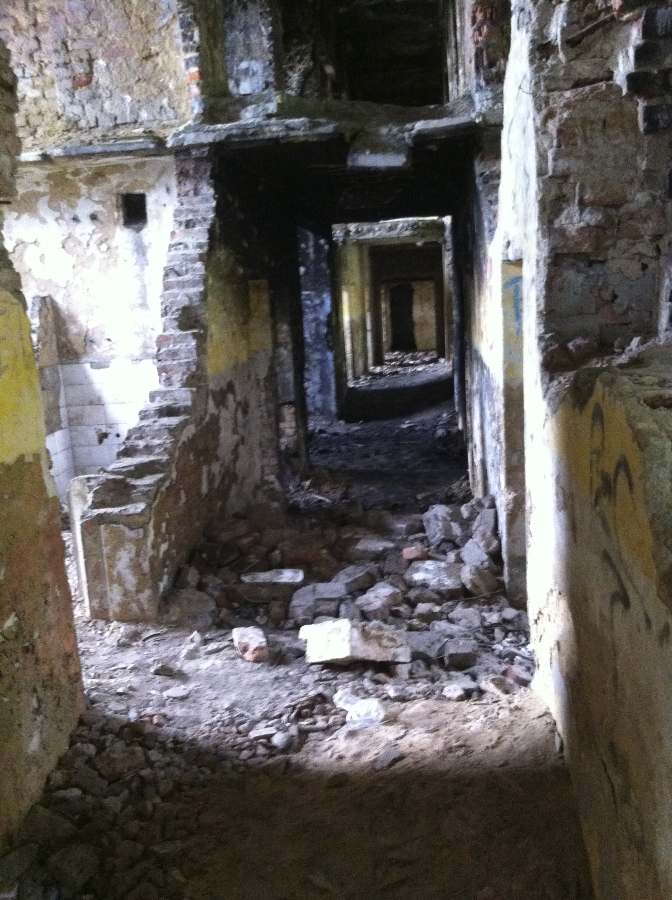
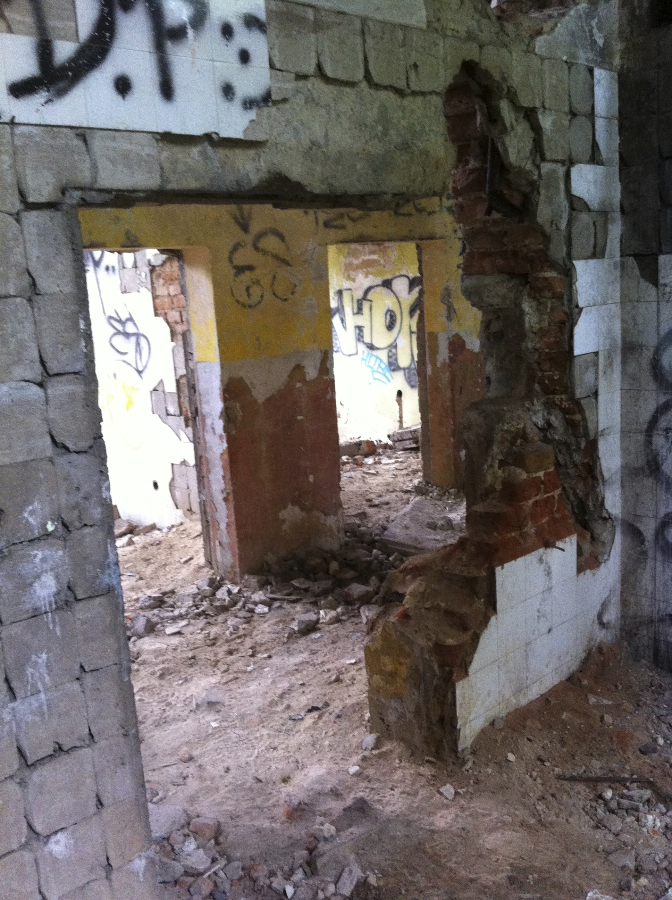
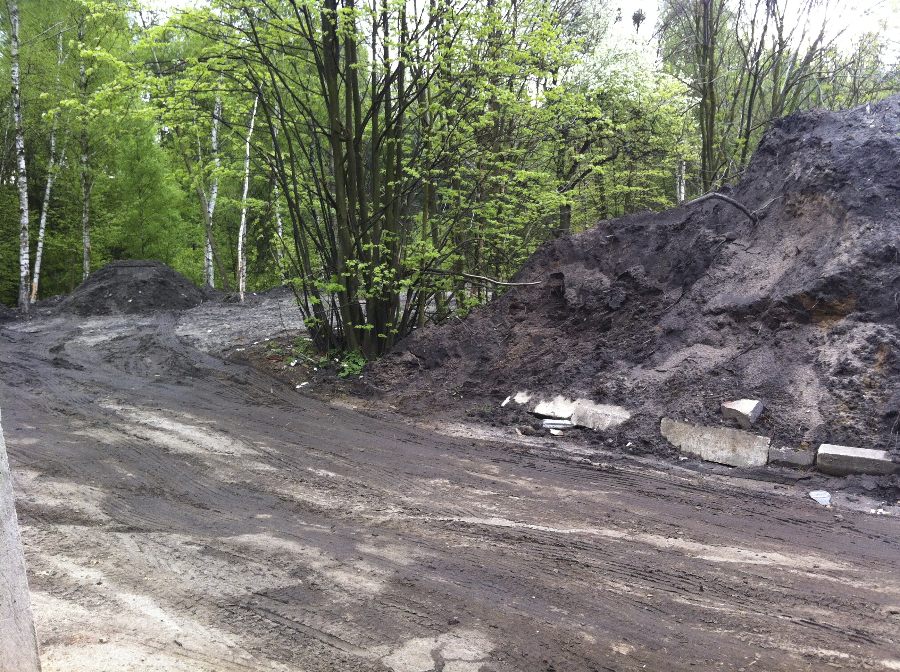
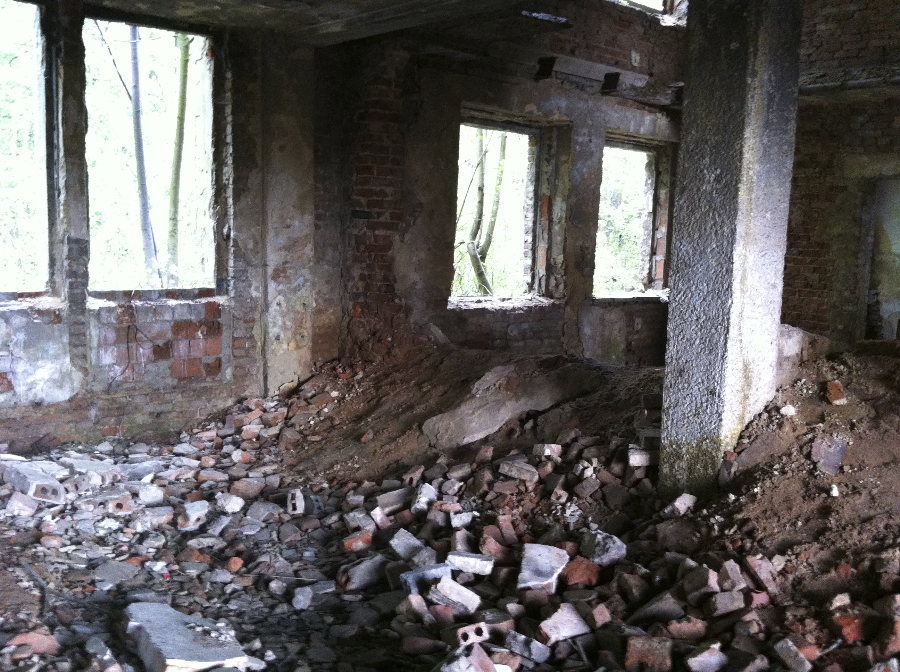
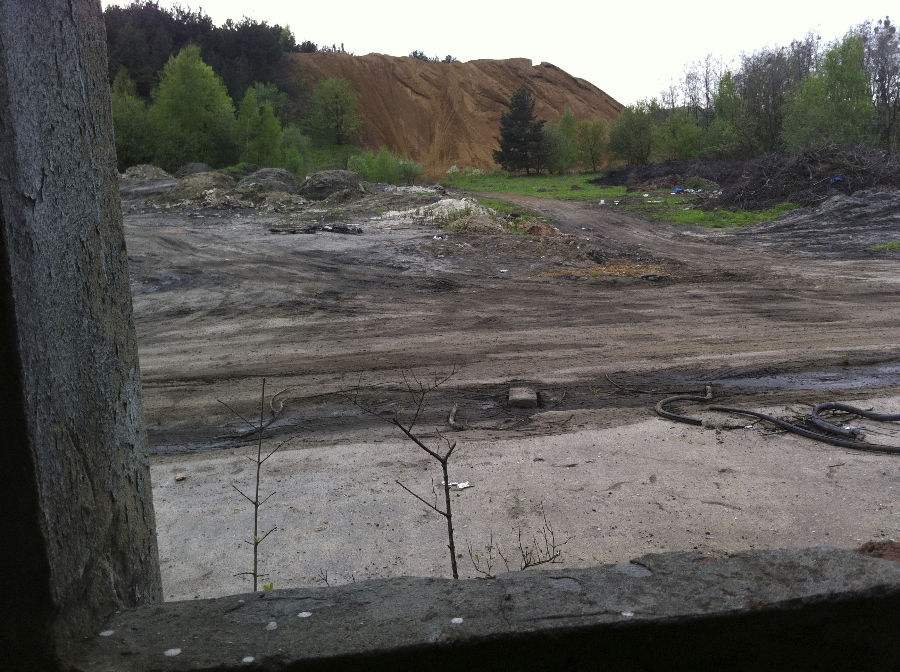
We found the location only one day before the shoot. We had planned to do it at a scrapyard, but it turned out that wouldn't be possible until a month later. In the end, that was probably for the best, because the place where the shoot eventually happened was excellent—the ruins of some building near the dolomite quarry in Bytom.
The Walking Dead – the shoot
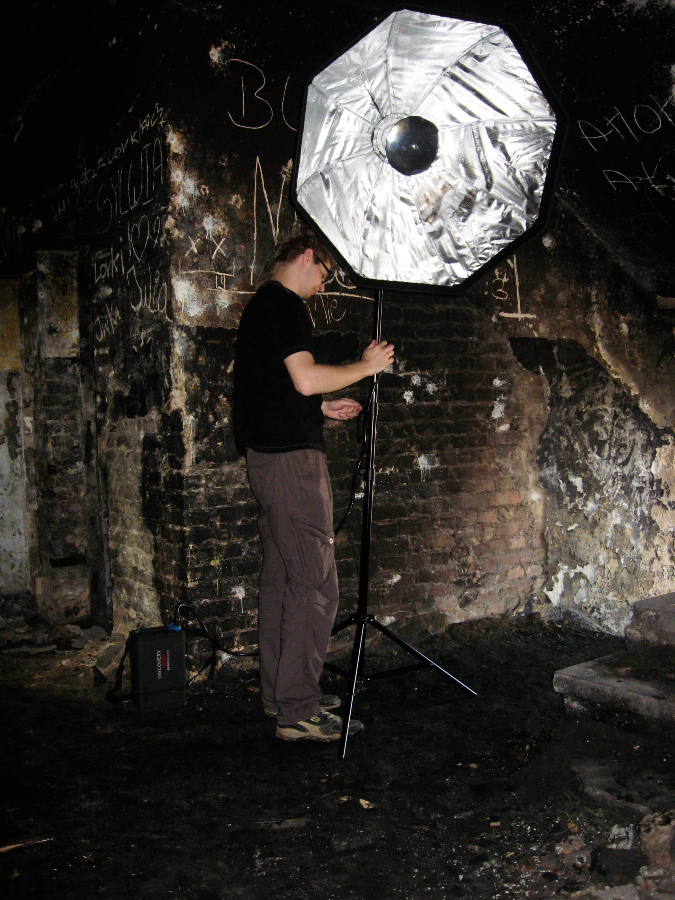
Since this will be quite an extensive post, I'll begin with how the photos were made and then describe the equipment I used in detail, because it's very interesting and completely different from what I had used before—light, portable, and battery-powered. The main light modifier was different too. Instead of a beauty dish, I used an Aurora Firefly XL softbox (or, more precisely, an octa, made by Aurora Lite Bank), which has the advantage, among others, of accepting a reflector like the ones used in beauty dishes. But more on that later.
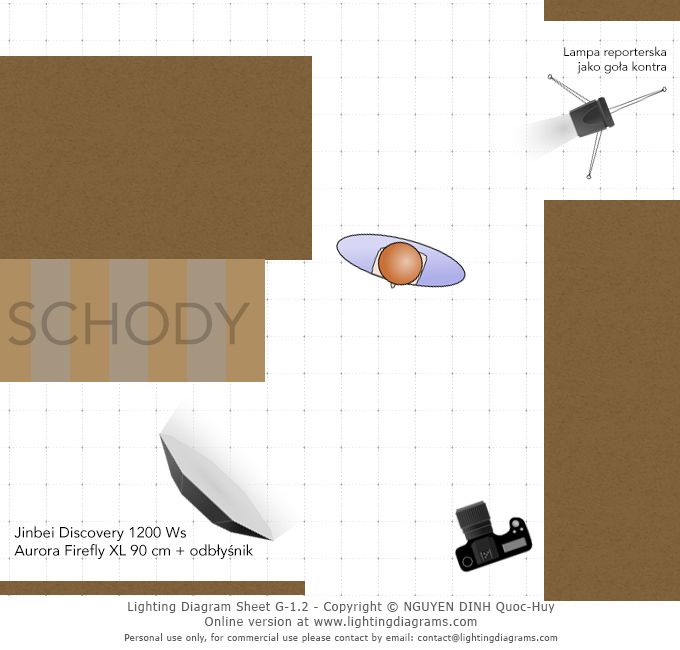
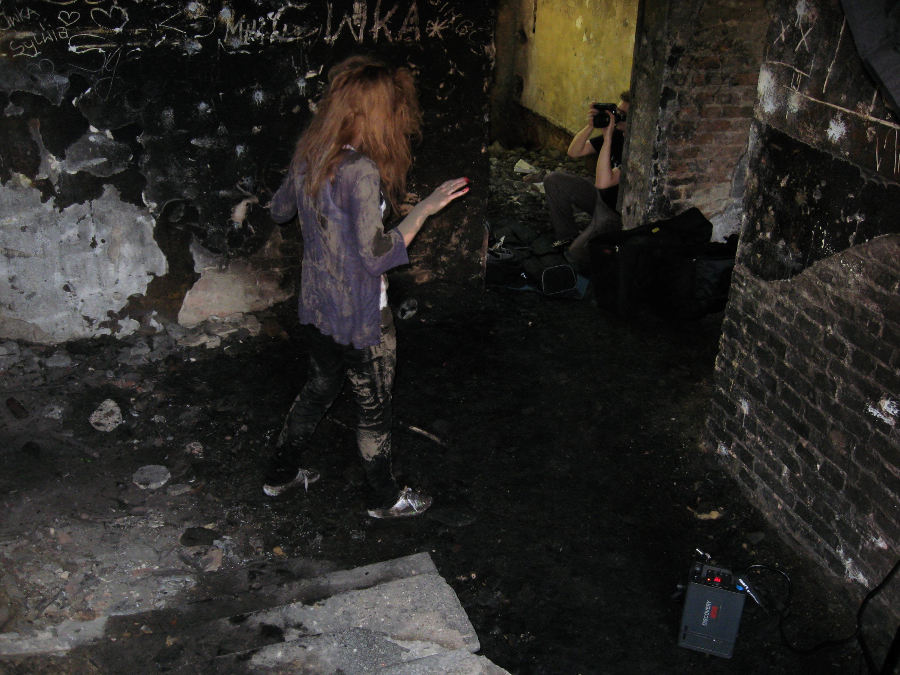
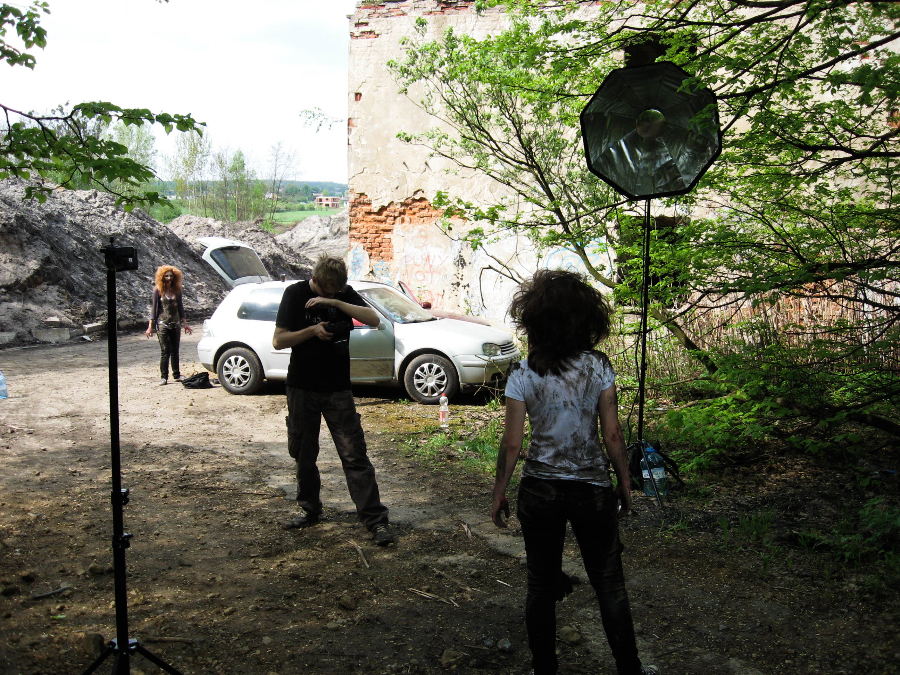
Back to the shoot… First Karolina prepared Roksana, who was posing that day. We took the first photos near the entrance to the building. I used a Discovery 1200 Ws set with its standard head (more about that later too), firing through the Aurora Firefly XL modifier mentioned above (without the light-softening diffusers, but with a beauty-dish-style deflector). A bare speedlight in another room provided the rim light and illuminated the background at the same time. I arranged everything so the dark atmosphere was already there in camera—lots of shadows, and the entire figure didn't necessarily have to be lit (in fact, that was strongly discouraged). To achieve this, the main light had to come from the side, as in the diagram below:
This was a test shot, but the lighting turned out to be exactly as it should, so I published it:
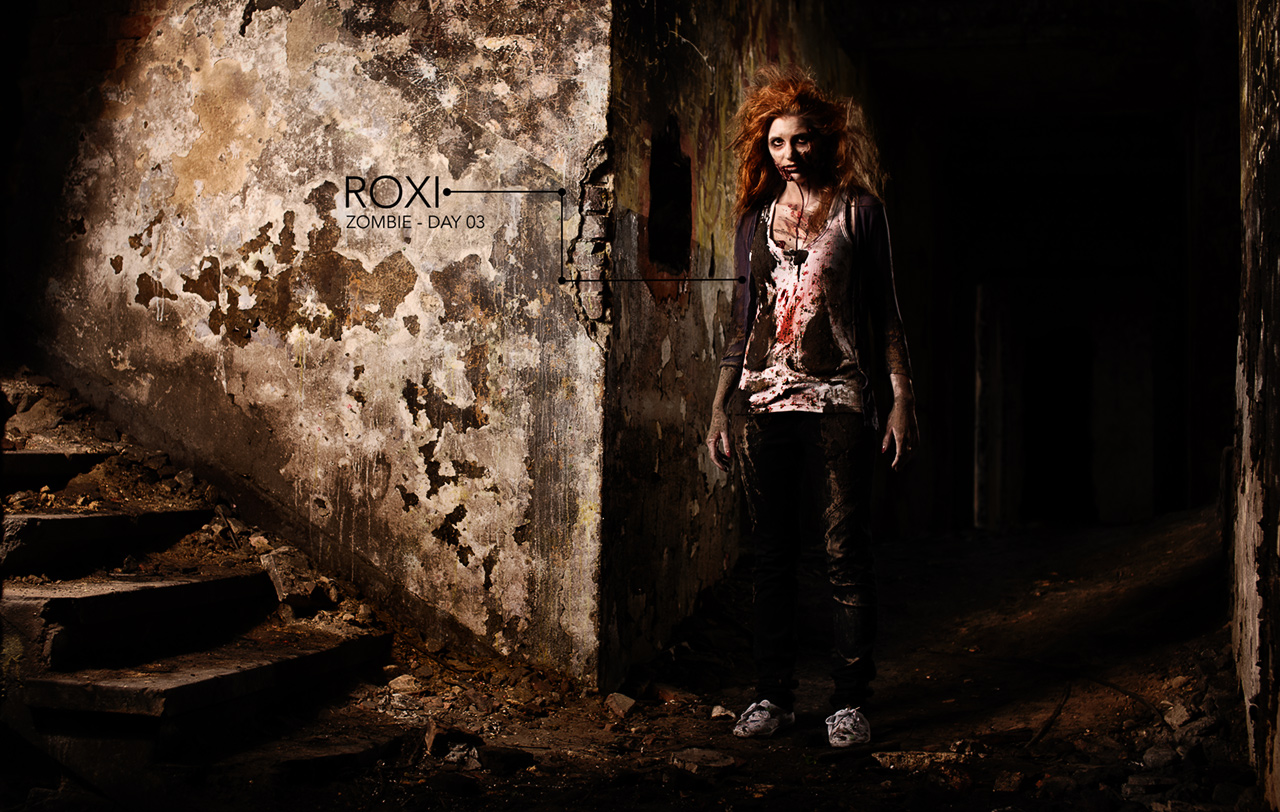
Nikon D700 | Sigma 50mm 1,4 EX DG HSM | F/3,5 | 1/200| ISO 160
And the next photos:

Nikon D700 | Sigma 50mm 1,4 EX DG HSM | F/3,5 | 1/200| ISO 160
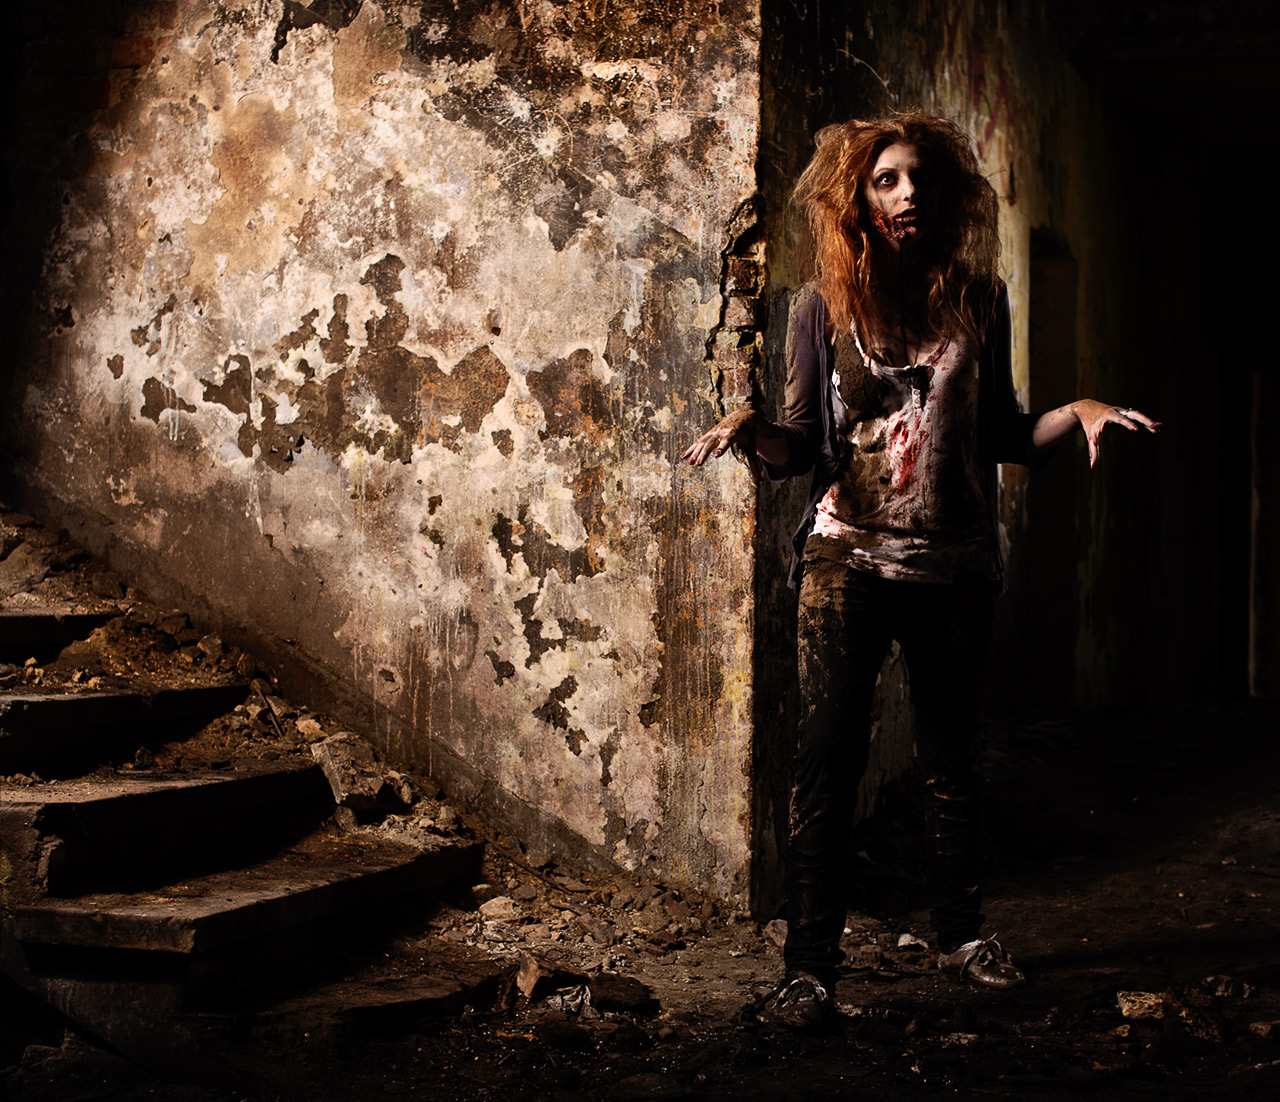
Nikon D700 | Sigma 50mm 1,4 EX DG HSM | F/3,5 | 1/200| ISO 160
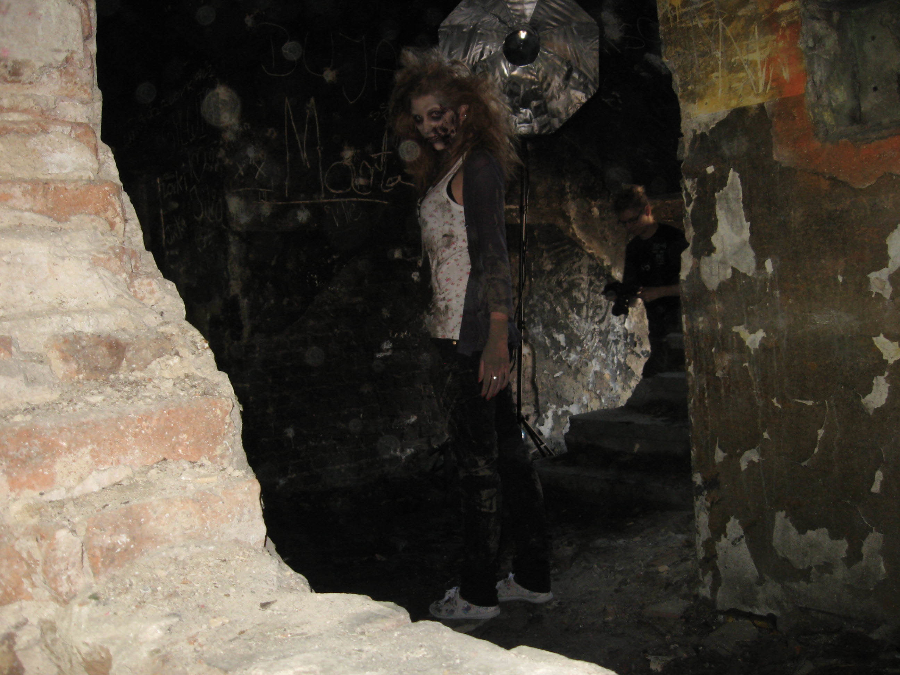
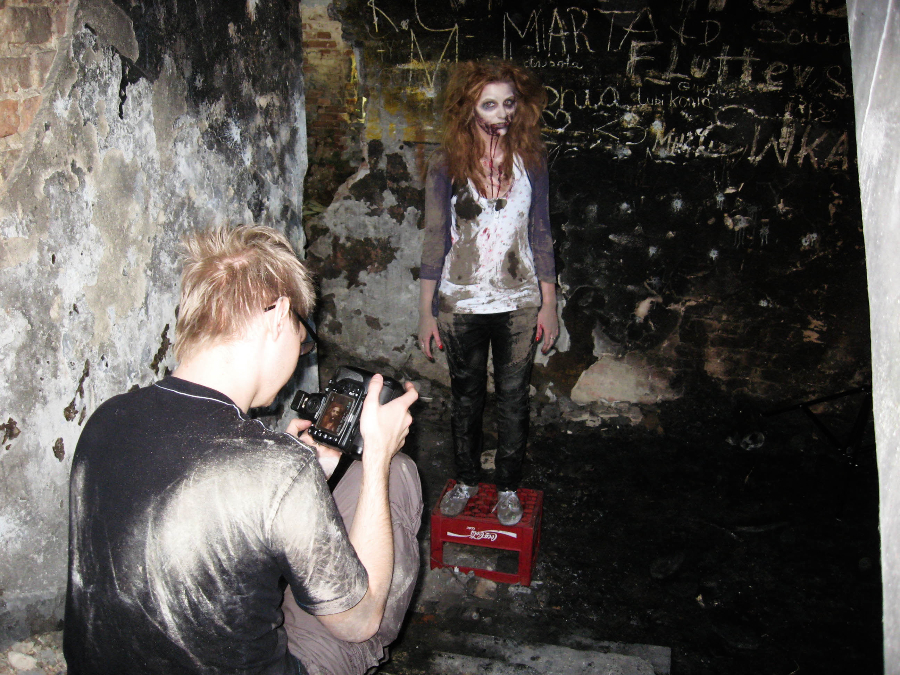
After taking the shots in this spot, we moved to the stairs visible in the background. I placed a stand with the main light on the landing. It turned out that I needed to add a rim light so the backs of the clothes would remain visible. As before, I used a speedlight for this.

Nikon D700 | Sigma 50mm 1,4 EX DG HSM | F/5 | 1/200| ISO 160
I had some trouble getting the right atmosphere because there wasn't enough room to move the light as far as necessary, but it worked in the end. A bigger problem was the lack of a 35 mm lens, which would have let me take different, much better shots. Unfortunately, I had to make do with what I had. After taking this photo, we made two beauty shots, although the name doesn't quite suit their character in this case… The main light stayed on the landing; we only lowered it slightly. The characters stood in front of the stairs, and the rim light was switched off.
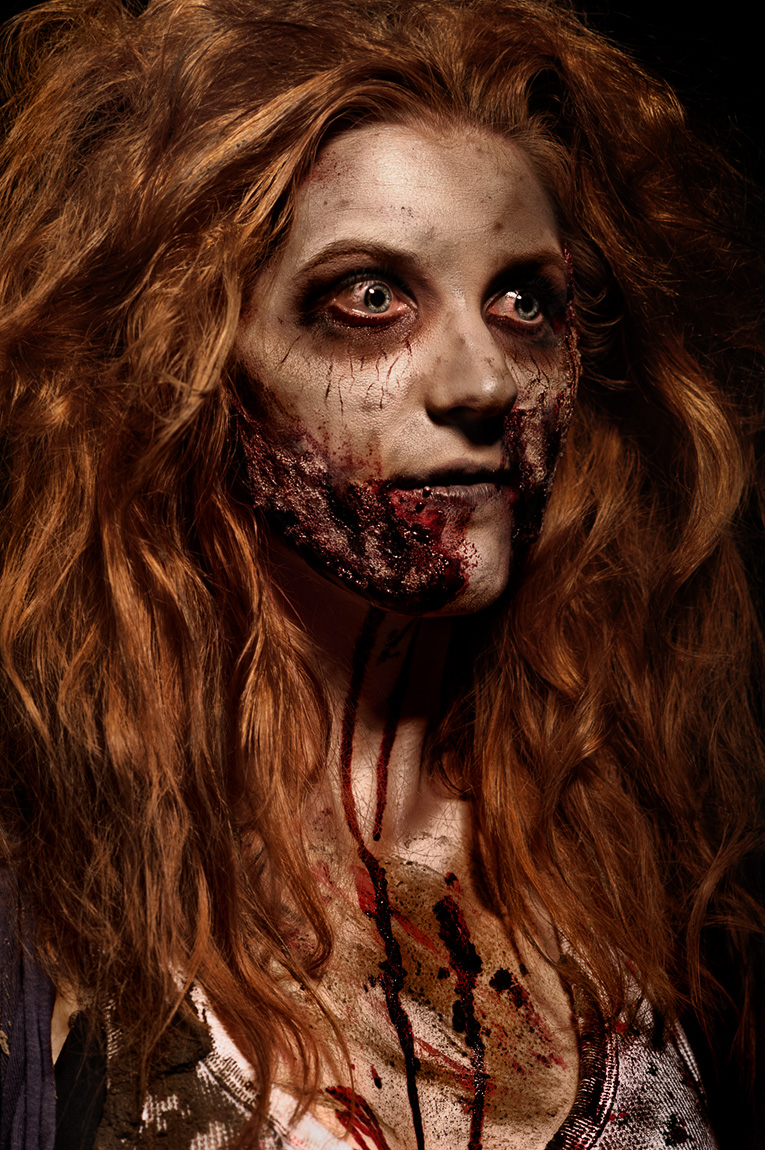
Nikon D700 | Nikkor 135mm 2D DC | F/7,1 | 1/200| ISO 160
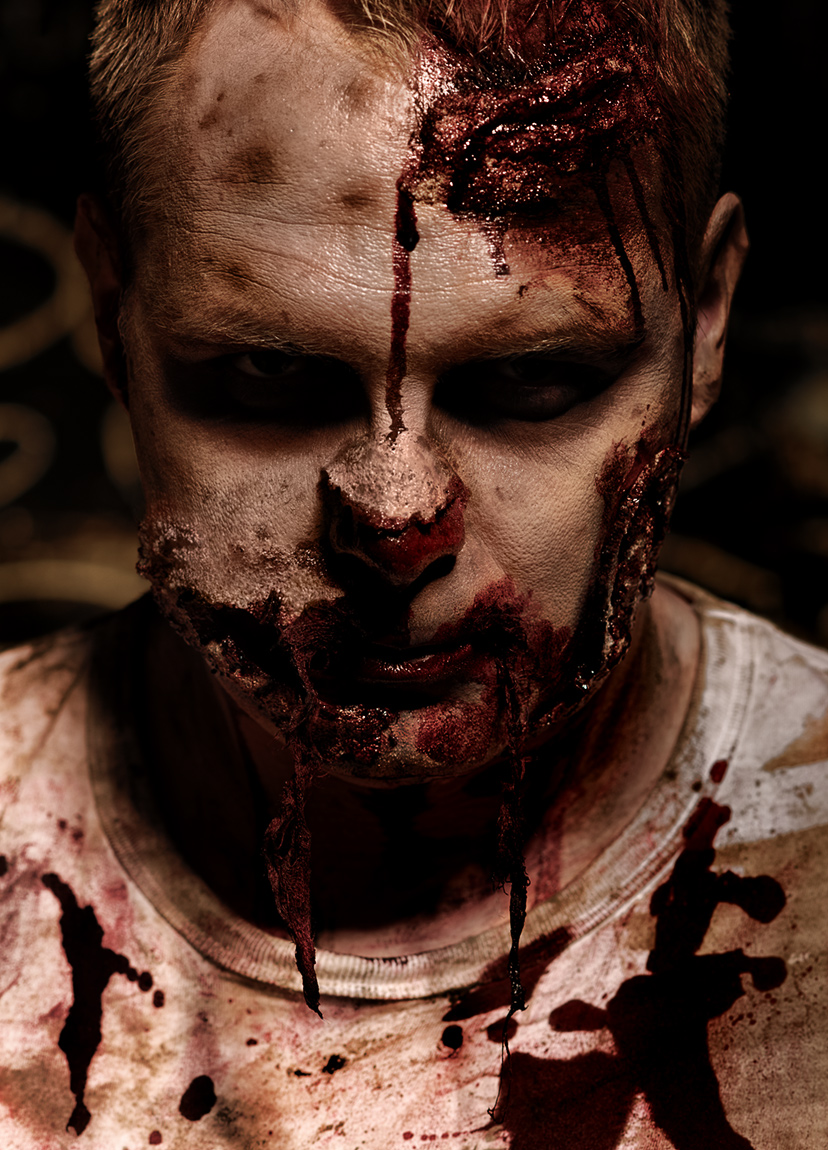
Nikon D700 | Nikkor 135mm 2D DC | F/7,1 | 1/200| ISO 160
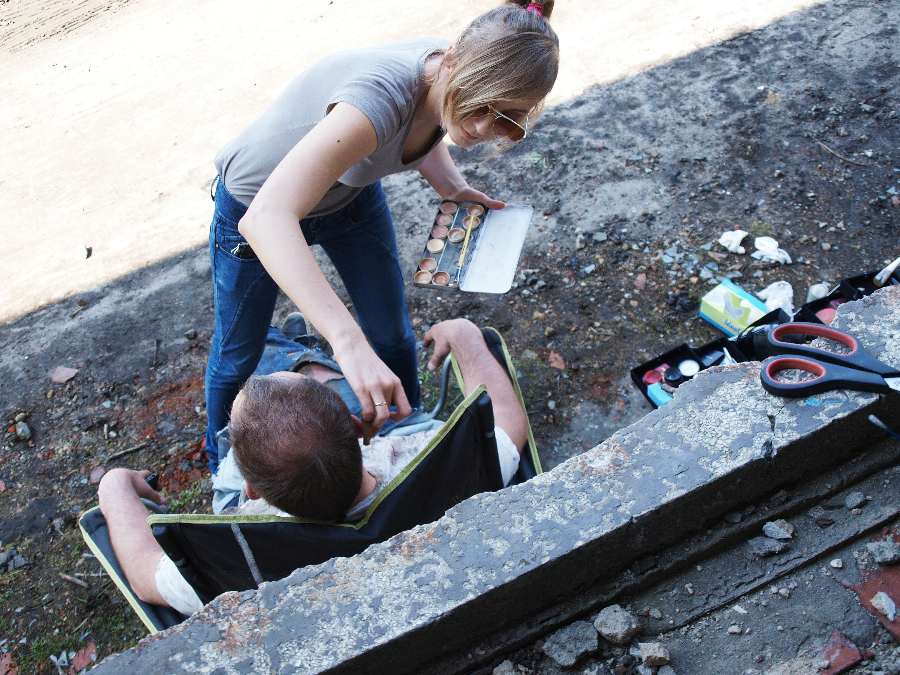
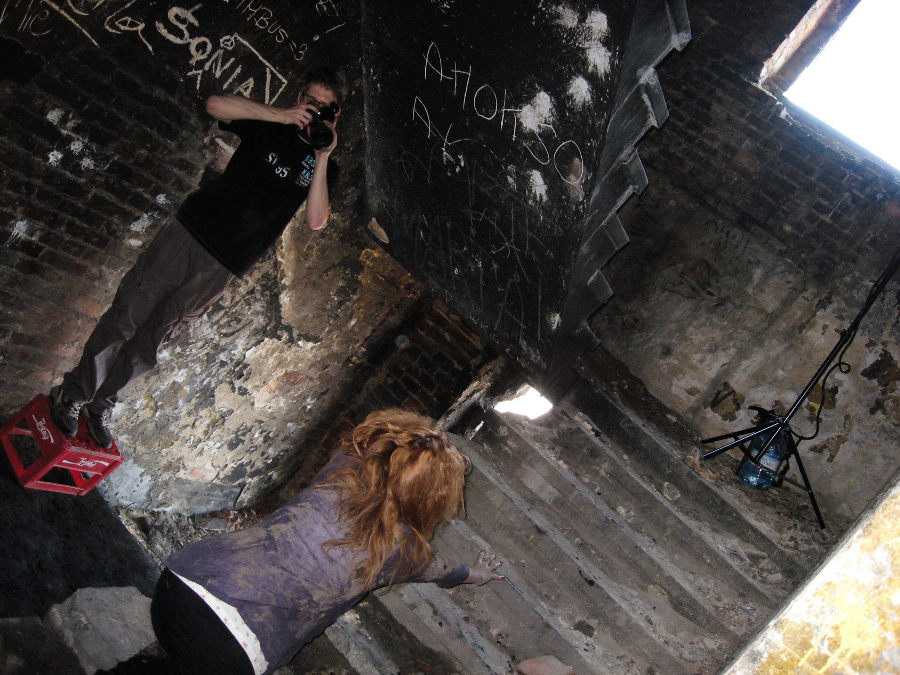
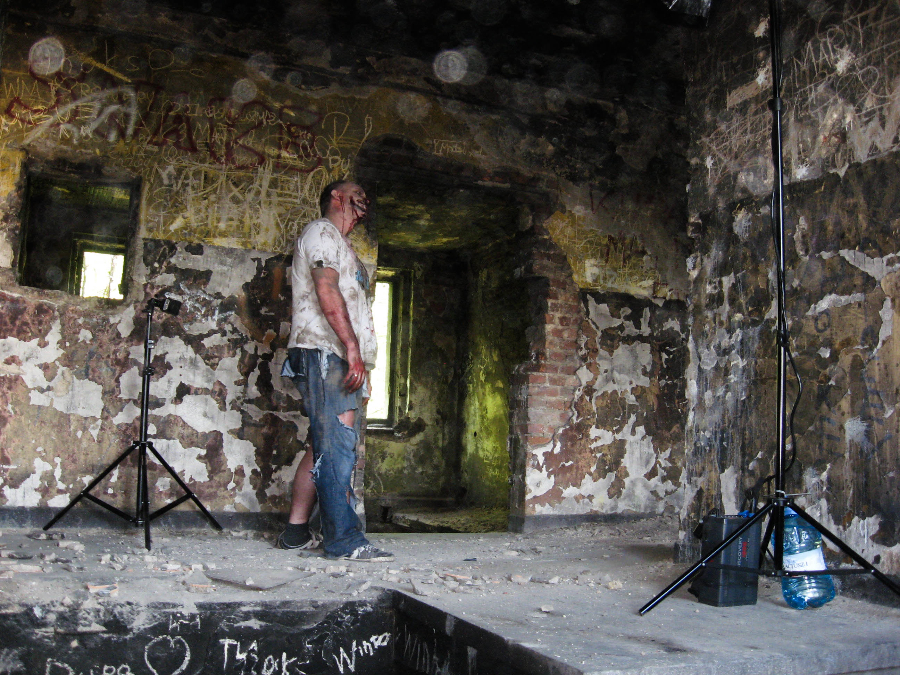
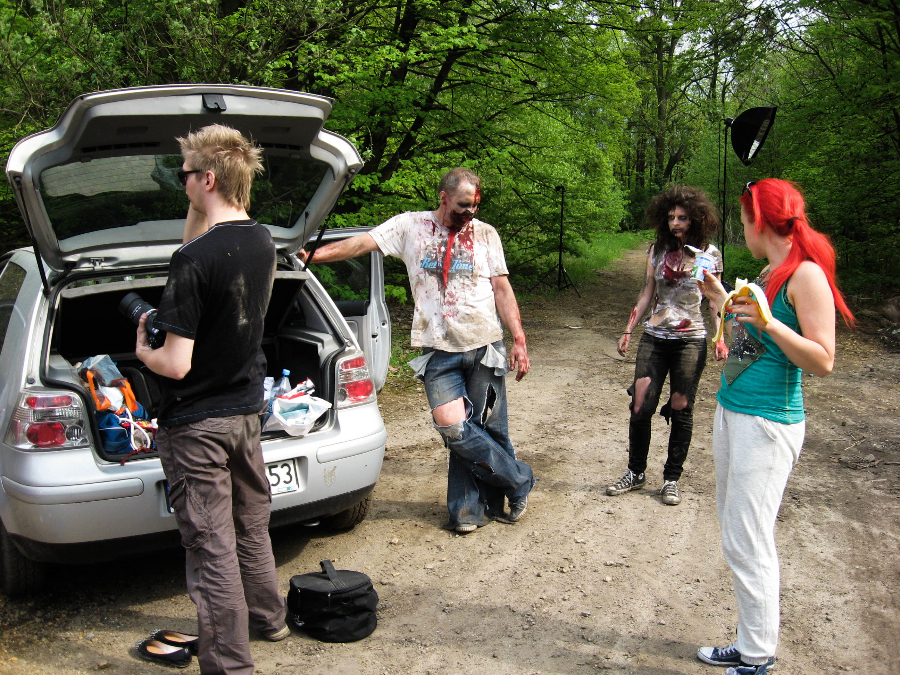
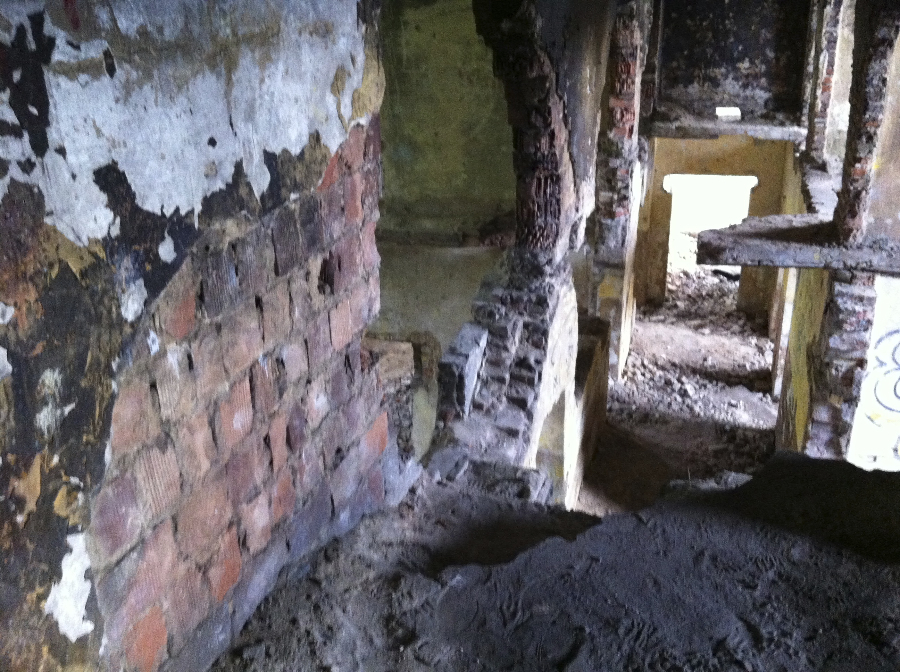
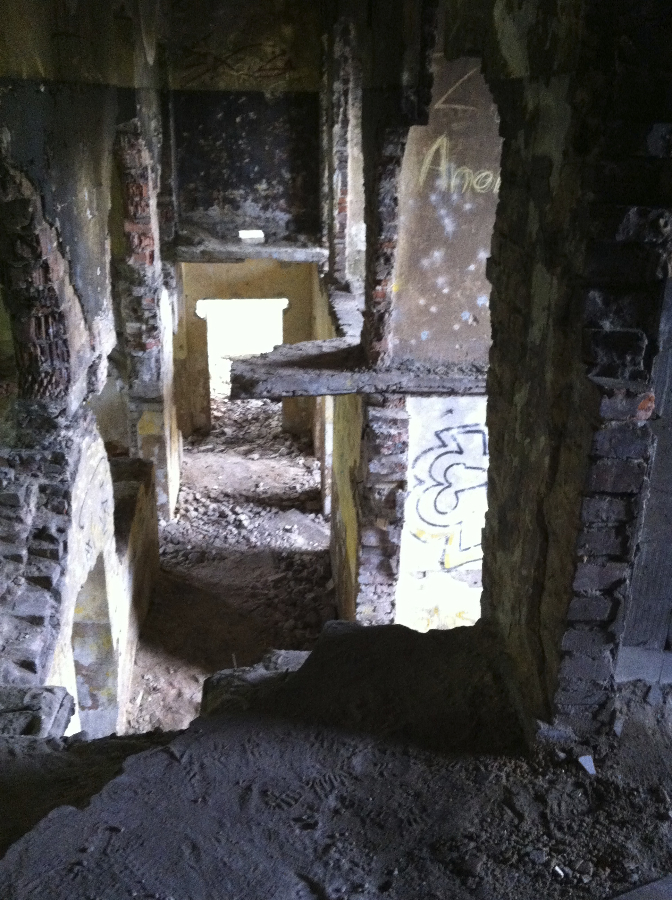
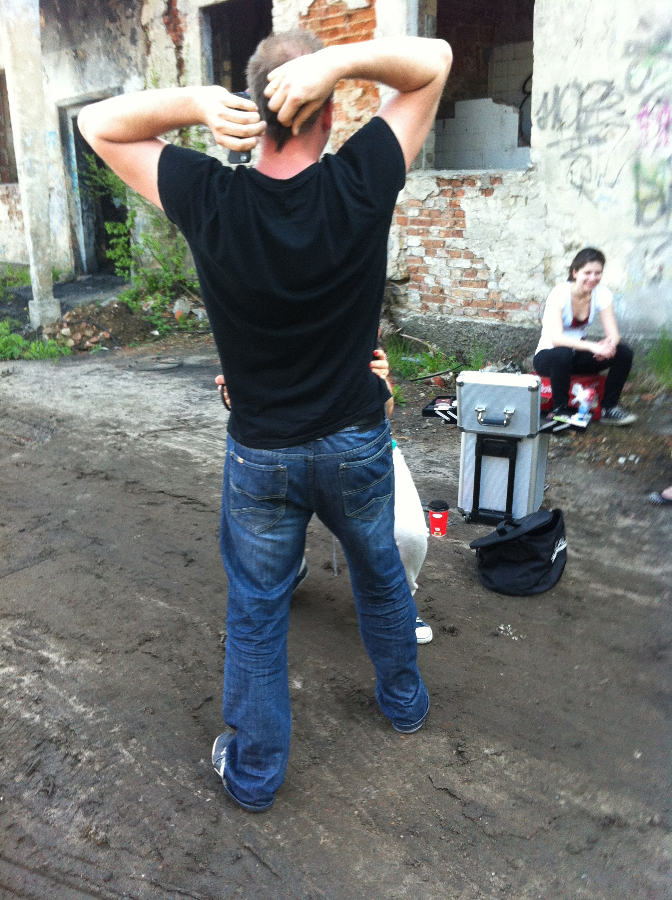
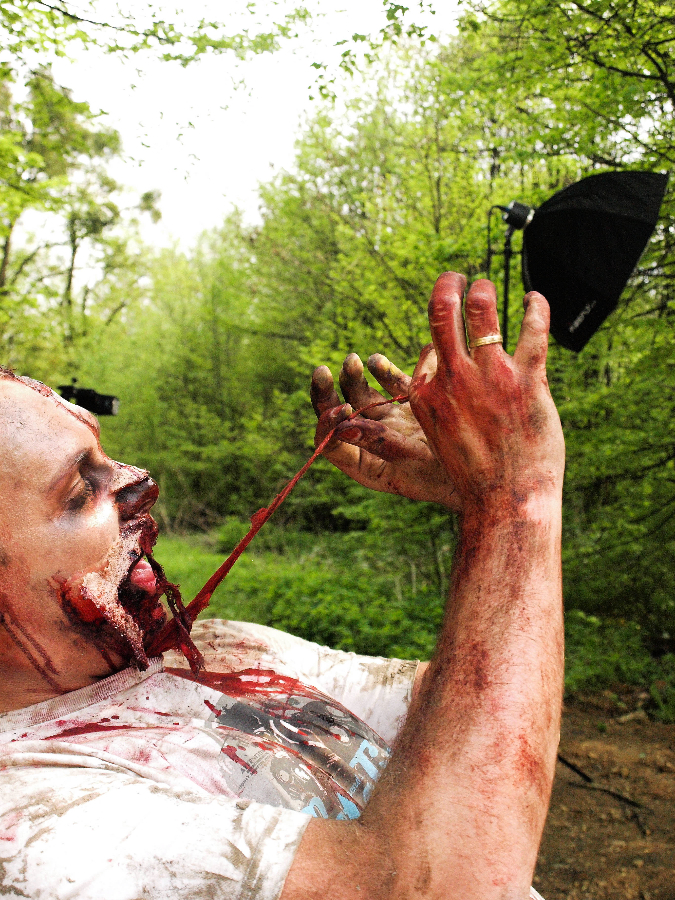
While the third character was still waiting for makeup, I went back to photographing full figures, this time in a different setting. We went up the stairs, and I took the next shots upstairs. There wasn't much room to position the lights here either, but I managed. I placed the speedlight—which can be seen on a stand in the behind-the-scenes photos—in a hole (a little window?) in the wall because the stand's legs were entering the frame. I aimed the light at a wall that would normally have been a black patch. These were the resulting photos:

Nikon D700 | Sigma 50mm 1,4 EX DG HSM | F/5,6 | 1/200| ISO 160
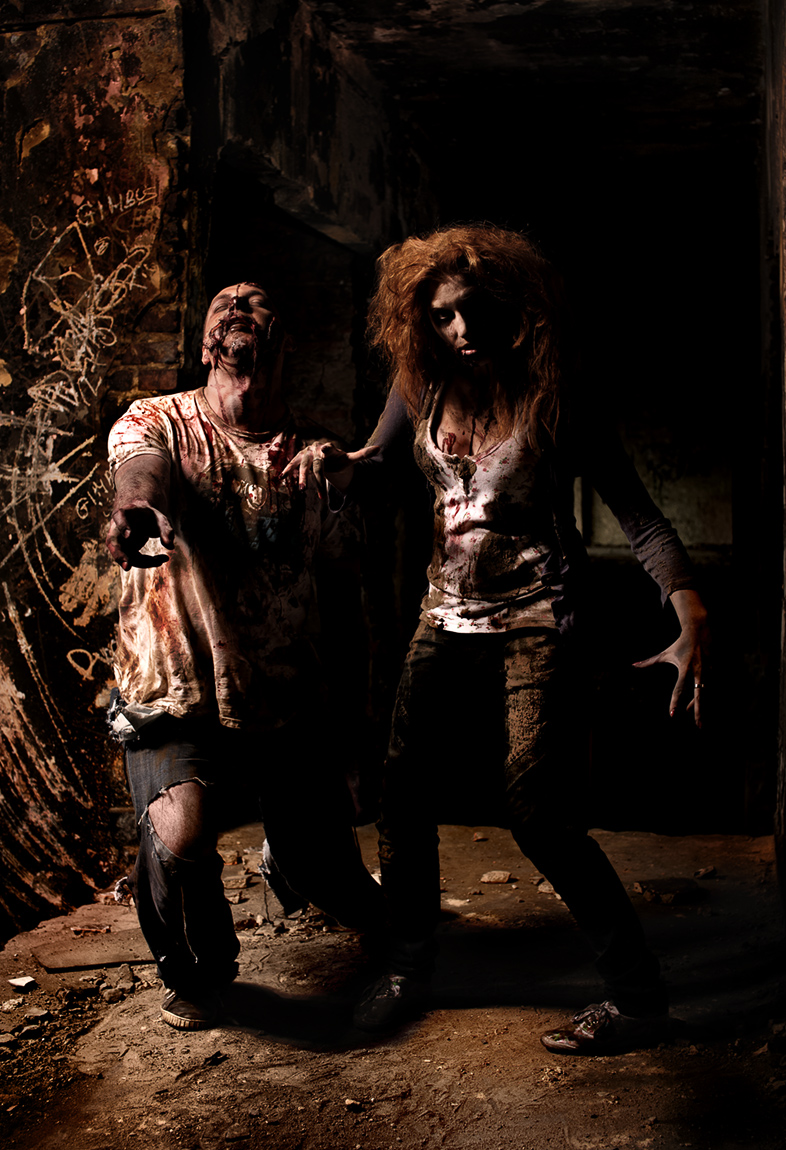
Nikon D700 | Sigma 50mm 1,4 EX DG HSM | F/5,6 | 1/200| ISO 160
With the same setup, I took these photos:


You can see the little window containing the light in them. It was switched off for the second photo.
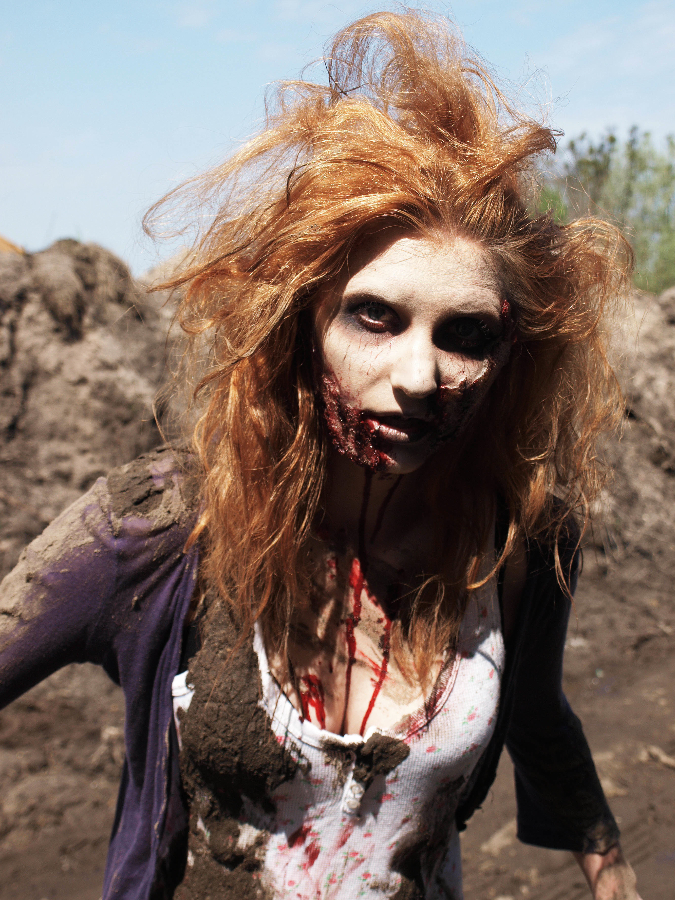
Next we went outside. To start, a beauty shot of the last zombie:

Nikon D700 | Nikkor 135mm 2D DC | F/4 | 1/200 | ISO 100
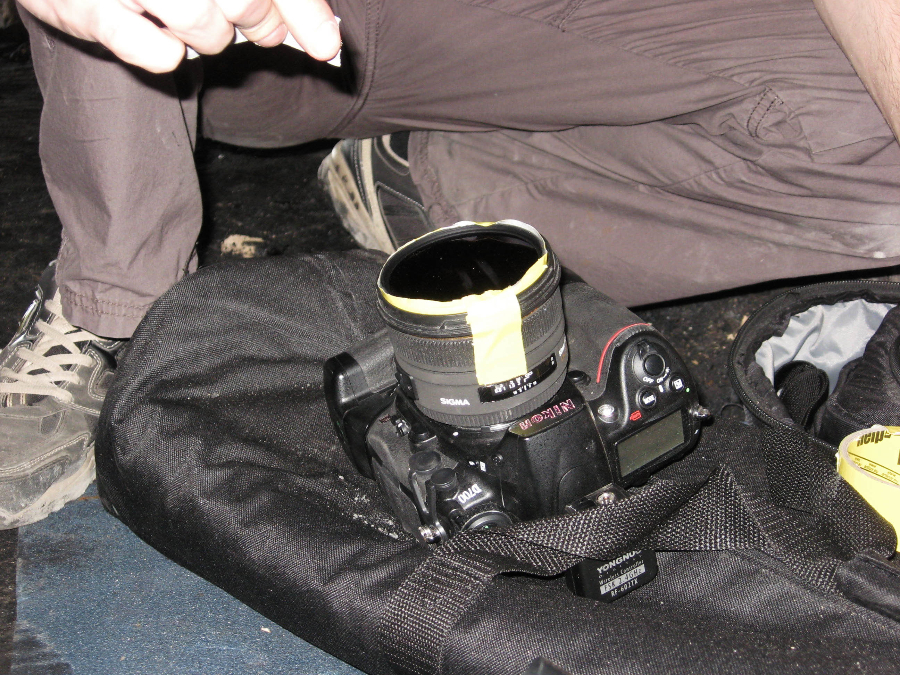
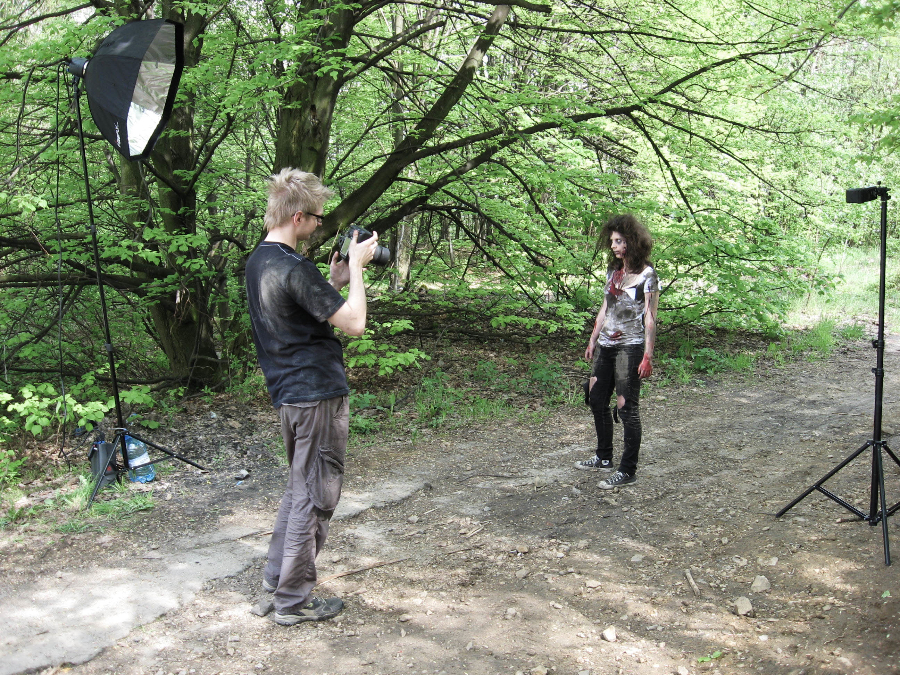
I took it after putting a neutral-density filter on the lens to "switch off" the sun. Besides the main light, there was also a rim light on the hair.
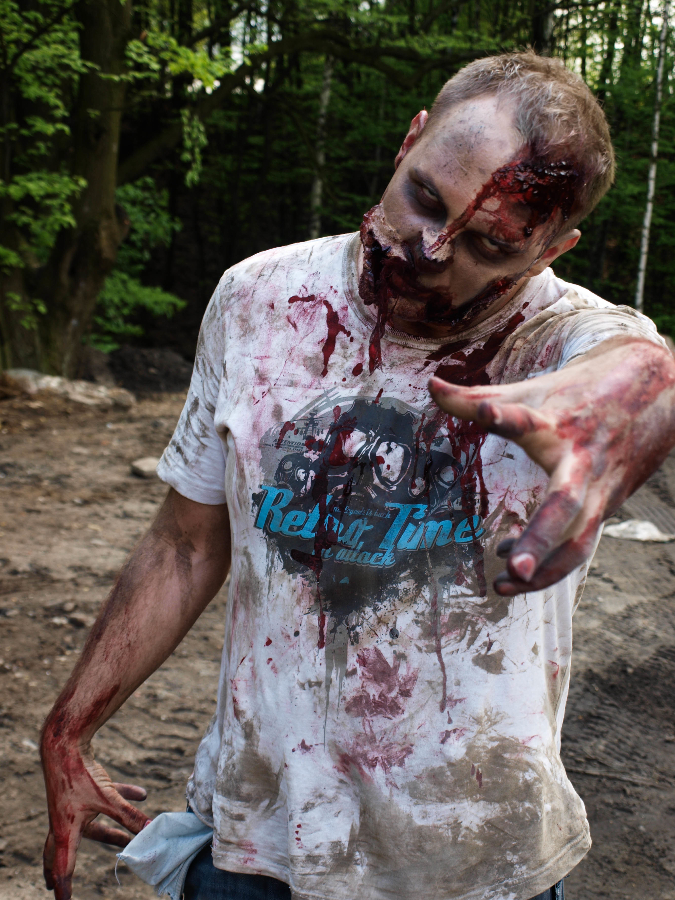
The next photo showed a group of zombies emerging from the forest:

Nikon D700 | Nikkor 135mm 2D DC | F/2,5 | 1/160 | ISO 100
I used one light here, with no rim lights. The neutral-density filter was still on the lens, but I chose the exposure settings so that some available light would fill the background.
And one final photo:

Nikon D700 | Nikkor 135mm 2D DC | F/4 | 1/200 | ISO 100
Aurora Firefly XL
Now for the equipment… As I wrote while describing earlier shoots, I've had enough of heavy studio gear, so I'm looking for light and portable solutions. For this shoot, I replaced the beauty dish with a very interesting invention—the Aurora Firefly XL softbox. I had the 90 and 120 cm versions, but the former suited my needs much better. Unfortunately, there are no smaller ones; or rather there are, but without a Bowens mount, as they're intended for speedlights (which, incidentally, is also an excellent solution and a size just right for non-studio lights). The 90 cm version was perfect for this shoot, though.
How is the Firefly different from other softboxes, and how on earth can an octa replace a beauty dish? I'll explain. You can buy a reflector for it, mounted inside the softbox so that it "covers" the flash tube. As a result, using the softbox with this reflector and without the light-softening layers produces hard, pleasing light similar to what you get from a beauty dish. It's also one of those quick-opening modifiers, and it's exceptionally convenient to set up and pack away—genuinely portable equipment that doesn't require laboriously inserting every rod into the Bowens mount one at a time. Unfortunately, it has one major weakness that a beauty dish doesn't: the honeycomb grid. I didn't use one during the shoot, but a grid from a normal octa can be fitted. Beauty-dish grids, however, can be VERY dense because they're made of metal. You can't make a fabric grid that dense. On the other hand, this is supposed to be portable, and a metal grid certainly isn't. I hope someone comes up with a portable alternative soon.
Jinbei Discovery 600 and 1200 Ws
I had to take some lights. There was no electricity where the shoot took place, so I could either bring a huge universal power pack for standard studio lights or use light, battery-powered units. I chose the latter. At first I considered speedlights, but their limited power would have ruled out shooting outdoors. Since I had the opportunity to use something else, I gladly took it.
So I took a Jinbei Discovery 1200 Ws set, another 600 Ws set, and additional heads with the same power ratings. What exactly is this Discovery? They're very portable flash units. I mean VERY portable. The head is tiny and weighs only 500 g. The bag I described recently usually holds three studio lights. Yet I managed to pack both Discovery sets into one of those bags: two standard heads, two power packs and their cables, plus two additional heads (sold separately). There was even room left for the small reflectors included with the sets. The additional heads I received came from the new Pro series—they weigh 800 g and are larger than the standard ones. I didn't have to transfer everything into my own bags, because the sets came with transport cases. I only did it to save space and weight.
How does it work?
There is a power pack, and a head connects to it with a special 2.5 m cable. All the controls are on the pack. The light's power is adjusted with a dial over a range of 1–5 EV, so the lowest setting is 1/16. In practice, however, the adjustment range is wider…
The power pack has two sockets for connecting heads. The first is marked "A + B" and the second "B". The pack's maximum output is 1200 Ws, but the first socket receives 800 Ws and the second 400 Ws, and each can be reduced to 1/16 of those values. There is also a button that sends the full 1200 Ws to the first socket. Unfortunately, you can't adjust the power of the two sockets—and therefore the two lights—independently. One or two heads can be connected to a single power pack.
Both sets use the same battery—a 6000 mAh, 24 V lithium-polymer pack. I didn't have a chance to test its endurance fully, but with one 1200 Ws head I took around 200 photos at minimum power and about 100 with the setting near maximum (though without routing the pack's full output to it, so the actual power was around 600–800 Ws). The charge indicator still showed maximum, occasionally dropping to 1/2 for a moment. After a few test shots, however, it very quickly began displaying E1, which means low battery and no more firing (even though the indicator was showing maximum or 1/2 at the time). So perhaps the reading was simply inaccurate. Maybe the indicator needs to be calibrated every few months, as with phones, by discharging the battery until it switches off and then charging it fully—I don't know, but I'll check next time. I didn't use the modeling light then, although the unit has one. It's an LED rated at 10 W. That isn't much, but low power consumption takes priority with battery-powered lights.
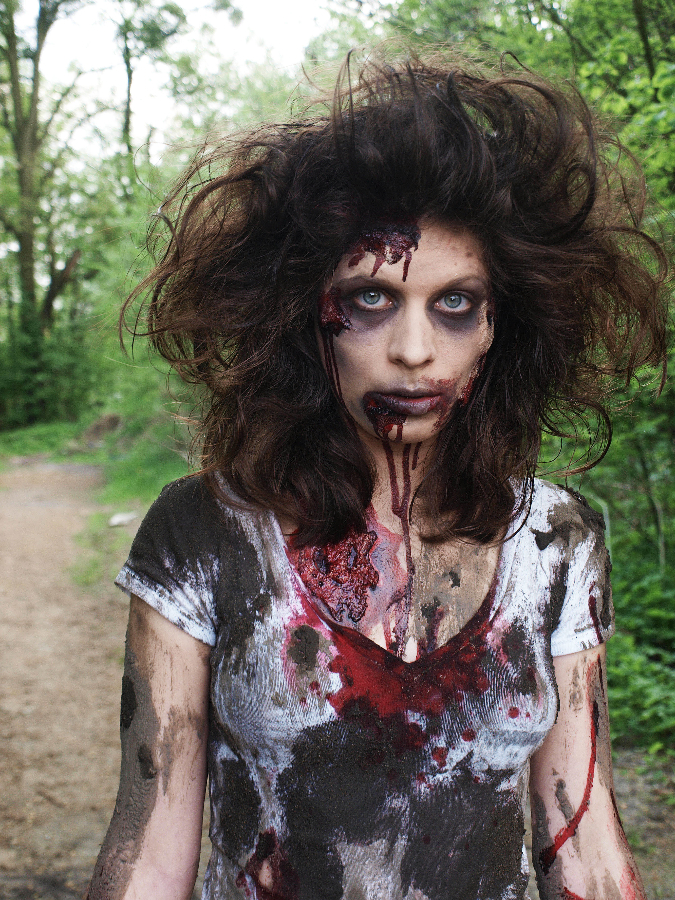
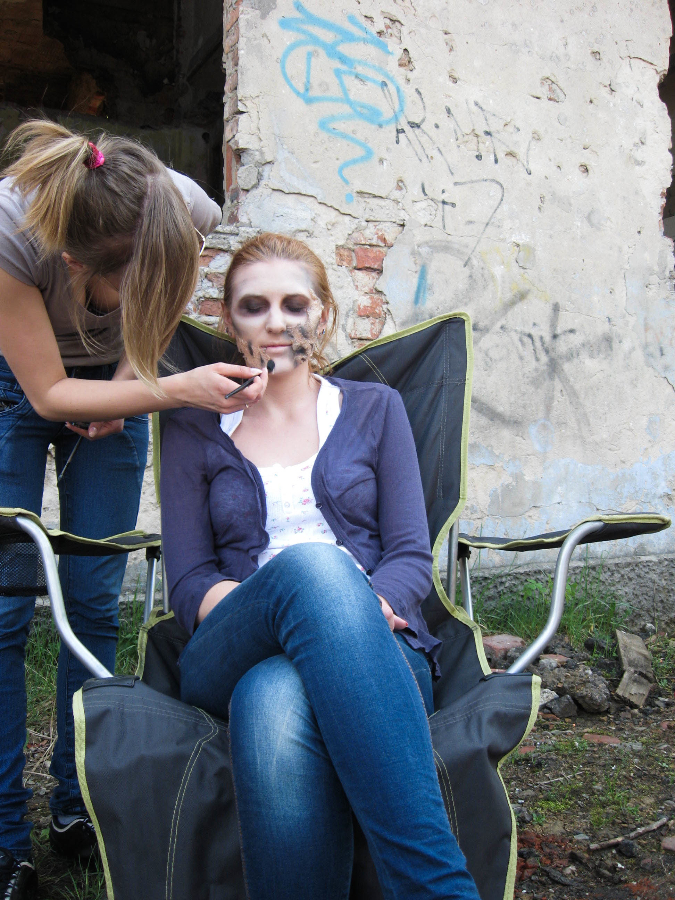
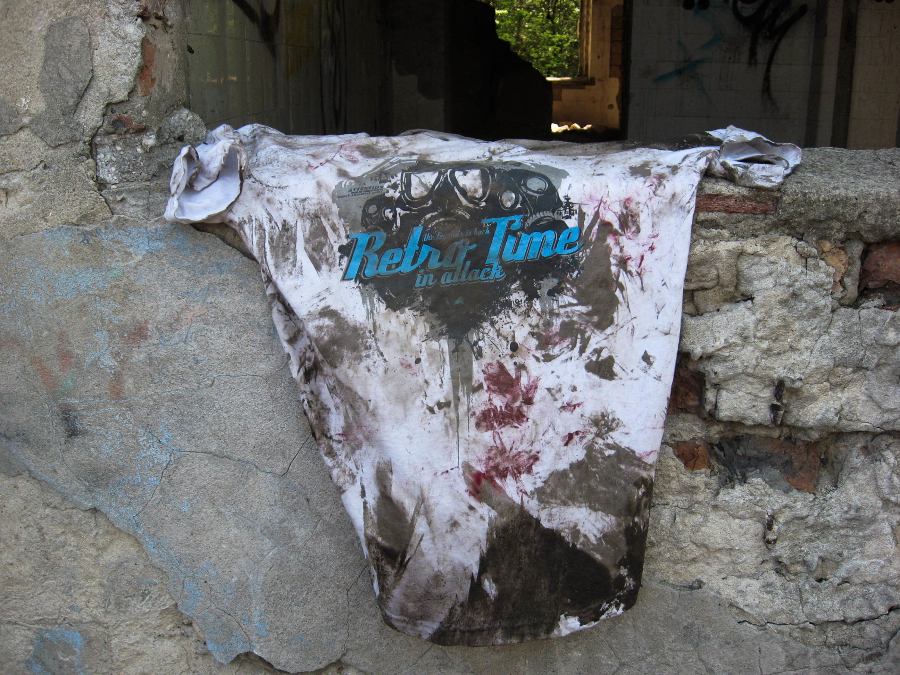
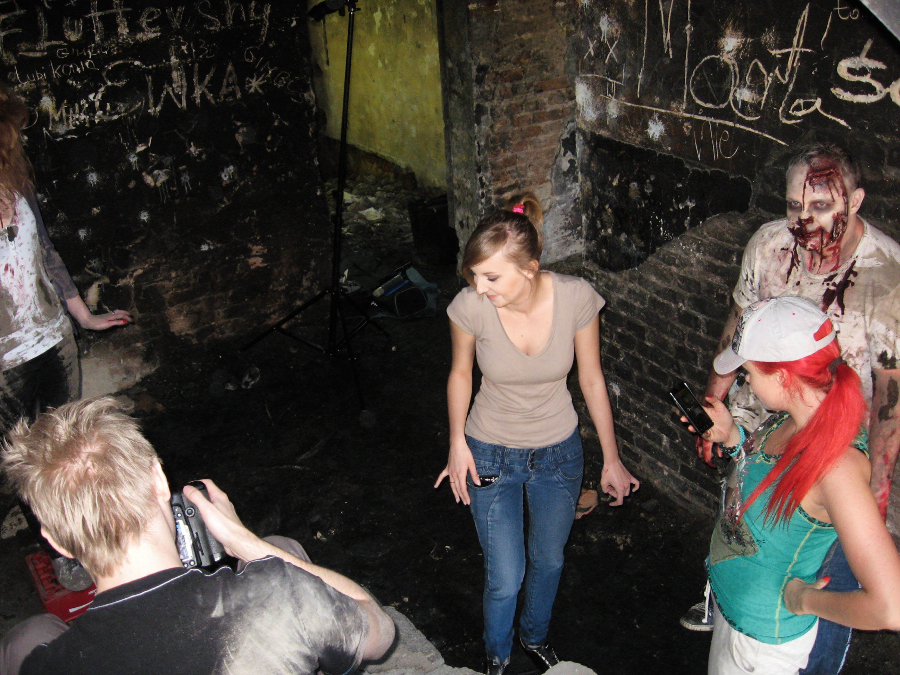
Behind the scenes
Summary
You approach shoots like this completely differently from fashion and beauty—you can focus entirely on the atmosphere instead of showing beauty :). There will probably be one more zombie-themed shoot, but not anytime soon. It will have more action and will probably be closer to "Resident Evil" than "The Walking Dead".
The equipment was supplied for the shoot by the importer, Fripers.