Quick-setup modifiers, lightweight bags and a photo shoot

Some time ago, I decided I'd had enough of laboriously setting up my equipment for every shoot. I planned to go back to speedlights and put together the most mobile kit possible, but that would come later. The first step was to replace my standard modifiers with quick-setup models, which had been growing more popular for about two years. I also planned to replace the bag I used to carry my lights and other accessories.
A standard modifier with a Bowens mount consists of several rods that have to be inserted into the mount. In theory, it's simple and quick, but in practice it doesn't always work out that way. Plenty of people have had enough for a lifetime after assembling a few softboxes. Taking them apart afterward is much worse. I'd had enough too, hence the idea of replacing them.
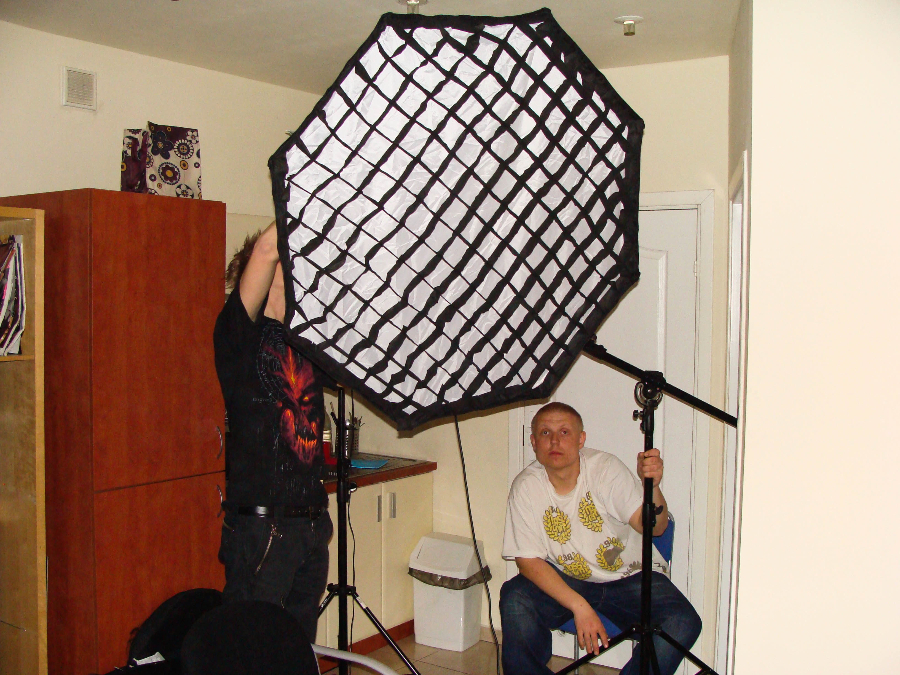
Quick-setup softboxes work much like an umbrella. There's a central shaft, and all you have to do is pull the mount along it. The lock clicks into place automatically, so all that's left is to put the whole thing on the light. It takes only a few seconds. The first setup is time-consuming because you have to attach the diffusion layers and, optionally, the honeycomb grid. I don't have to remove any of that each time, though, so subsequent setups are very quick.
Bags
I changed the bag as well. For the previous few months, I'd been using one bag for almost everything:


Unfortunately, I don't have better photos because all the equipment is packed in something else now. I carried lights, stands, a counterweight and stand wheels, power cables and extension cords, a fan for beauty shoots, softboxes, and a few other things in this bag. That was a huge advantage. Unfortunately, the bag's weight was just as huge (even empty, it weighed a fair amount because it had to be strong enough). Transporting it on asphalt was convenient. The wheels and retractable handle worked quite well, but rough ground was another matter. Carrying it up stairs wasn't difficult either, as long as there was an assistant around to help. Doing it alone would have been a disaster. Packing it into the car was a disaster too. Despite my 540-liter trunk, the bag wouldn't fit (it wouldn't have been a problem in a station wagon). It had to ride on my back seat and took up the whole thing. If not for that, I probably wouldn't have thought so seriously about replacing it.
As I mentioned, almost everything fit in that bag. The word "almost" matters here because, unfortunately, I still had to pack a few stands and lights separately. Before a short photography trip from Tarnowskie Góry to Warsaw to Gdynia, I decided to replace one huge bag with three smaller FS-01 bags. Each FS-01 holds three medium-size lights standing upright. It also has compartments for umbrellas or, for example, small softboxes (not the quick-setup ones, but more on that in a moment). These bags completely covered my transport needs for five or six lights (nine in theory, but then there would have been no room for accessories, and I never carry that many studio lights anyway), a counterweight and stand wheels, cables and extension cords, a fan for beauty shoots, umbrellas, a few standard softboxes, and other accessories such as barn doors with filters and a grid, Bowens mounts for speedlights, and so on. The quick-setup softboxes and stands were the only things that didn't fit. For those, I took another bag, which holds six standard stands and a dog (one of those little stands that only just fits). To sum it up, one enormous bag, a stand case, and an extra small bag for the remaining lights became three equal-size bags and a case that held all the stands. In both cases, I carried my camera and lenses separately in a backpack.
As I mentioned at the start, I changed the equipment partly because of a particular trip. Packing it in smaller bags meant I could fit one more person in the car (although one model proved that you could also travel while lying on top of the huge bag...). That's all for transporting the equipment. It's convenient and practical now.
Finally, here are the photos I took then:
 Nikon D700 | Nikkor 135mm 2D DC | F/6,3 | 1/200 | ISO 200
 Nikon D700 | Sigma 50mm 1,4 EX DG HSM | F/6,3 | 1/200 | ISO 200
 Nikon D700 | Sigma 50mm 1,4 EX DG HSM | F/6,3 | 1/200 | ISO 200
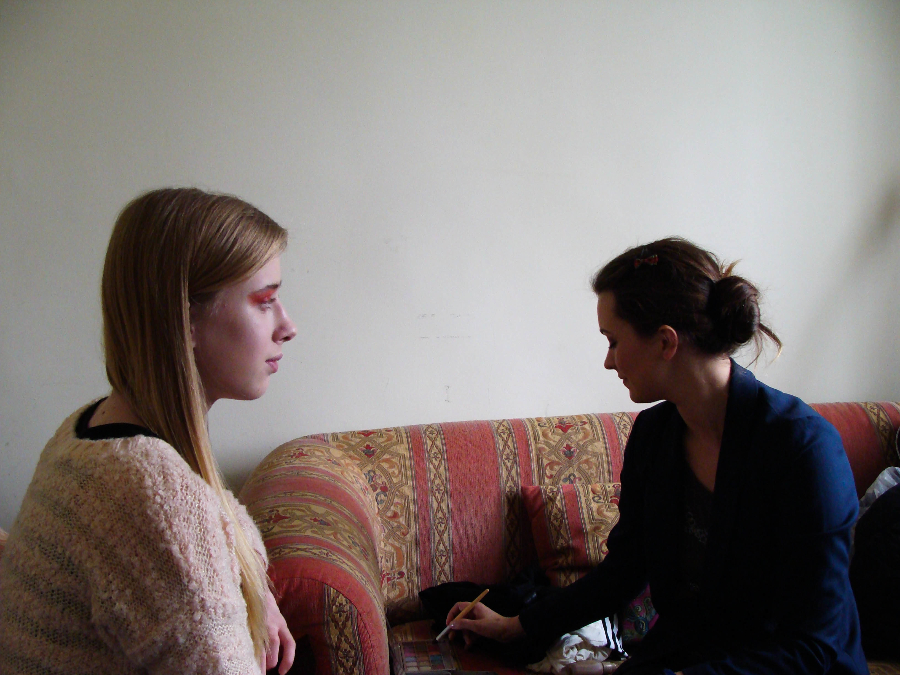
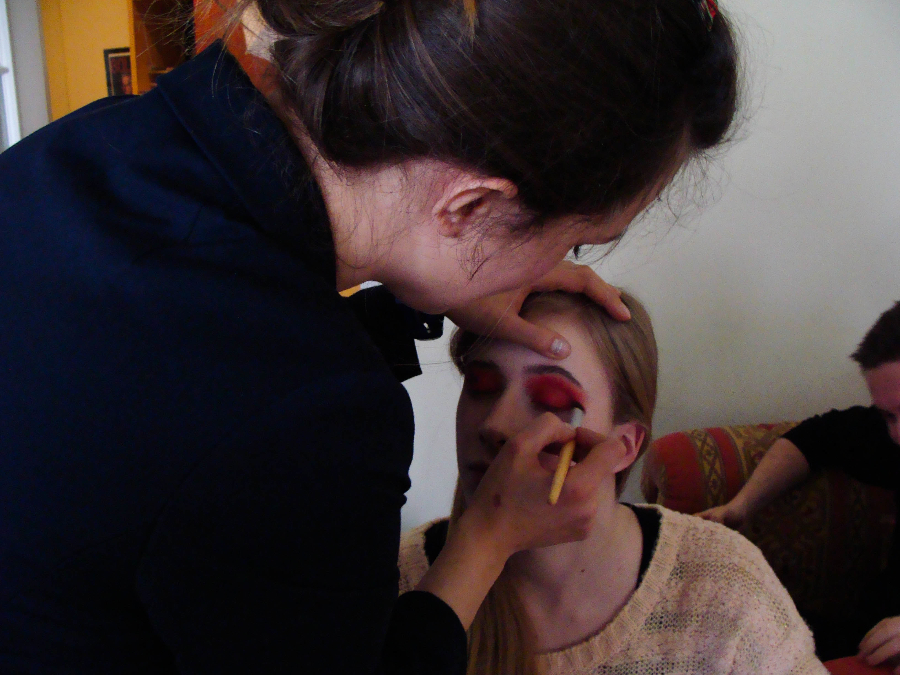
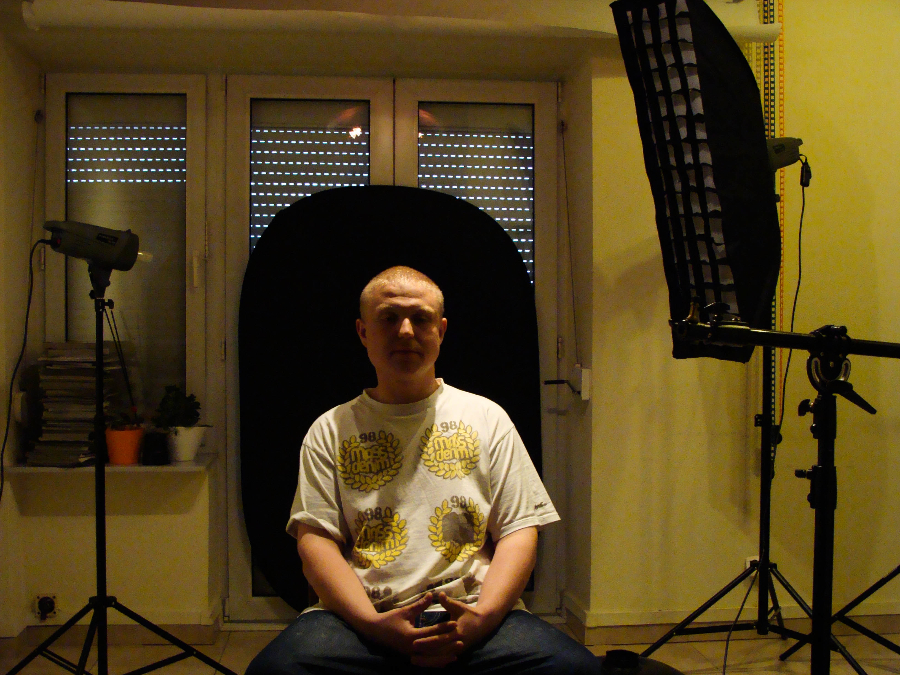
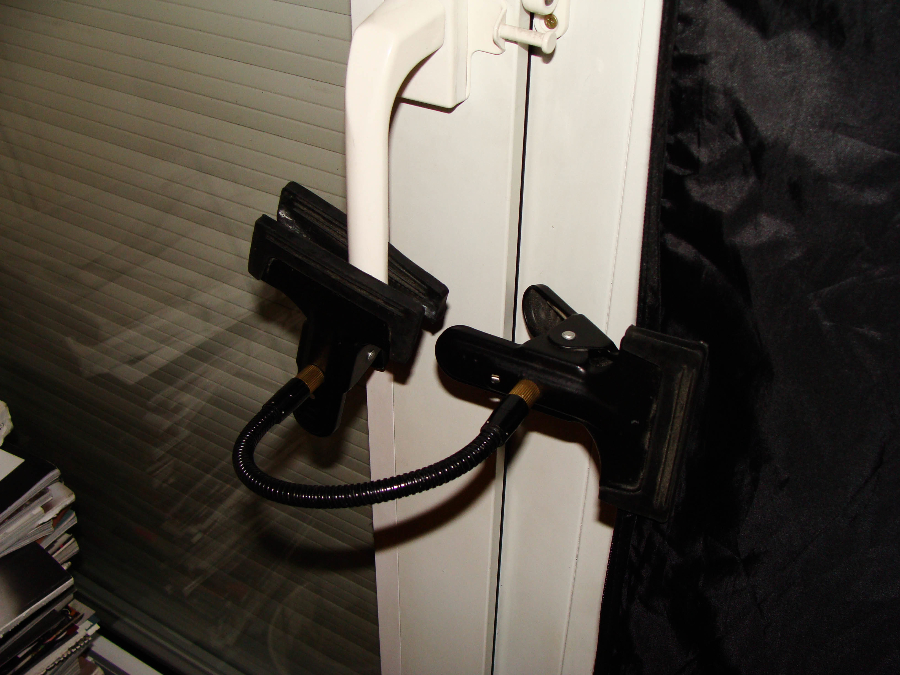
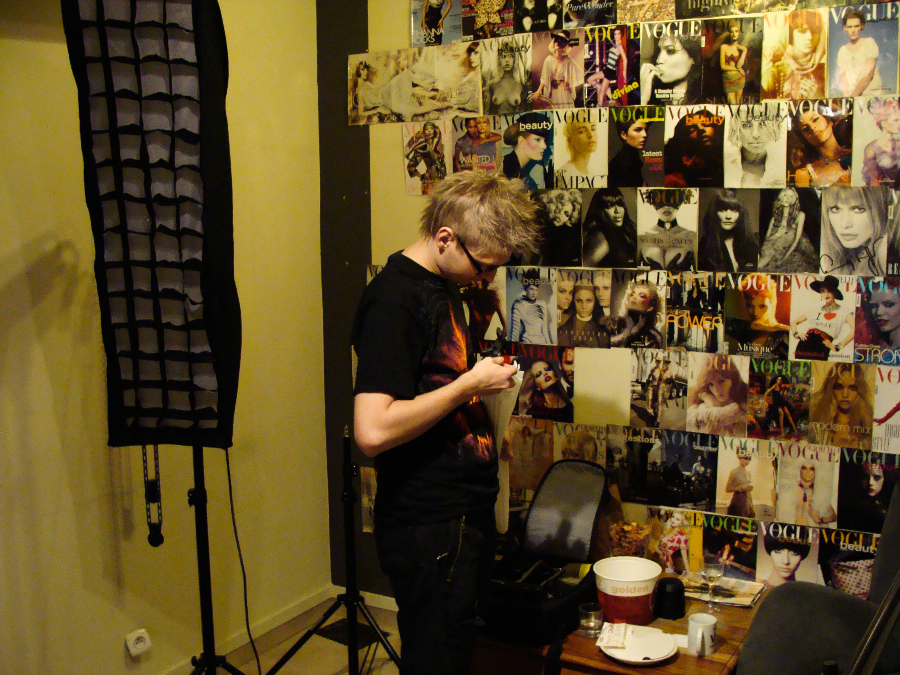
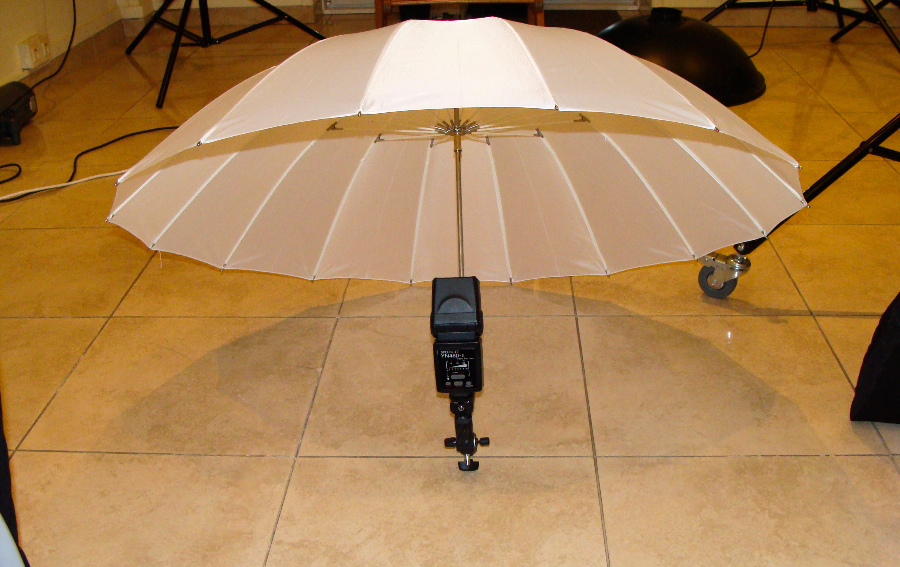
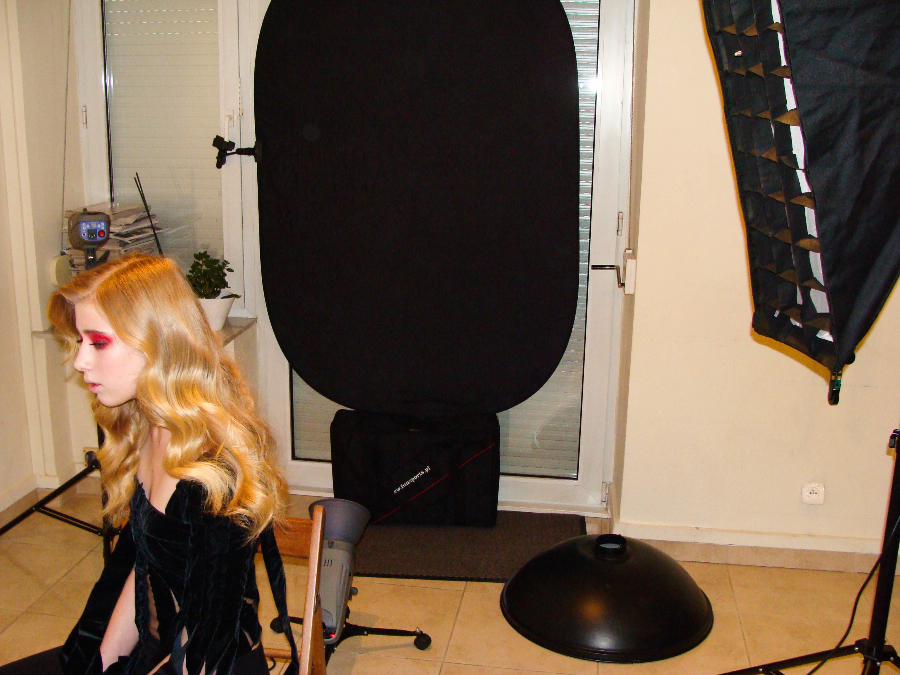
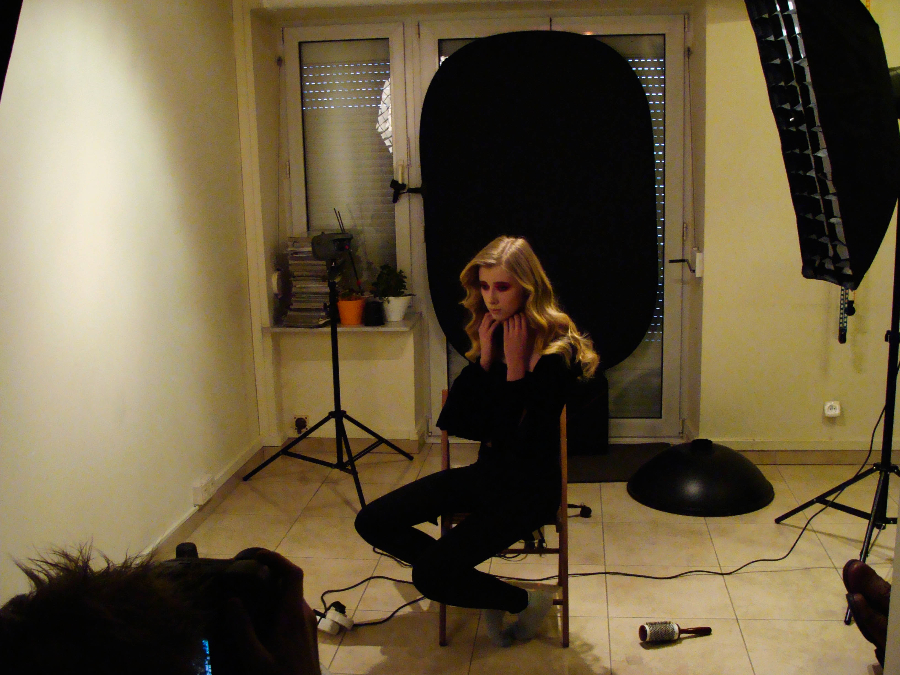
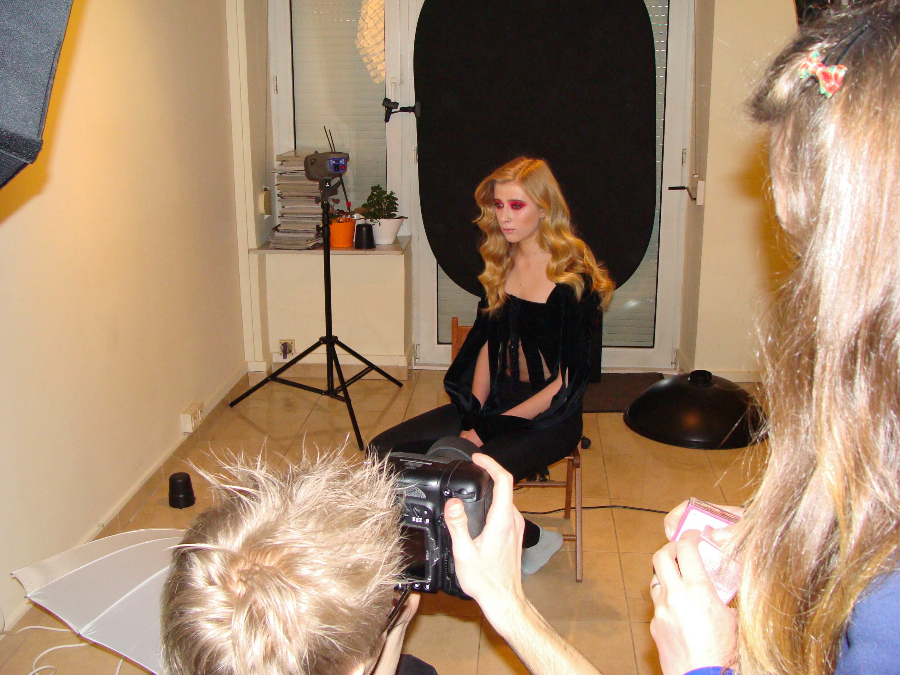
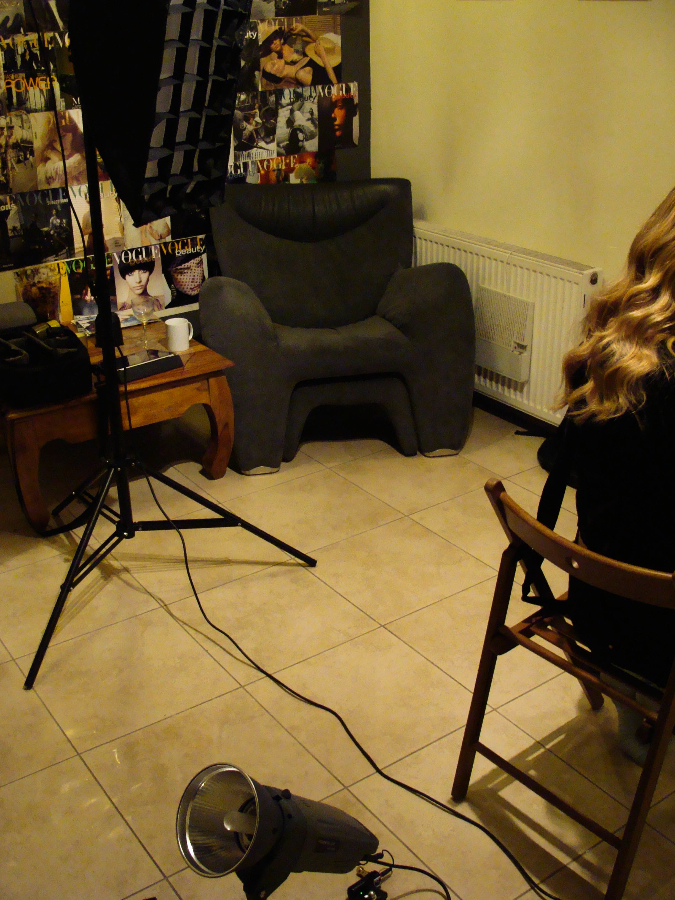
For the beauty shot, I used a quick-setup UMB 120 cm octabox (with a honeycomb grid) and a Powerlux VE light aimed at a background made from a black reflector. An umbrella lit the irises. My existing umbrellas were already barely hanging on, so I replaced them with a sturdier model. For the full-body shots, I replaced the octabox with a quick-setup 30 x 150 cm stripbox and no longer used the umbrella. In both cases, I'd also planned to use a stripbox as a rim light (the quick-setup 30 x 120 cm model) that can be seen in the backstage photos, but it ultimately looked better without it.
Backstage
Summary
Going back to quick-setup equipment was a good idea, although it has one drawback: these modifiers take up more room when folded than standard ones (they're cylinders just under 20 cm in diameter). Fortunately, their weight and length are the same. I'll write more about these modifiers in the future. For the next shoot, I went one step further and took properly mobile lights instead of standard studio models. They were lightweight, very small, self-powered, and powerful at the same time (up to 1200 Ws). A write-up is coming soon.
The equipment was provided for the shoot by the importer, Funsports.