A Shoot with Alani, Who’s Half Thai, and Choosing a Background for a Home Studio
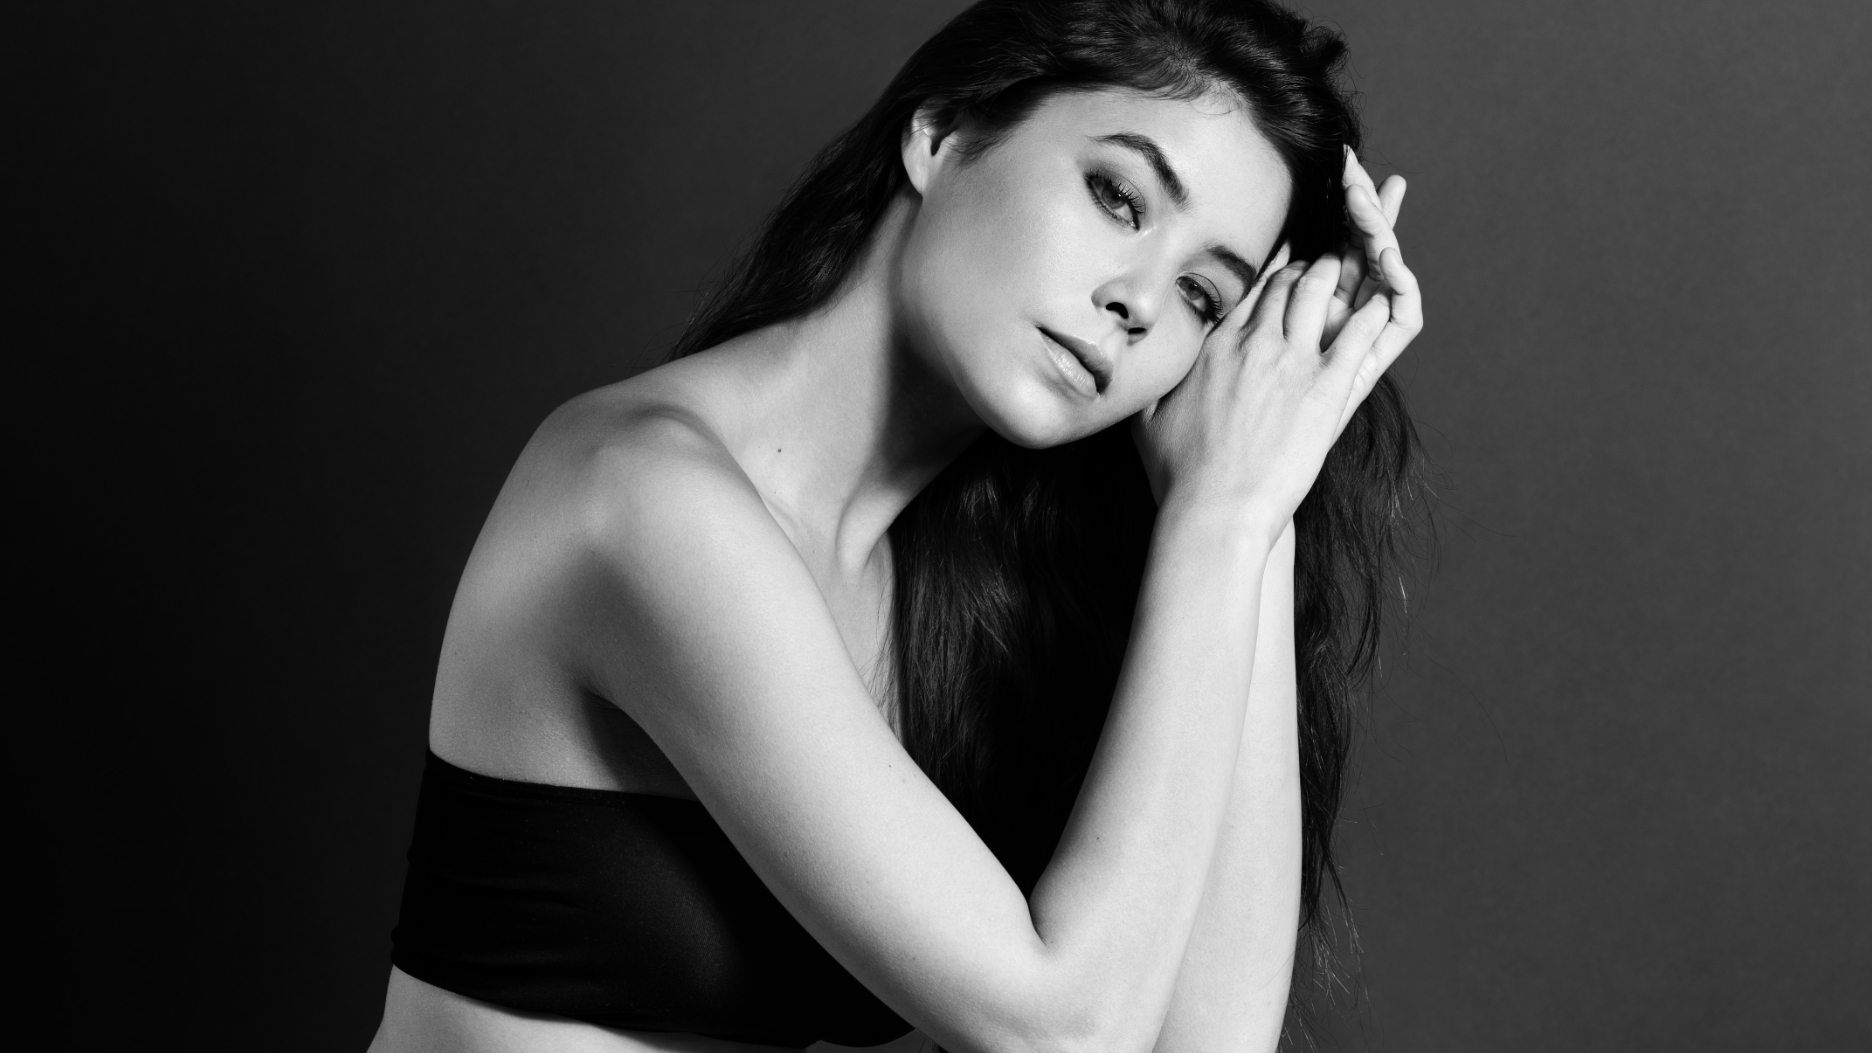
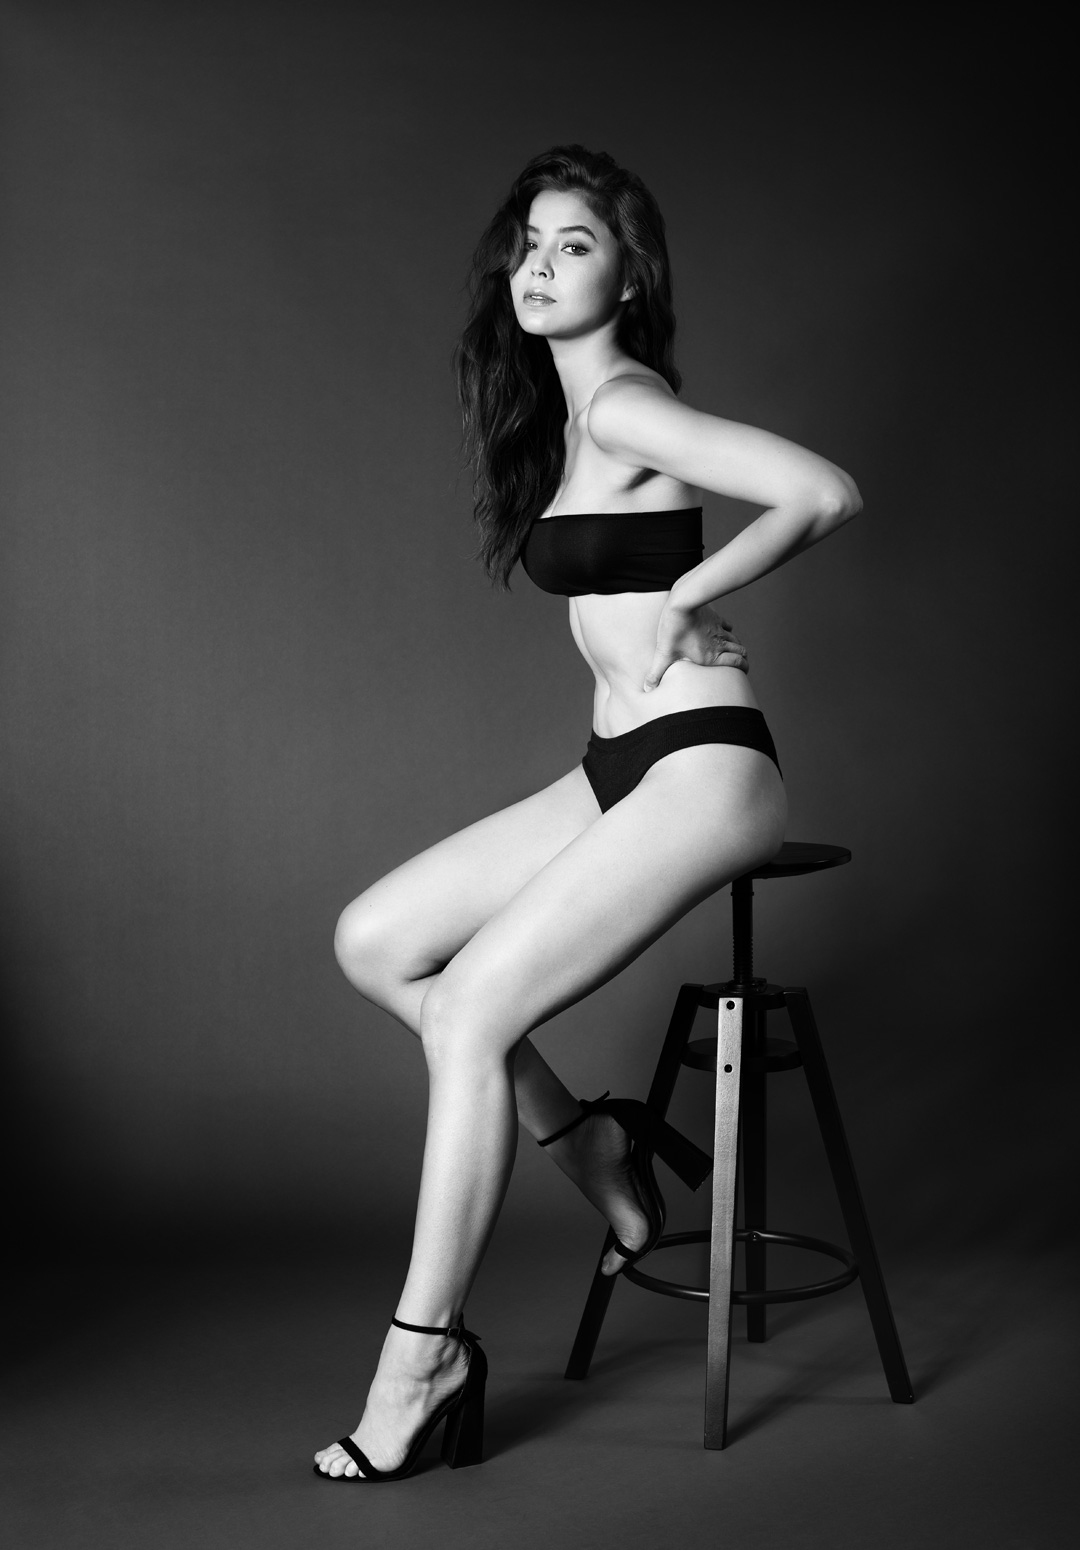
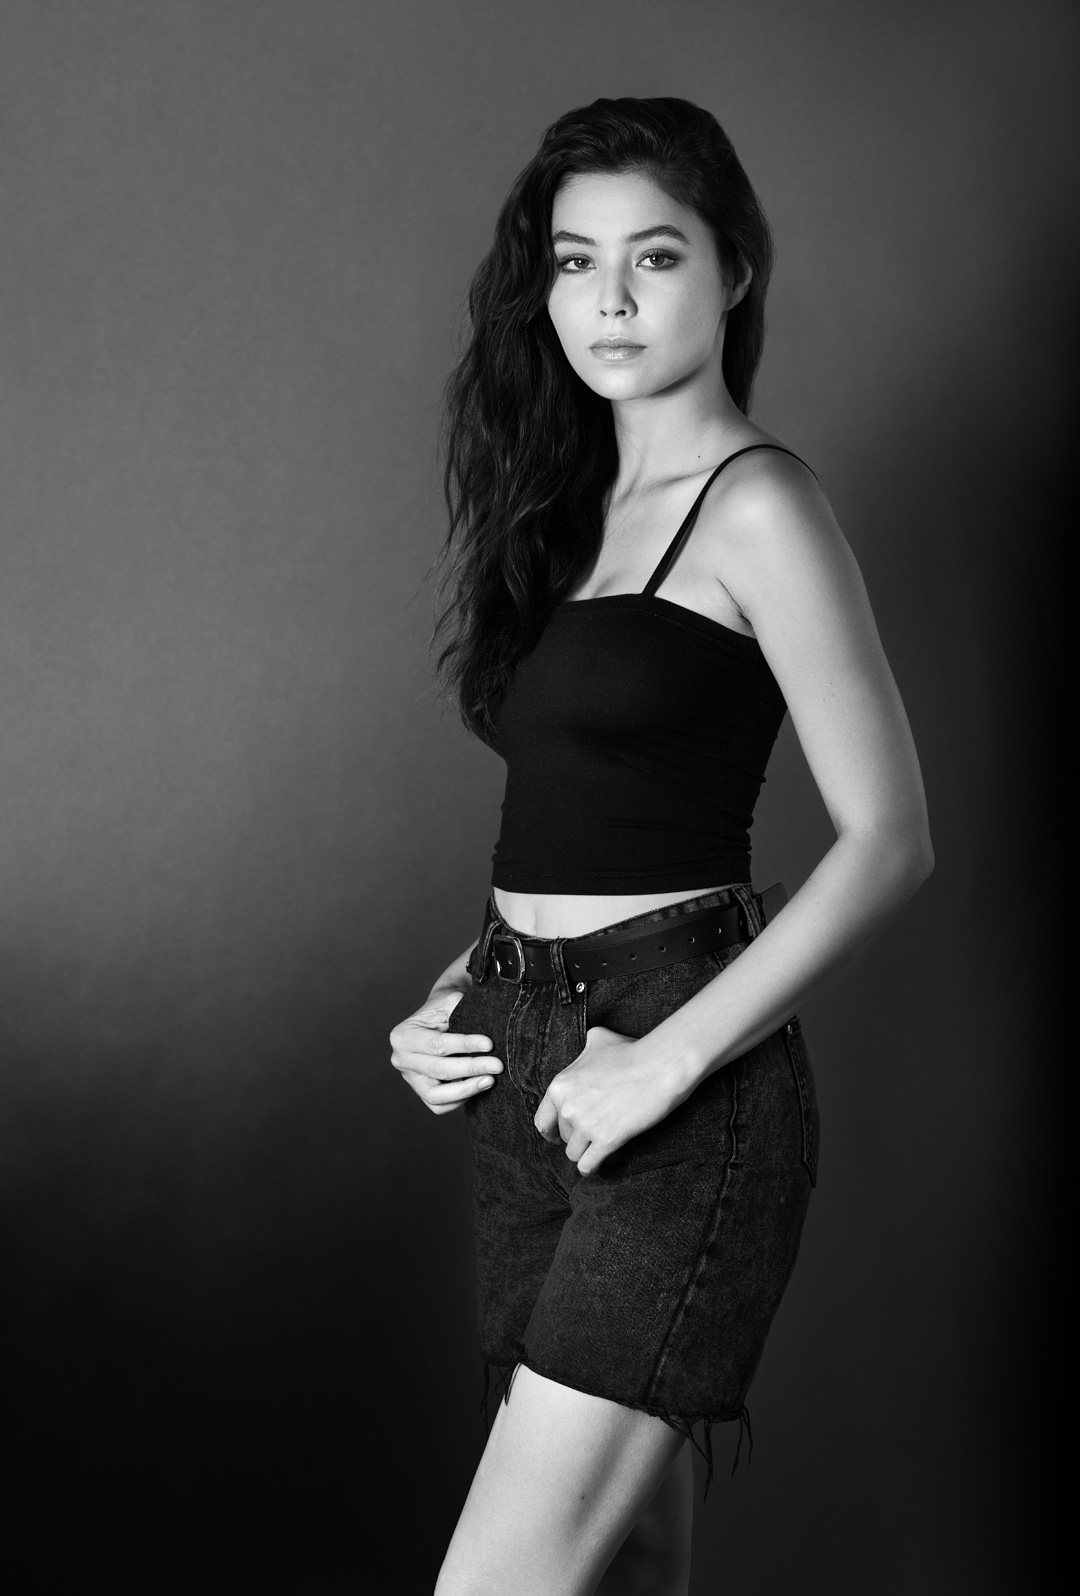
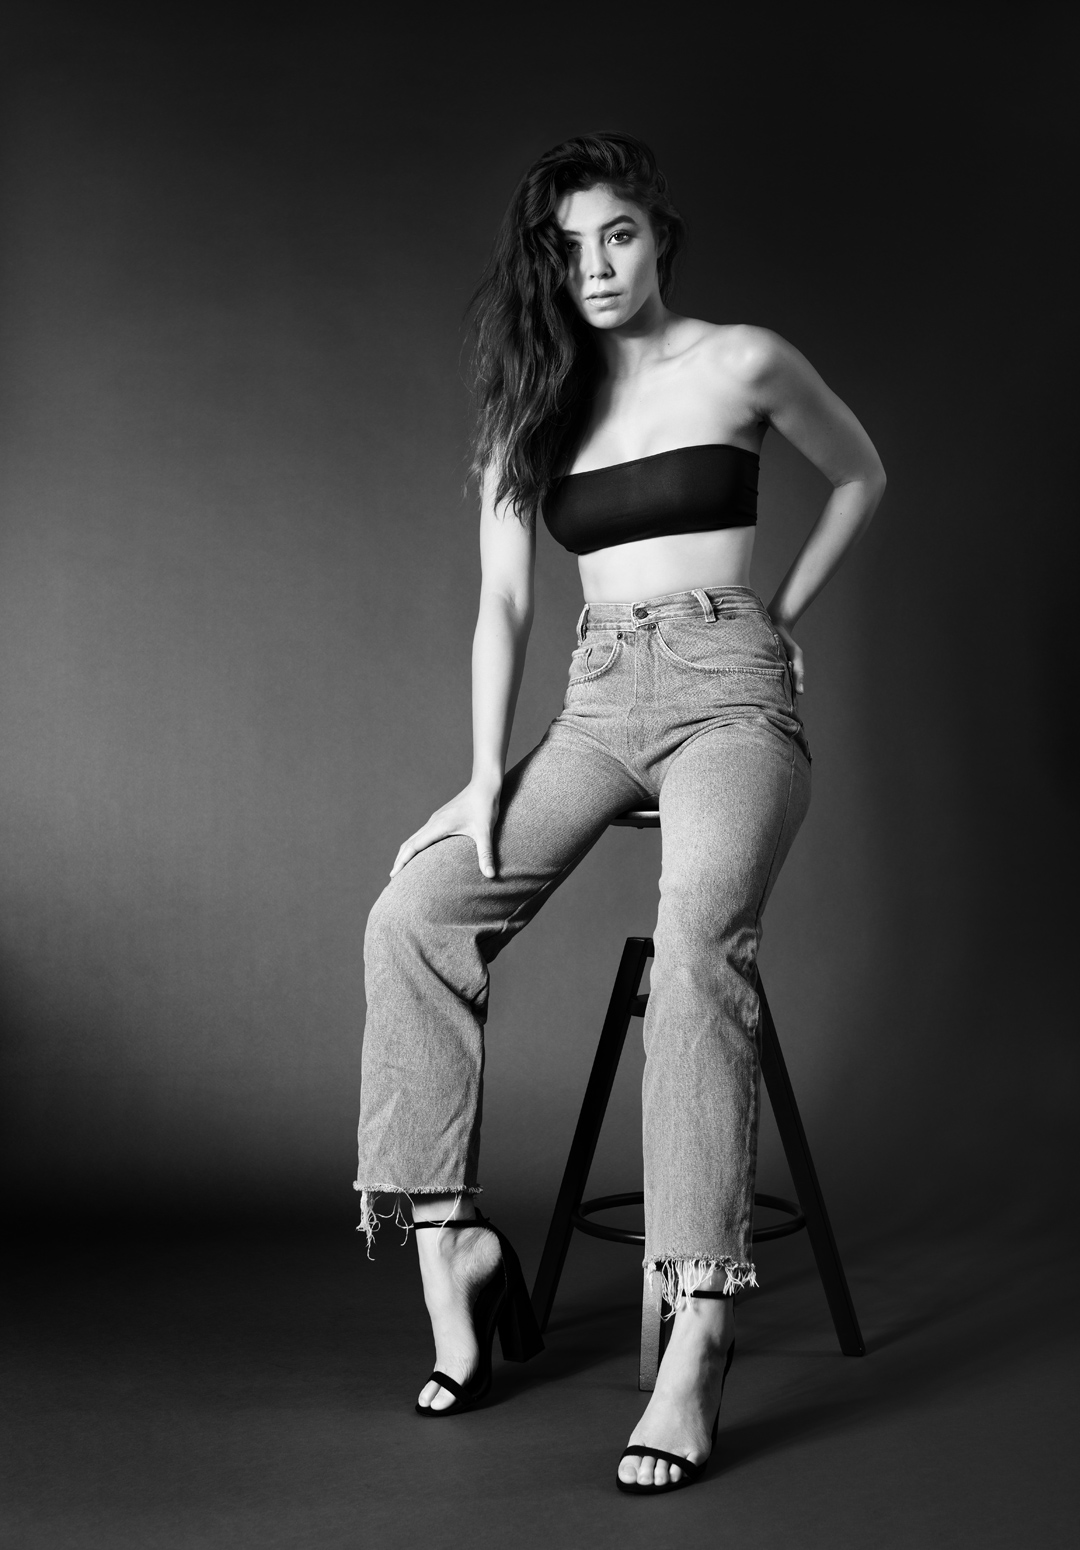
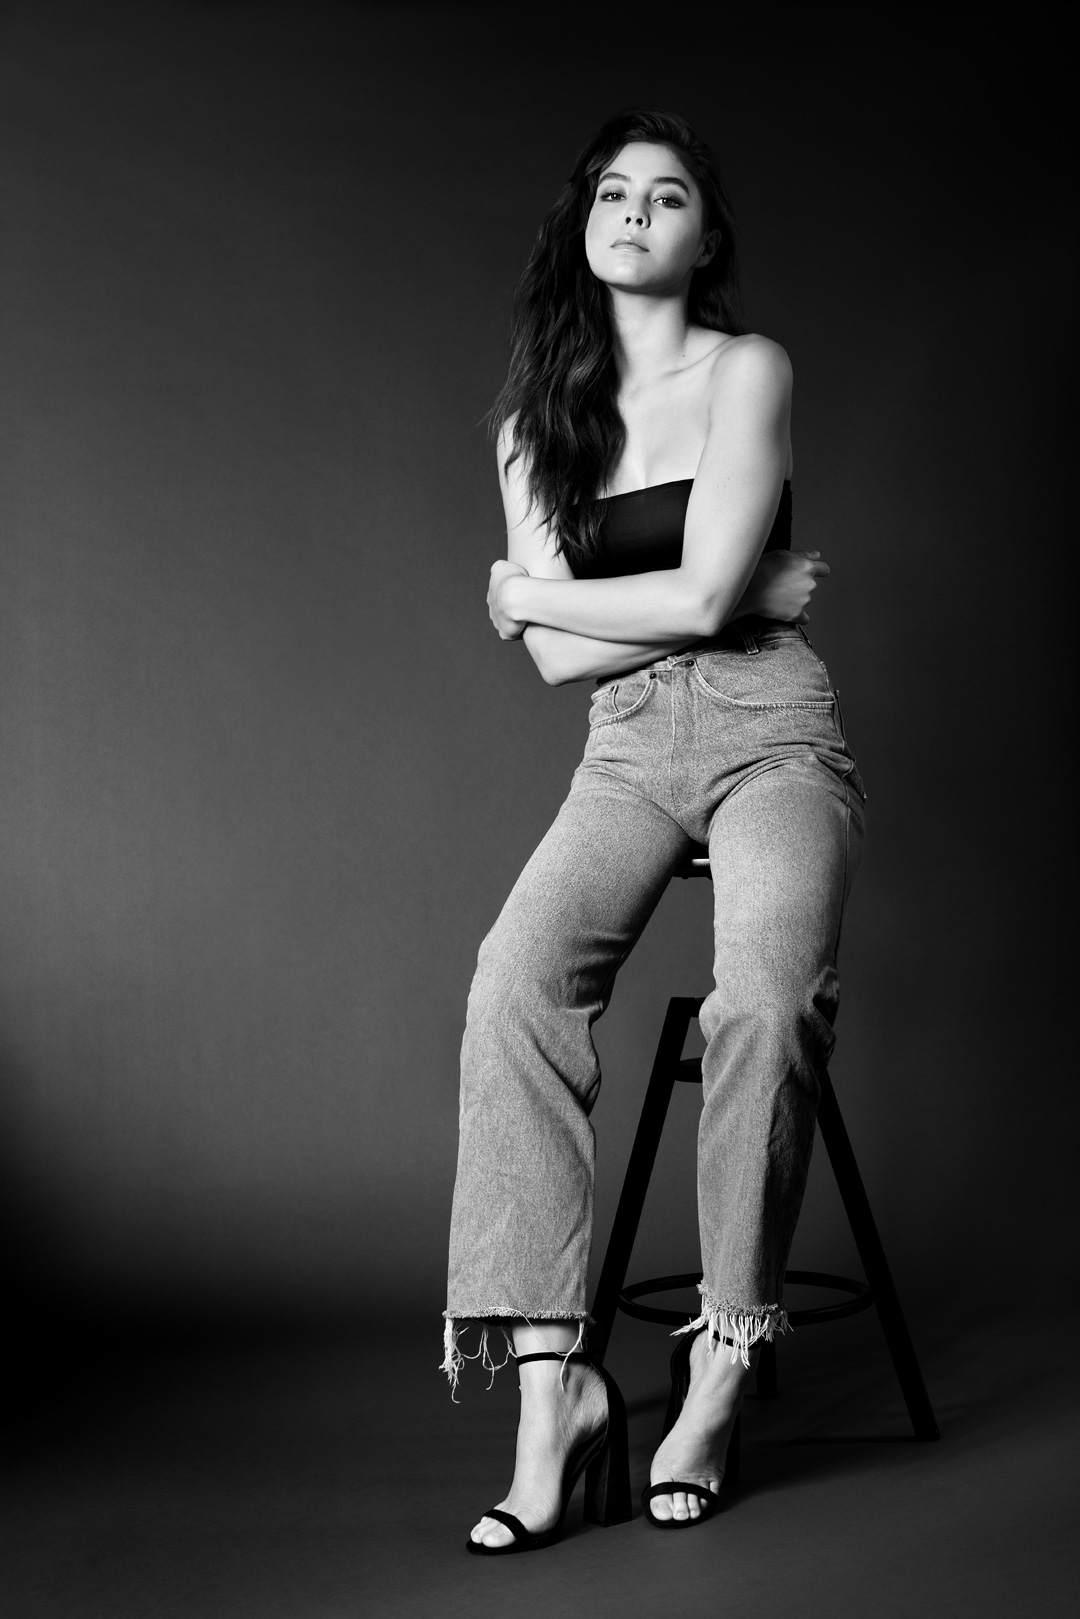
Alani looks Asian in most photos, which is no surprise because she’s half Thai (and half Australian). In my photos, however, her Thai side is much less apparent than usual. I also made a short behind-the-scenes video from this shoot—it’s at the end of the post.
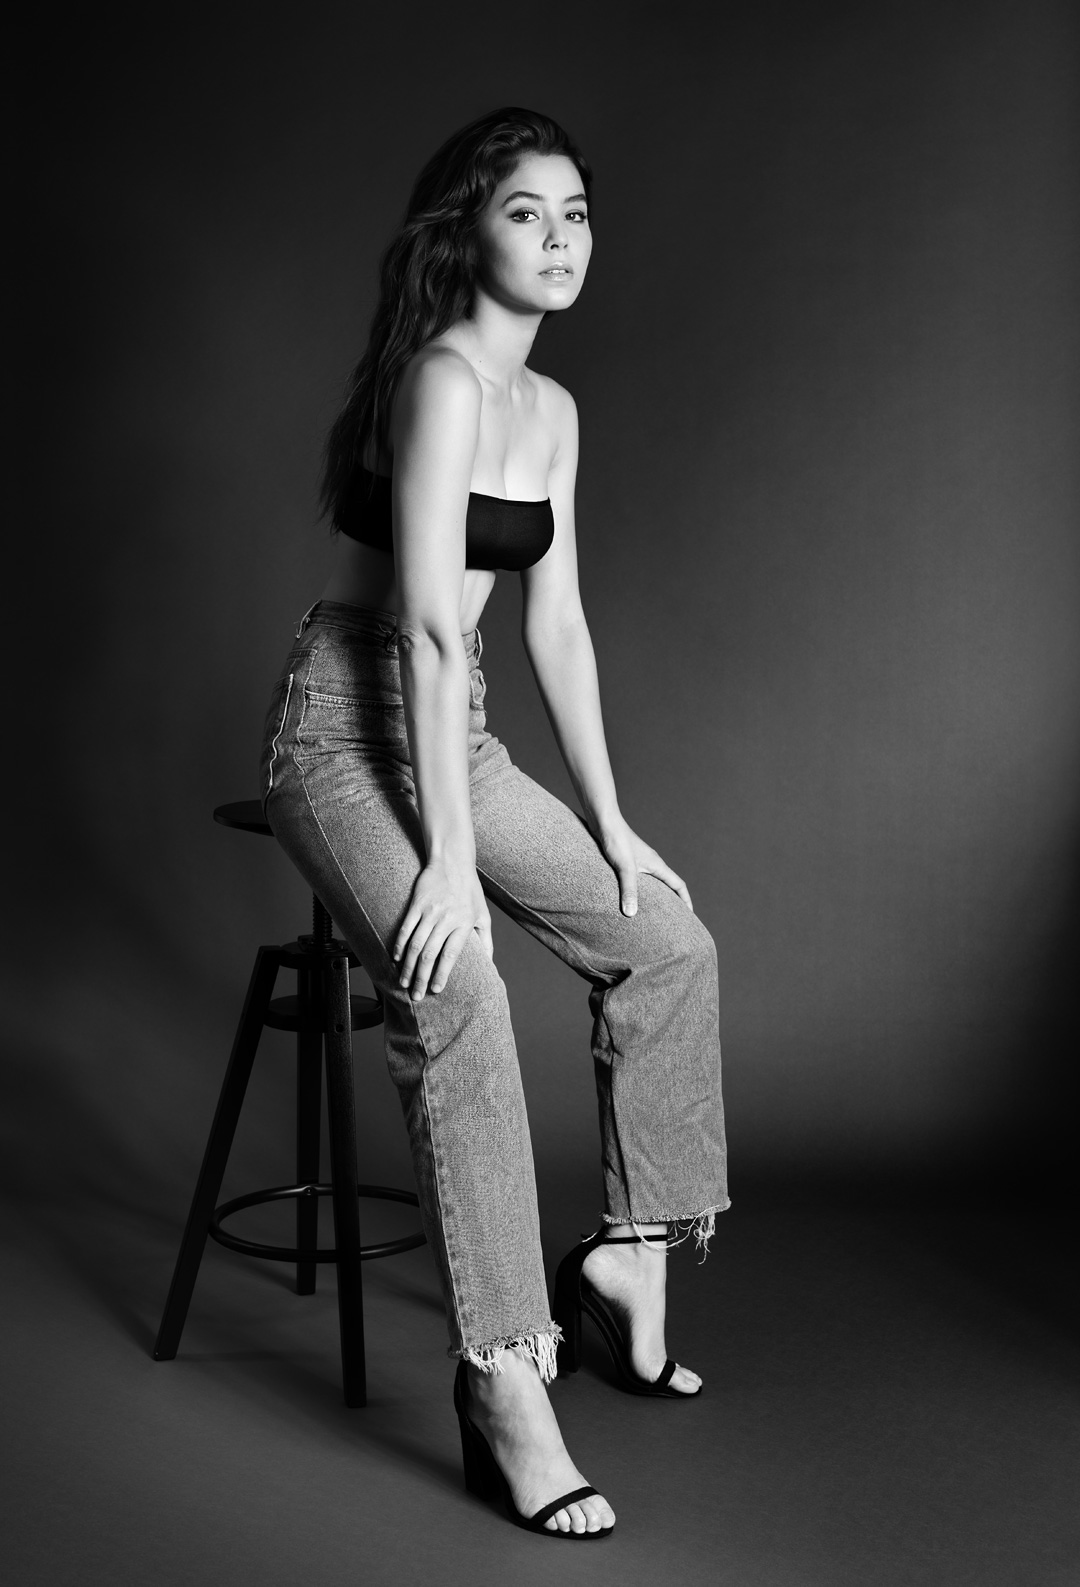
As with all my tests, the makeup was very simple, as was the styling, and the photos were taken at home. A few years ago, while looking for an apartment, I wondered whether I should rent a large place where I could photograph models or do it in a separate utility space converted into a studio.
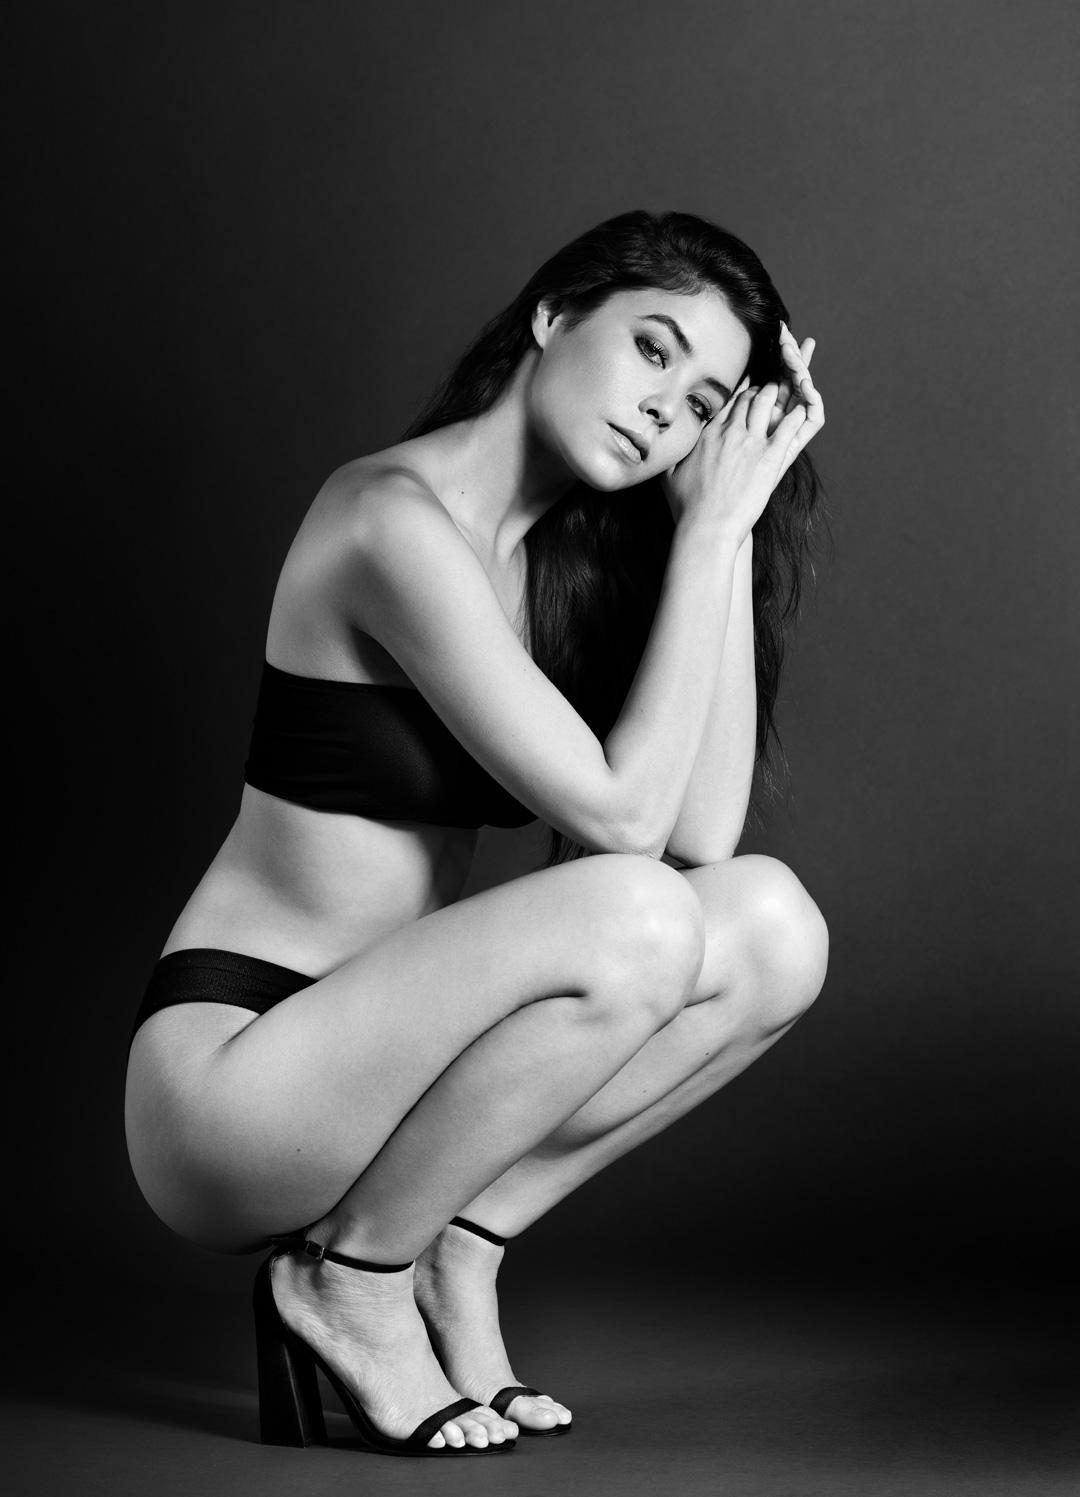
For a while, there was even an idea to open a proper studio in partnership with two other people. That option was quickly abandoned. I decided then that I wanted a huge apartment so holding shoots there wouldn’t be a problem. That idea didn’t work out either, because there was one building in the entire city where I wanted to live 100 times more than anywhere else, and unfortunately the prices of its large apartments weren’t appealing then and still aren’t now. But I’ve already written about apartments in Bangkok twice—the first and second posts—and my point here is that I ended up in an apartment that isn’t small, but neither its floor area nor its ceiling height (2.35 m) resembles a photo studio. I can’t position lights wherever I want because walls and other obstacles get in the way, but not enough to force any major compromises. Unfortunately, I hadn’t taken full-body photos against a studio background in a long time, even though I had enough distance from the subject.
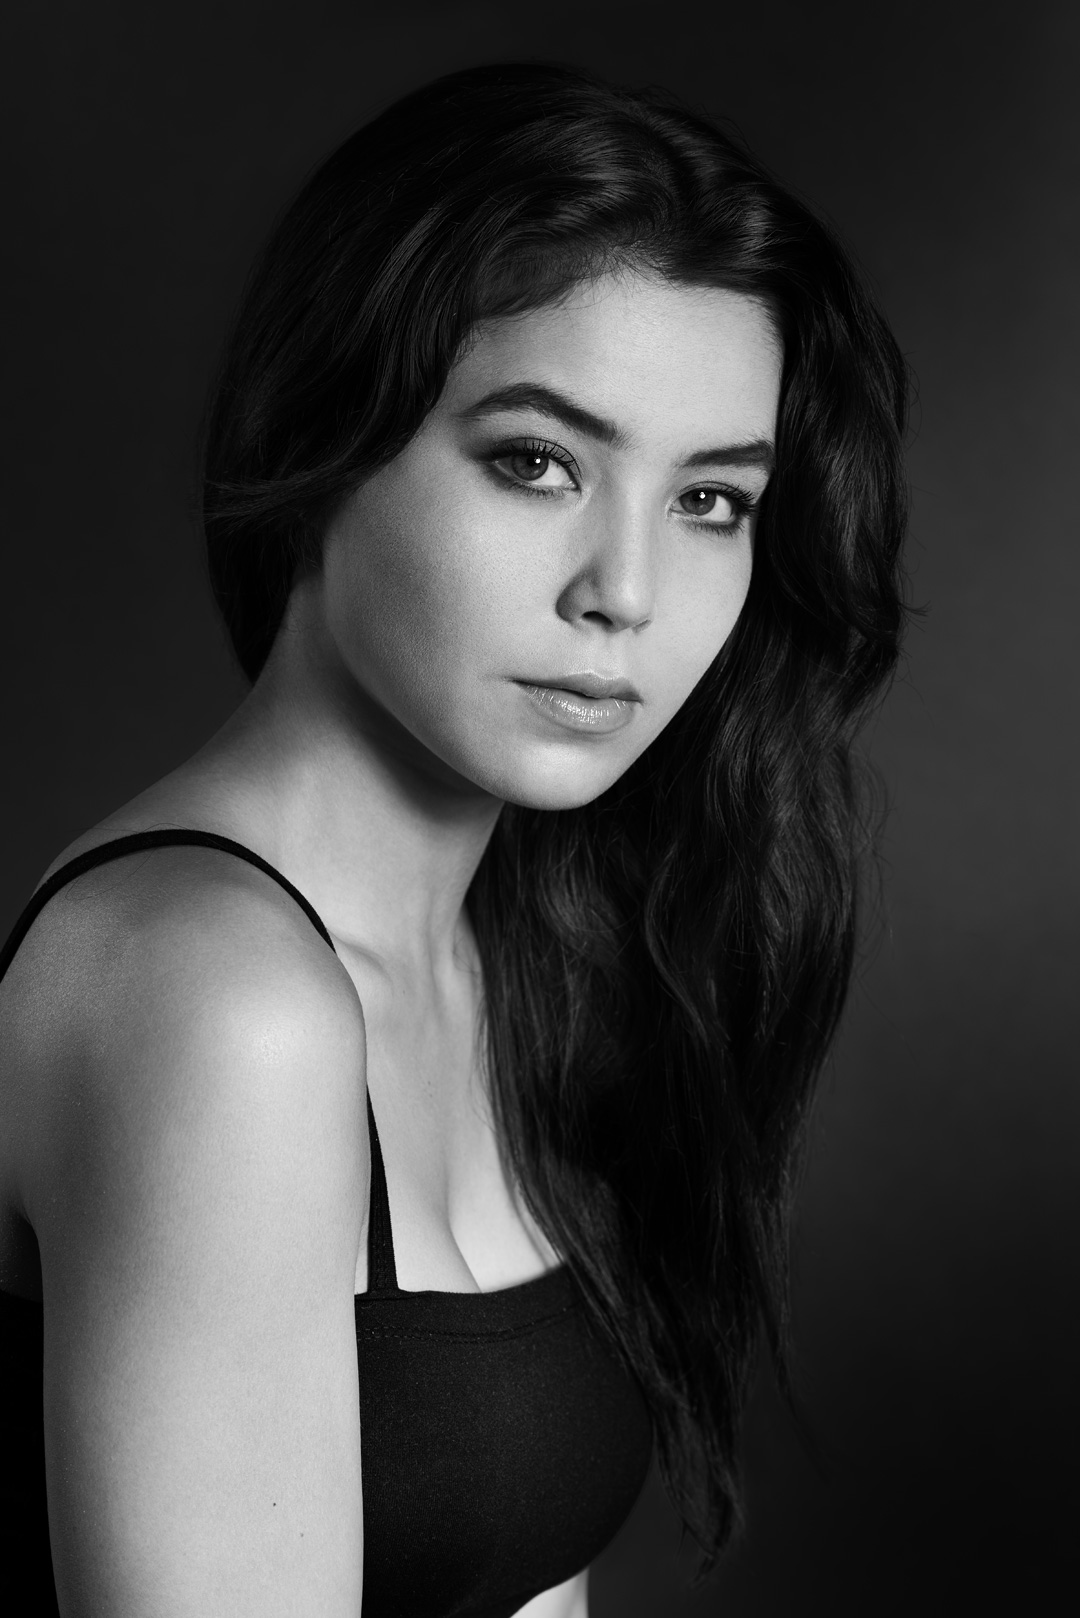
Using a reflector as a background was incredibly quick to set up, and I had no intention of returning to huge 2.7 x 11 m rolls of paper. Eventually, though, I started to miss taking “proper” full-body photos, so it was time to go shopping.
Background Type
I didn’t consider a polypropylene background for even a fraction of a second. These backgrounds should only be sold after the customer signs a document confirming that they know what kind of crap they’re about to buy (yes, I know there are applications where it’s okay—photographing models isn’t one of them).
There were no vinyl backgrounds available nearby. In any case, I would only consider a matte one, and those aren’t very popular. So, as usual, I ended up with paper.
Studio Background Width
I always recommend a 2.7 m background for full-body photography, but I don’t need that much for vertical frames alone because I don’t use wide focal lengths. I decided to buy something that would let me shoot without major limitations but wouldn’t be any larger than necessary. Otherwise, the stands would have to overlap the background, and I’d have to walk on it while trying to reach the cabinet with my photo gear, and so on. Backgrounds can be bought in any size because the store will cut them to the requested dimensions (though I don’t know if every store does this), so I decided to measure mine down to the centimeter.
I opened set.a.light 3D and simulated the kinds of shoots I needed this background for: photos of models usually no taller than 178 cm, plus heels.
A 1.5 m background would’ve been enough, but only with a 135 mm lens, and the model would’ve had to stand fairly close to it. Overall, there would’ve been too little freedom for posing. With very high heels, I’d have had to shoot from the balcony. I’d already done that several times when photographing full bodies, though with floor panels on the ground instead of a studio background. But with temperatures that can exceed 40°C, the idea wasn’t appealing.
Another option was a 1.8 m background and photographing the full body at 50 mm. That leaves plenty of room—I’d need only 4 m of distance from the model, and often much less. But if she posed too close to the center, the composition would be poor because there’d be no room to move the camera left or right; the background would end just beyond what I could see in the viewfinder.
I worked out that 2.2 m would give me reasonably sufficient freedom both in framing and in moving around, while making it easy to store the background completely upright after the shoot. That gives me room in the living room to hide several backgrounds like this, so I don’t have to carry them into another room.
A few more centimeters (up to 8) could’ve helped, but since 2.2 m was enough, I didn’t overthink it. If I were mounting the background permanently instead of hanging it from stands, I might’ve chosen the full 2.7 m without cutting it, because there’s enough room without the stands, but the lack of space around it would still be a problem.
I’ve always said that 85 mm is an excellent focal length for full-body studio photos. If I owned one, a slightly narrower background would’ve worked while still leaving me some extra room. But I have no use for an 85 mm lens outside these shots, so since my “outdoor” 50 mm works fine too, I’m sticking with it.
Background Color
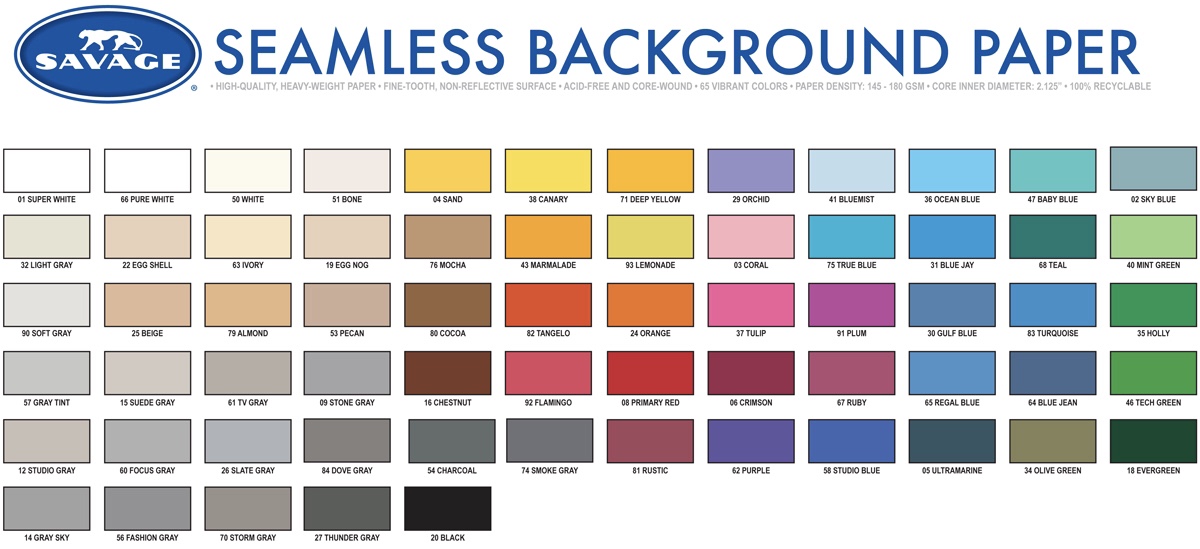
The last decision was equally important: the background color. My love of black is obvious, but I actually shot most of my fashion work against a dark gray background, specifically Savage “Smoky Gray.” I placed the lights at the sides, so the final result looked the way I wanted. Those photos, however, were shot with a beauty dish fitted with a honeycomb grid or a 90 cm octabox with a grid—in other words, light that could be kept very effectively off the background. This time I wanted a background I could use even with a 150 cm umbrella, which lights the background very strongly in addition to the model. So I had a dilemma: black, or the darkest gray available.
That dark gray is Savage “Thunder Gray.” It’s several shades darker than Smoky Gray, but it doesn’t resemble black at all. It’s a real shame there’s nothing much darker, because they could easily fit several more shades in between. This is especially strange because Savage also makes Charcoal, which is almost identical to Thunder Gray. Maybe the store lighting wasn’t very good, because when looking at the swatch chart, neither the staff nor I could tell which one was darker. It’s much easier to see on the on-screen chart, though the difference is still small:
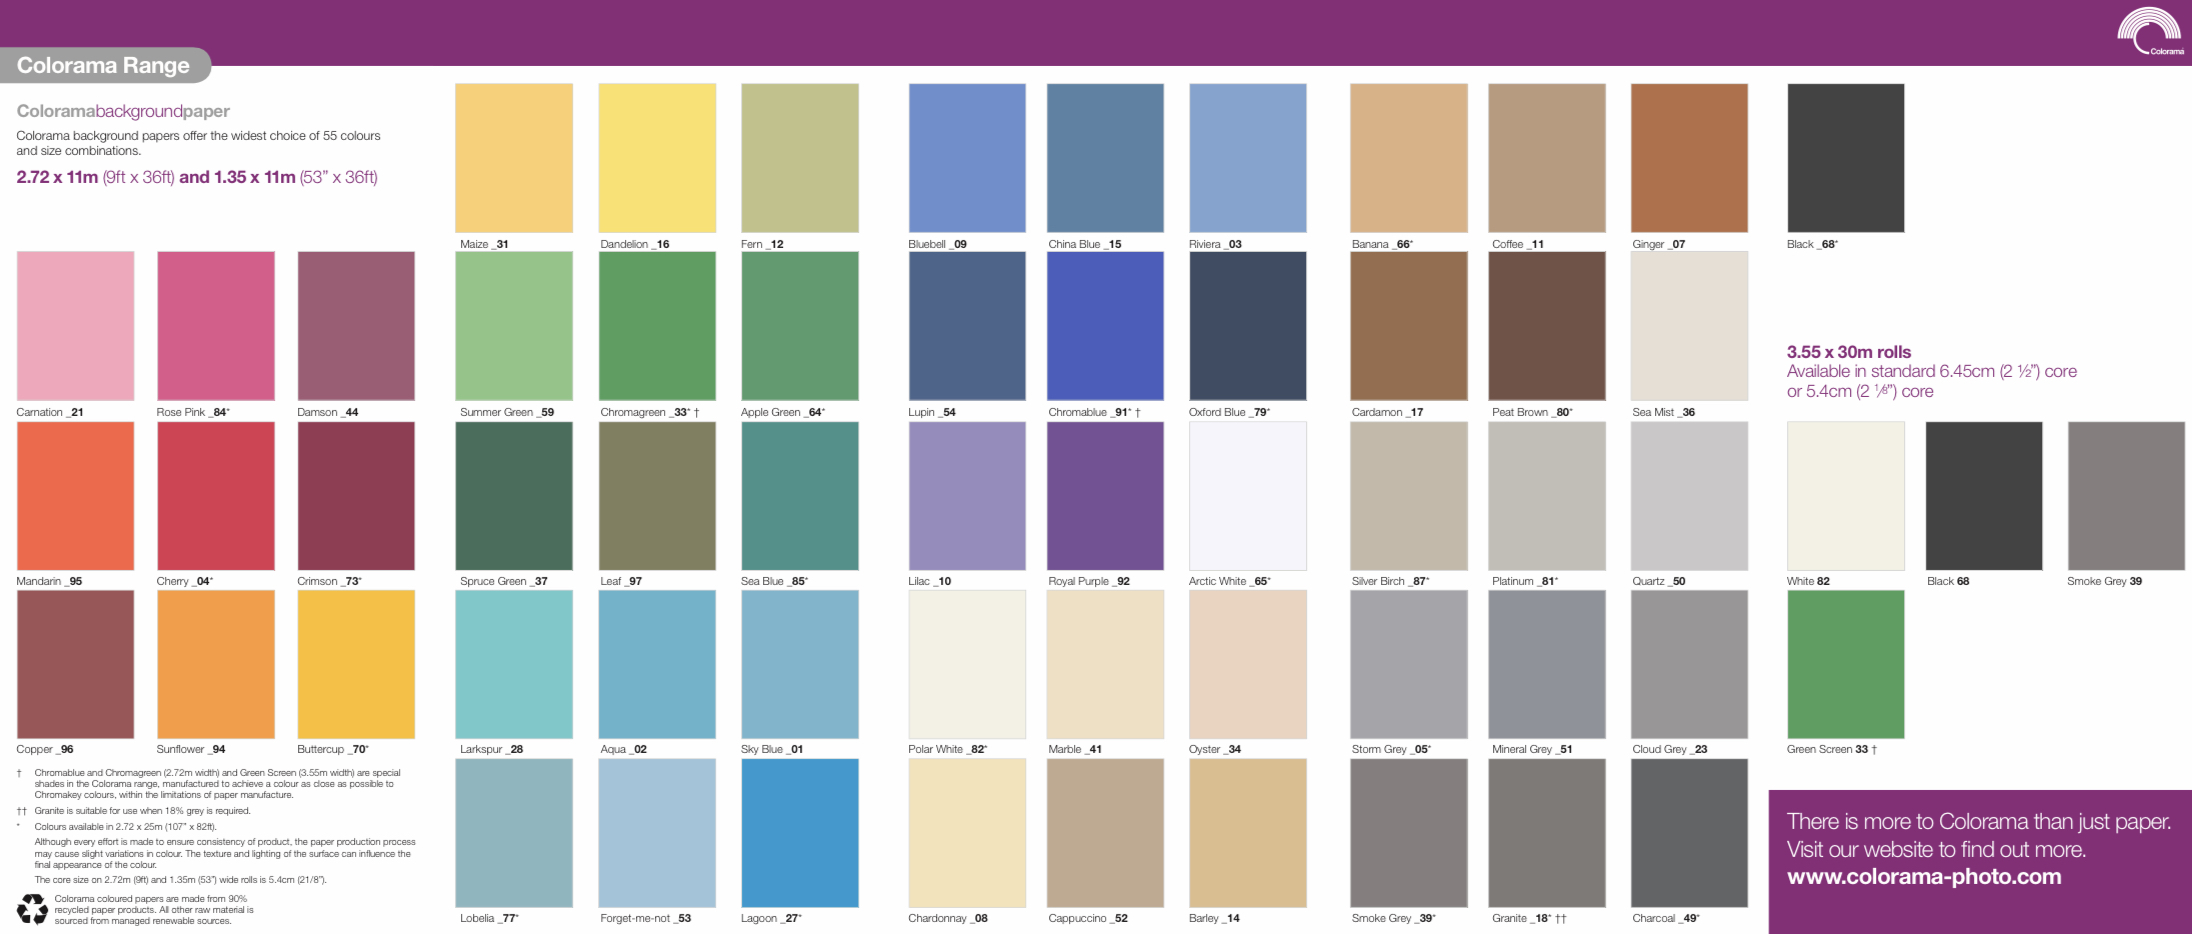
Colorama’s range, for example, also has a large gap between black and the darkest gray. I don’t blame them, because I’m probably the only person in the world wishing for a lighter black.
I didn’t consider colored backgrounds, although I’ll probably experiment with navy blue, red, and a few others someday, but most likely in rented studios. For permanent use, I need something neutral.
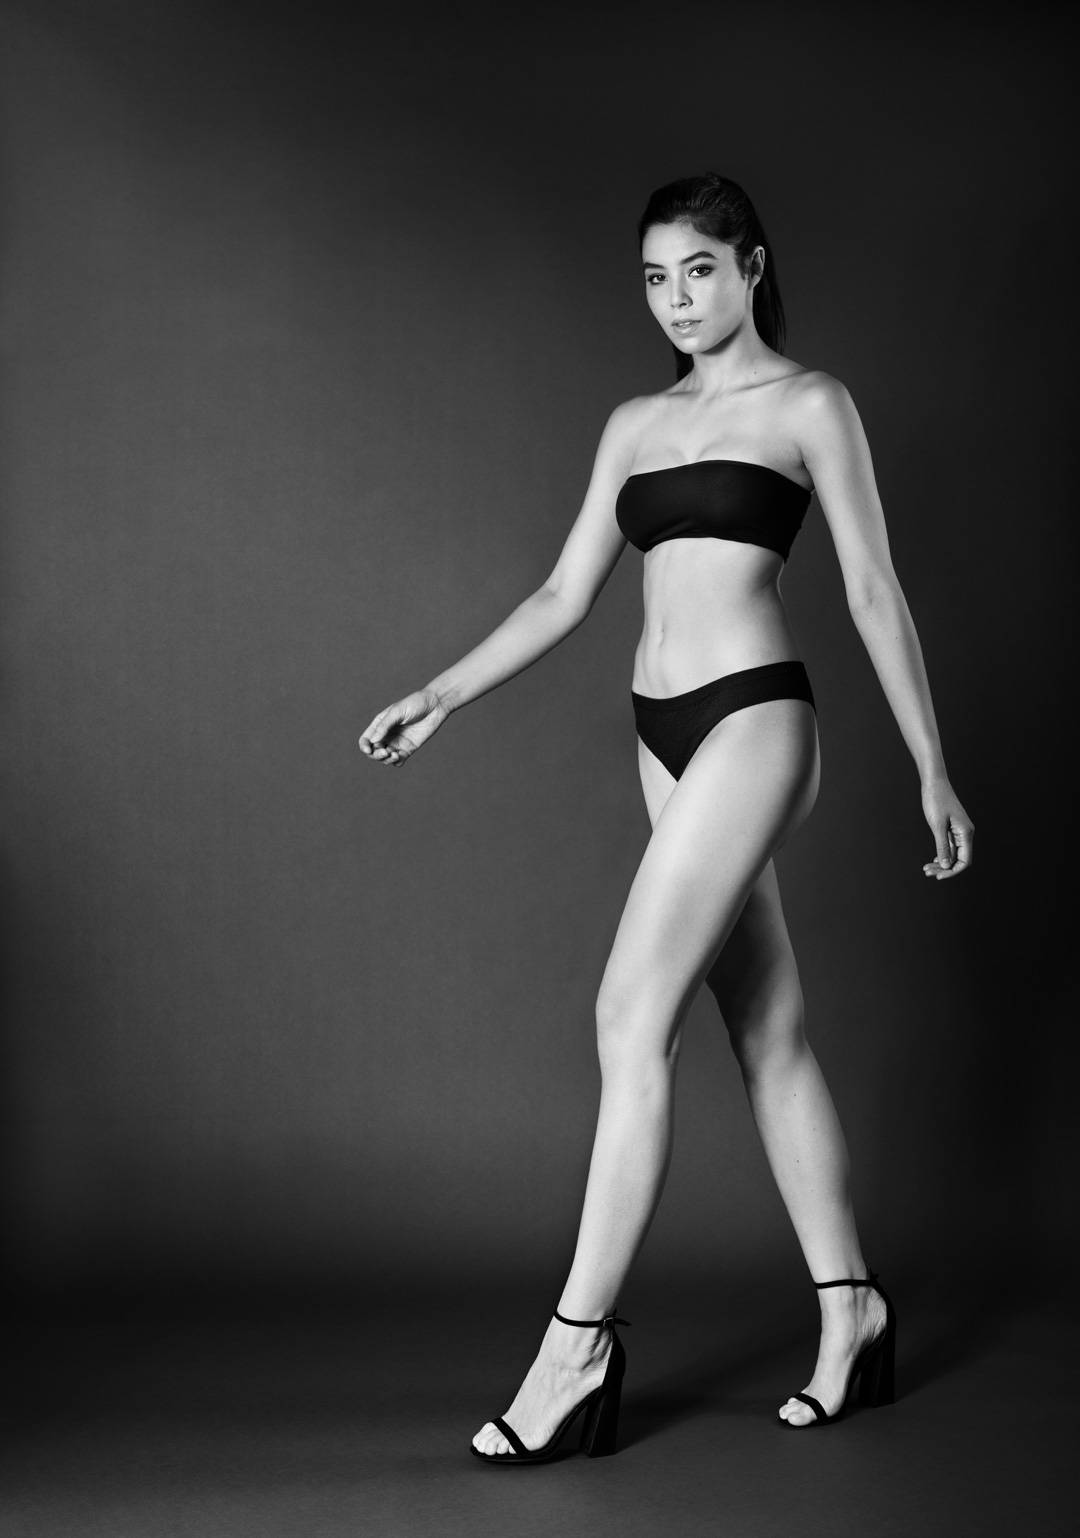
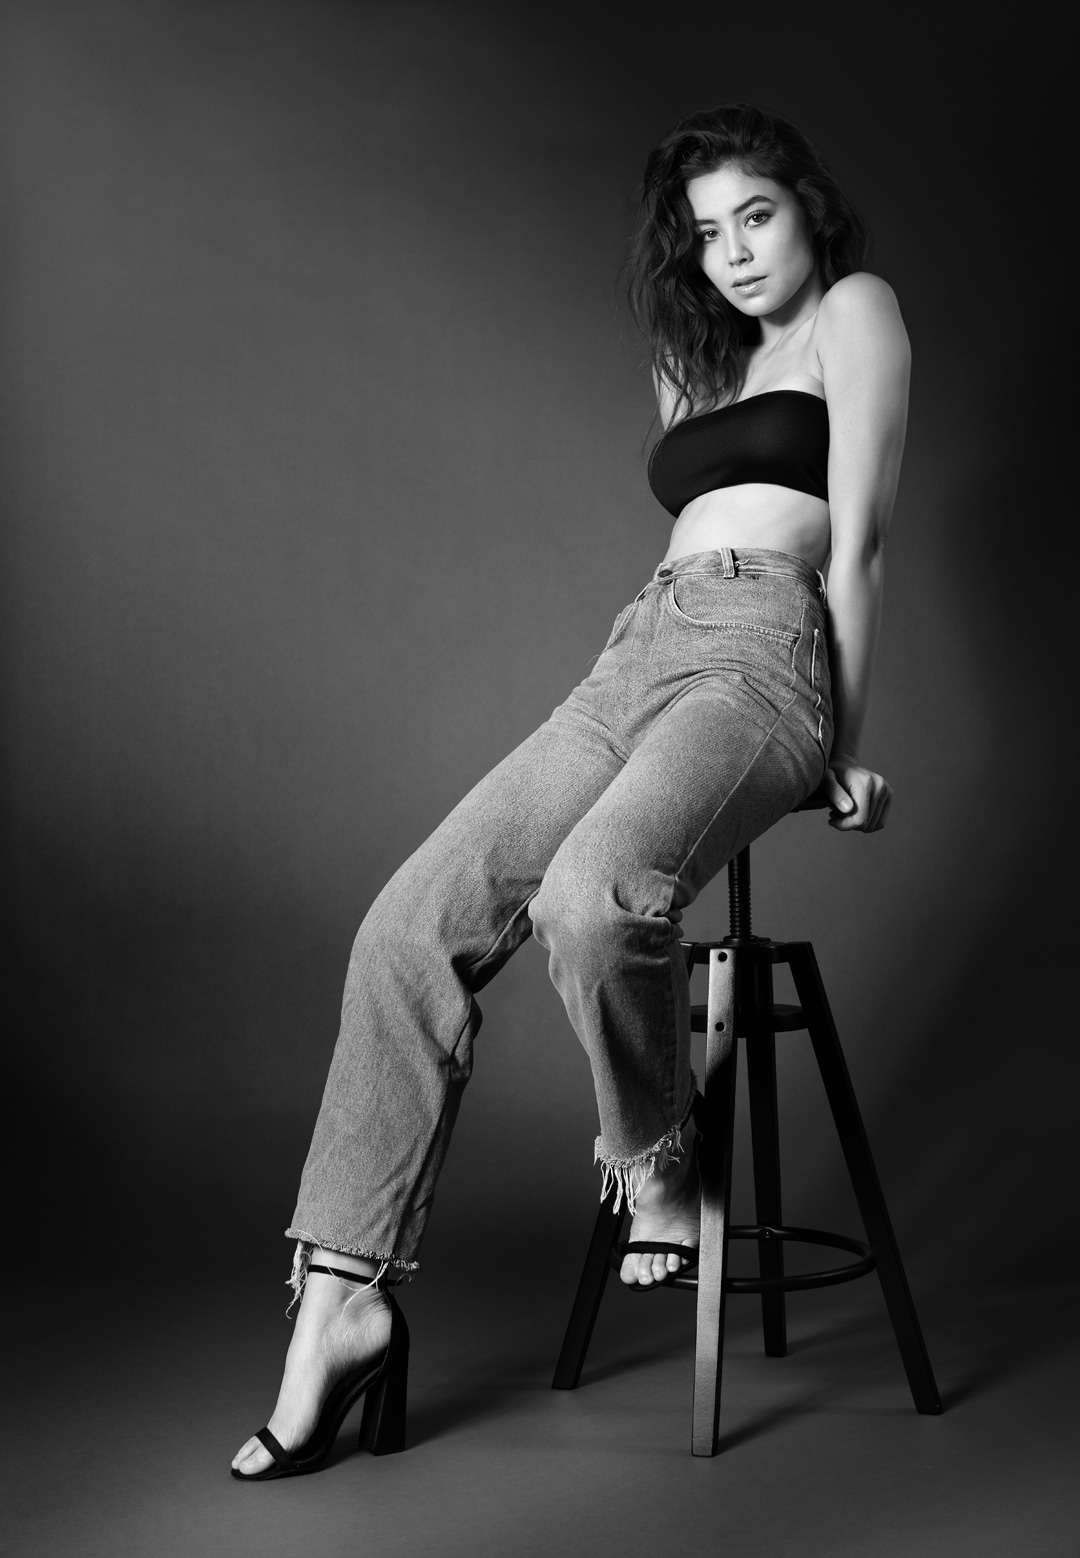
I chose Thunder Gray instead of black. Unfortunately, while it would be a great choice with a beauty dish, the large umbrella throws too much light to the sides, and the result visible in the photos from this shoot isn’t the actual brightness of the Thunder Gray background. I got this shade by placing a very strong darkening control point where the background curves and adding a second point in the upper-right corner. It only takes a few seconds, but I wanted this result straight out of the camera.
That’s why I used a different background for the next shoot, this time black. I bought it in the same size—220 cm. I’ll cover those next photos soon, but for now, here’s a short behind-the-scenes video from the shoot with Alani.