Photo shoots in a virtual studio—set.a.light 3D
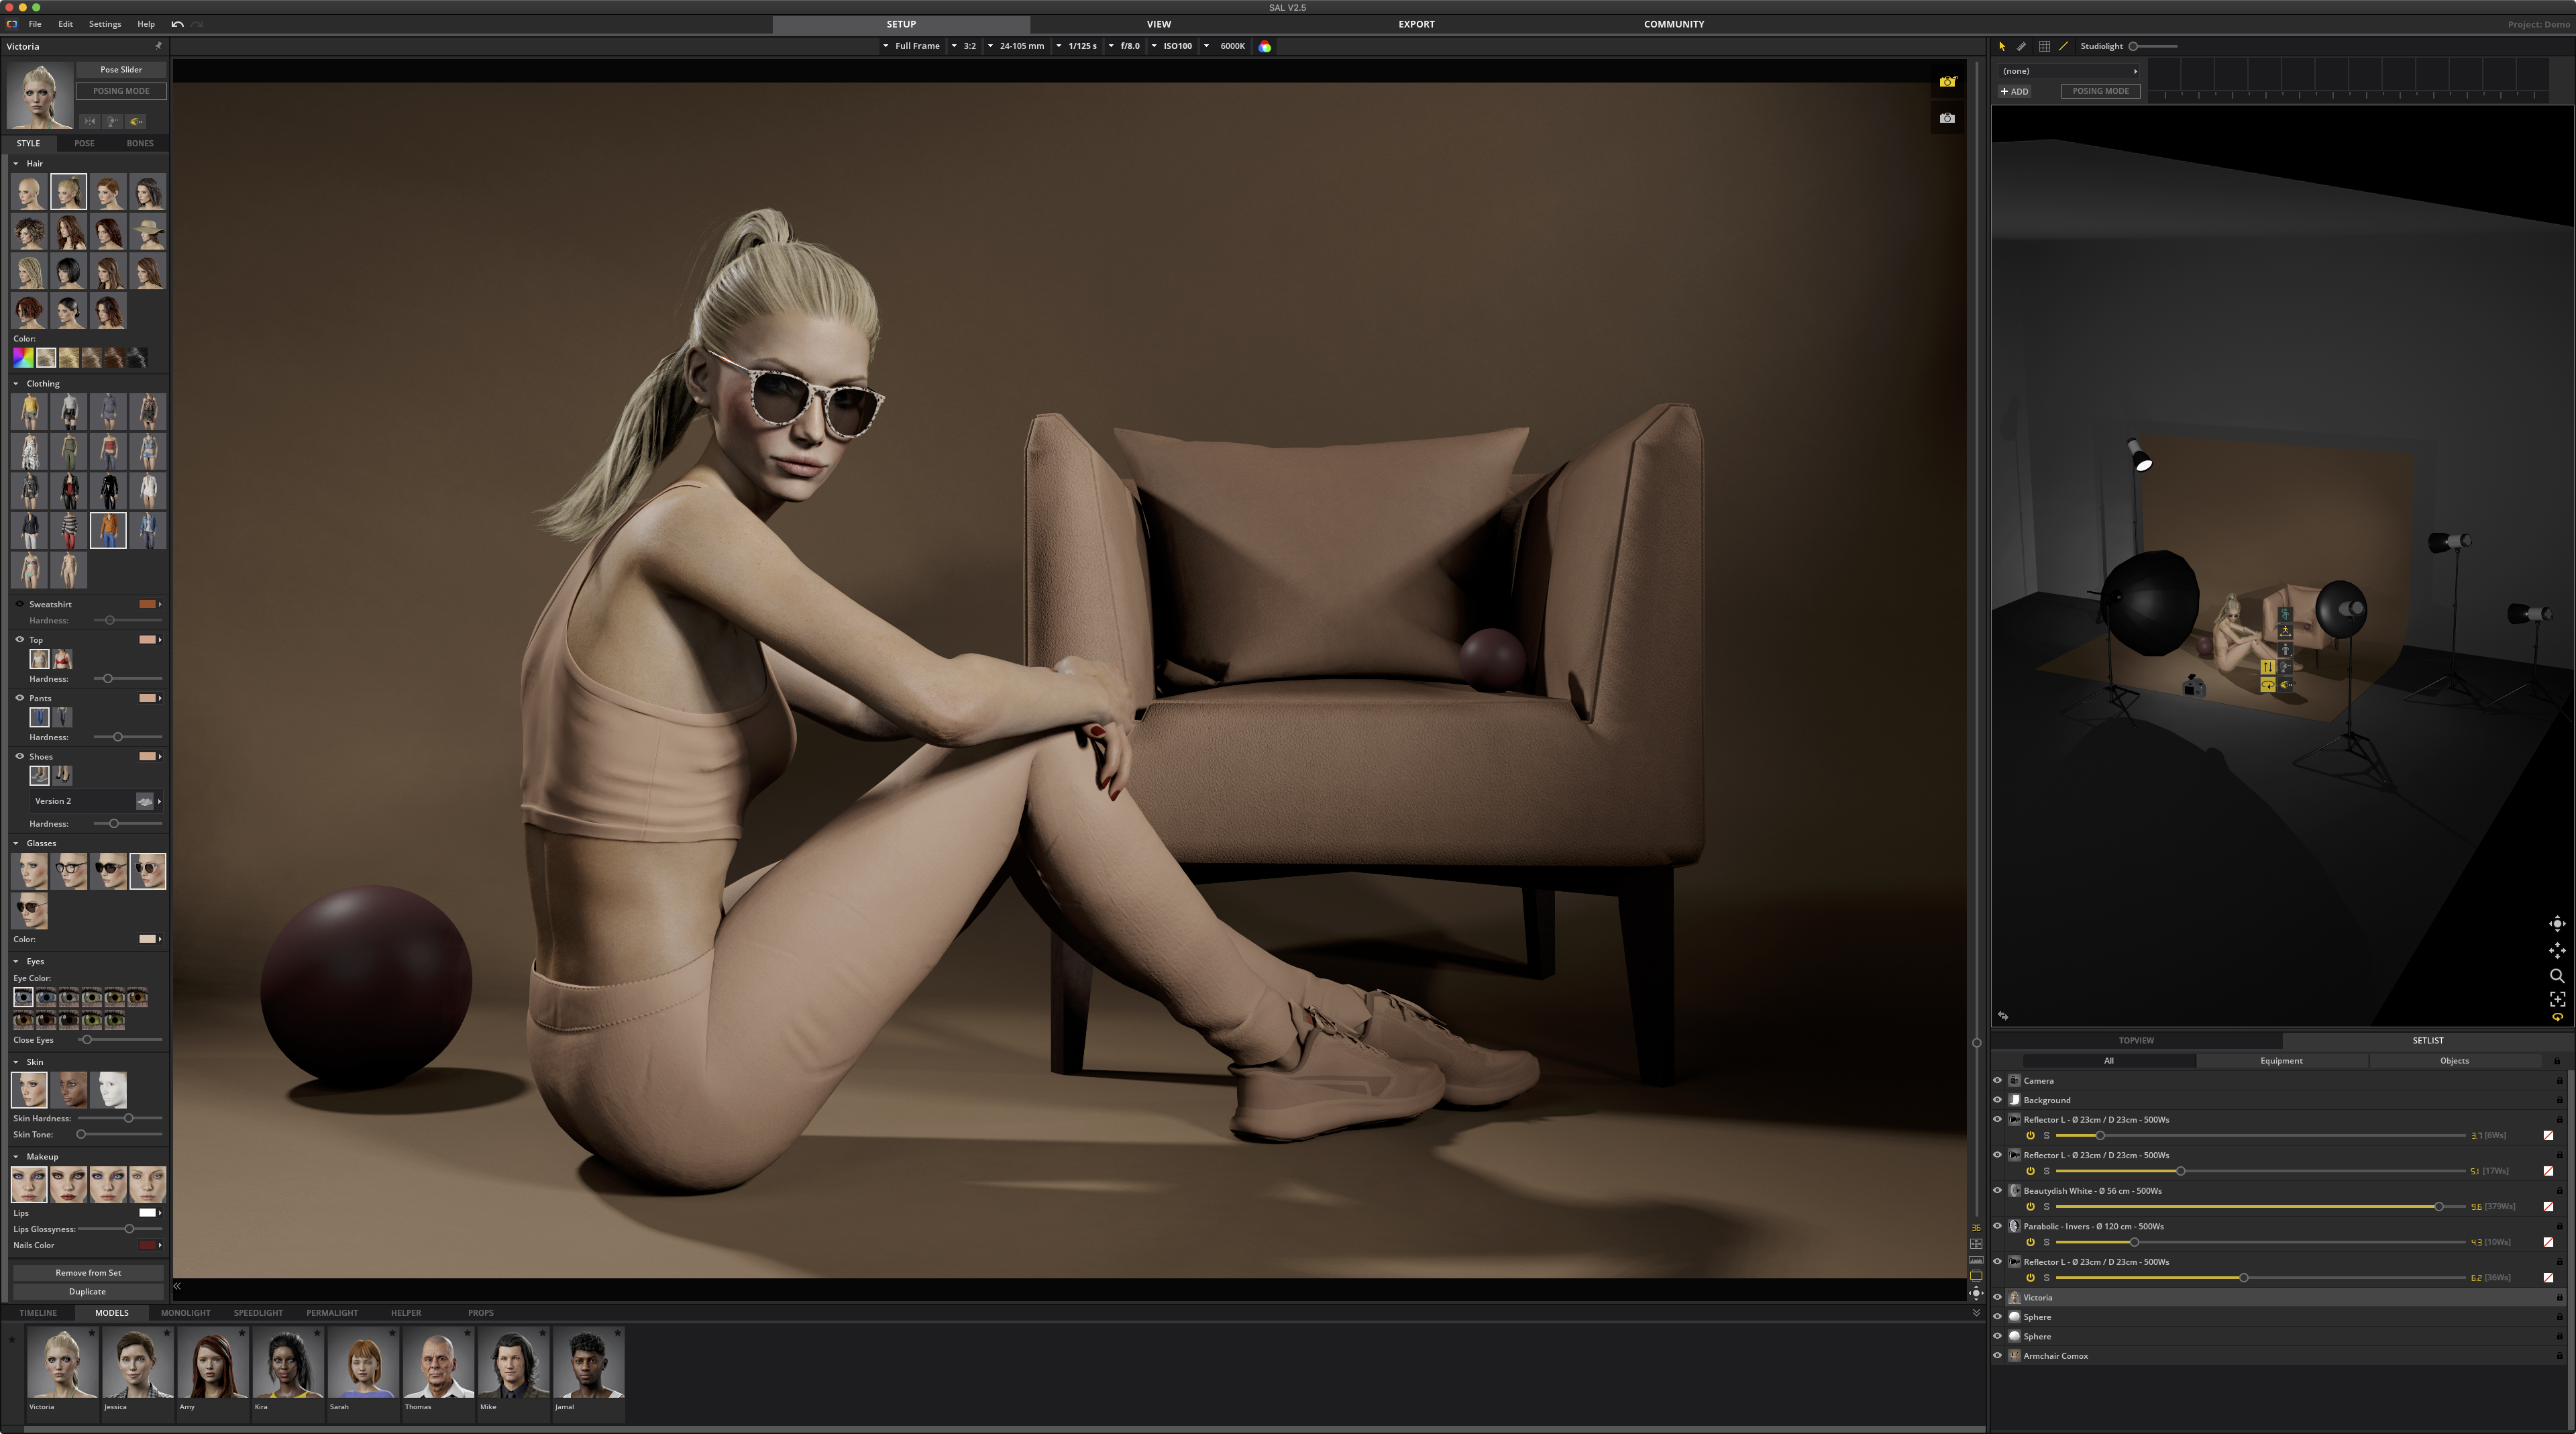
Only one application lets you plan the lighting for a photo shoot on a computer and see what the final image will look like. It has a very peculiar name: set.a.light 3D. Fortunately, it’s available for both Windows and macOS. I’ve used it since 2017, but it changed enormously over that time, most importantly with the release of version two.
This post was not part of any collaboration. I bought the application—the more expensive Studio version—rather than receiving it for review. The article does, however, include affiliate links for buying the full version or downloading the trial. The trial offers every feature of the complete application but works for only two weeks. Previously, you could continue browsing sessions you had already created indefinitely. The trial and full version were available here. The full version was also on sale at the time. Update: Unfortunately, version 2.x can no longer be used after the trial expires.
What set.a.light 3D can do
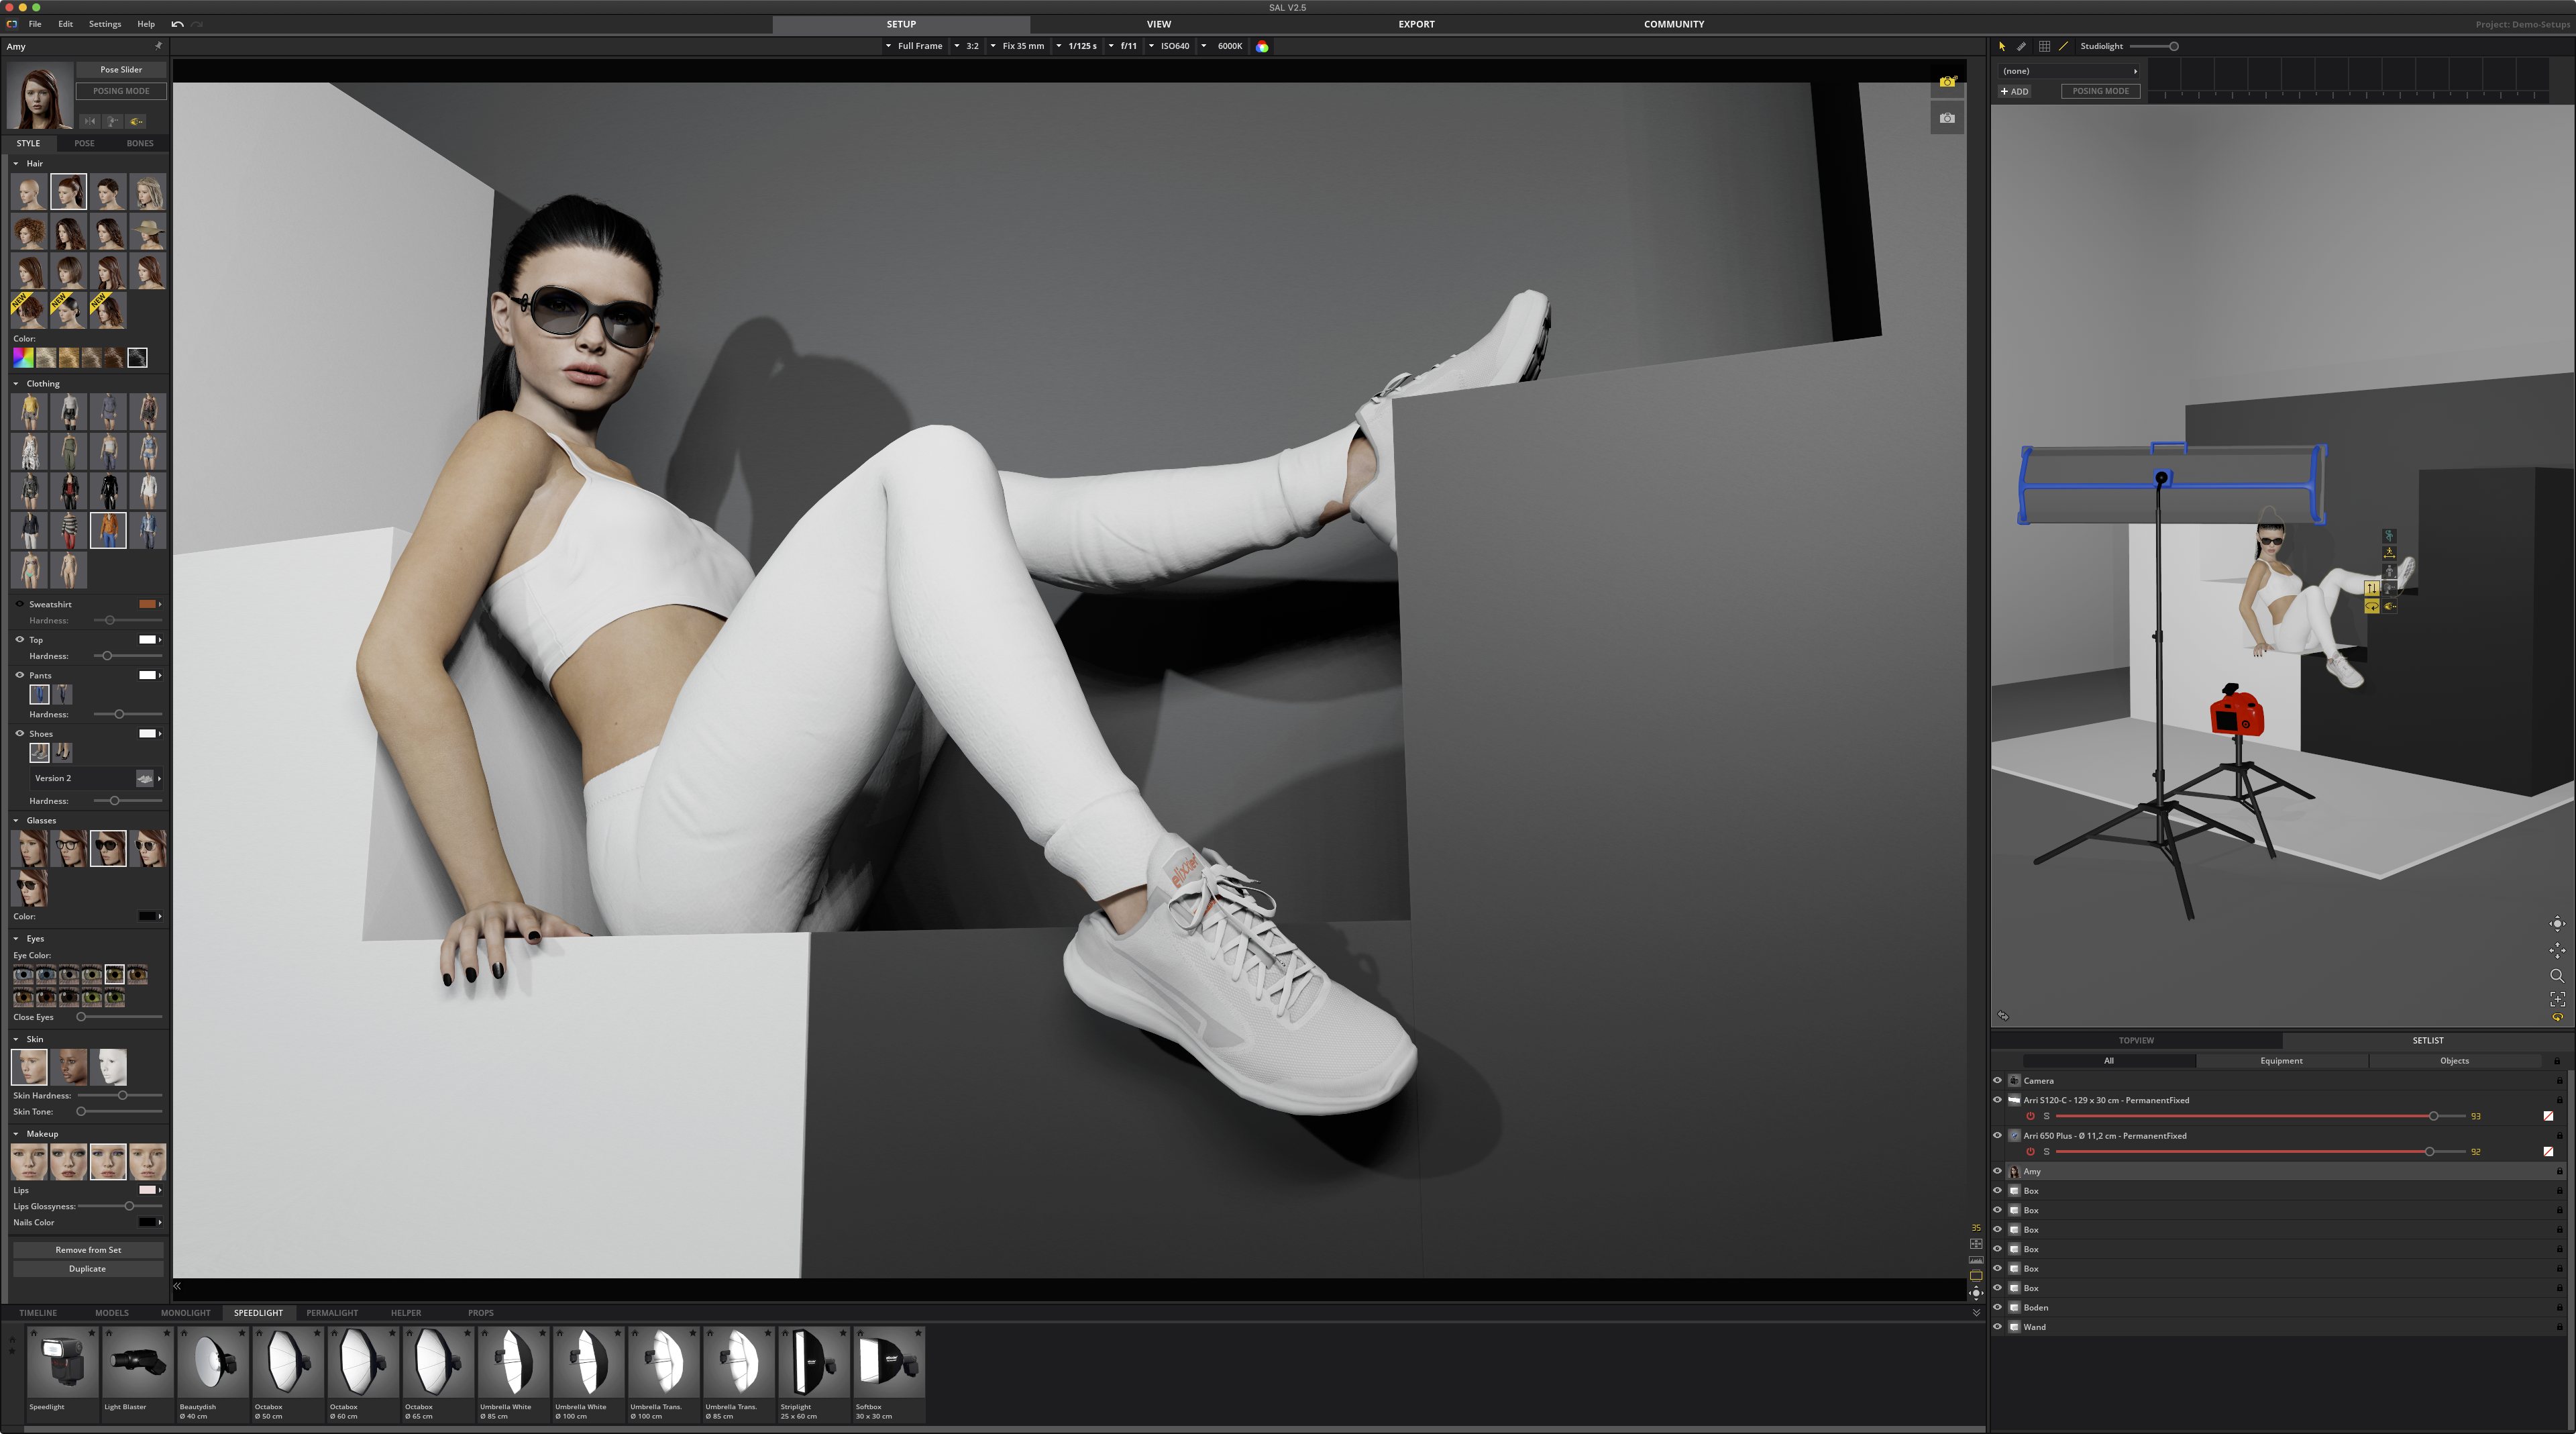
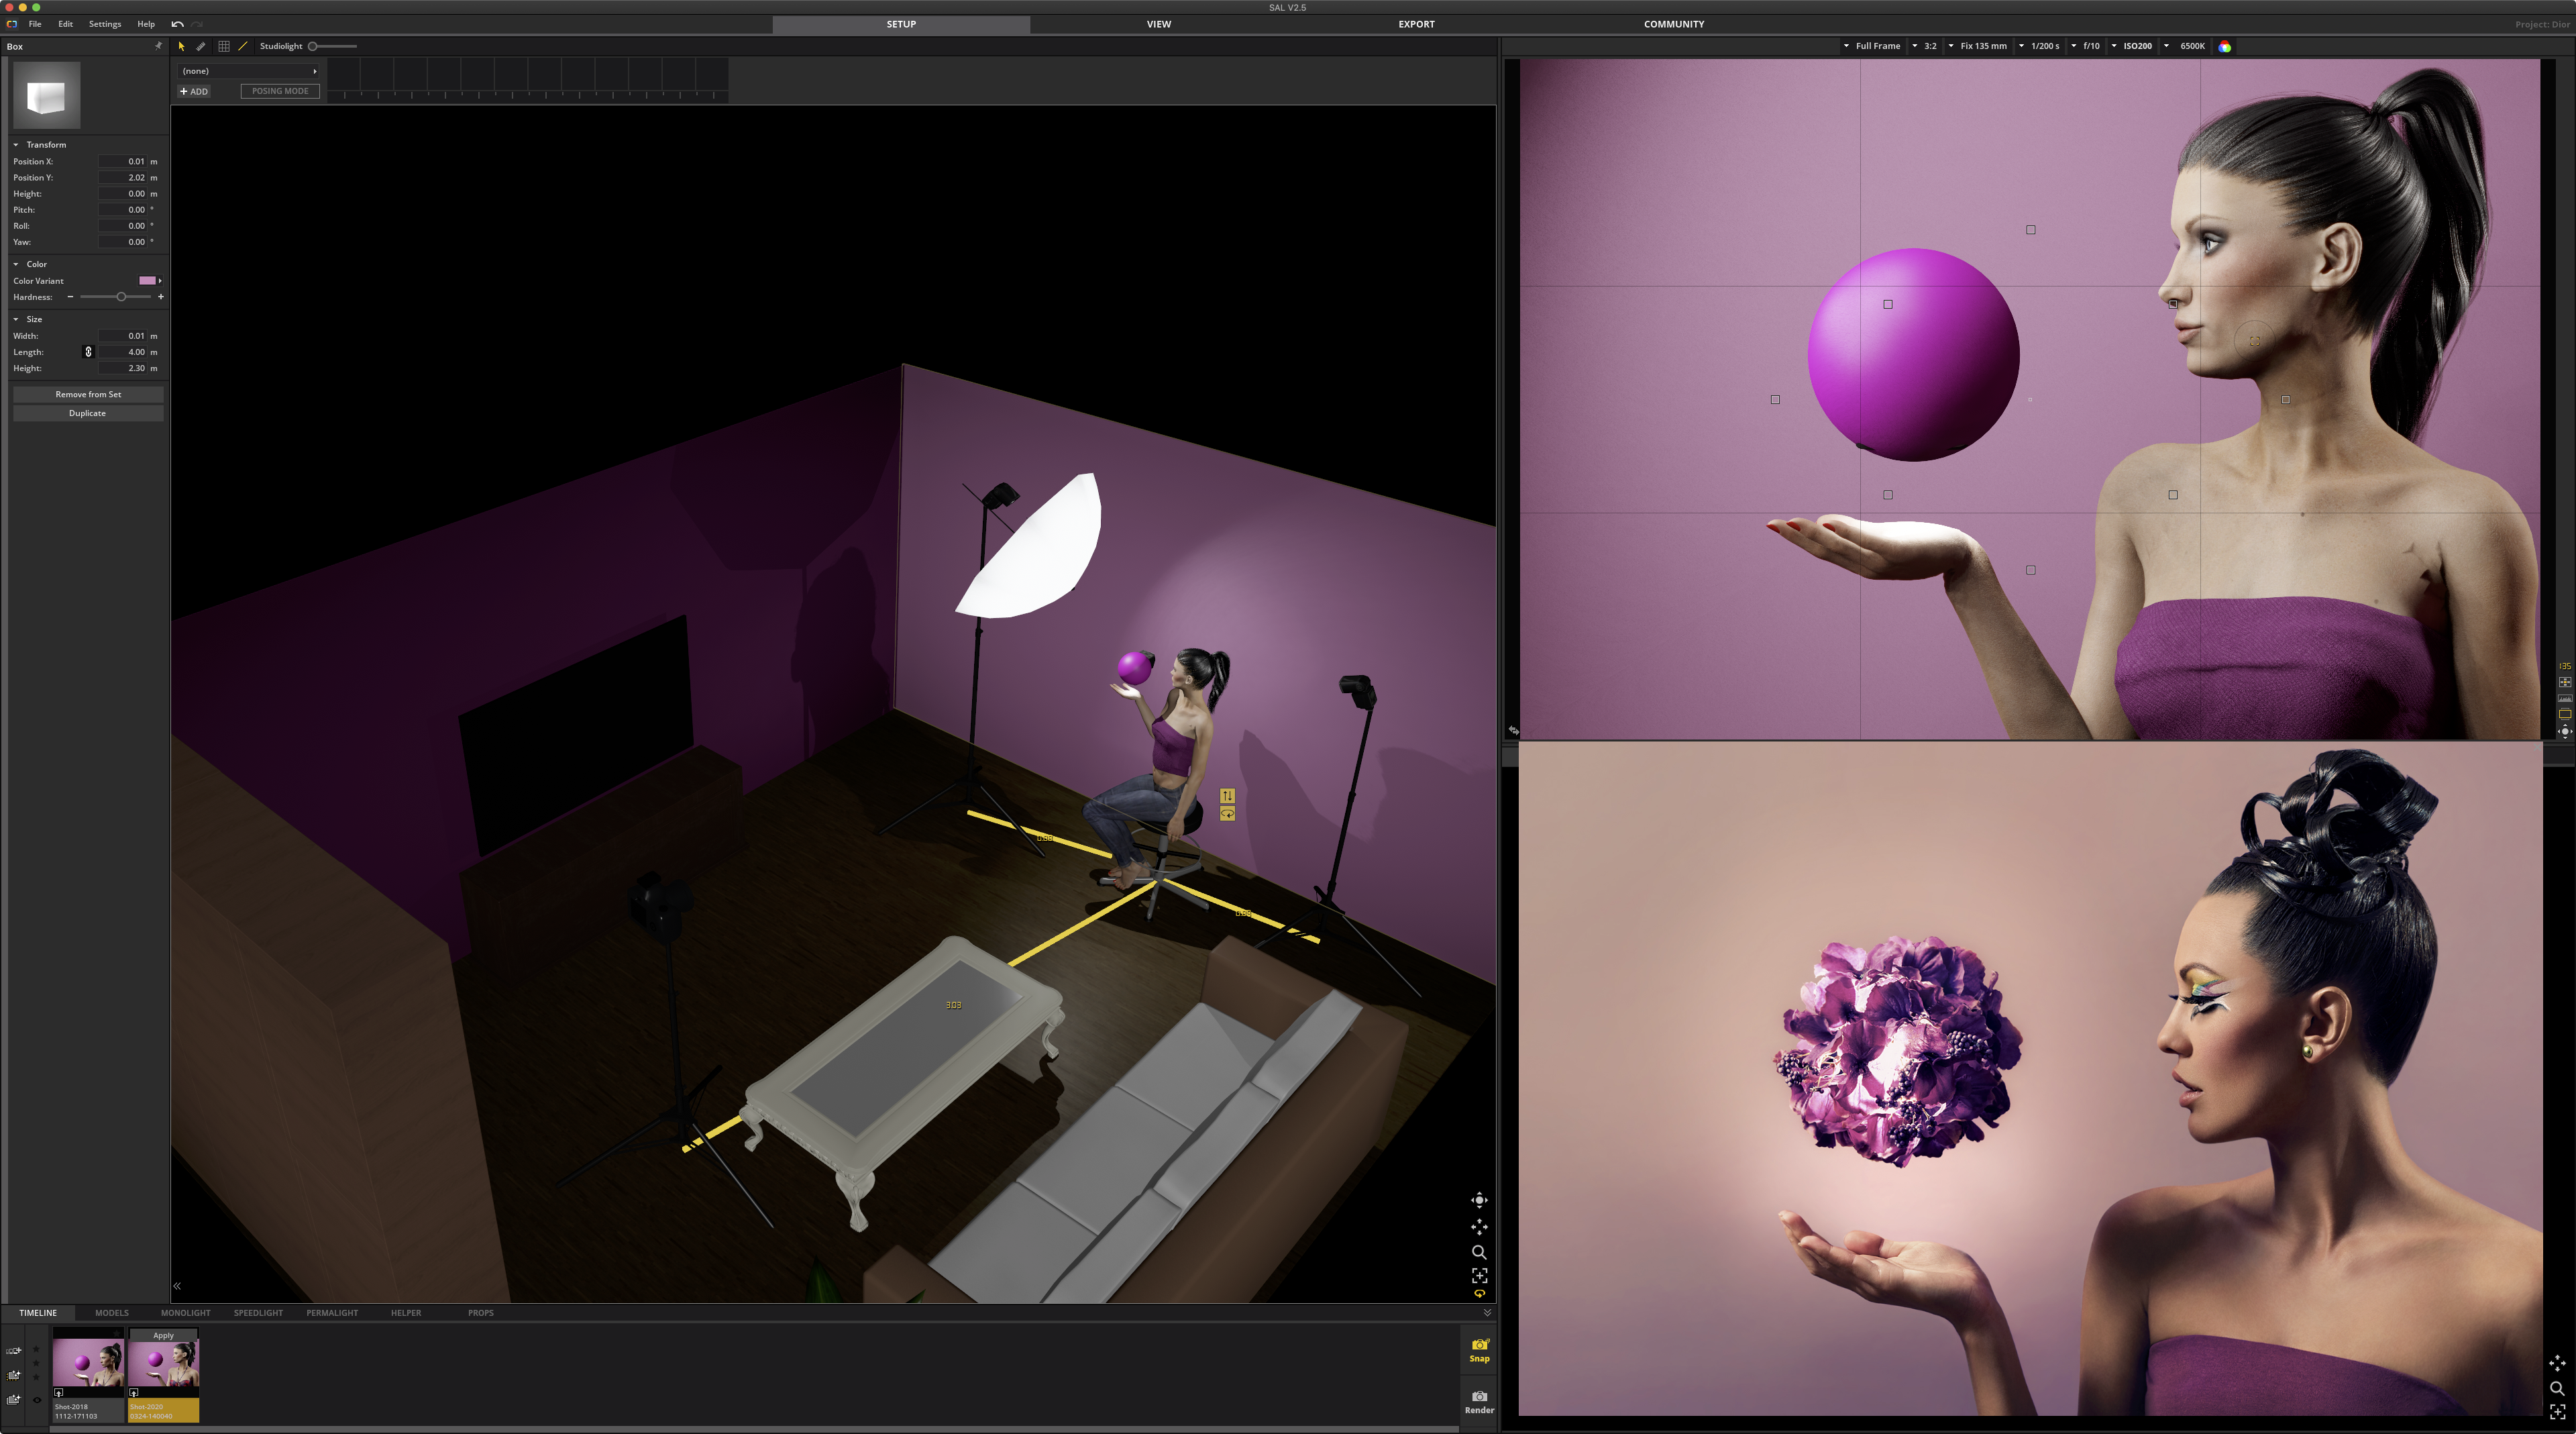
What can you do in set.a.light 3D? Almost everything you would do during a normal photo shoot. First, there are several female and male models to choose from. They vary in age and appearance, and you can configure their clothes, hairstyles, makeup, and more:
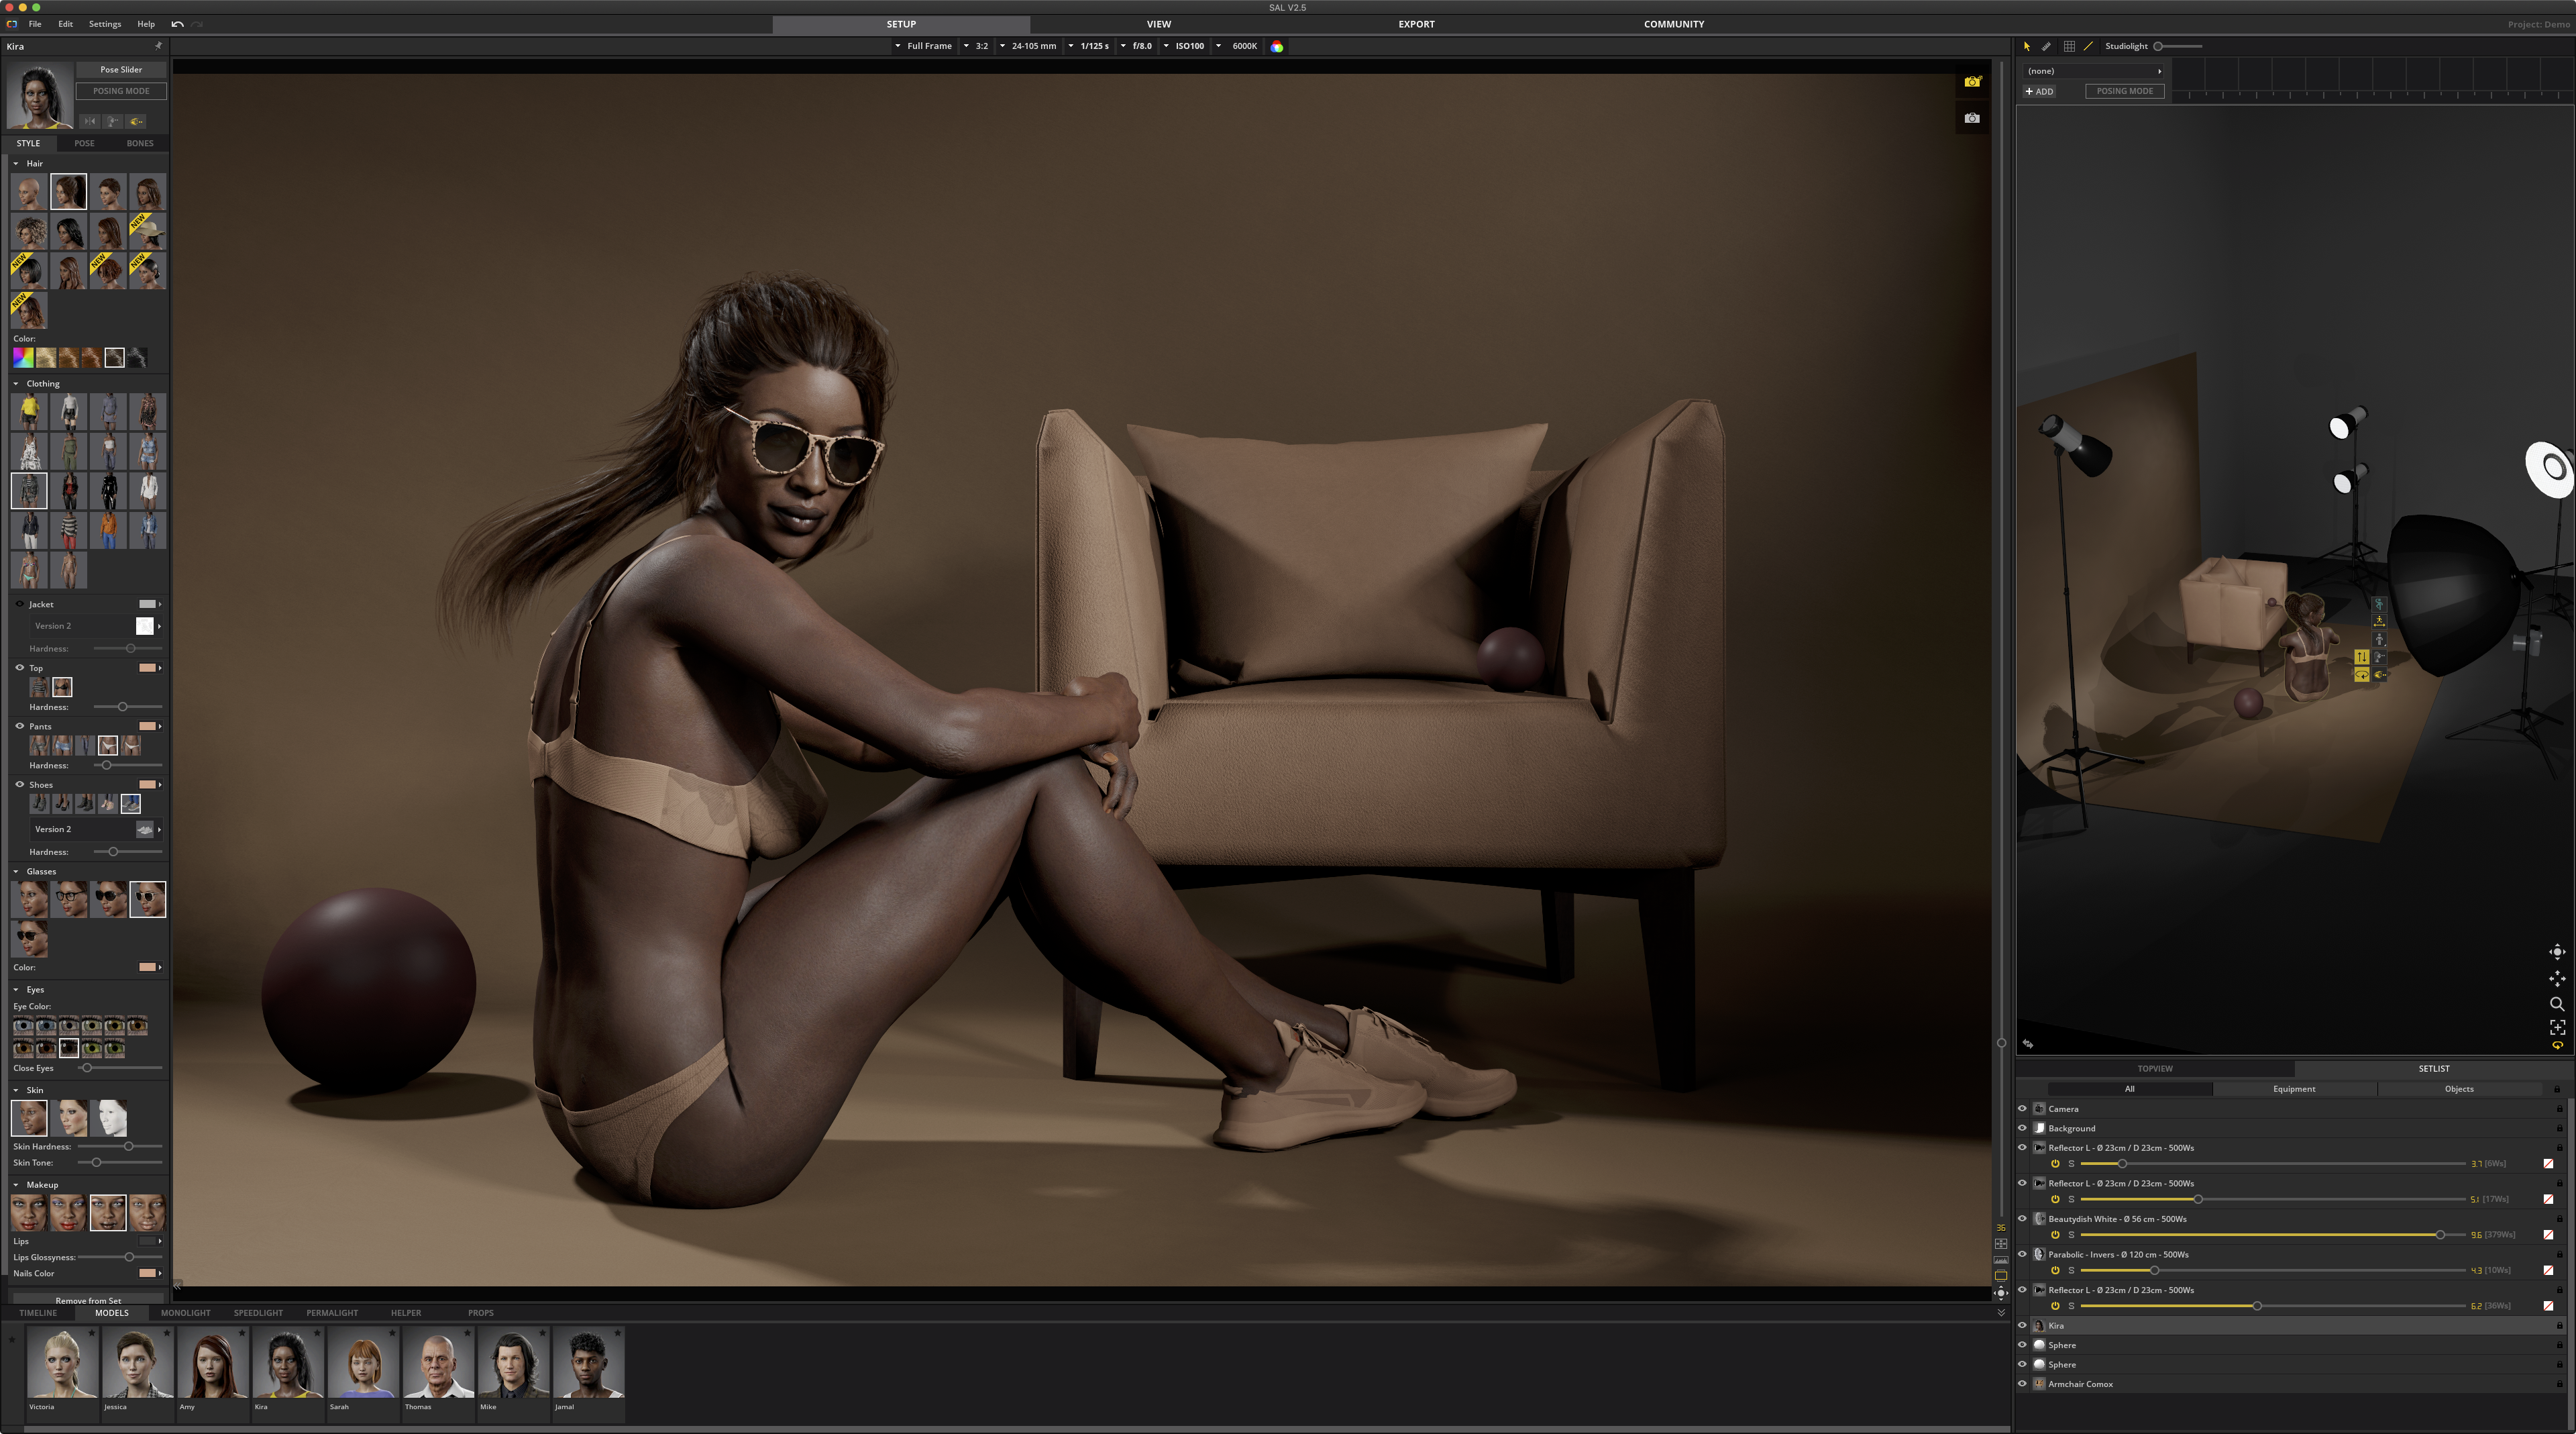
You can change the tan and skin color, lipstick, nail color, height, and the appearance of the skin, making it more matte or, at the opposite extreme, almost oiled. The same applies to clothing: a jacket can look like cotton or leather depending on the slider setting. I most often use the same model repeatedly because her age and build correspond to the people I photograph. Below you can see her with different settings and configurations, although there are many more possibilities than these:
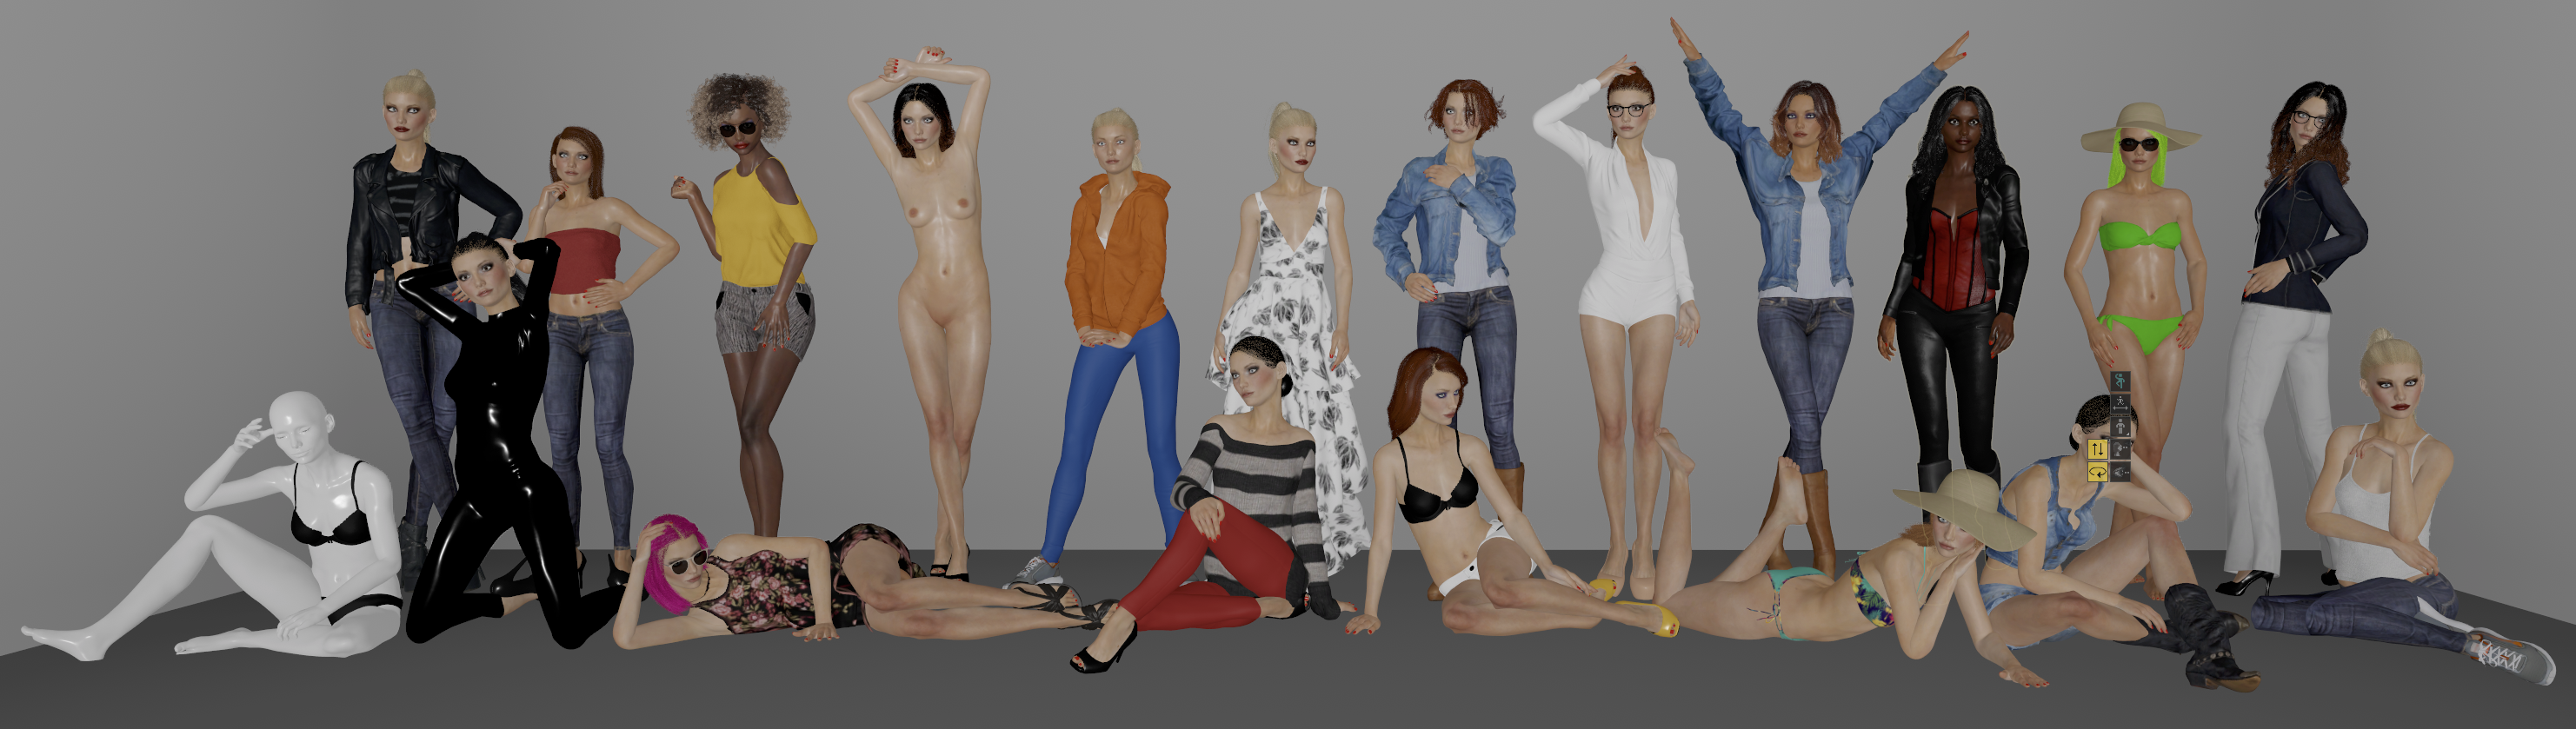
As you can see, you can even give the model a mannequin-like appearance, while updates continue to add clothes and accessories. Not every model has the same options, and some settings from the first version—such as changing body weight—are missing, but in return you get a brilliant posing system. You can adjust every individual finger’s bend and angle, not to mention all the bends and angles elsewhere in the body.
Being able to position every finger precisely was useful, for example, when recreating my first beauty shoot from almost ten years earlier:
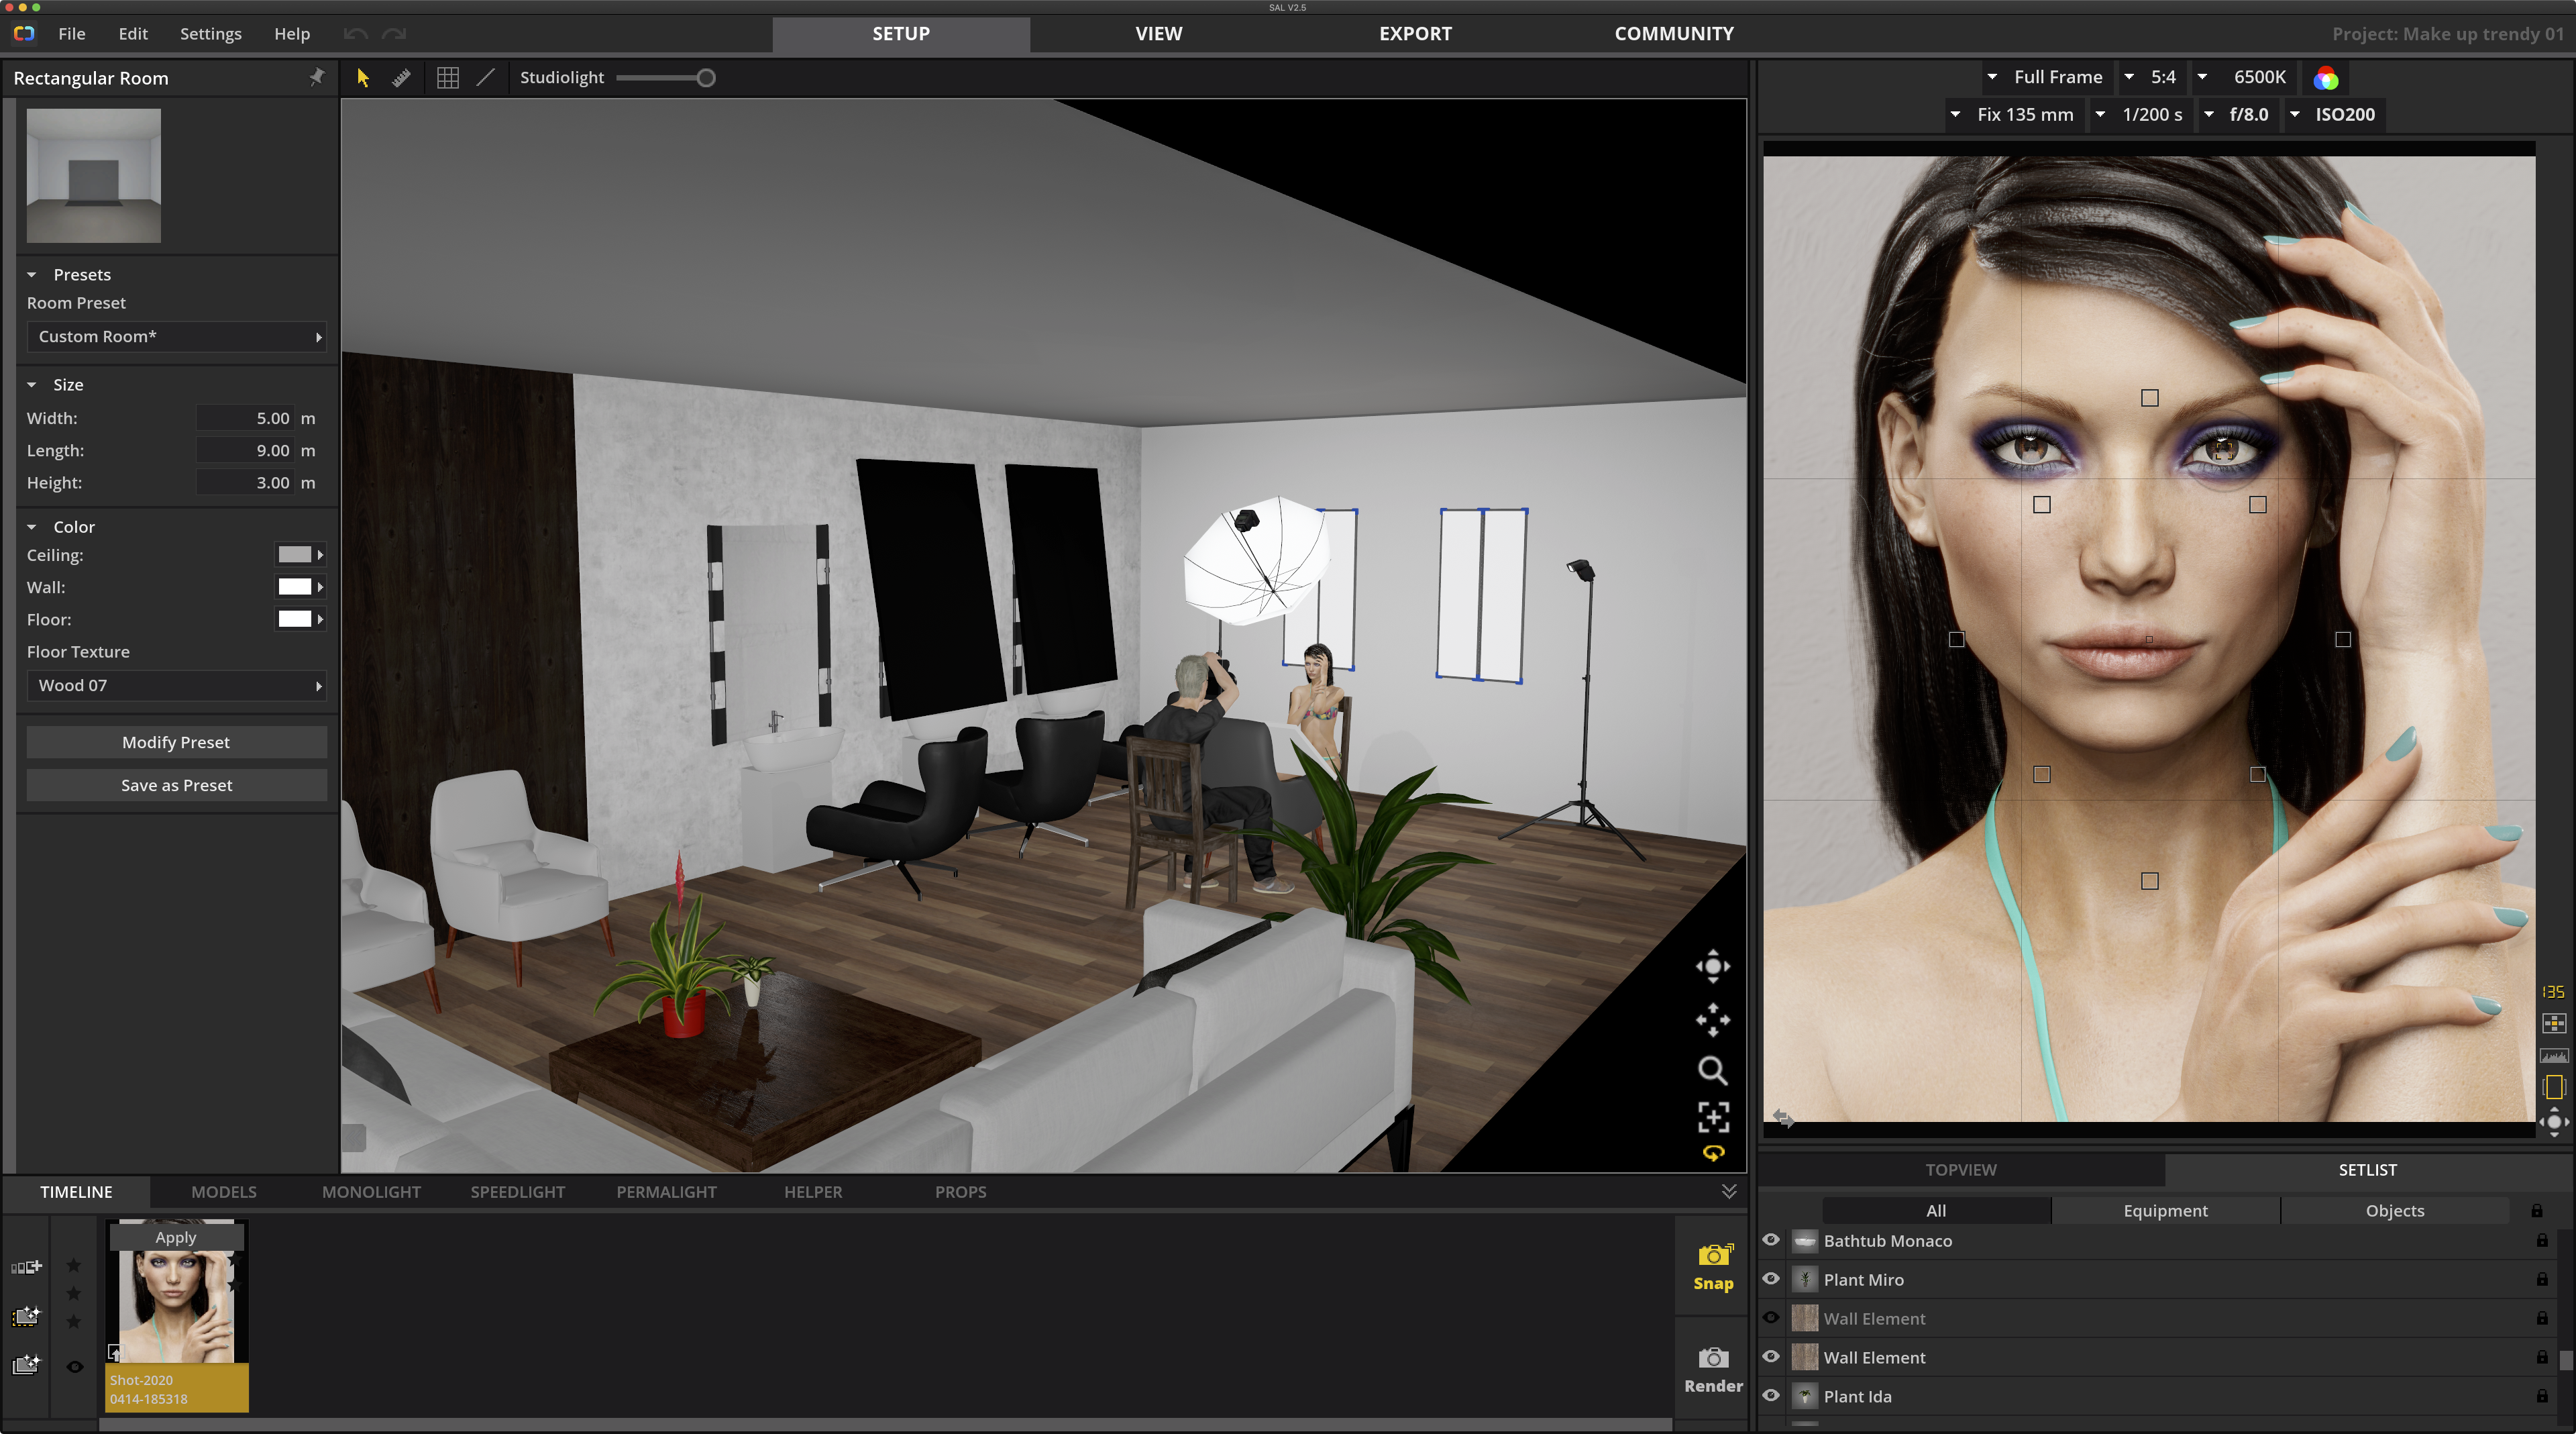
There are also numerous predefined poses, along with an option for arranging several poses in sequence. Moving a slider then animates the character smoothly from one pose to the next:
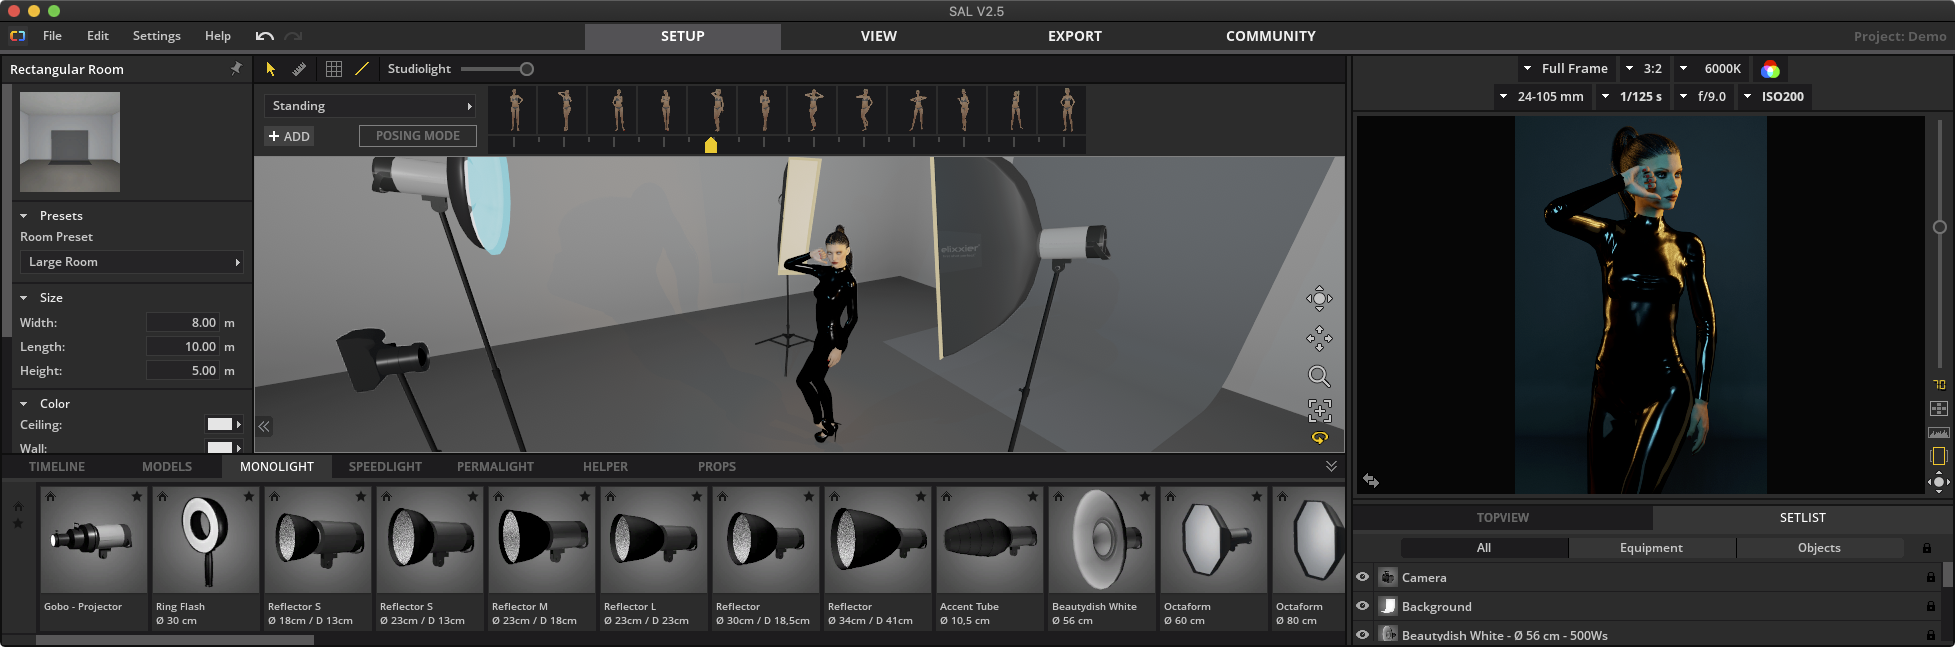
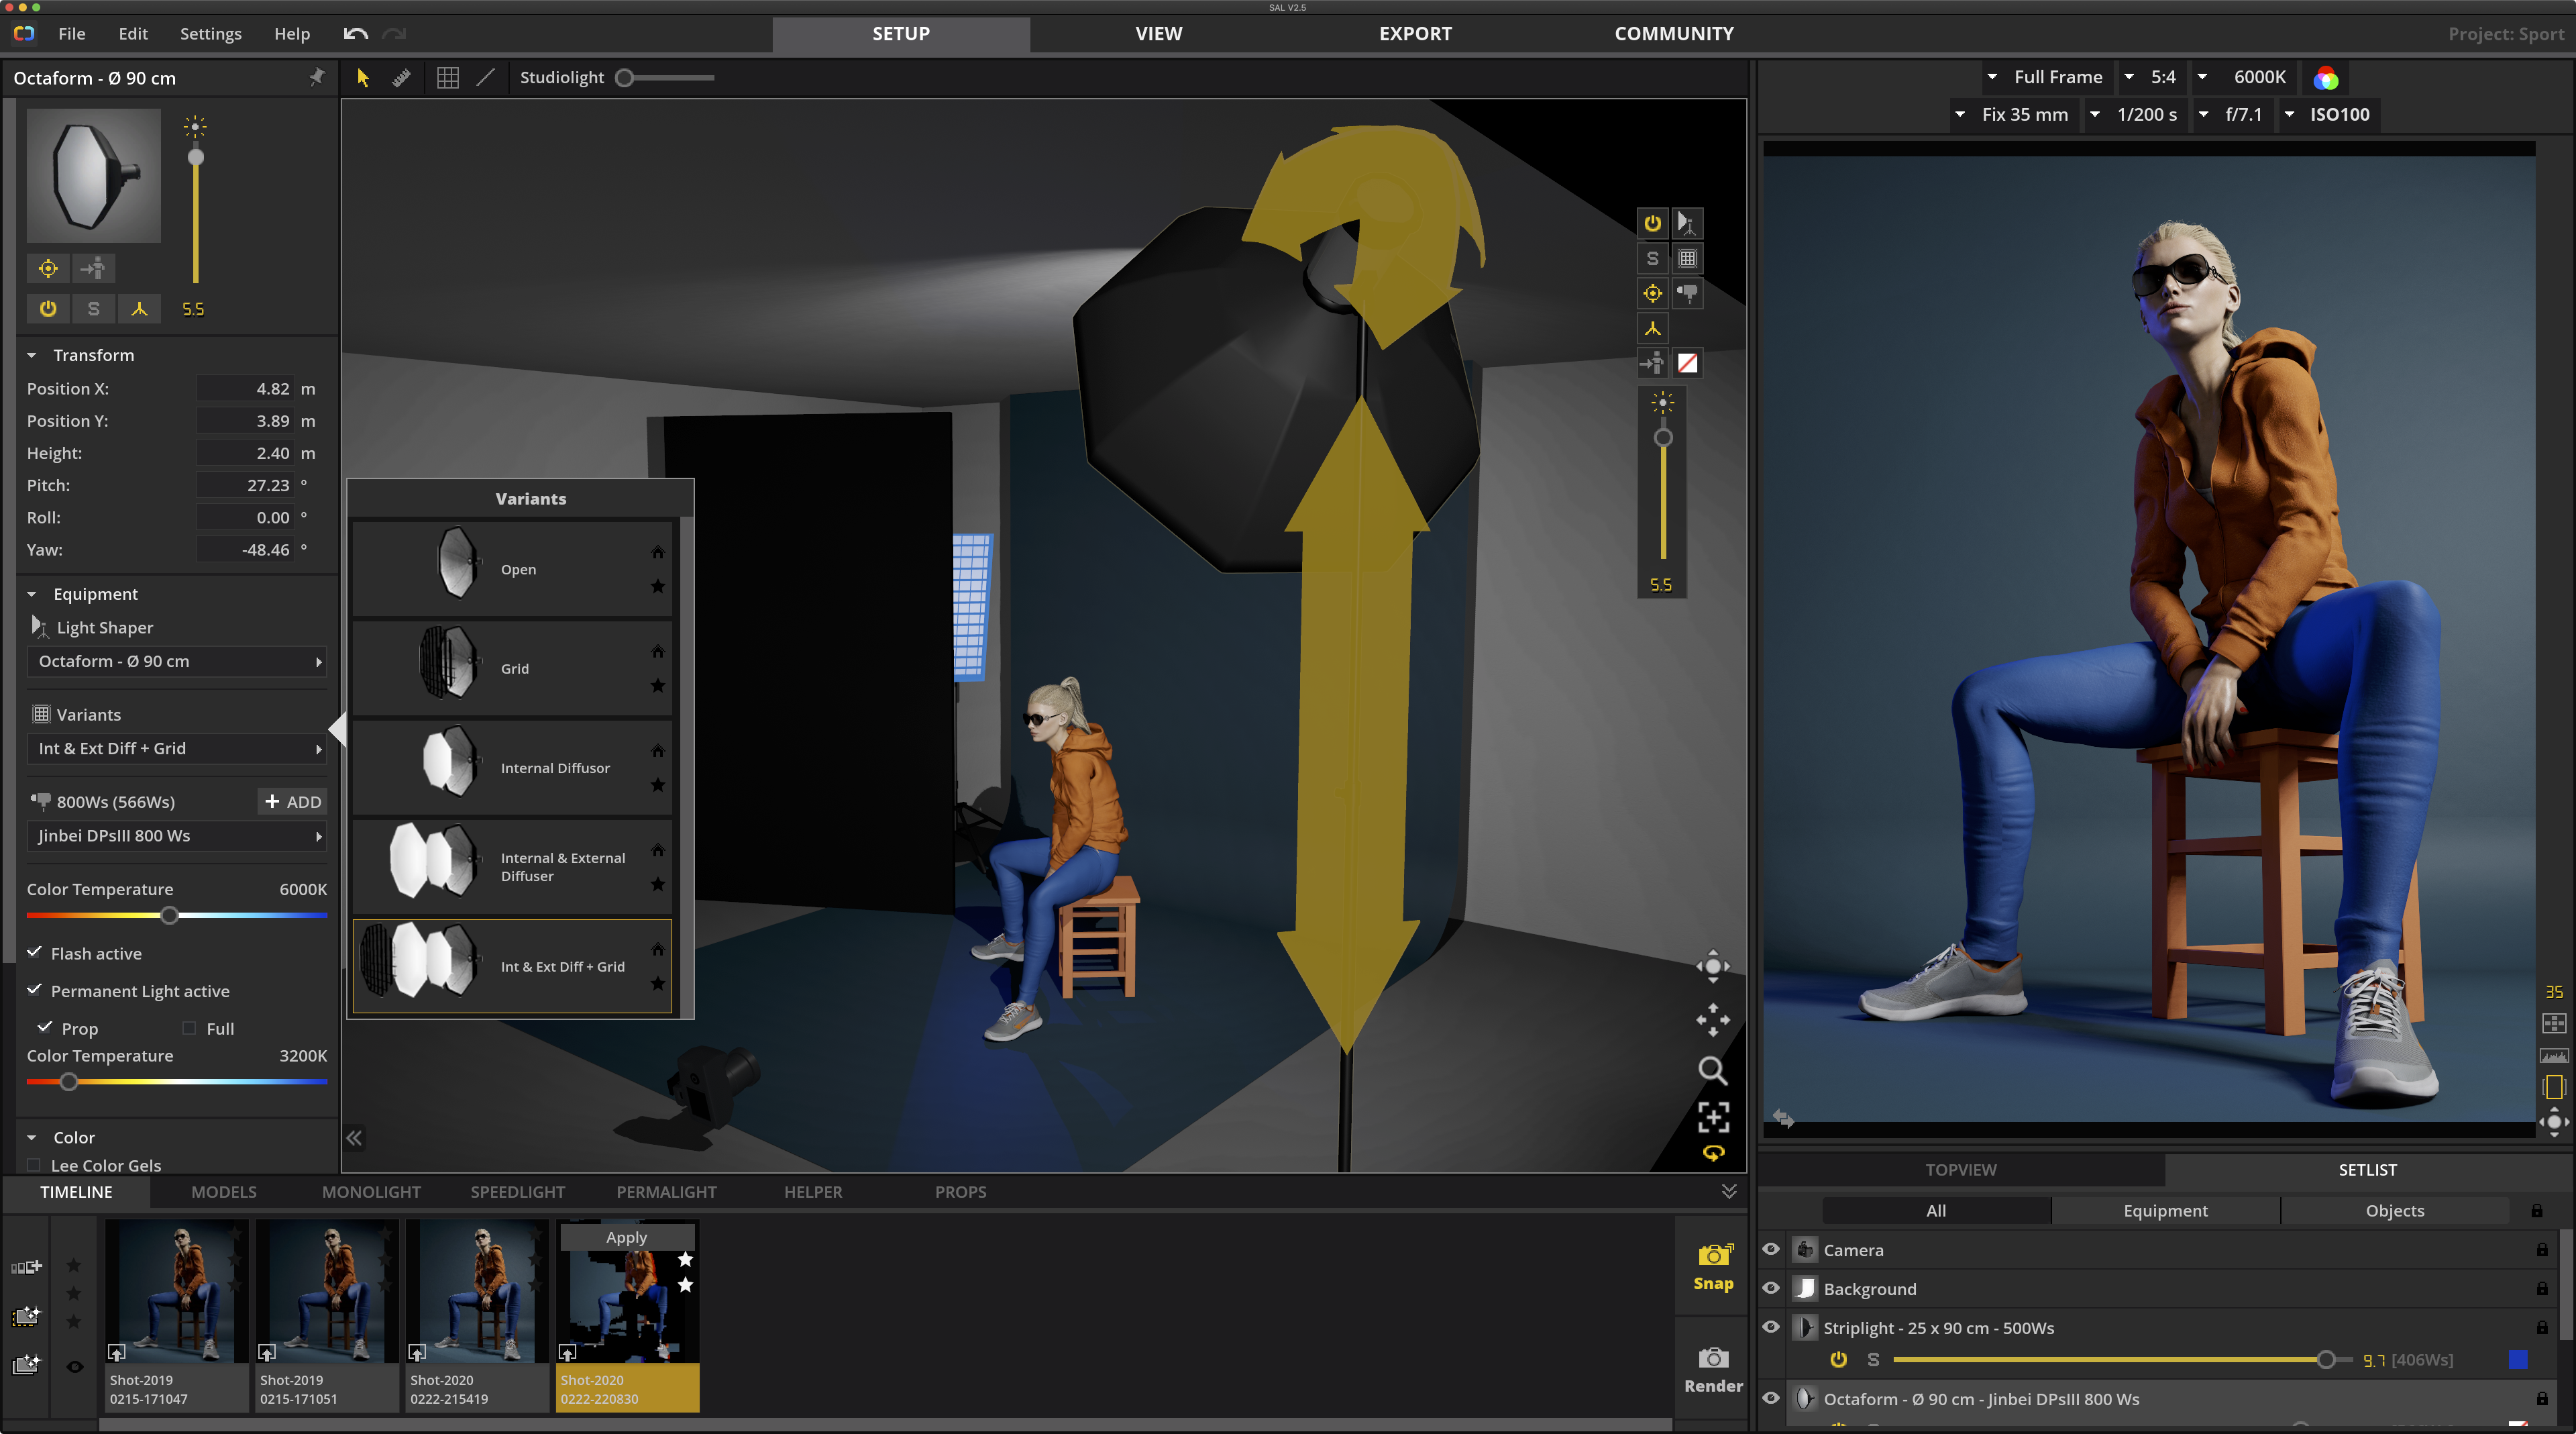
You can choose from various studio strobes and speedlights with reflectors, softboxes, and other modifiers. There are also reflectors and continuous lights. Softboxes can be fitted with grids, while the location can be furnished with items such as a wardrobe, desk, sofa, and flowers. Studio backdrops come in all kinds of colors, including every Savage color I use and that Fripers sells, and their dimensions are fully configurable.
You can also change all the basic camera settings, choosing among full-frame, various crop formats, and 6×6, as well as selecting lenses. There are zooms whose focal length can be changed smoothly and there are primes.
When you click the button or icon for taking a photo, the new image appears on a timeline and is saved together with the entire setup. This lets you create a series of photos with different lighting, lenses, and settings, then switch among them instantly. If I return to an earlier image and modify it, I can save all subsequent changes as a new shot or as an update to the existing one.
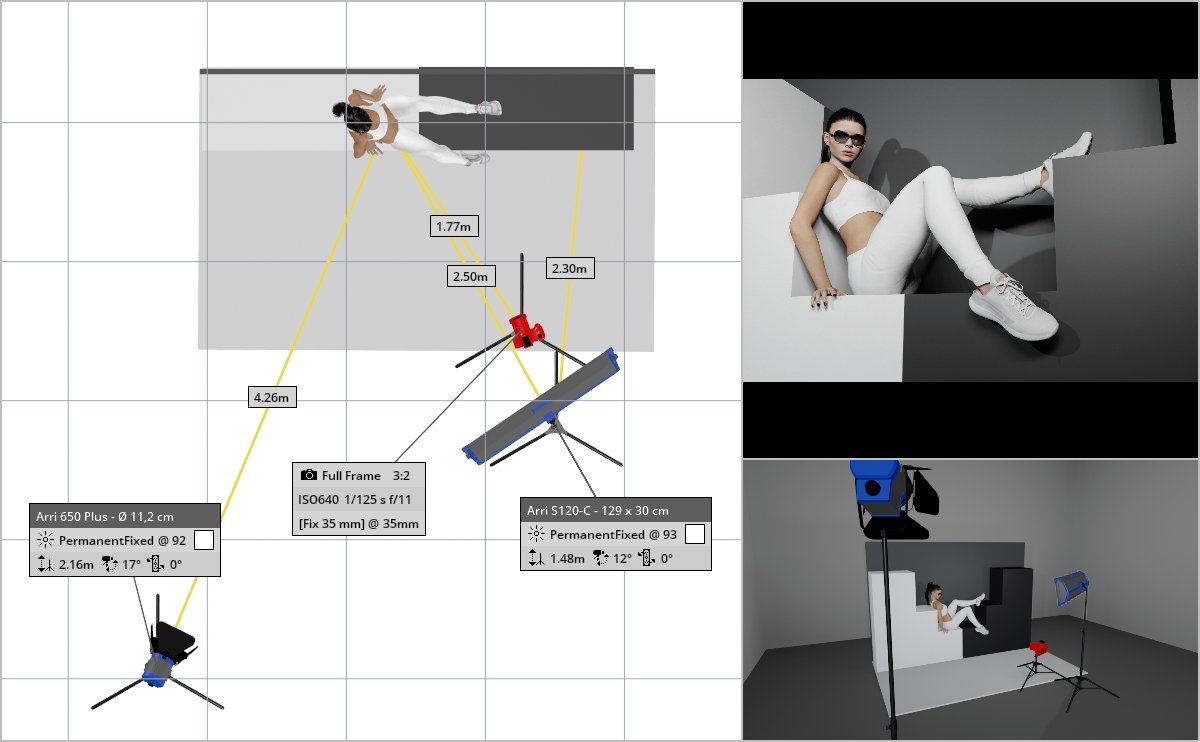
After arranging the setup, you can also generate a two-dimensional diagram:
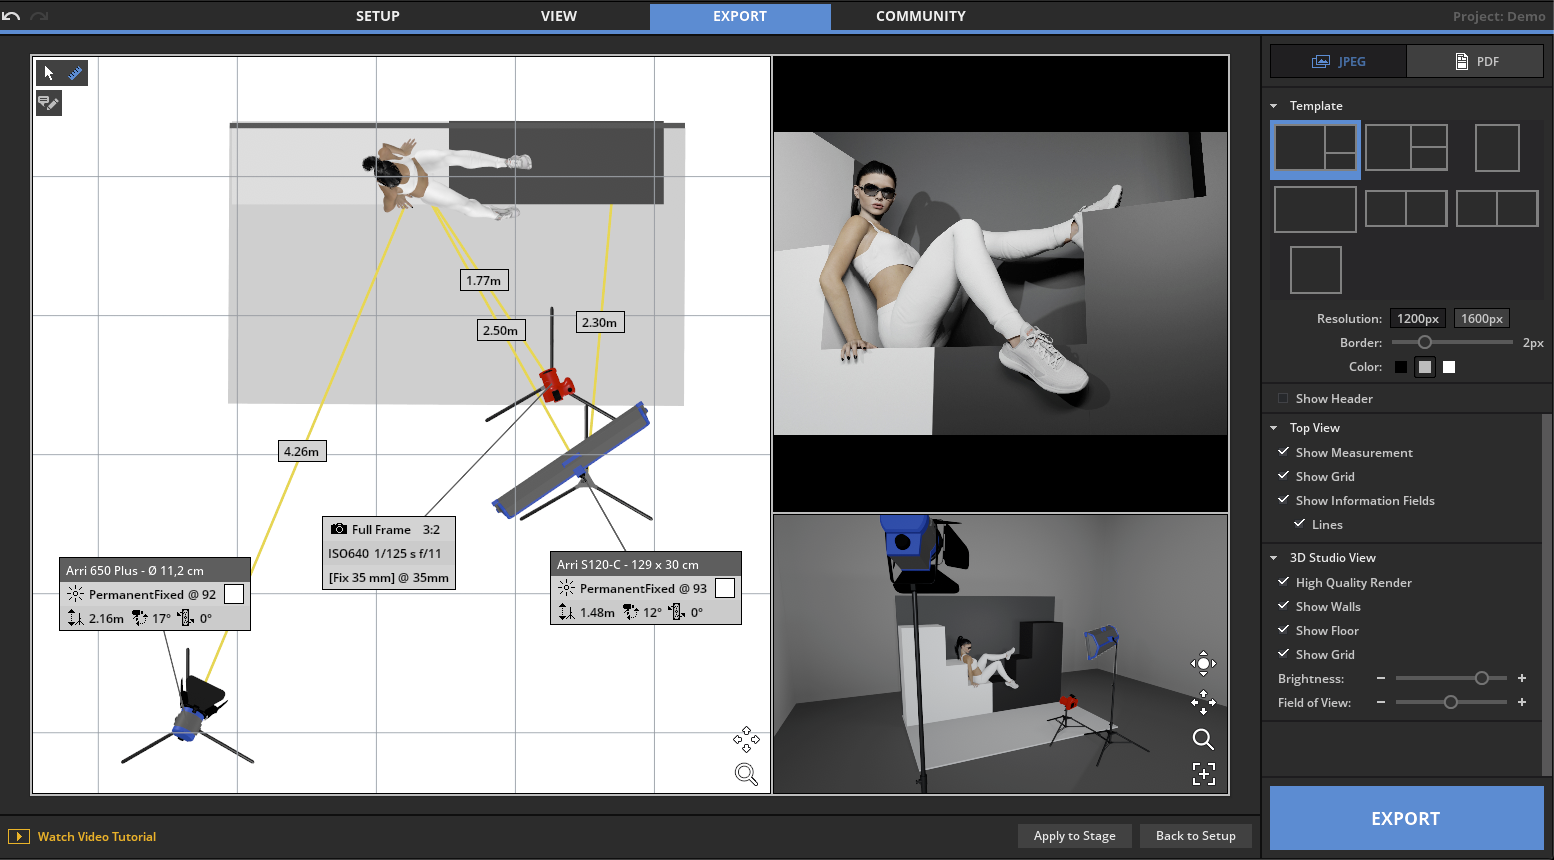
The exported file can look like this, for example:
Virtual shoot versus a real one
I had never planned a photo shoot in the application and then recreated it in real life. There were several shoots for which I definitely intended to do that, but until then I had worked in the opposite direction by recreating my real sessions in 3D.
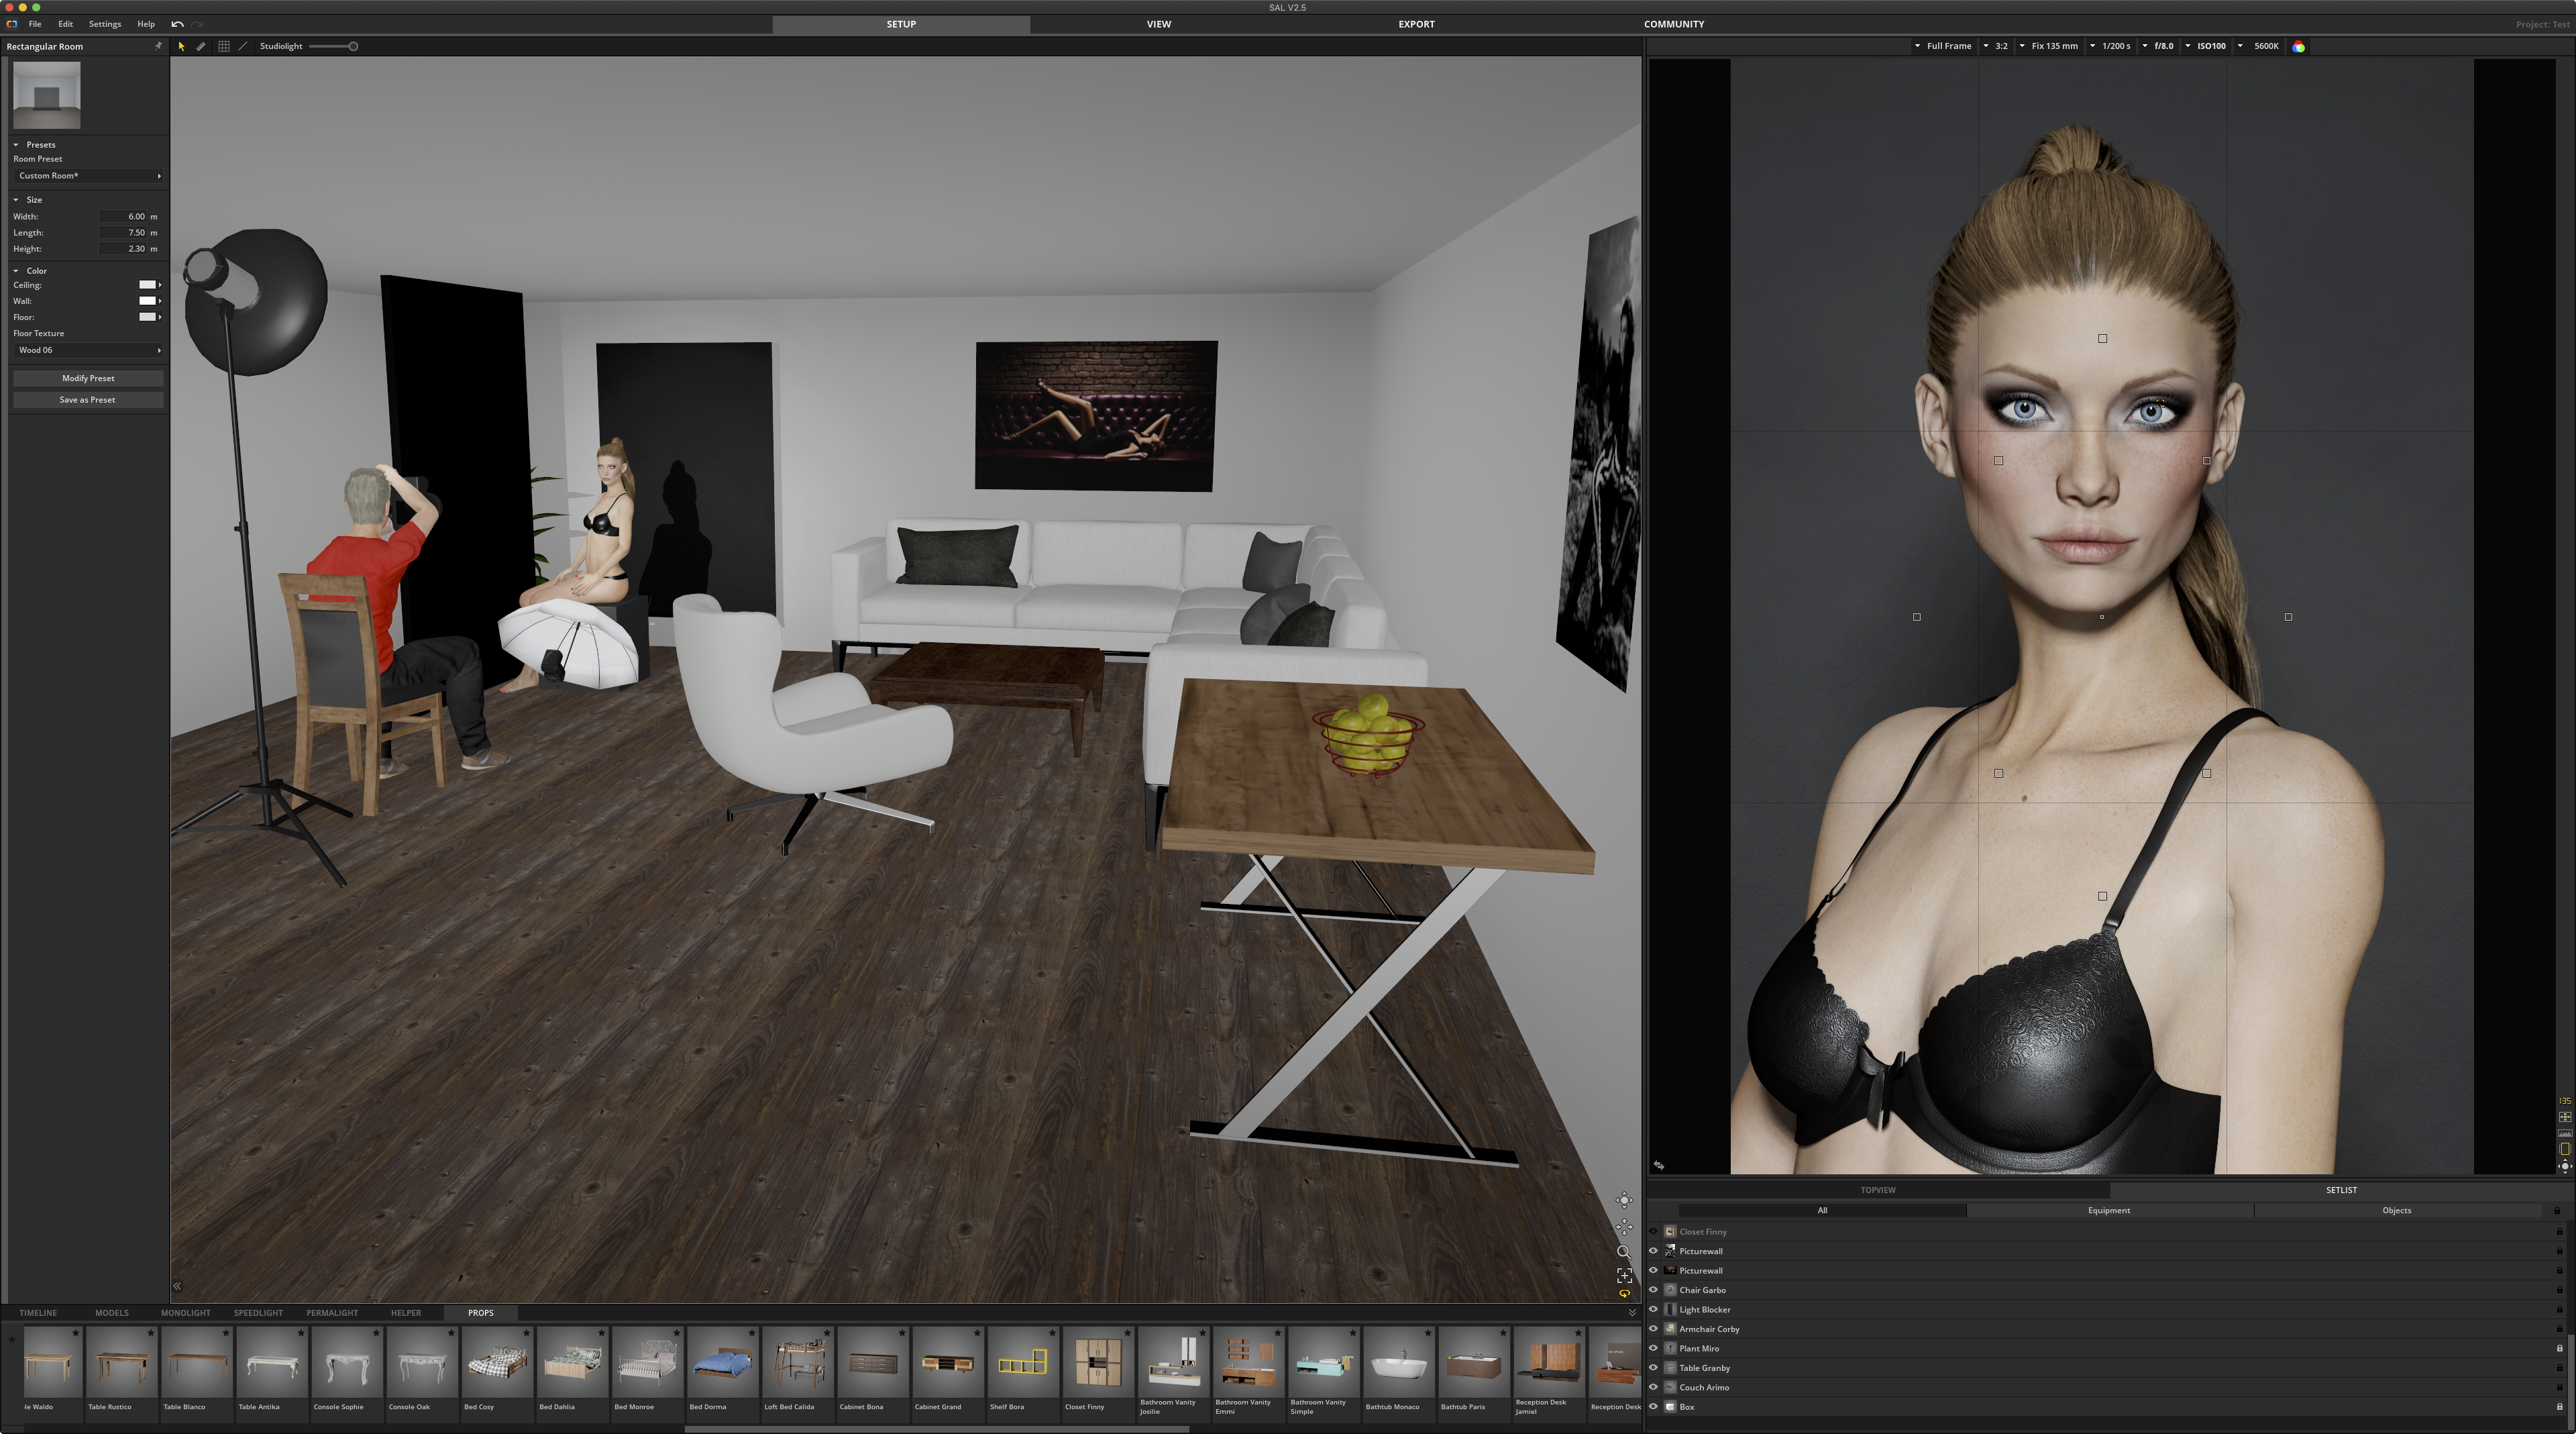
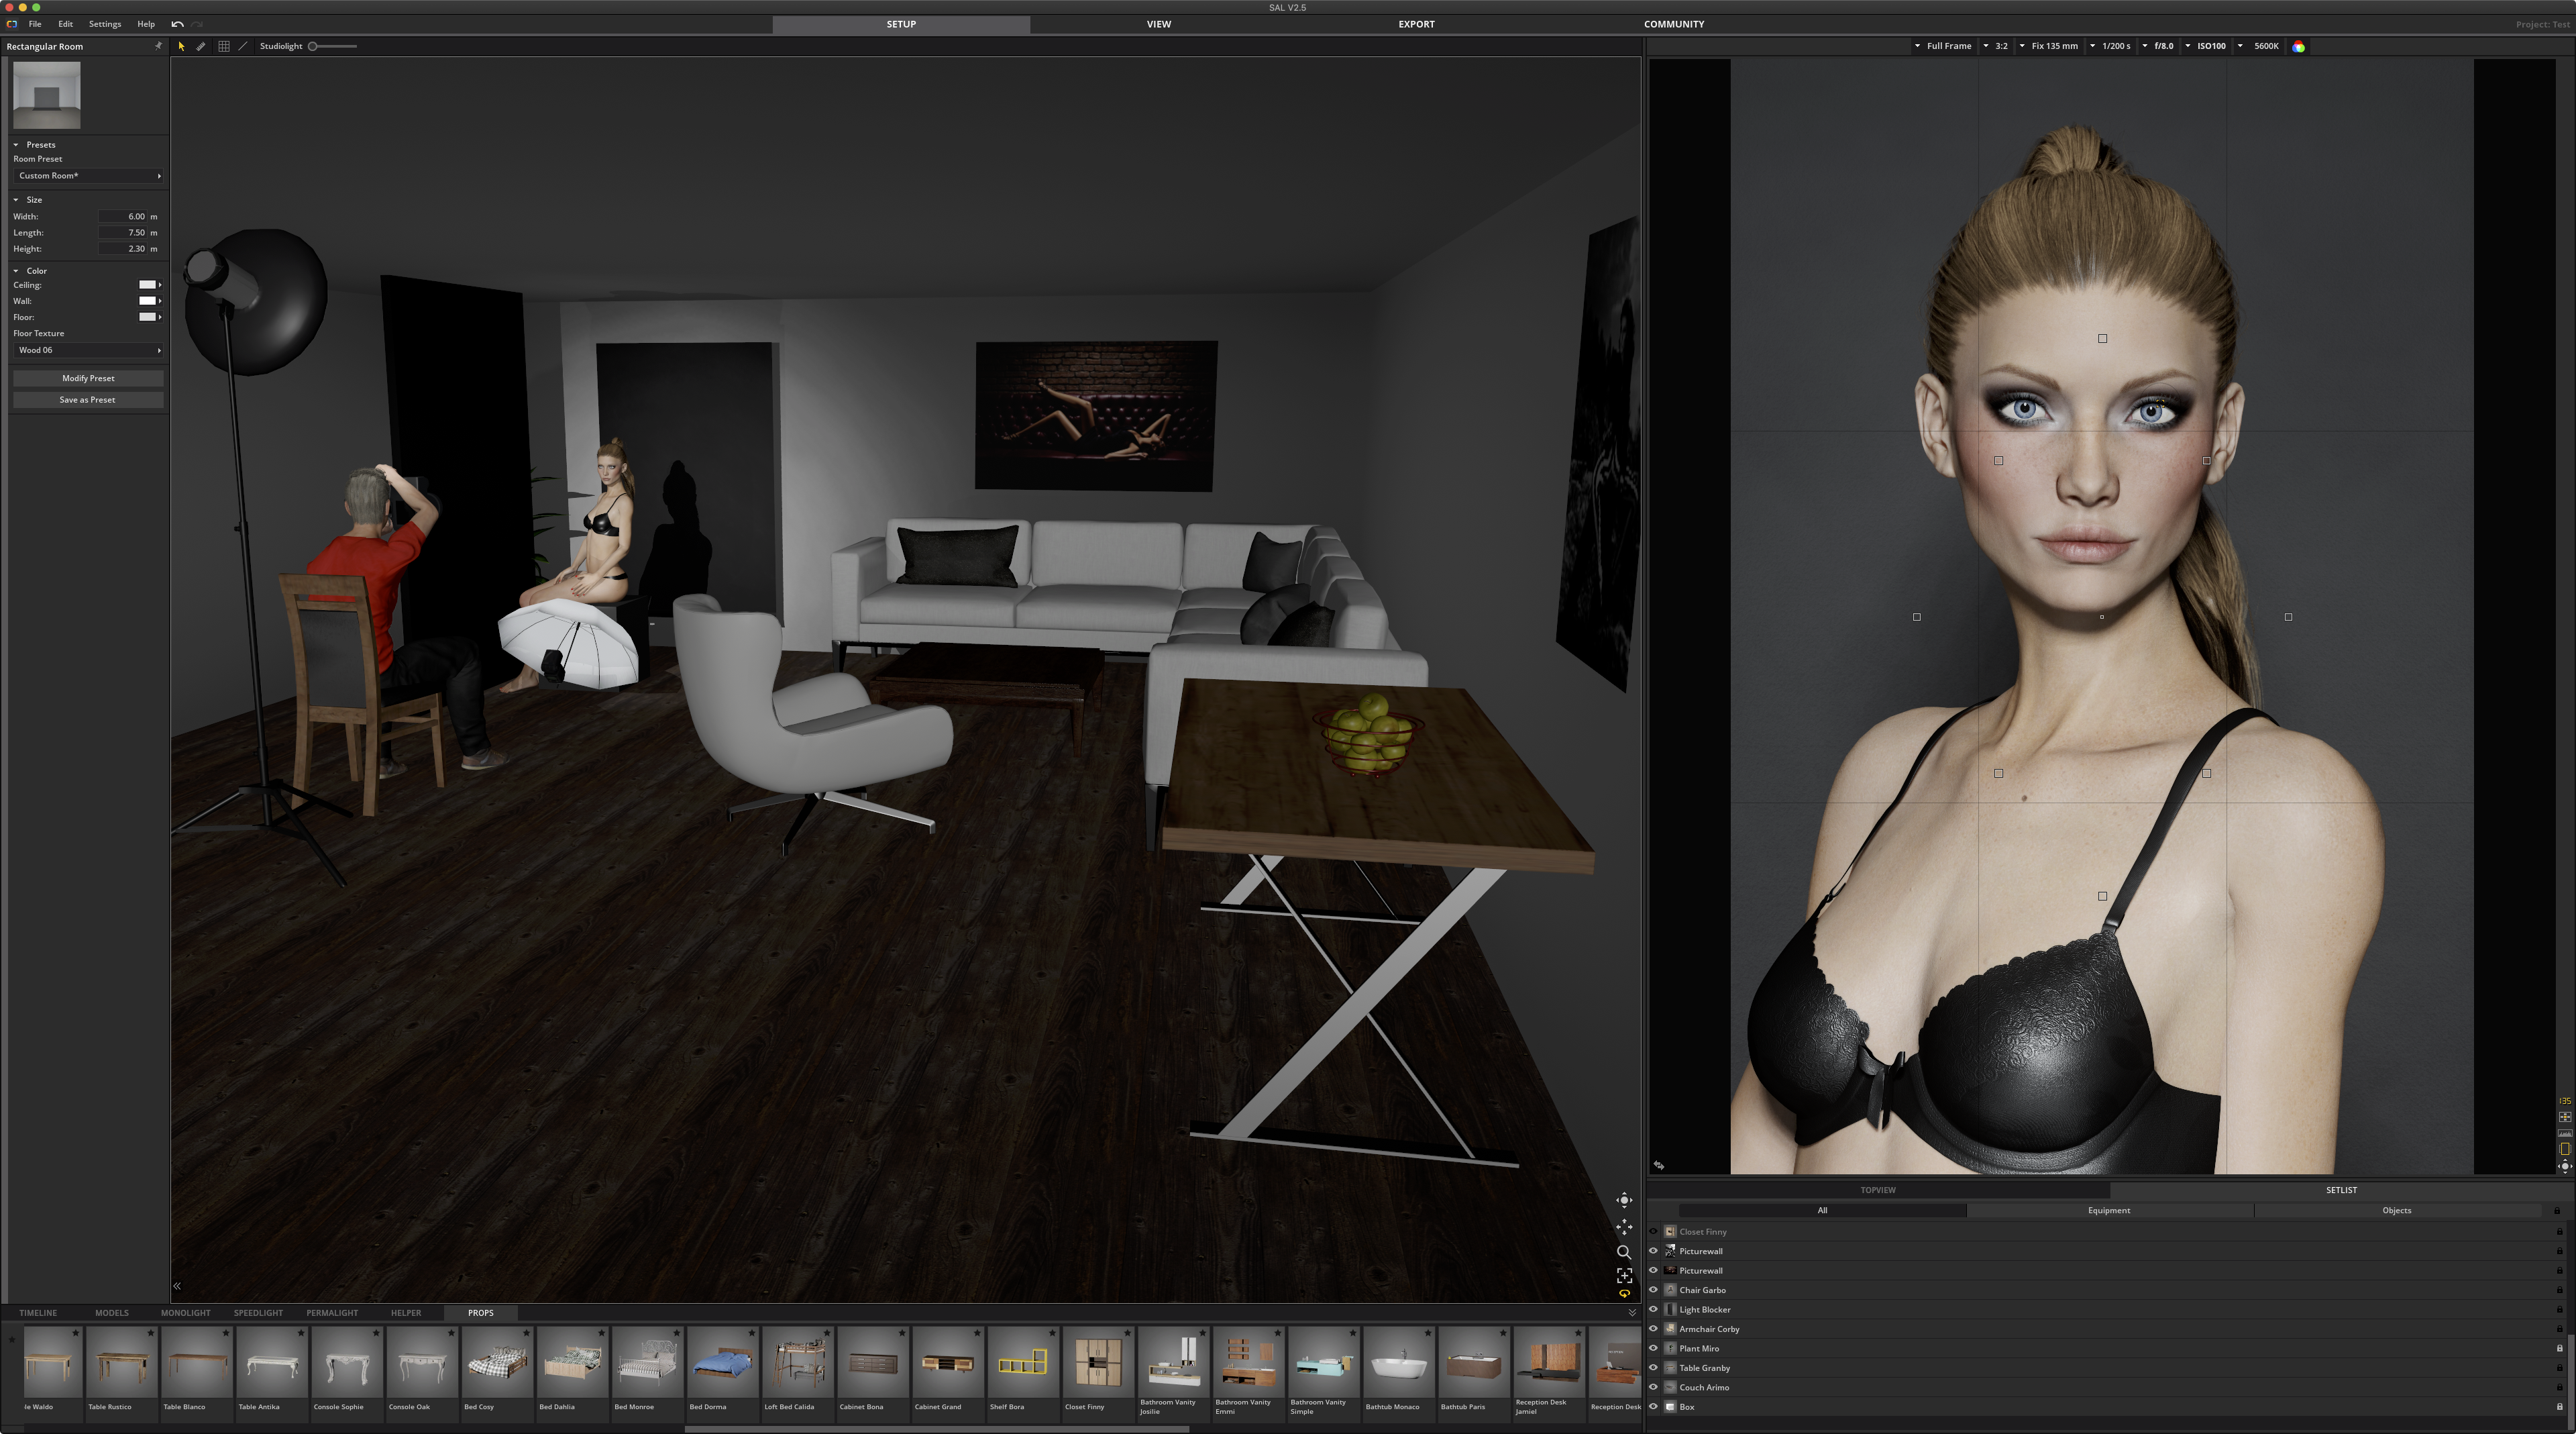
I also use the application to test different solutions because it’s much faster than running tests in reality. Its generated images don’t look real—you can see that they’re 3D models—but the distribution of light is similar to what you get in real life. There are exceptions. A transparent umbrella emits light in only one direction, even though a real one spreads light everywhere. Unfortunately, the developers told me that simulating it realistically was beyond their reach. My beloved 70 cm beauty dish is also missing. There is a 55 cm BD that produces fairly similar light in the application. One reason is that set.a.light 3D doesn’t represent particularly well how strongly the hardness of the light affects the appearance of skin. That doesn’t prevent it from being useful for planning a shoot. Overall it works well, although I would certainly be delighted to see that 70 cm beauty dish.
Hardware requirements in practice
The manufacturer recommends a graphics card with 4 GB of VRAM and DirectX 12, OpenGL 4.1, or Metal, specifically a GeForce GTX 1050 Ti, ATI Radeon RX 570, or Radeon Pro 560. I used set.a.light 3D even on my seven-year-old MacBook Pro. It wasn’t smooth, or anywhere close to smooth, but I could arrange setups and even stream the process live at the same time. The situation was similar on the 2018 Mac mini. It may be a very fast computer, but not for 3D, and its graphics processor is a serious bottleneck in applications like this. On my current Hackintosh, set.a.light 3D has no choice but to run perfectly in 4K—i9-9900K and RX 5700 XT. I see no difference whether I run it on macOS or Windows.
In summary, the application will work on any computer from the previous several years. At worst, camera movement and similar actions will stutter.
The future
At the time, lighting was simulated using various tricks, much like in games. In the future, realistic lighting would become much easier and match reality completely because developers would “only” need to use ray tracing. This is the technology used to render Hollywood animation, for example, where rays bounce from every surface and illuminate the scene rather than relying on artificial, fake lights. The problem is that every frame in those productions takes workstations hours to calculate. Consumer graphics cards capable of doing it in real time in games and applications were new and cost more than an average entire PC. Even then, full ray tracing could display Quake II smoothly—a game that was 23 years old. Support for ray tracing on ordinary cards was newer still. Either way, fast hardware was required. I didn’t expect a ray-traced photo-shoot simulator to appear within three years, and I wouldn’t be surprised if it took much longer.
For the next several years, however, what I described above was what we had. You could download the trial or buy the full version here.