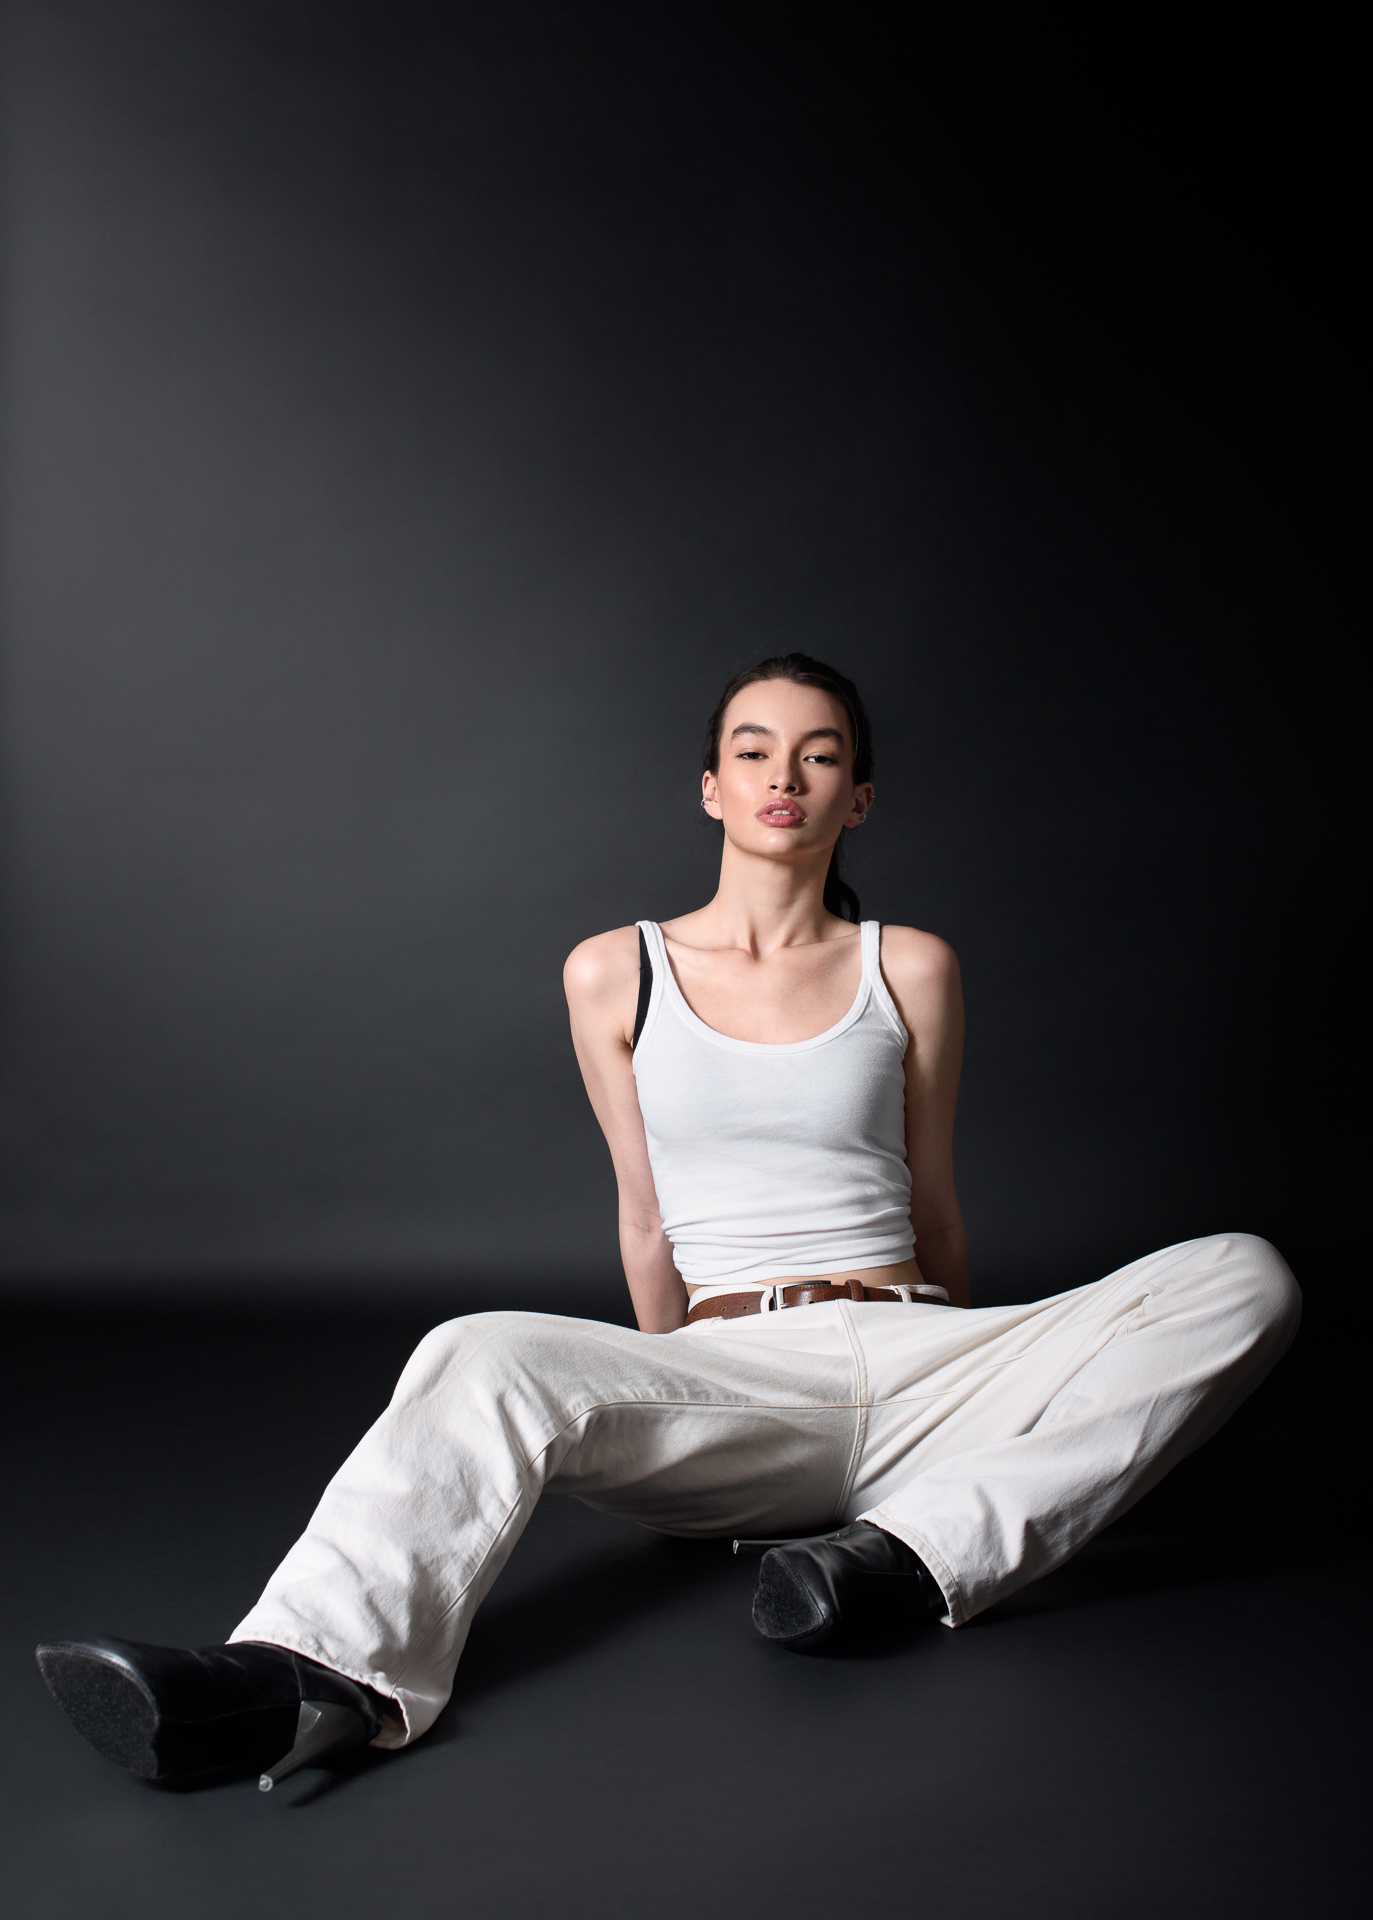
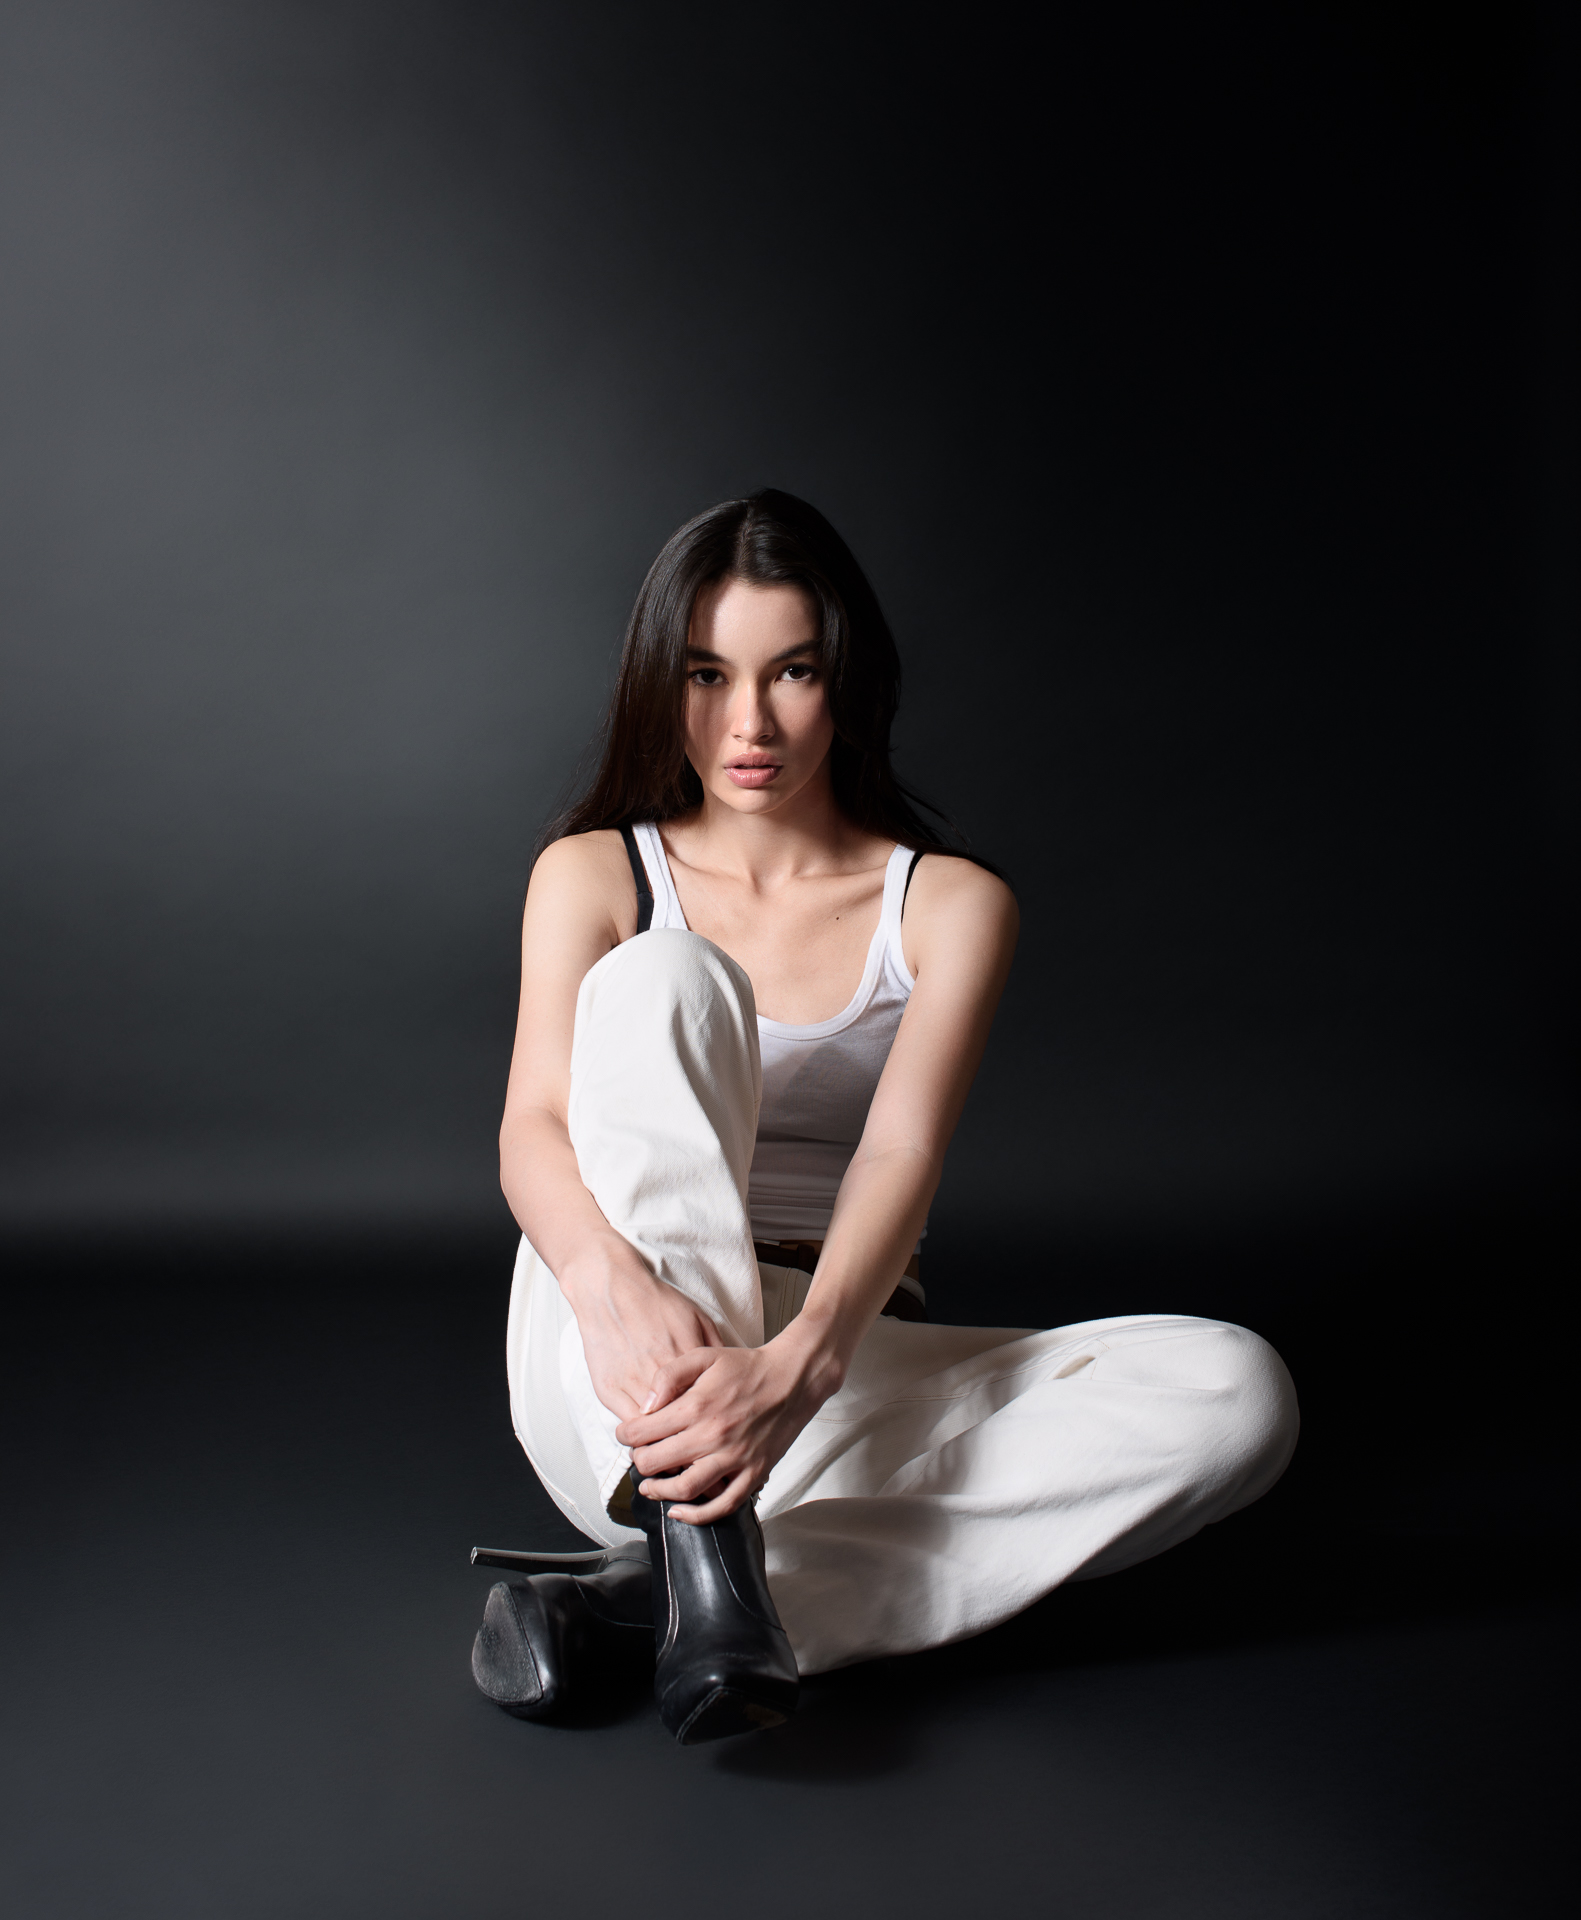
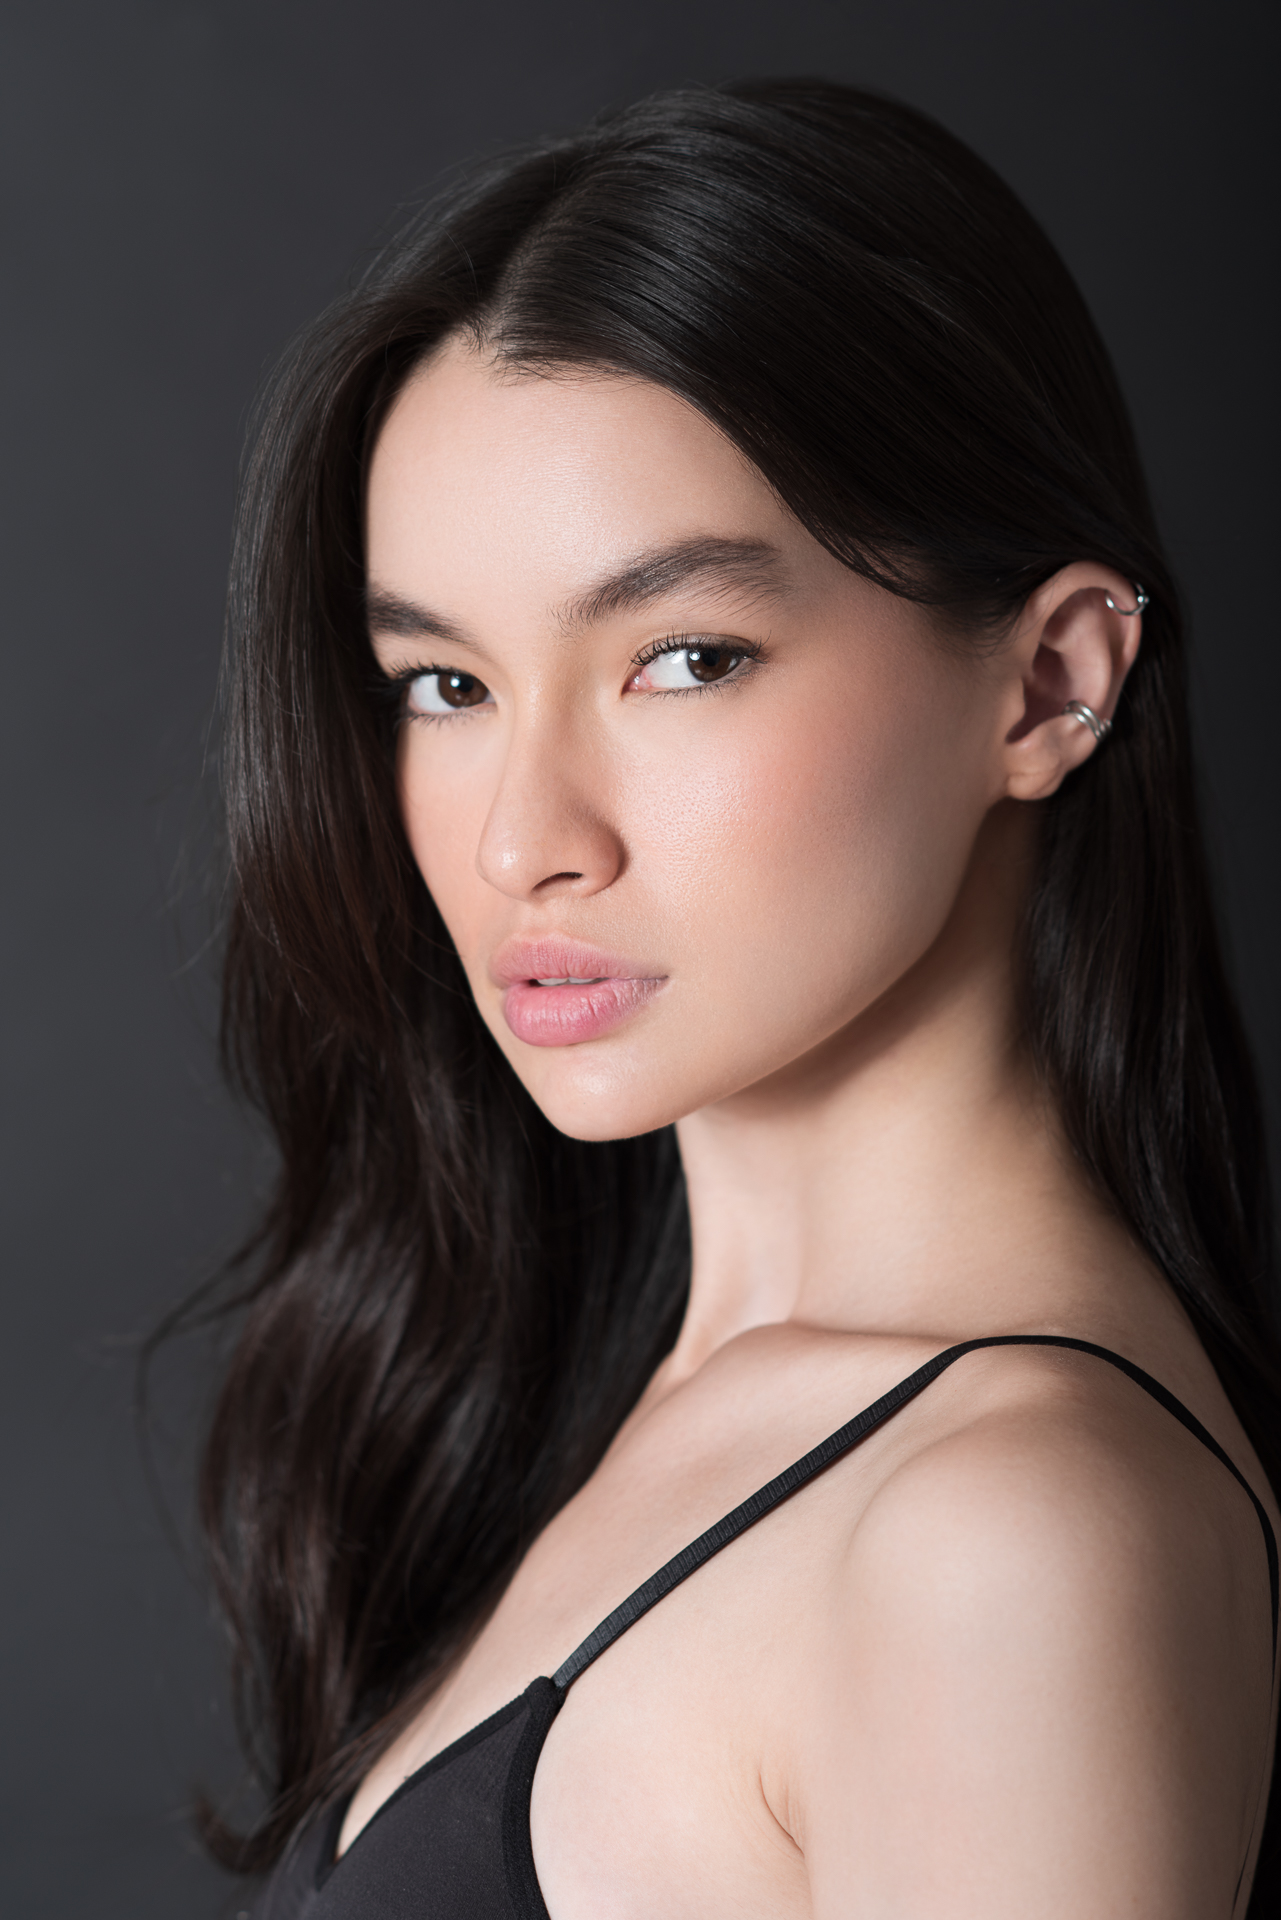
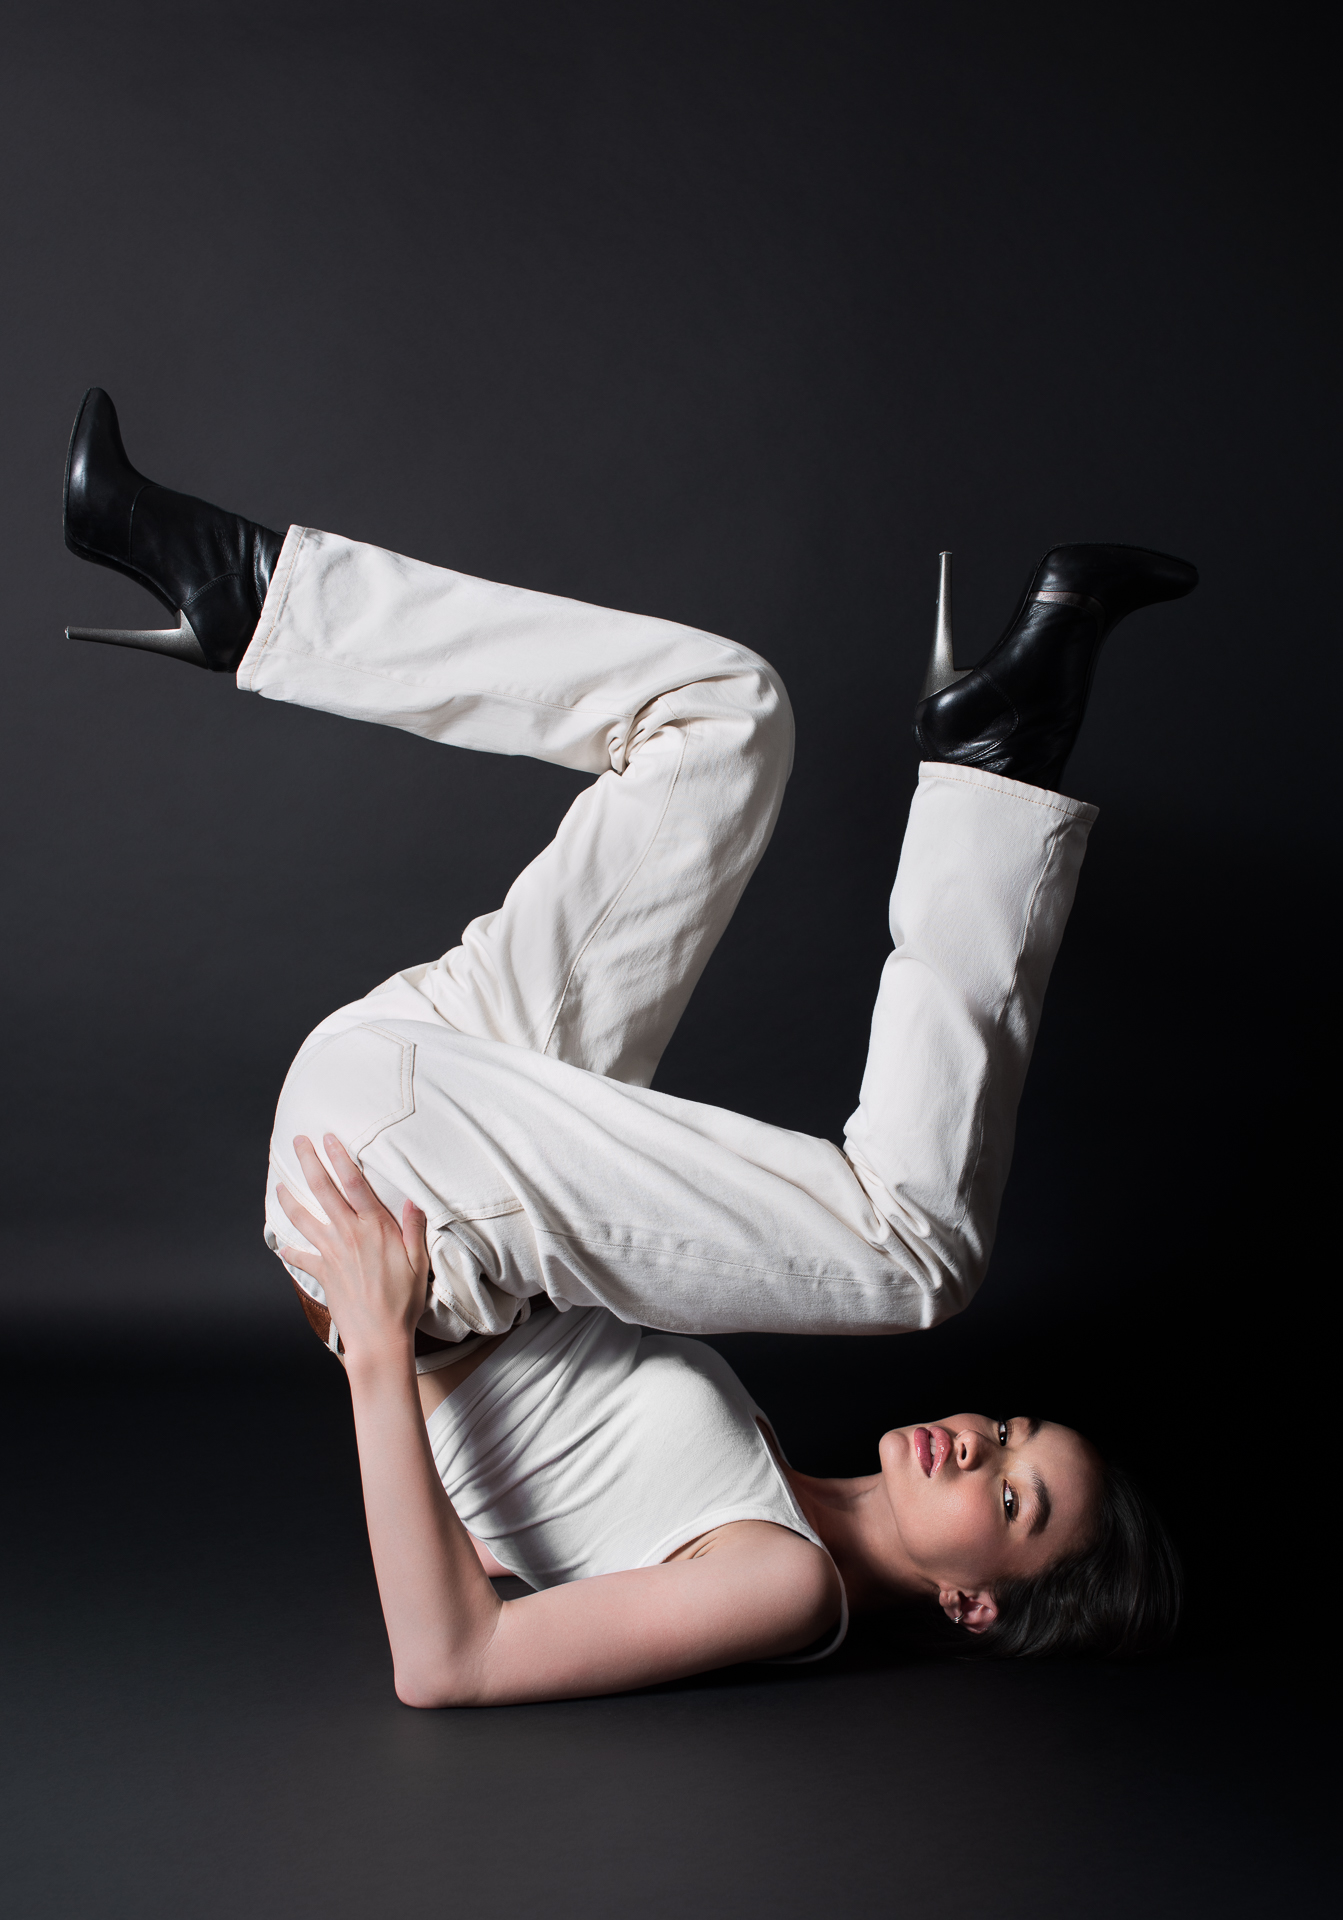
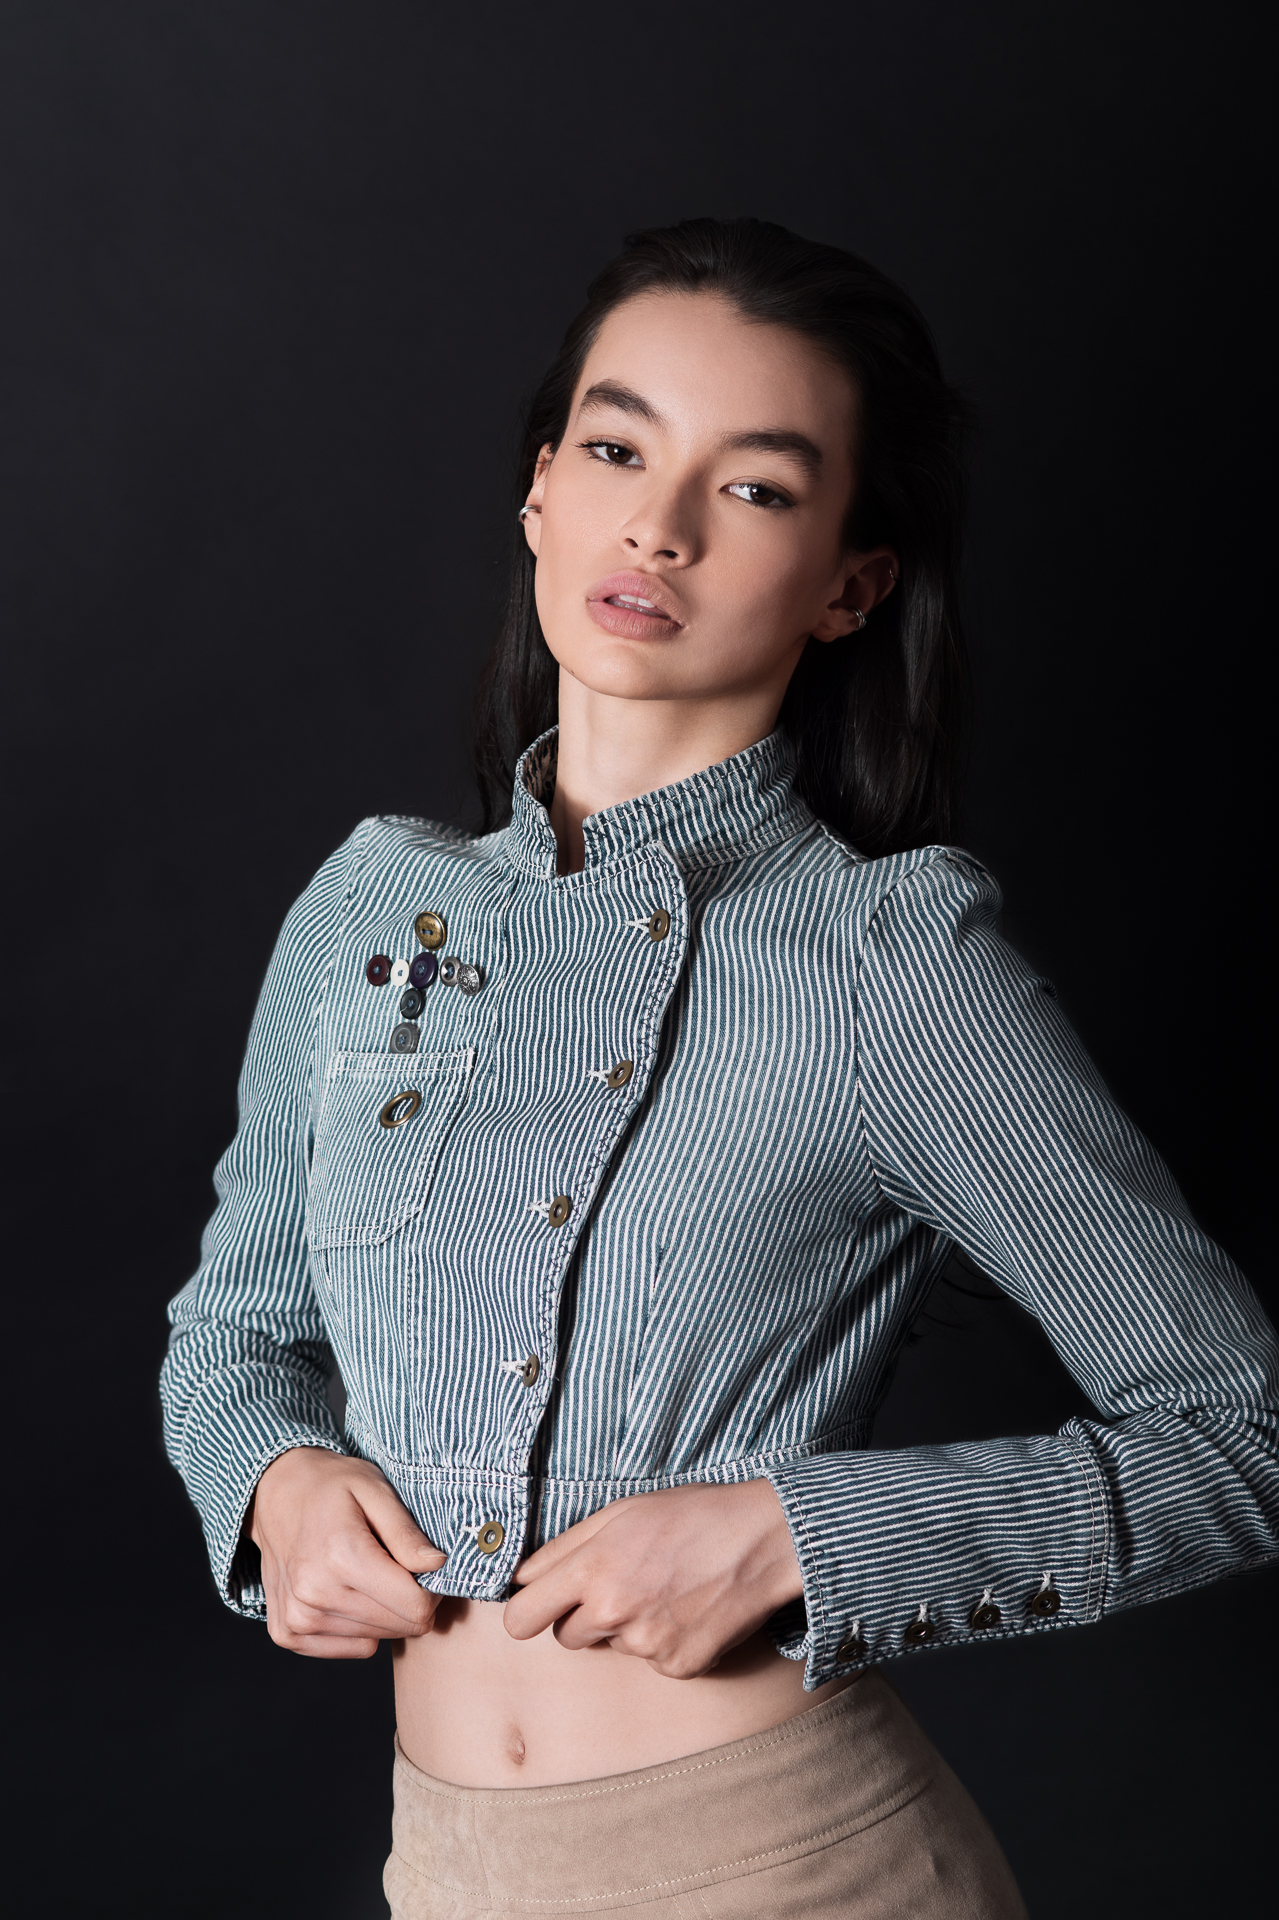
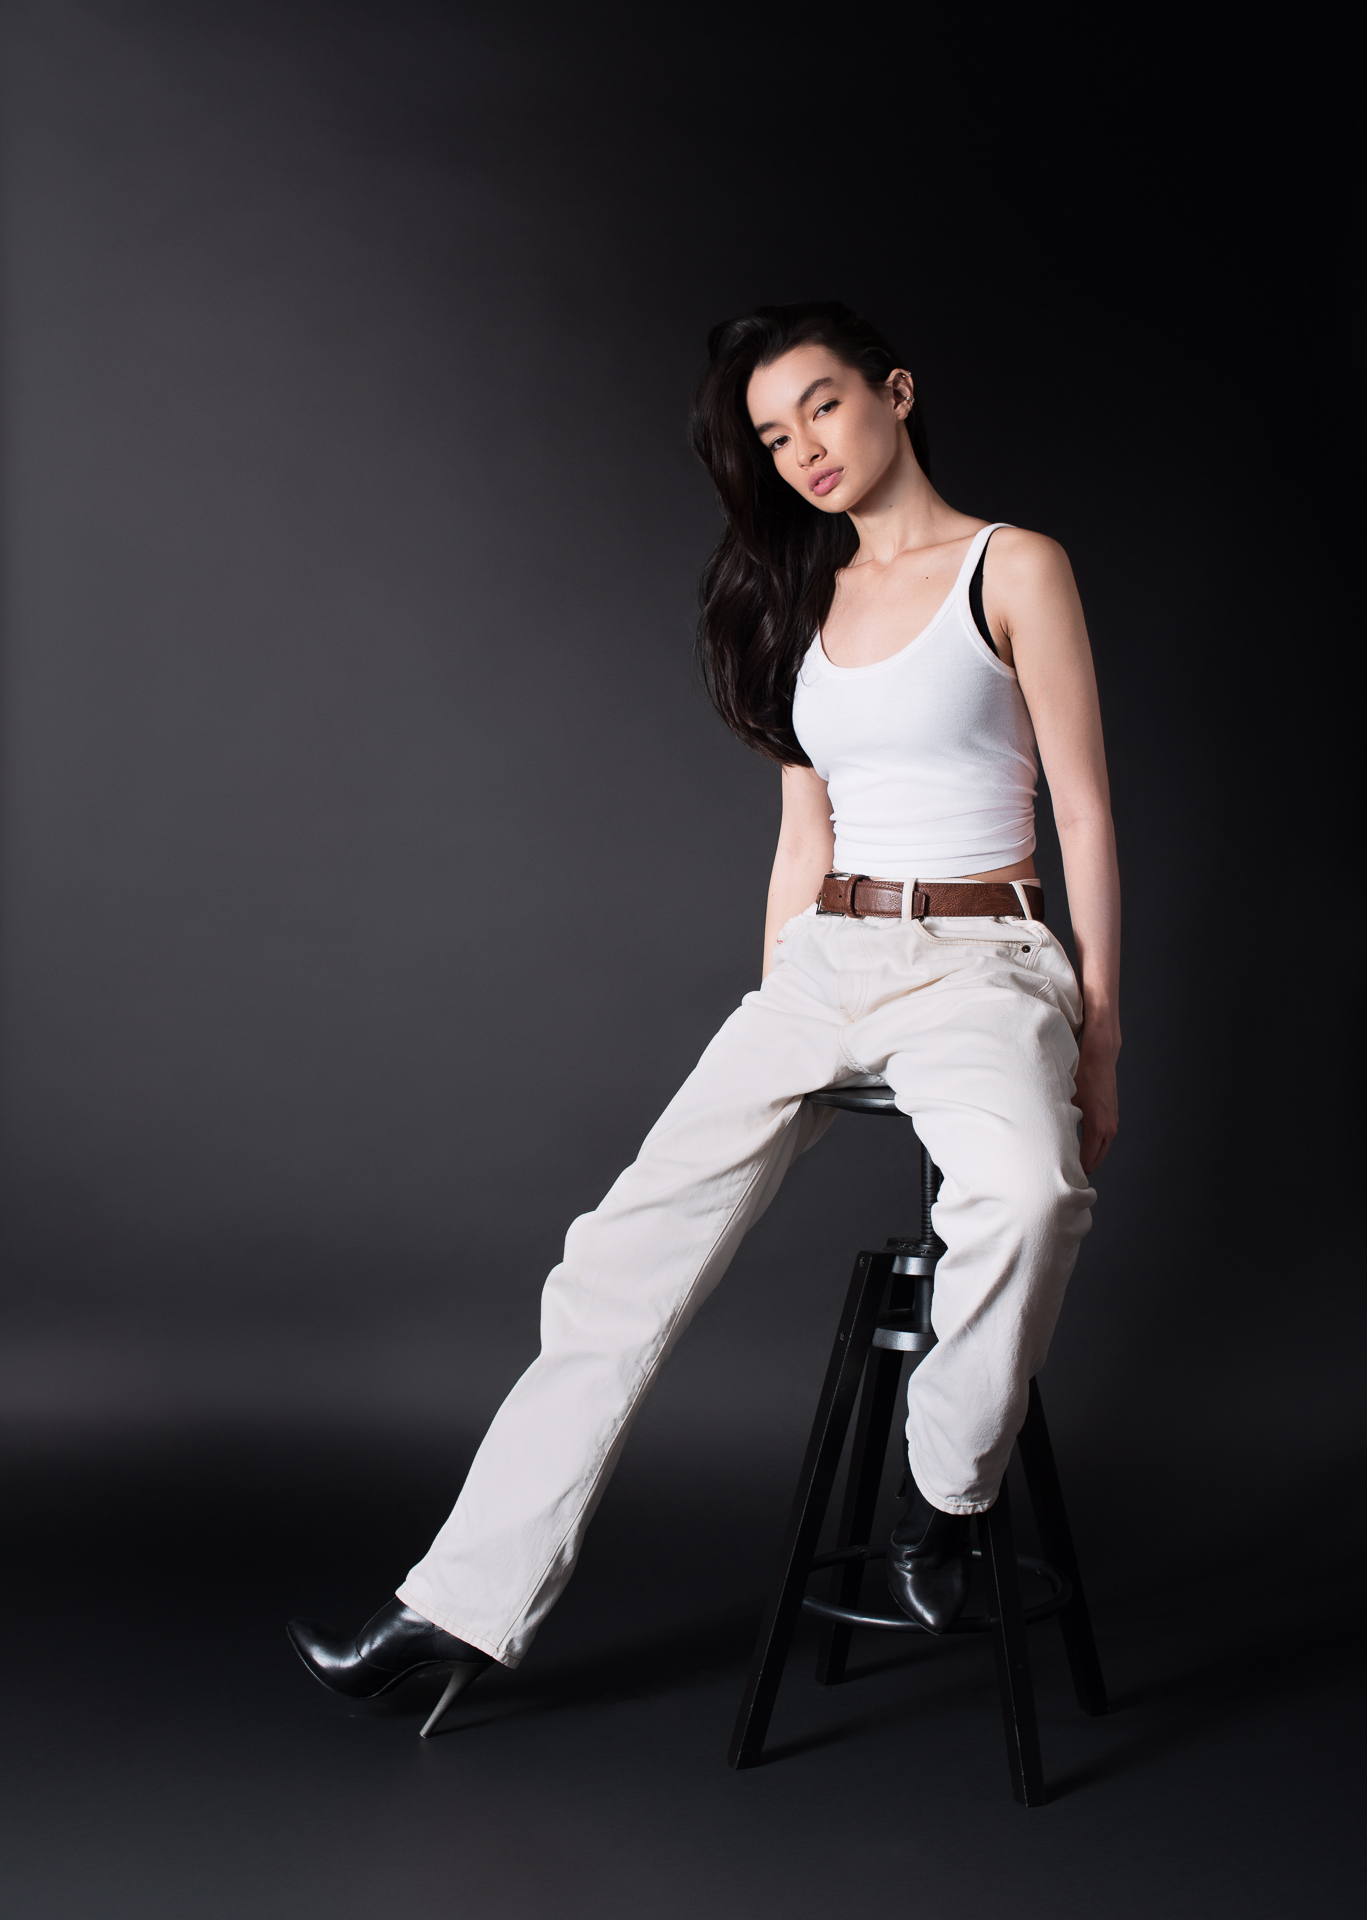
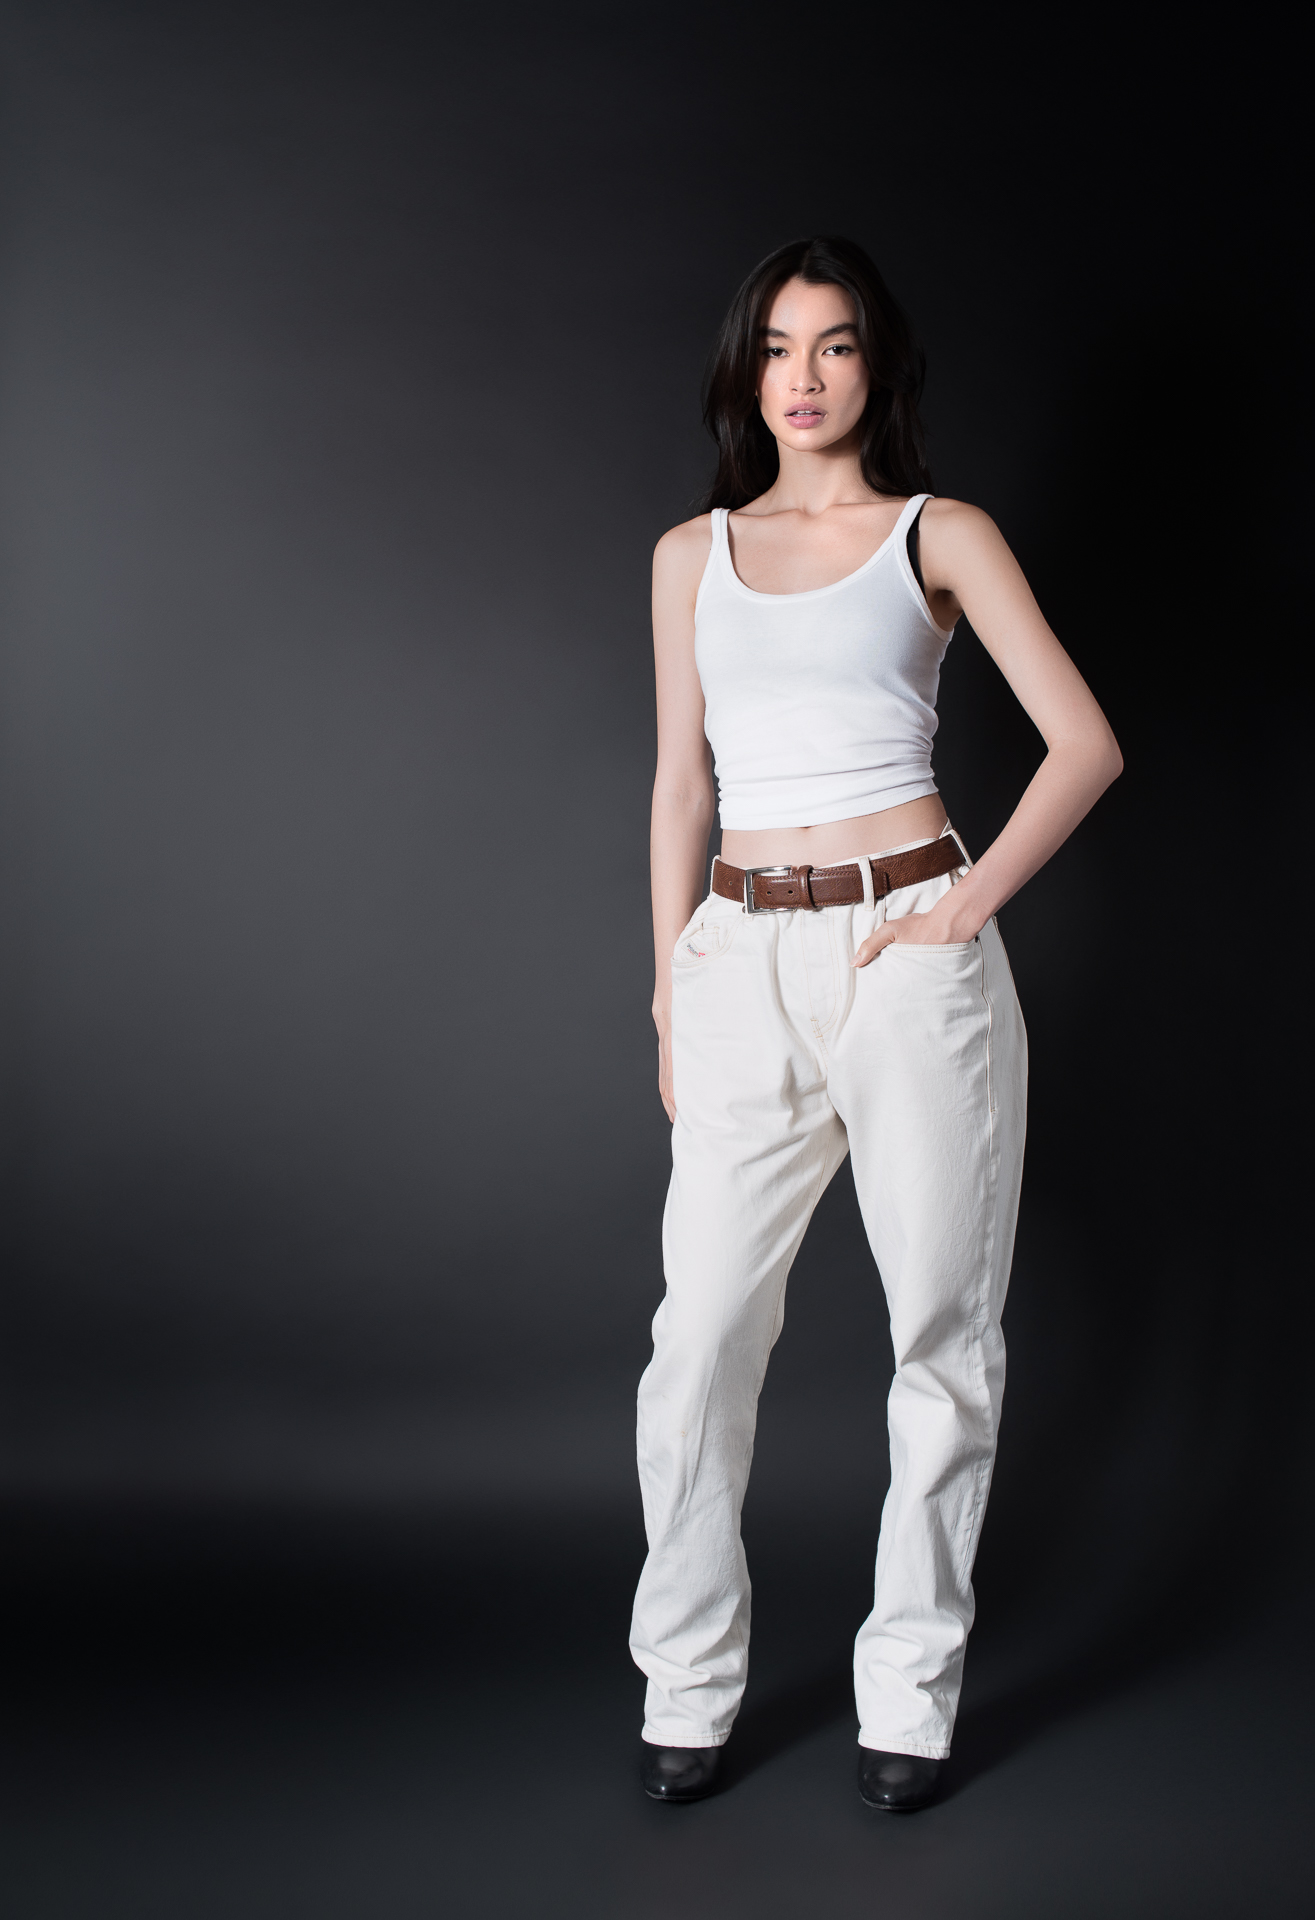
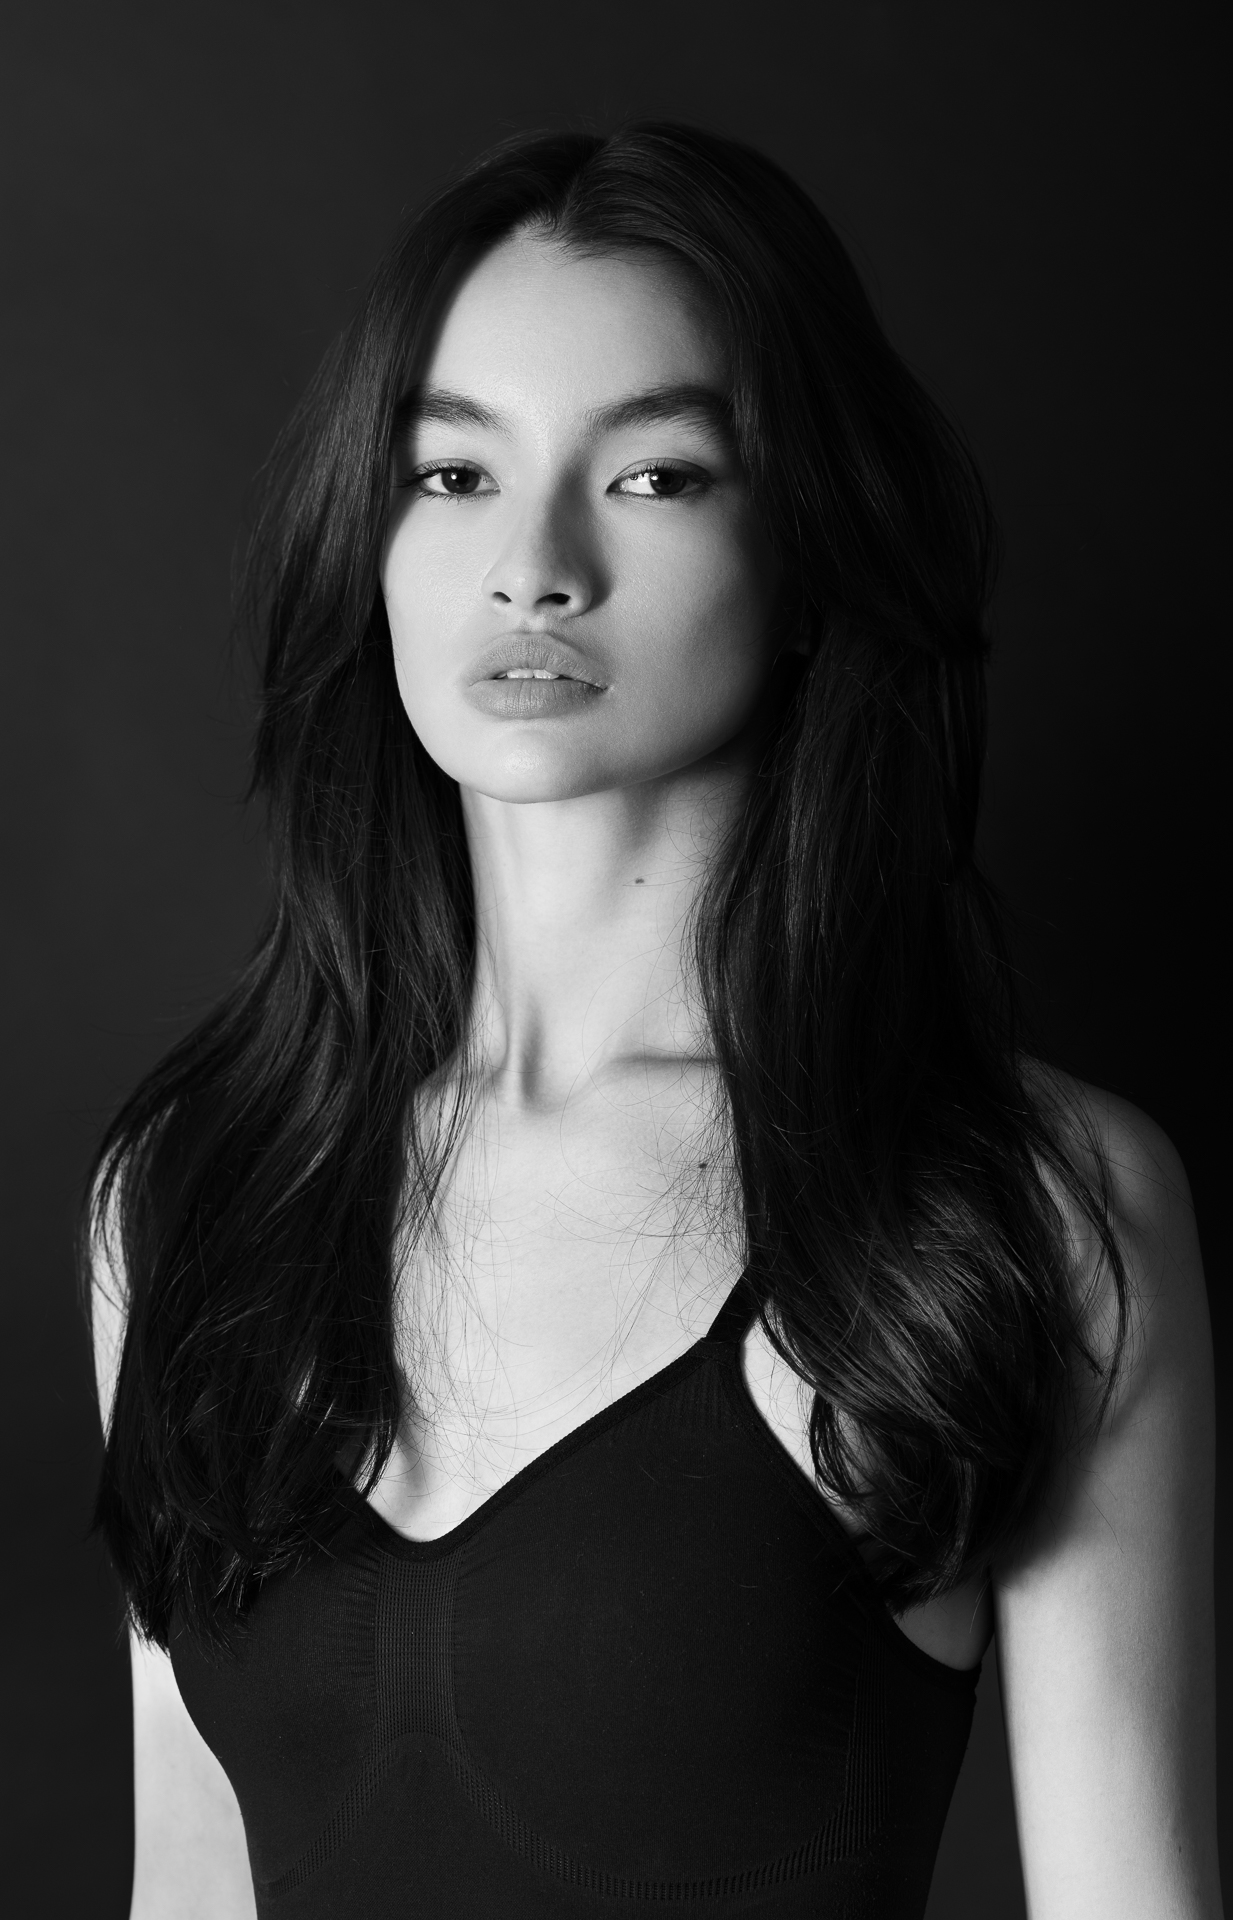
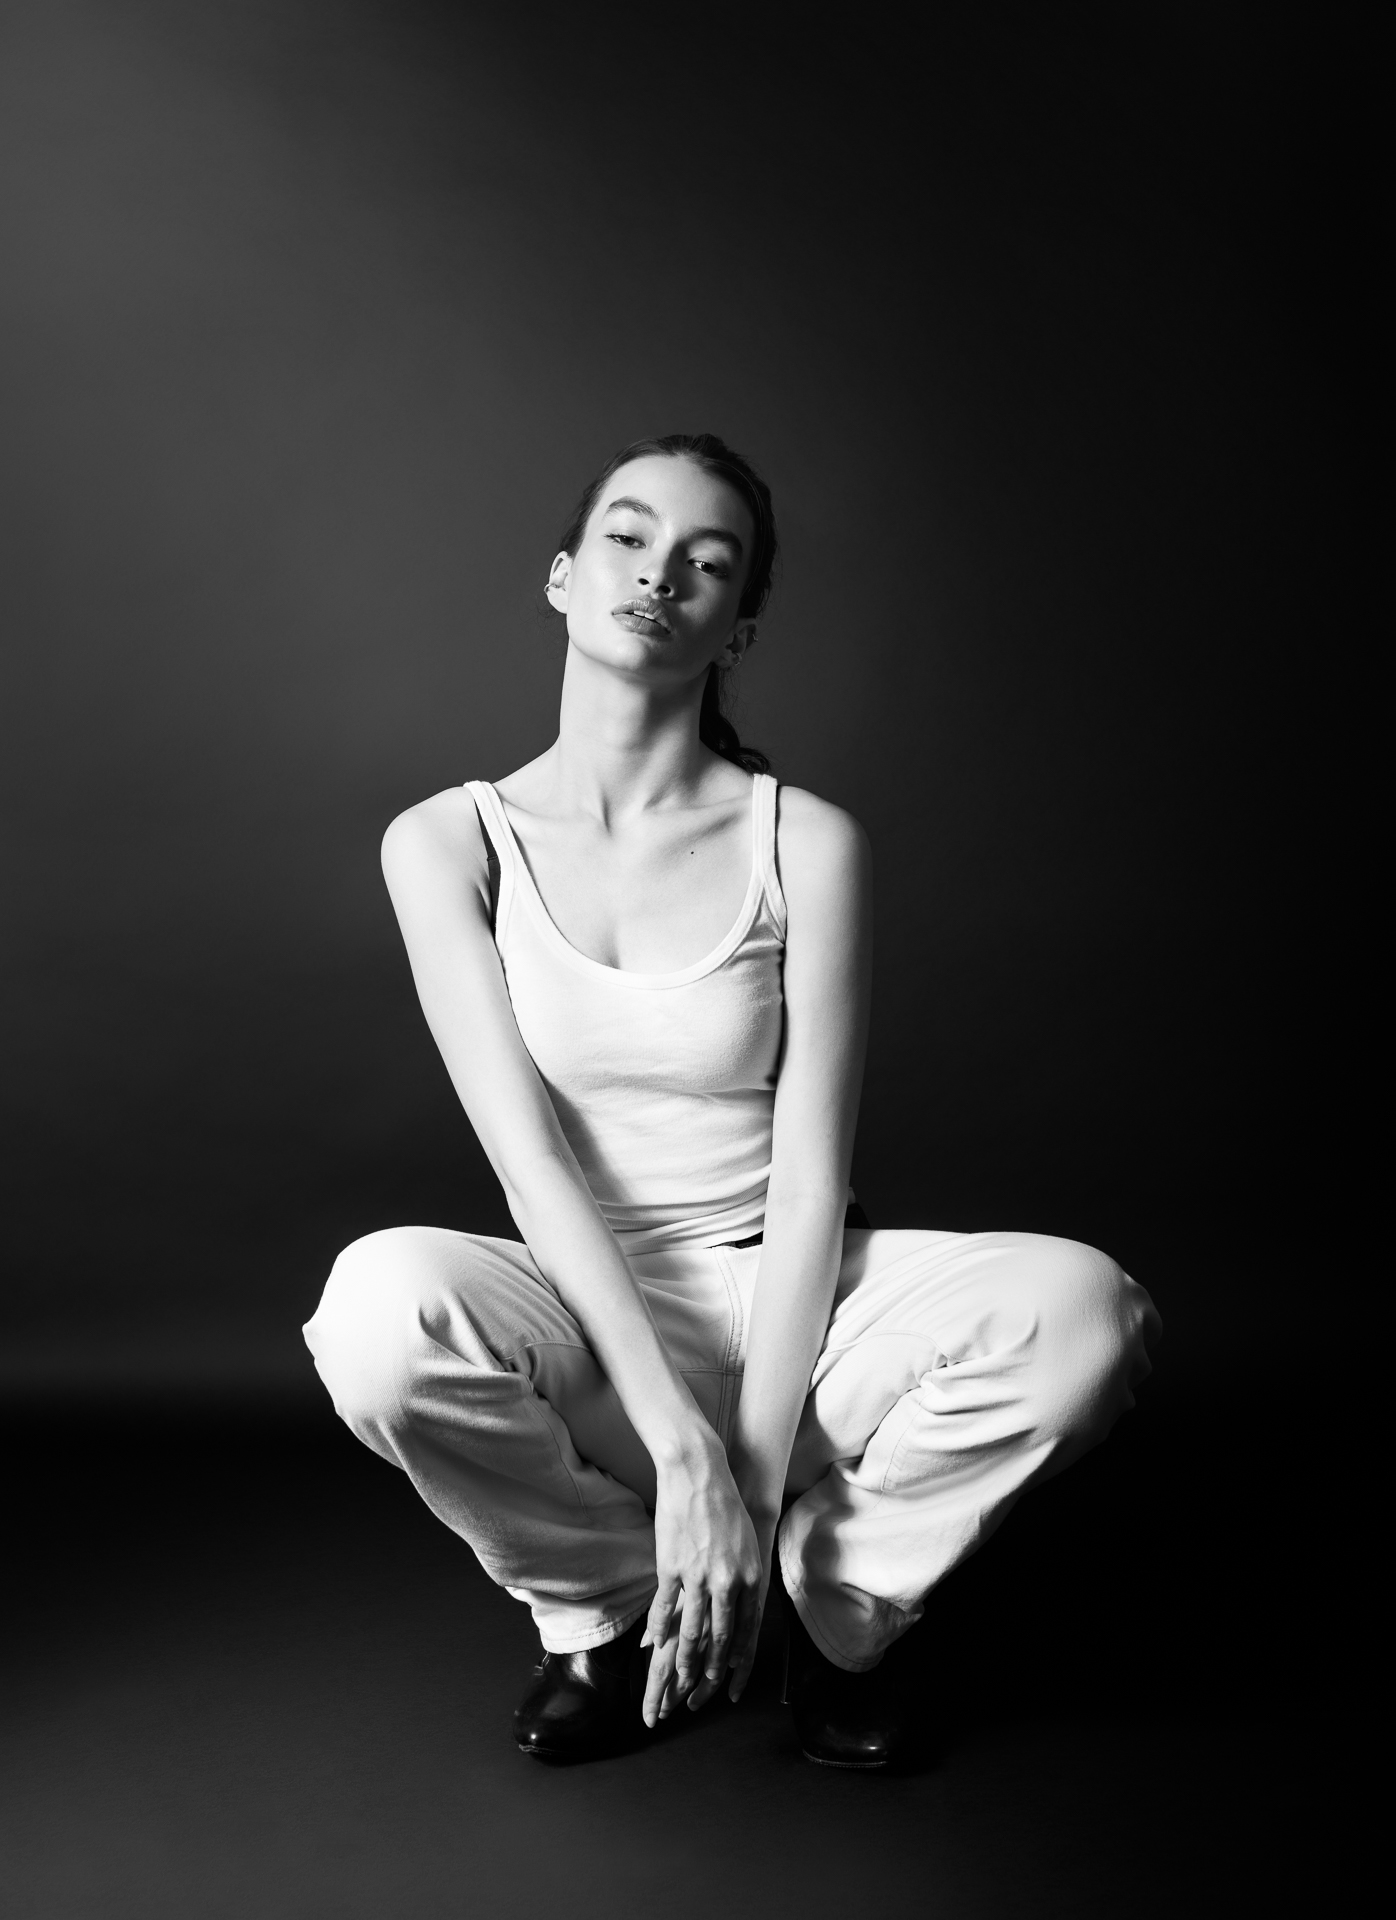
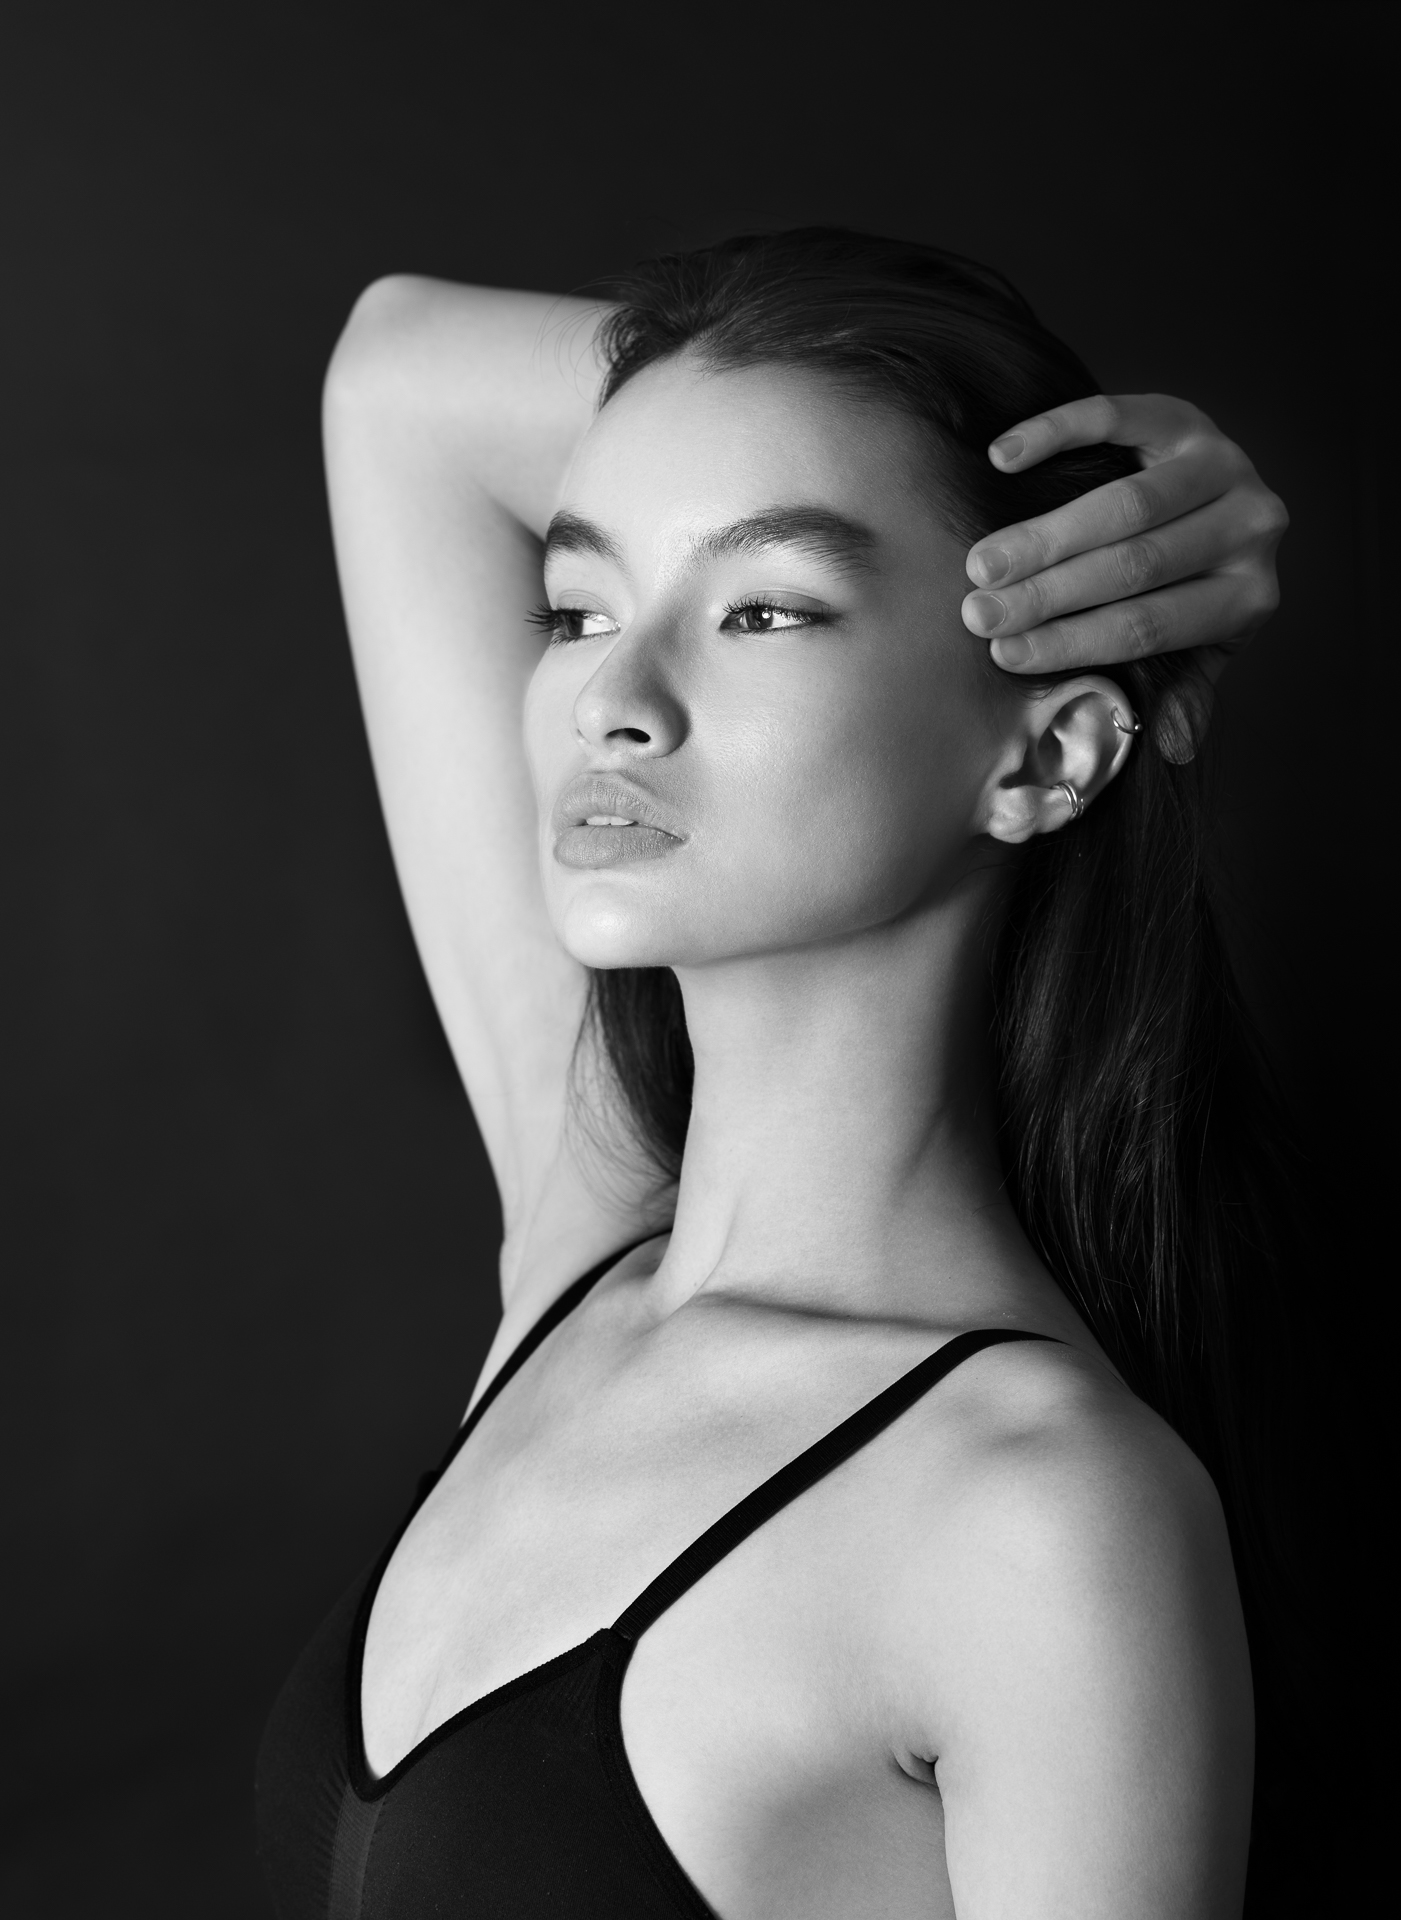
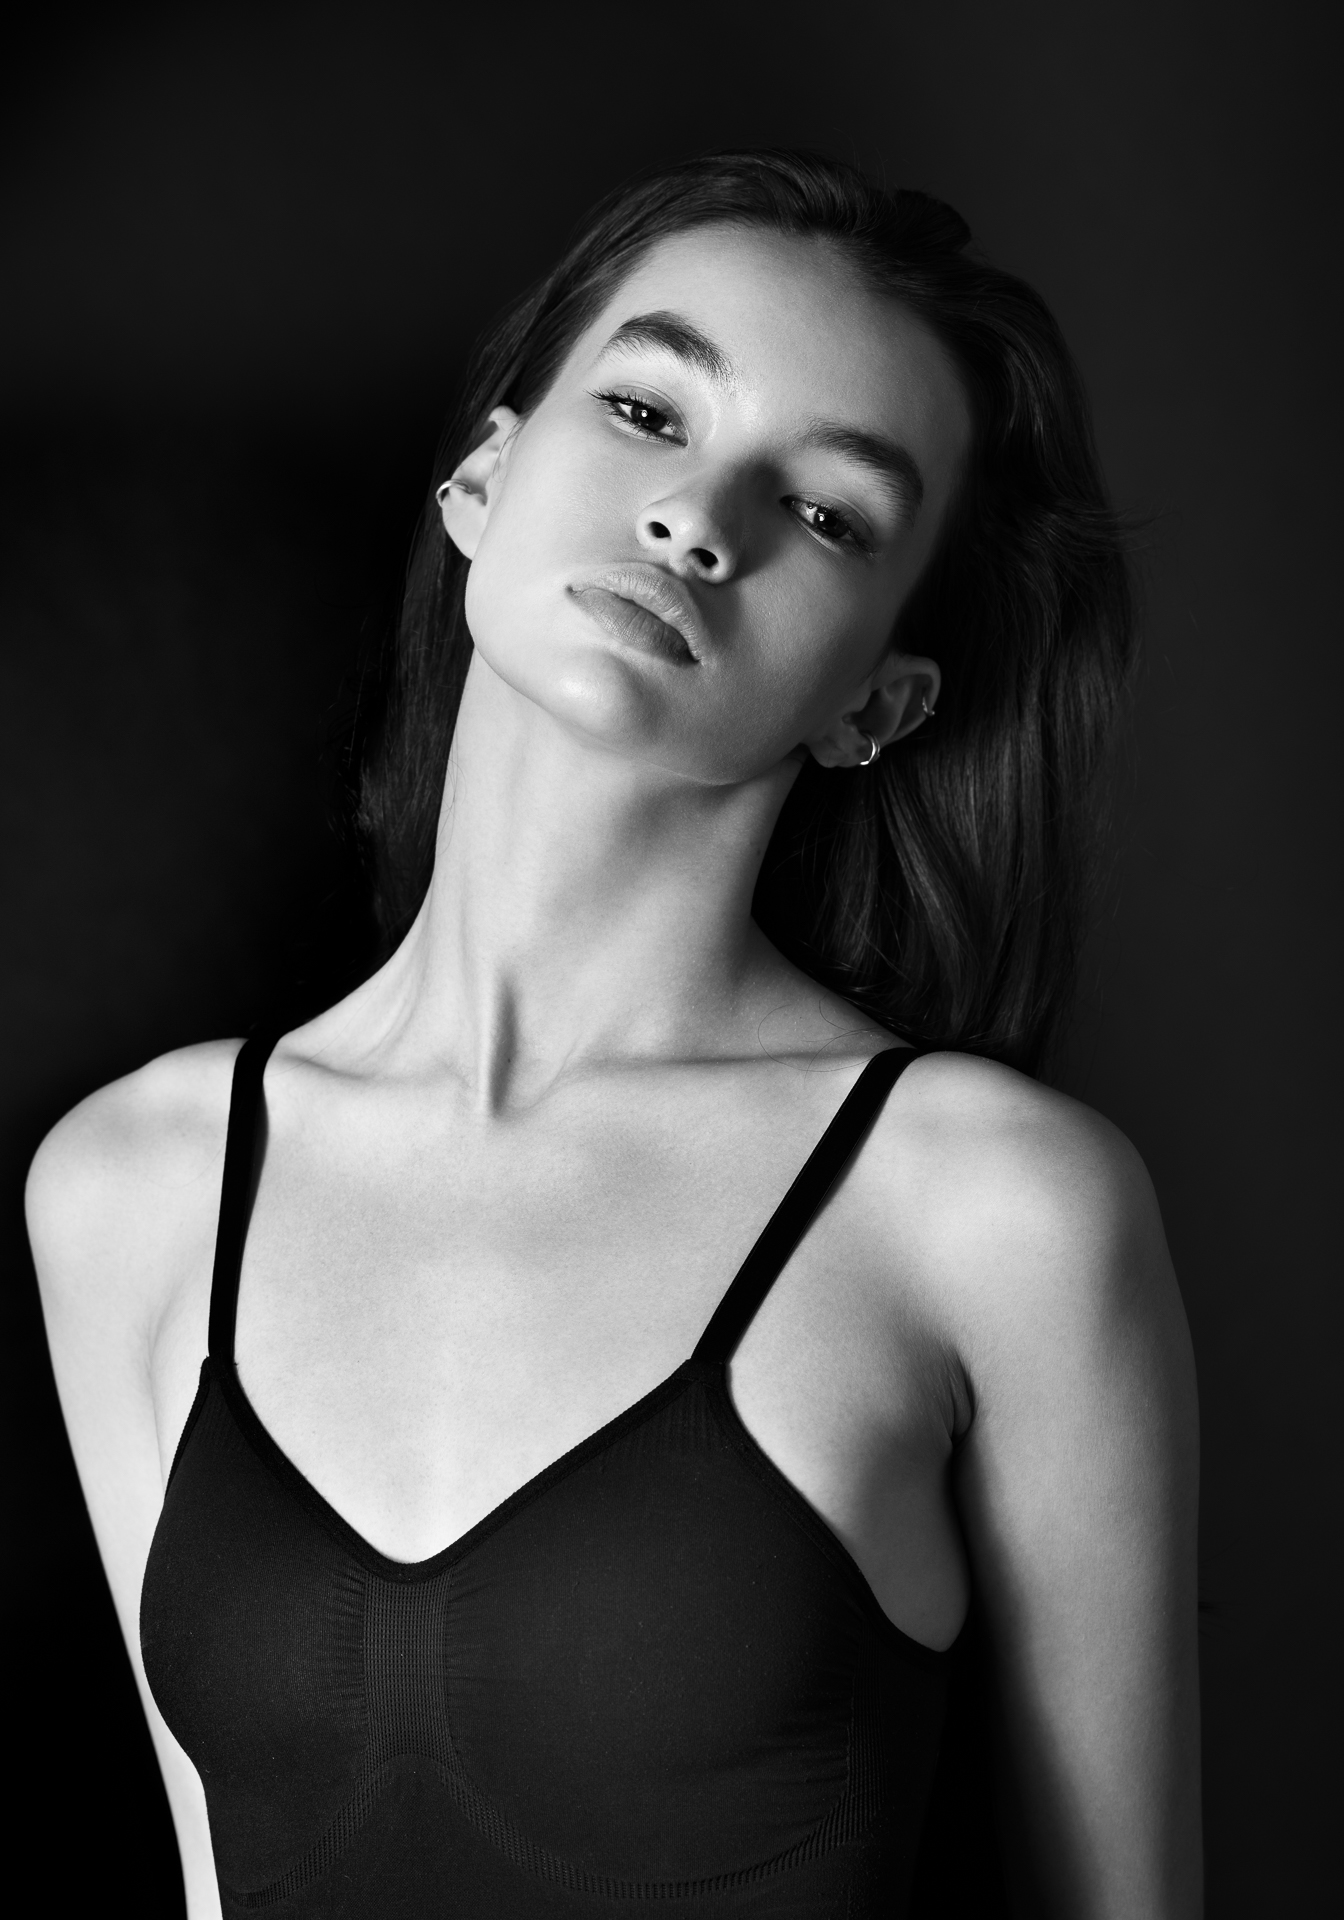
I recently did tests with Sophie from England, so today, while briefly discussing NikCollection 6, you will see her photos. The agency that represents her in Thailand is quite specific because it specializes in models with partially Asian facial features, while other agencies in Bangkok also have plenty of typically white models.
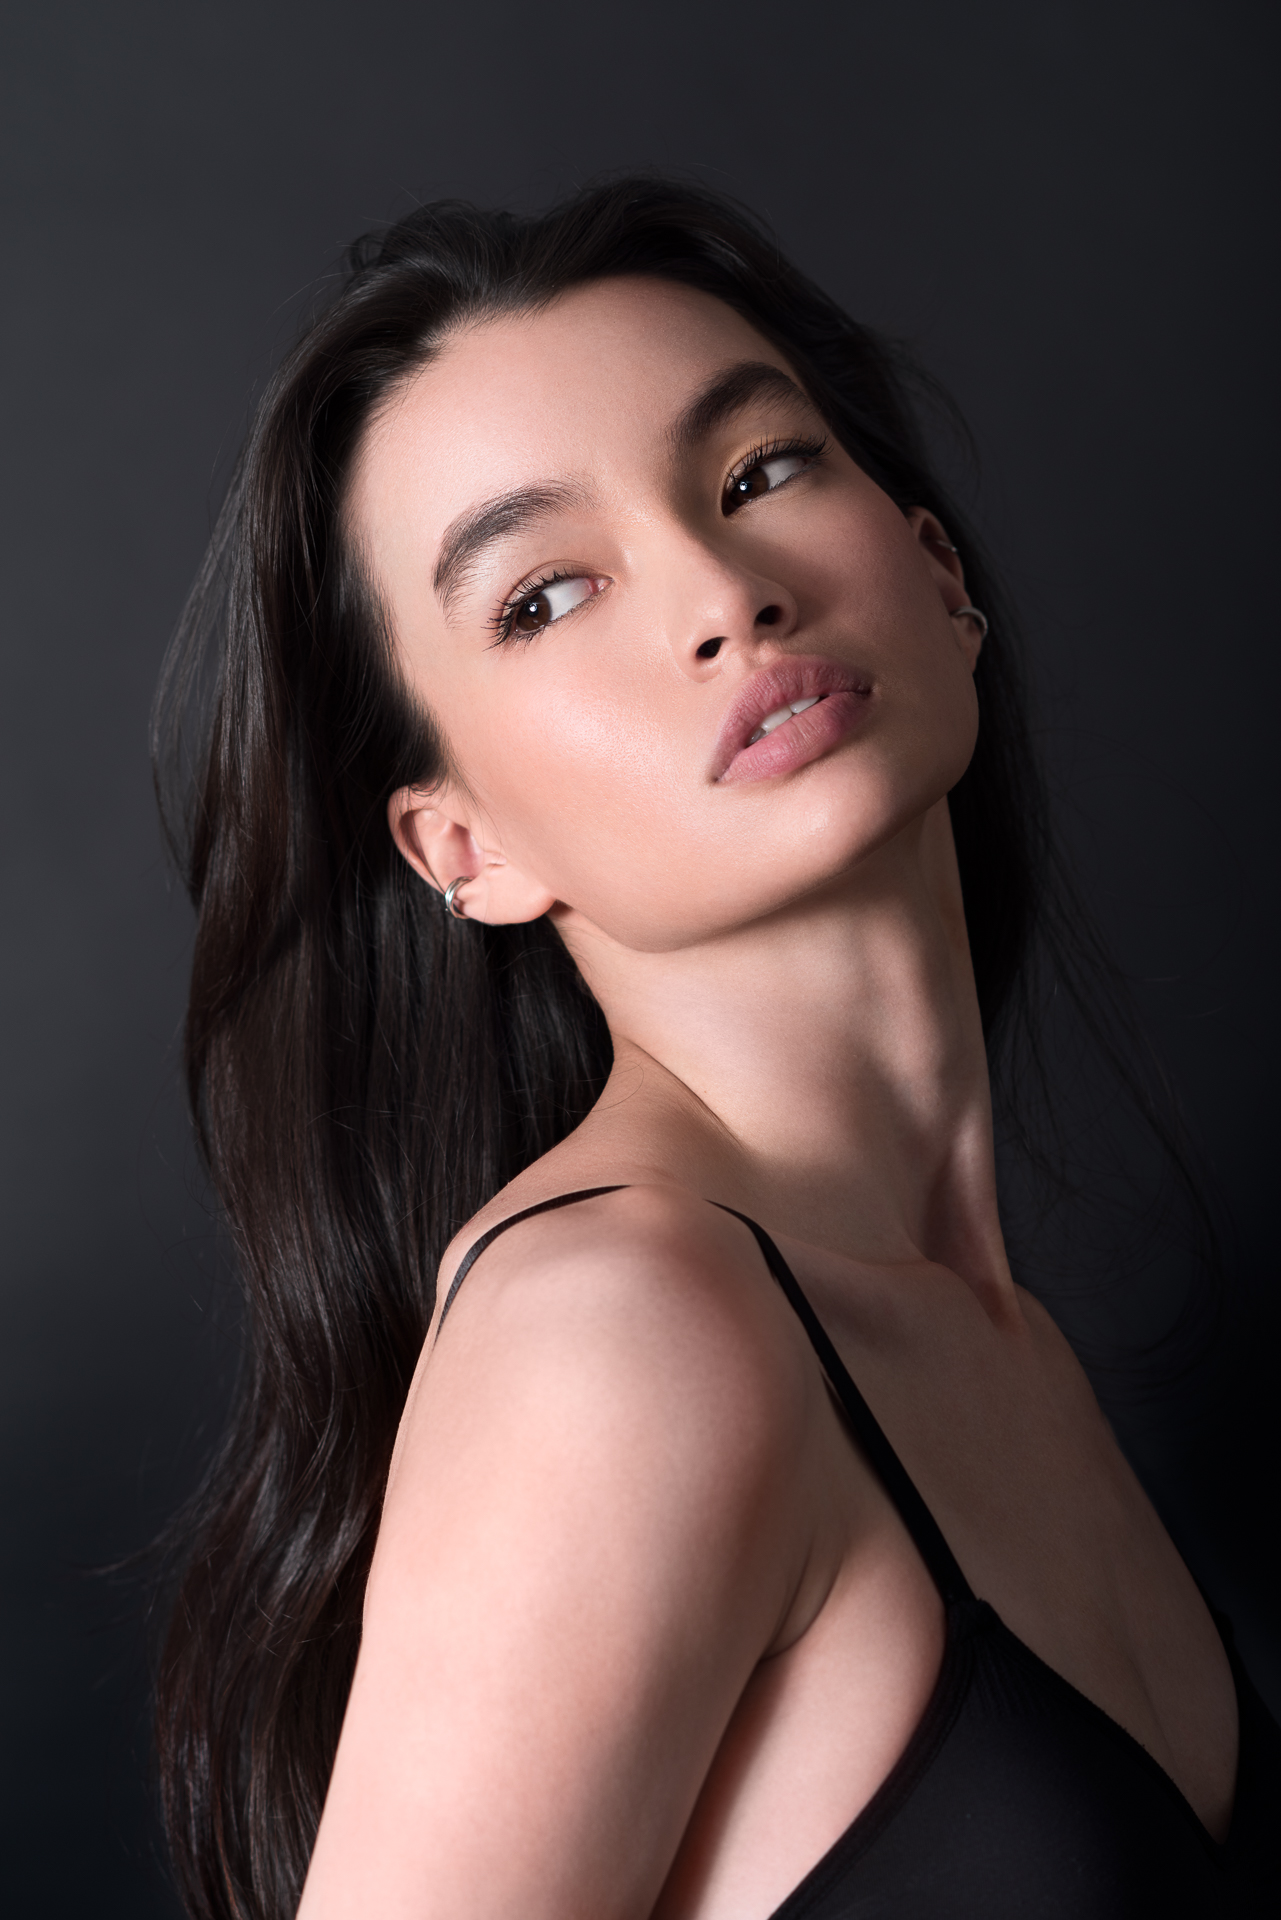
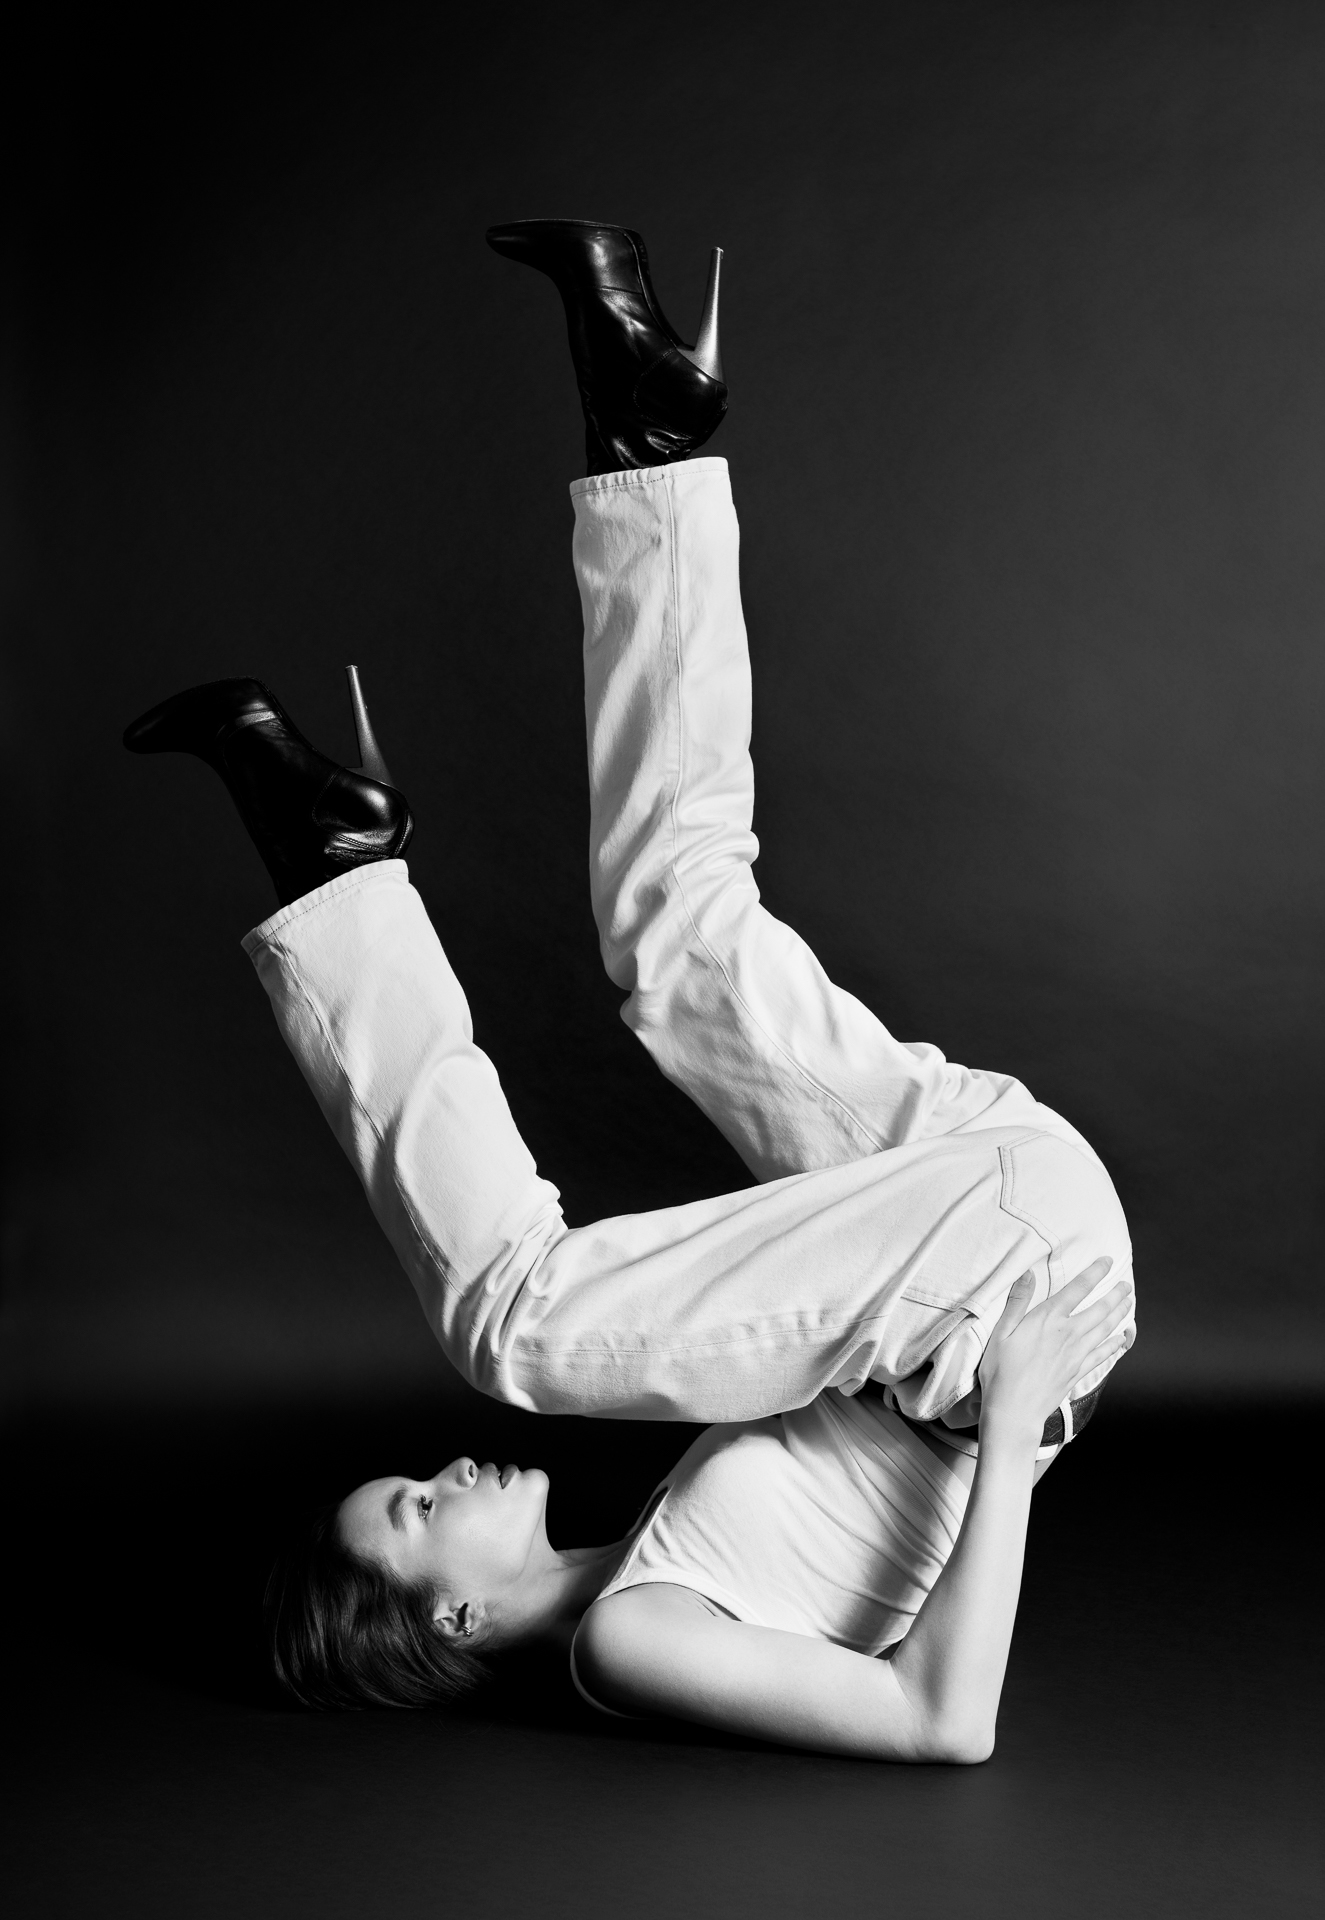
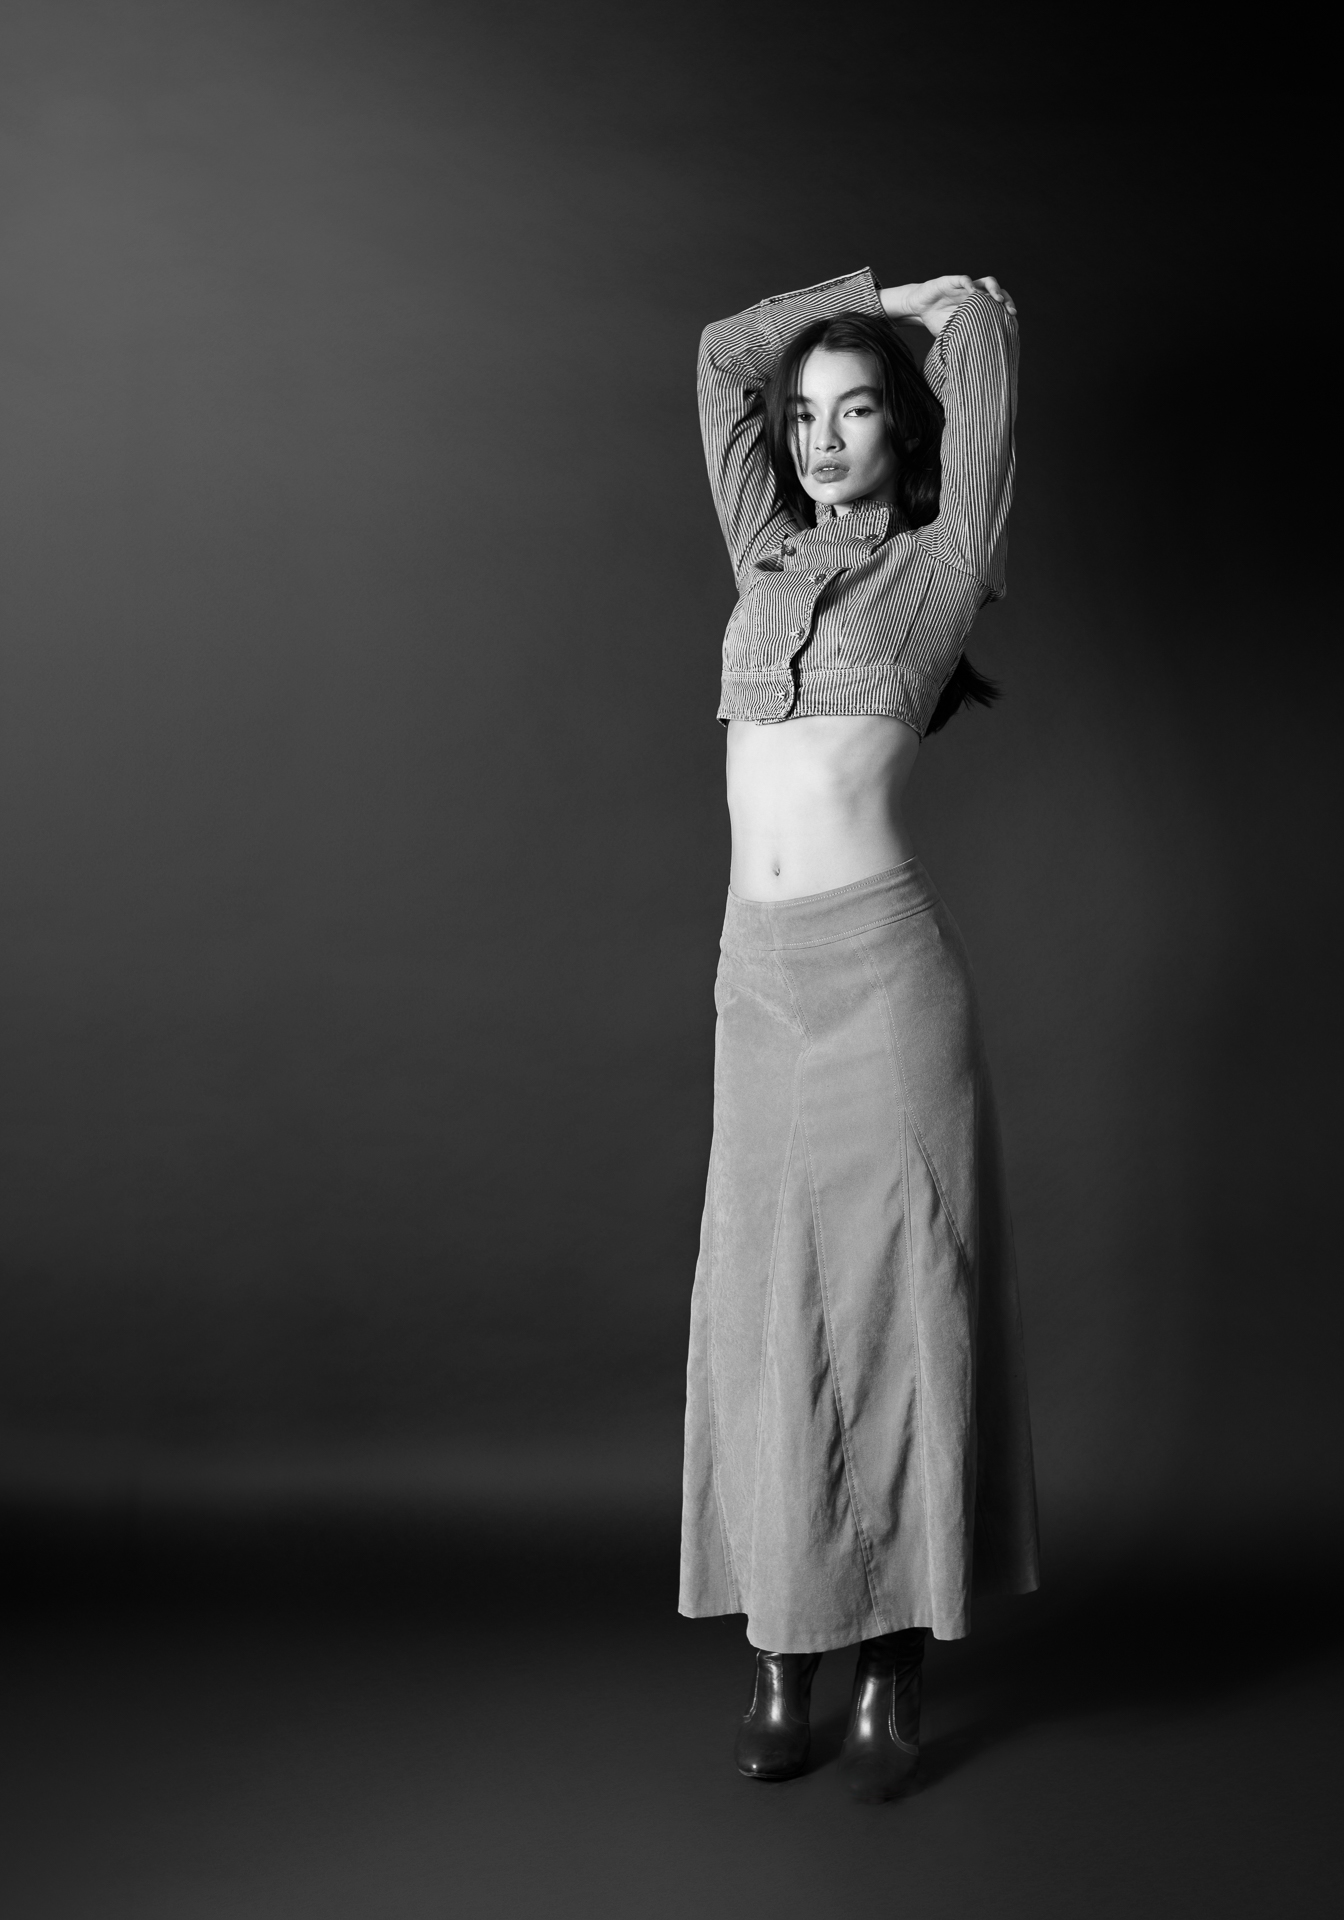
Unlike many “normal” photo sessions, in tests, I don’t try to stick to one style of photo editing, because if they go to the book, they will be as separate images anyway, and I assume that it’s even better when they are not maximally similar.
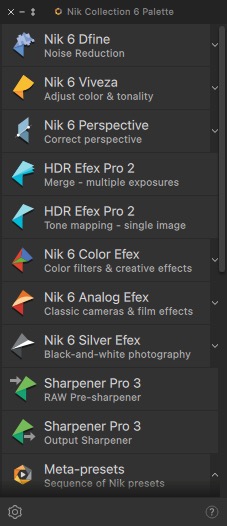
The new NikCollection update is the best we’ve dealt with since I’ve been using it (for more than 12 years), because it fixes what previous updates broke, is fully compatible with current software, and has features that weren’t there years ago. It is also a must-have for all recent Mac users, but let’s start from the beginning…
Before I get to the main topic, let me mention that all the photos from this post I took on a black, cardboard studio background 2.7 m, with a 150 cm silver umbrella and a 180 × 120 cm diagonal silver sun reflector. It was the first time in many years that I changed the lens from 135 mm to 50 mm for full-body shots, while portraits as always on 135 mm (and this will never change).
Before the era of Retouch4me, there was only one Photoshop plugin package that I highly recommended and without which it would be hard for me to do without – I described it on the blog, discussed it in videos and it even has a separate lesson in my retouching course, and I am obviously talking about the NikCollection. More precisely, I recommended Viveza and Silver Efex, which are part of this package. I don’t use the rest of the stuff at all, but these two regularly. They are so important to me that when there was no good Viveza for Macs with M1 at some point, I specifically switched to a computer with Windows to comfortably use this tool. Of course, NikCollection can also work as separate applications, or for example in Lightroom, but I use it with Photoshop and describe it from this perspective. I will add that as always, Nik has a monthly trial version on its website.
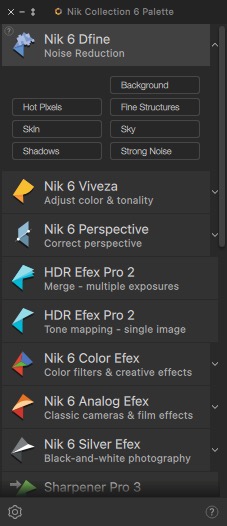
Viveza
Even if the above photo in RAW had evenly lit background, in Viveza I can modify it in a few seconds, e.g. to have a brighter beam diagonally, a dark corner and a brighter floor, while not affecting the appearance of the model, all without the need for masking. Just add points in the places you want to change and move the brightness, contrast, etc. slider. This is also useful for quickly changing the brightness of clothes, etc.
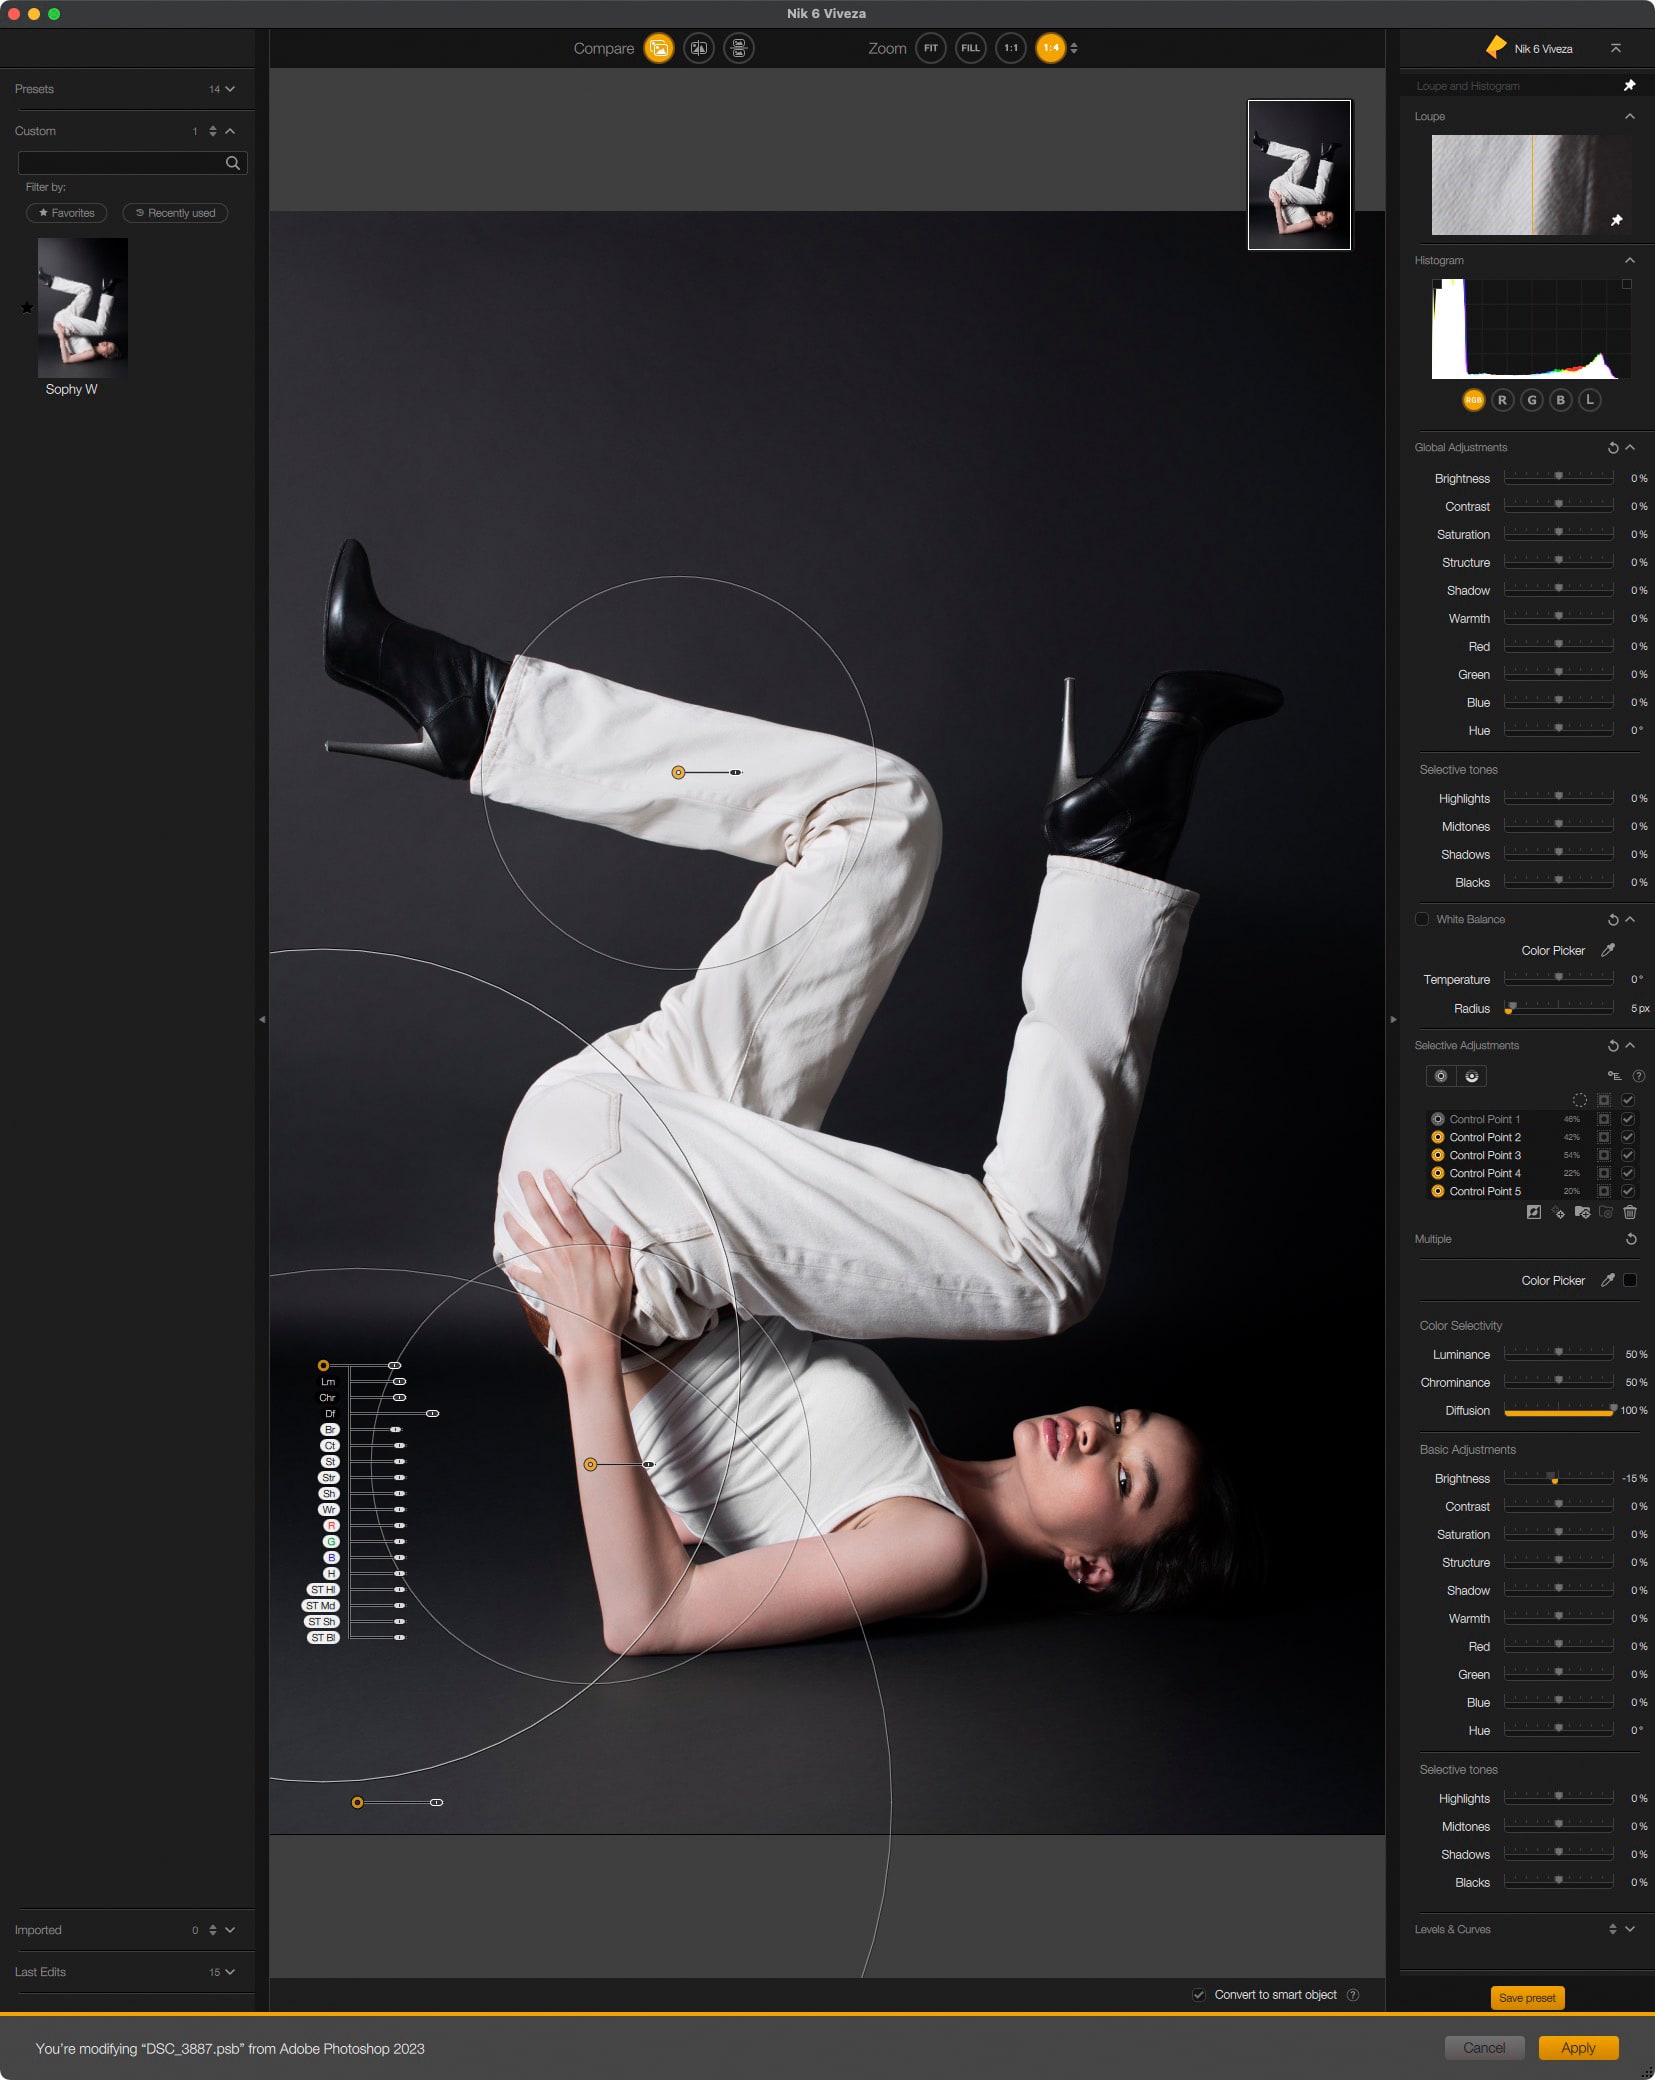
Unfortunately, in recent years Viveza has become less responsive and its convenient sliders next to control points have been removed, which made it so unpleasant to use that I always dropped out of purchasing after the trial of each new version, and I also discouraged others from doing so. The previous version was simply better. But the very old NikCollection, which is free, isn’t of much use these days because it’s not compatible with the current software and there were already problems with Photoshop restarting on many hardware configs (sometimes changing the configuration helped, but over time the compatibility only became worst).

Mac users were in an even worse situation, because even if they could start the old NikCollection (any version before 4.2), the software was designed for Intel processors, and would cause the ENTIRE Photoshop to run through Rosetta. So instead of a native and fast version for Apple systems, we would have a massively slow Photoshop designed for Intel. I don’t know anyone who would knowingly choose this. For years, we had to use the crippled Viveza, or for some Windows users, the old version was still working.
I mainly use Viveza for changing brightness and contrast. I used to change the structure of the background or slightly shift the color of some part of the body, but in recent years, the Retouch4me Clean Backdrop and Skin Tone presets have automatically prepared the photo so much that I no longer do such things with Viveza.
However, the recently released NikCollection 6 has fixed everything. I have the impression that this is the first update in years that is worth getting and can be recommended without any reservations, as the convenient sliders of control points has returned and the whole thing works very quickly.
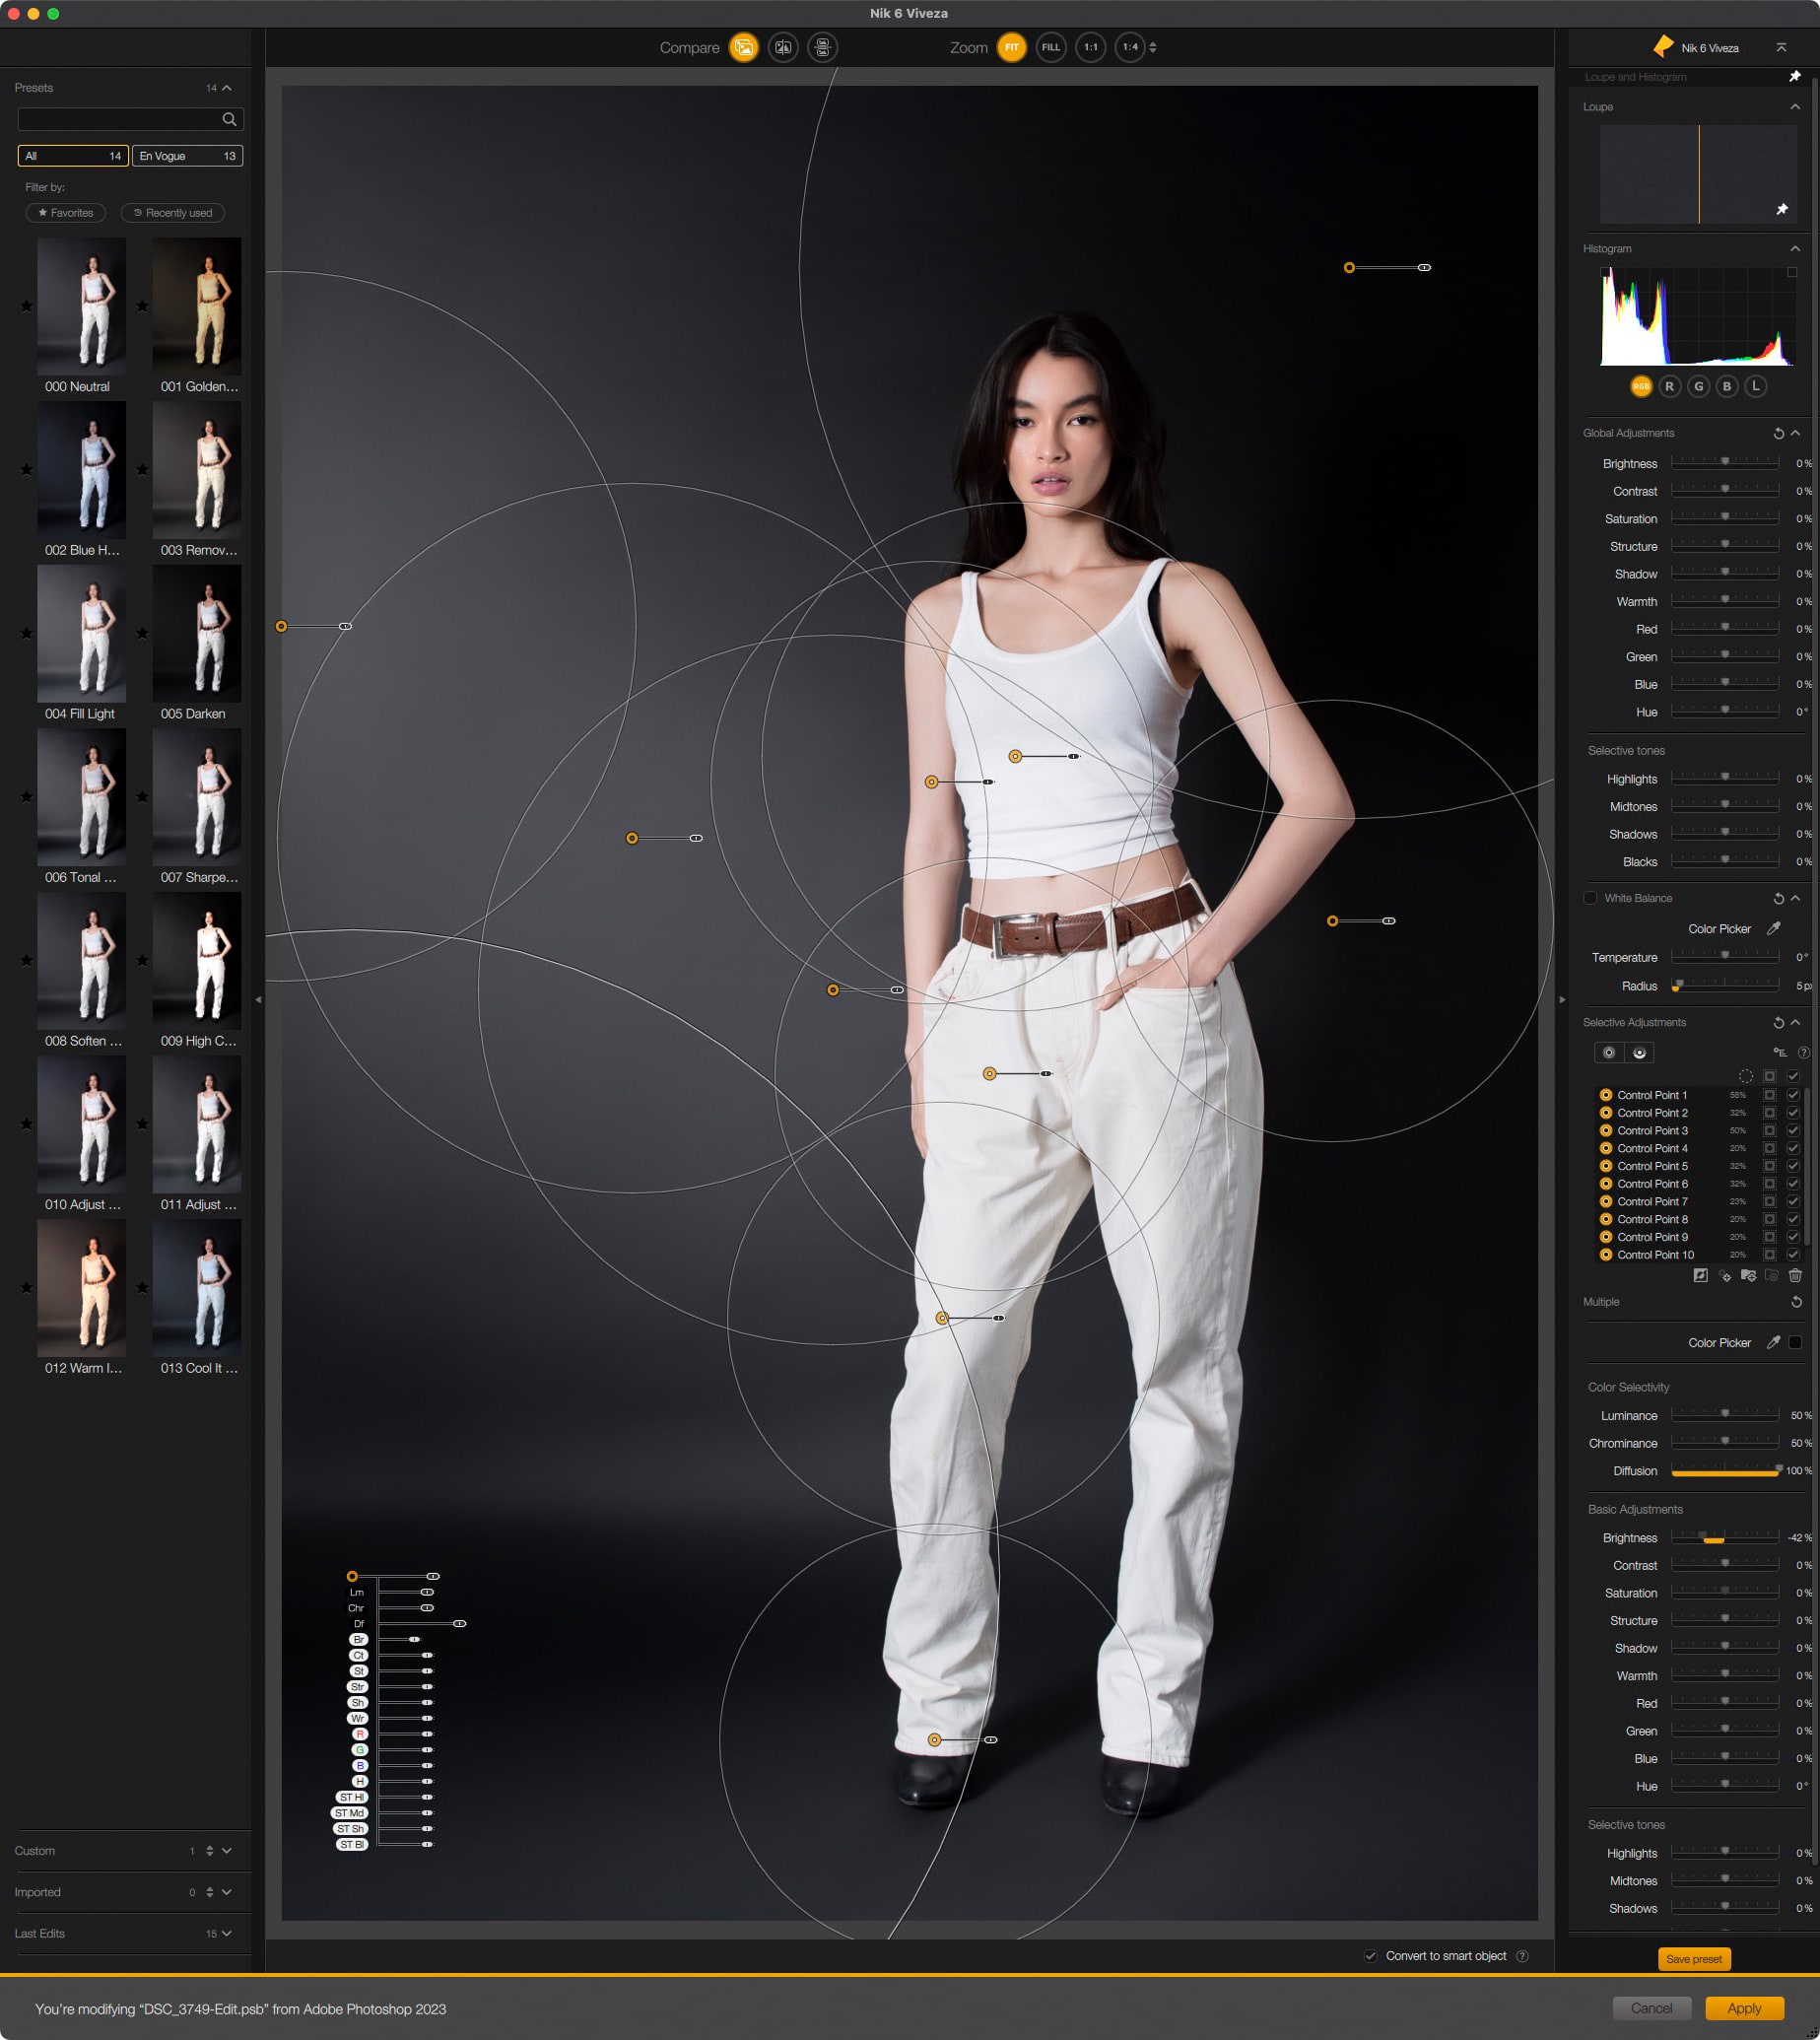
When using Viveza, most of the points applied often change nothing. I just insert them so that a larger point does not affect a given element. For example, if I insert some points on the background changing the brightness, I will most likely also add a few default points on the model, thanks to which the brightness of her clothes and skin will not change.
Silver Efex for black and white photos
The second of the mentioned plugins is Silver Efex. It is used for quick and very good conversion of color photos to black and white. It has many options, including simulating grain, which actually looks like grain, not noise, and presets that provide the appearance of specific analog films.
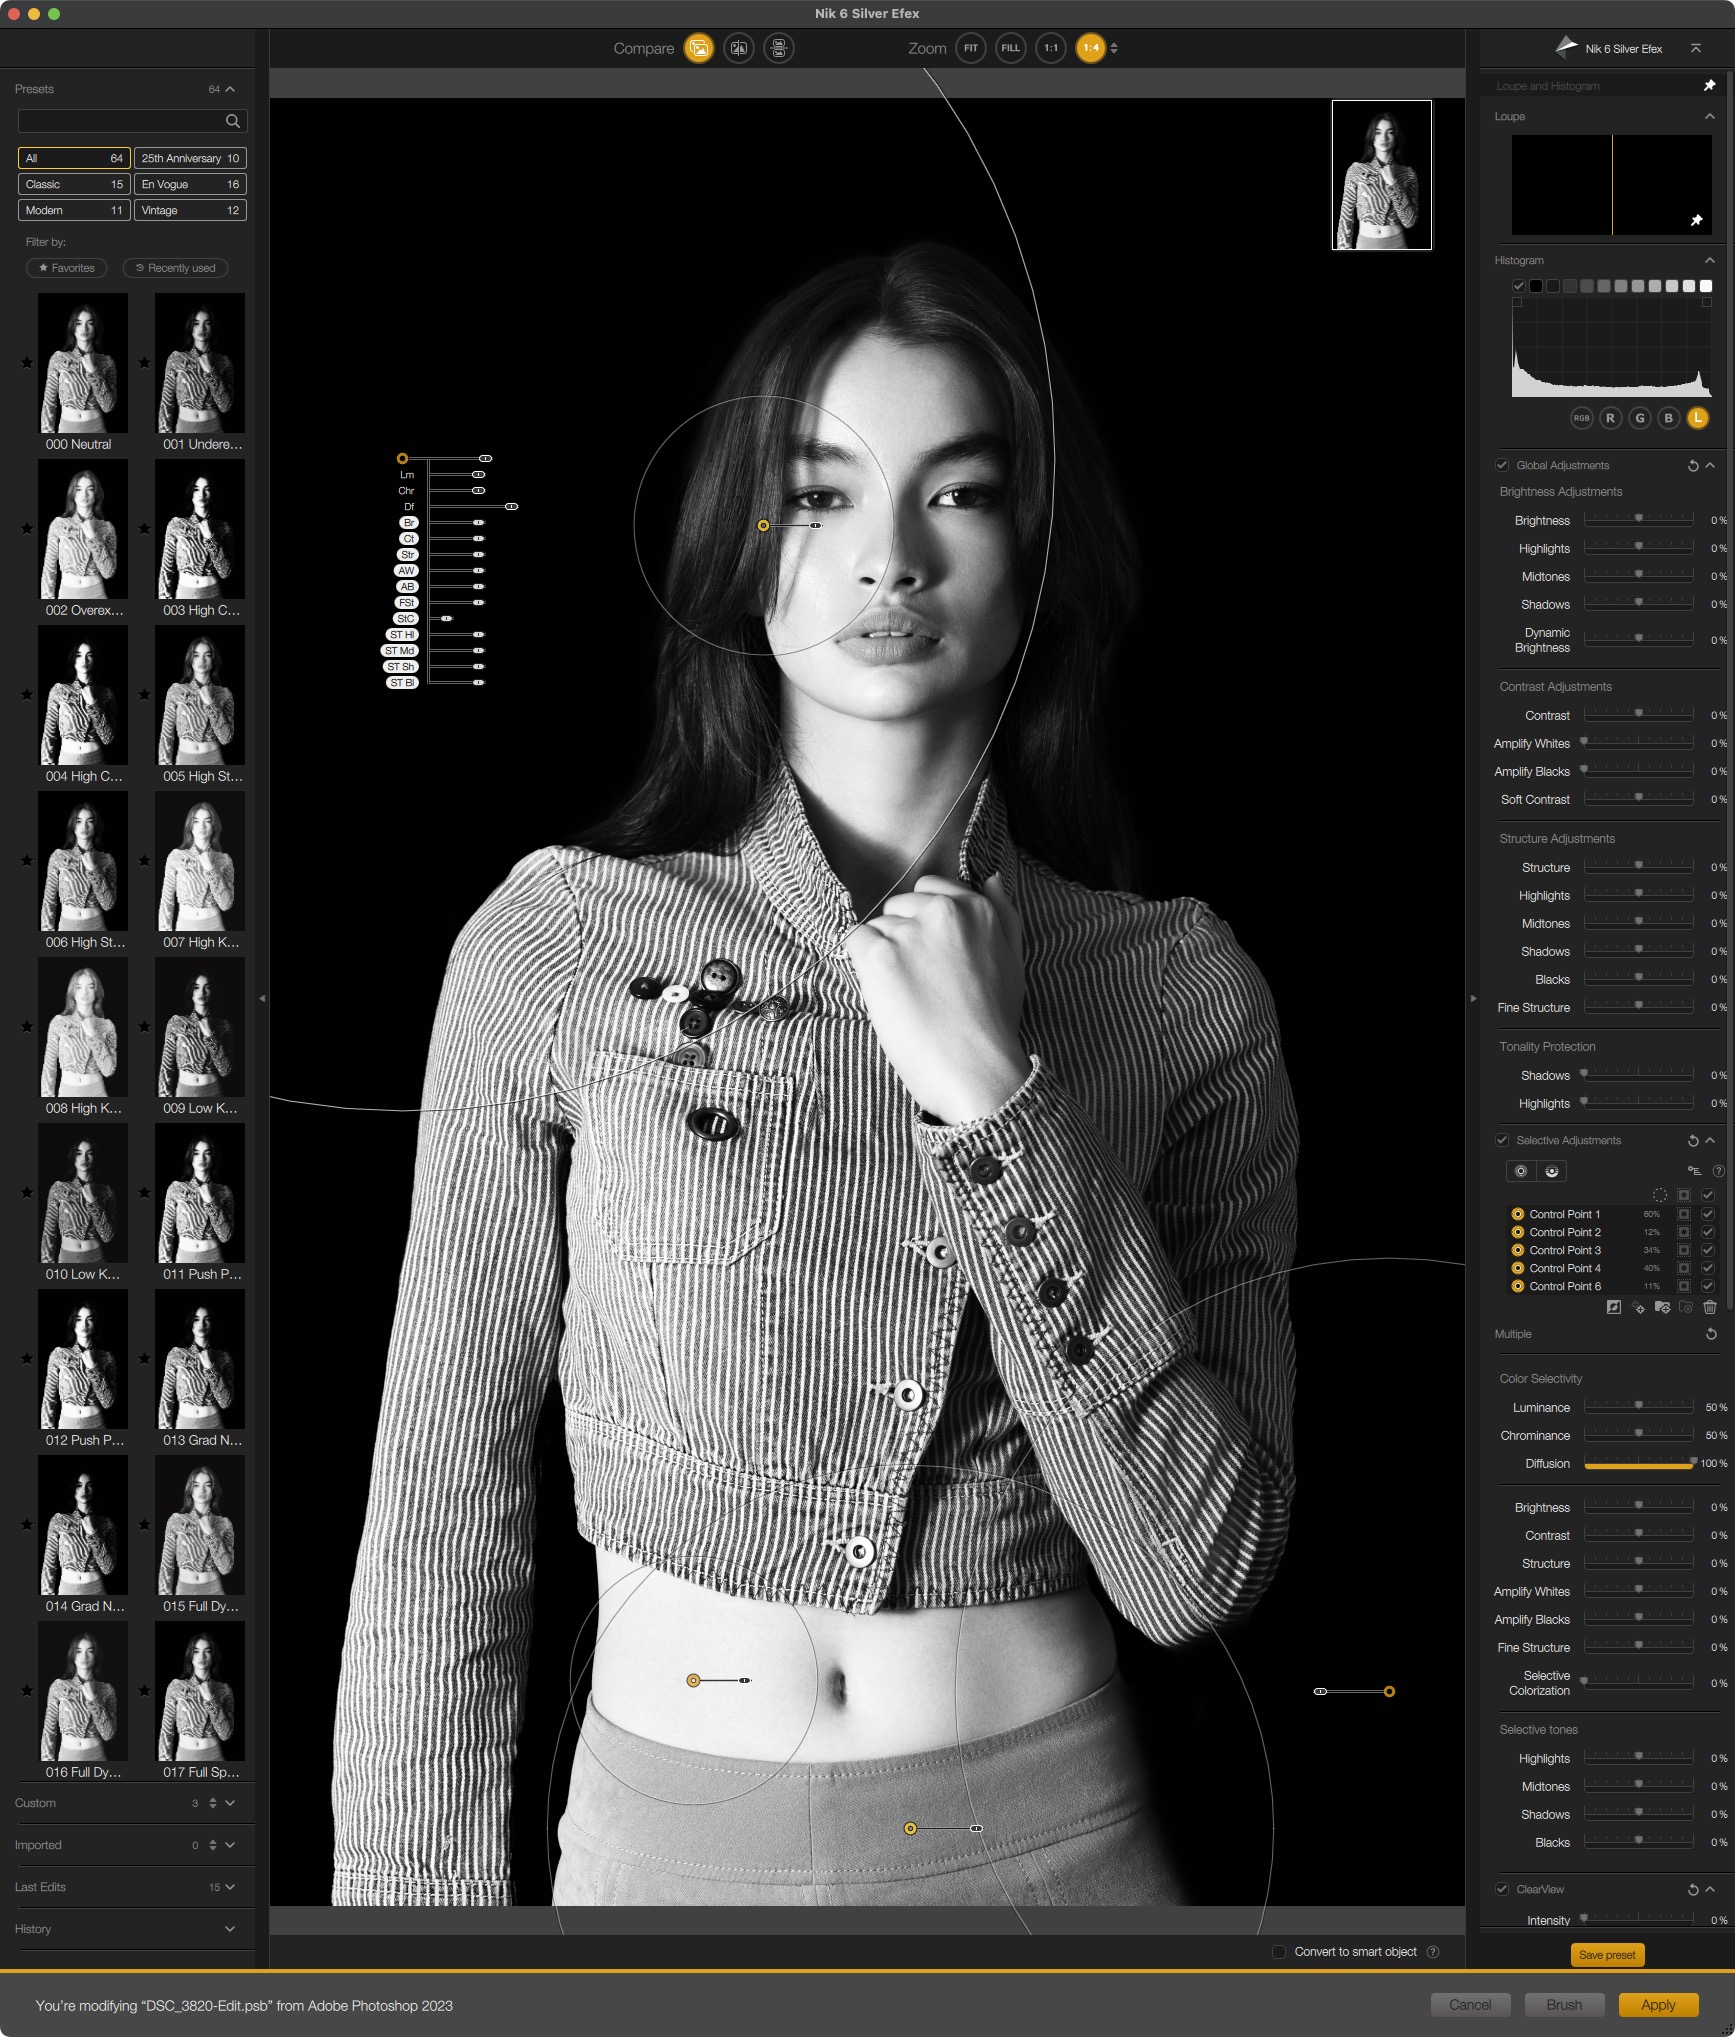
For me it is very important that Silver Efex, like Viveza, has control points, so when taking photos with high contrast, I can make, for example, a white shirt not burnt out, without changing the brightness of the rest of the clothing, without masking etc. I simply click and it’s ready. In a moment miracles can be done, which in Photoshop itself would take much longer, and then save as a preset and apply even faster, to the next photos.
The preset may contain control points, or only global changes. This first option is especially useful when the camera and the model were in the same place, only the poses changed. In this case, the preset can instantly change the photo to an unrecognizable state, also applying local changes.
It is amazing to me that Photoshop has never received even a hint of all these features. There are many of them as separate adjustment layers, etc., so you can do a good black and white photo in it, but the convenience and required time are incomparable to doing it in Silver Efex. However, I find the predefined presets to be not very useful and I never use them (although some of those added in recent years make sense when you want to have less neutral BW).
I always use both Viveza and Silver Efex on layers converted to smart objects (my actions always did this, and NikCollection also got a suitable checkbox some time ago, so no need to do the smart object conversion manually).
After converting to BW, I always check how the photo will look in gray, black, and white surroundings. Then I wonder if there are areas of the photo to brighten/darken. If I didn’t have the smart object, the quality could greatly suffer during brightening of the place that was max darkened a moment earlier.
Sometimes I also make some changes, for example by Liquify, and instead of keeping both layers, I will move the changes from Silver Efex to the Liquify layer by dragging the cursor. This saves a lot of space in the file because there are fewer layers with the whole photo.
In Silver Efex, just like in Viveza, I always operate brightness and contrast (normal, soft contrast disgusts me). Enhancing black/white is also often applied. Surprisingly, I usually leave curves unchanged. I also often use a green filter, which makes the lips darker and the skin shadows as well, but this time I used the filter rarely. Sometimes I also mix with red and yellow color sliders because they greatly affect the skin. I use others less often (only if the clothing or scenery has a given color).
NikCollection costs $149, it is available on the DxO website: my referral link. The set also includes many other tools.