In this post, I wanted to take the opportunity to talk a little about lighting stands, but first a brief introduction. In June, two unique models from Belarus caught my eye. They were on contracts with A1 Models in Bangkok. Unfortunately, due to my trip to Europe, I had too much things to do, to be able to take photos at the time, and during my absence, their stay in Thailand ended. Nevertheless, I managed to photograph one of them – Nadya extended her contract, so shortly after my return to Bangkok, I did a photoshoot with her! As before, it was documented on my Insta Story, and the final photos were first posted on my Instagram, so feel free to follow me there.
During the photoshoot with Nadya, I decided to simplify the setup of the studio equipment as much as possible. Since I use a beauty dish anyway, placed far enough away from the model that I often have it behind my back rather than in front of me, would a regular stand (instead of a boom) be enough? Especially since I increasingly move the lamp to the side, instead of taking most shots with the beauty dish above me, in which case a regular stand would suffice. In the past, I always ended up going back to the boom, but I worked in more claustrophobic conditions then, so another attempt to change my habits seemed justified.
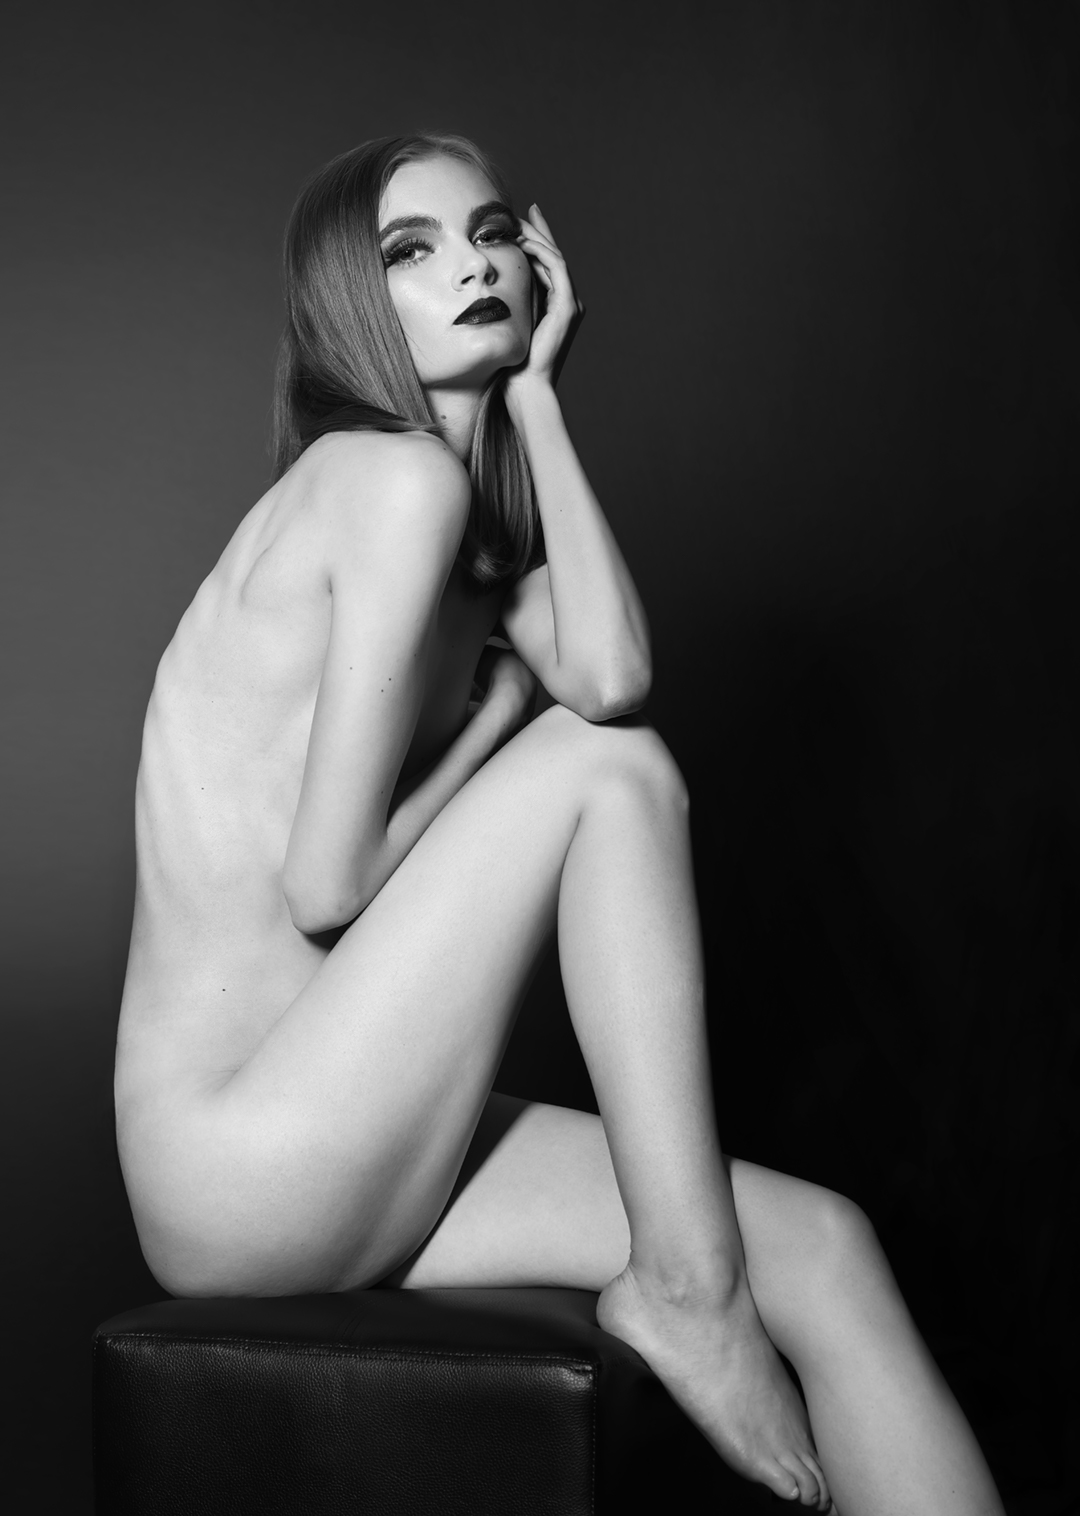
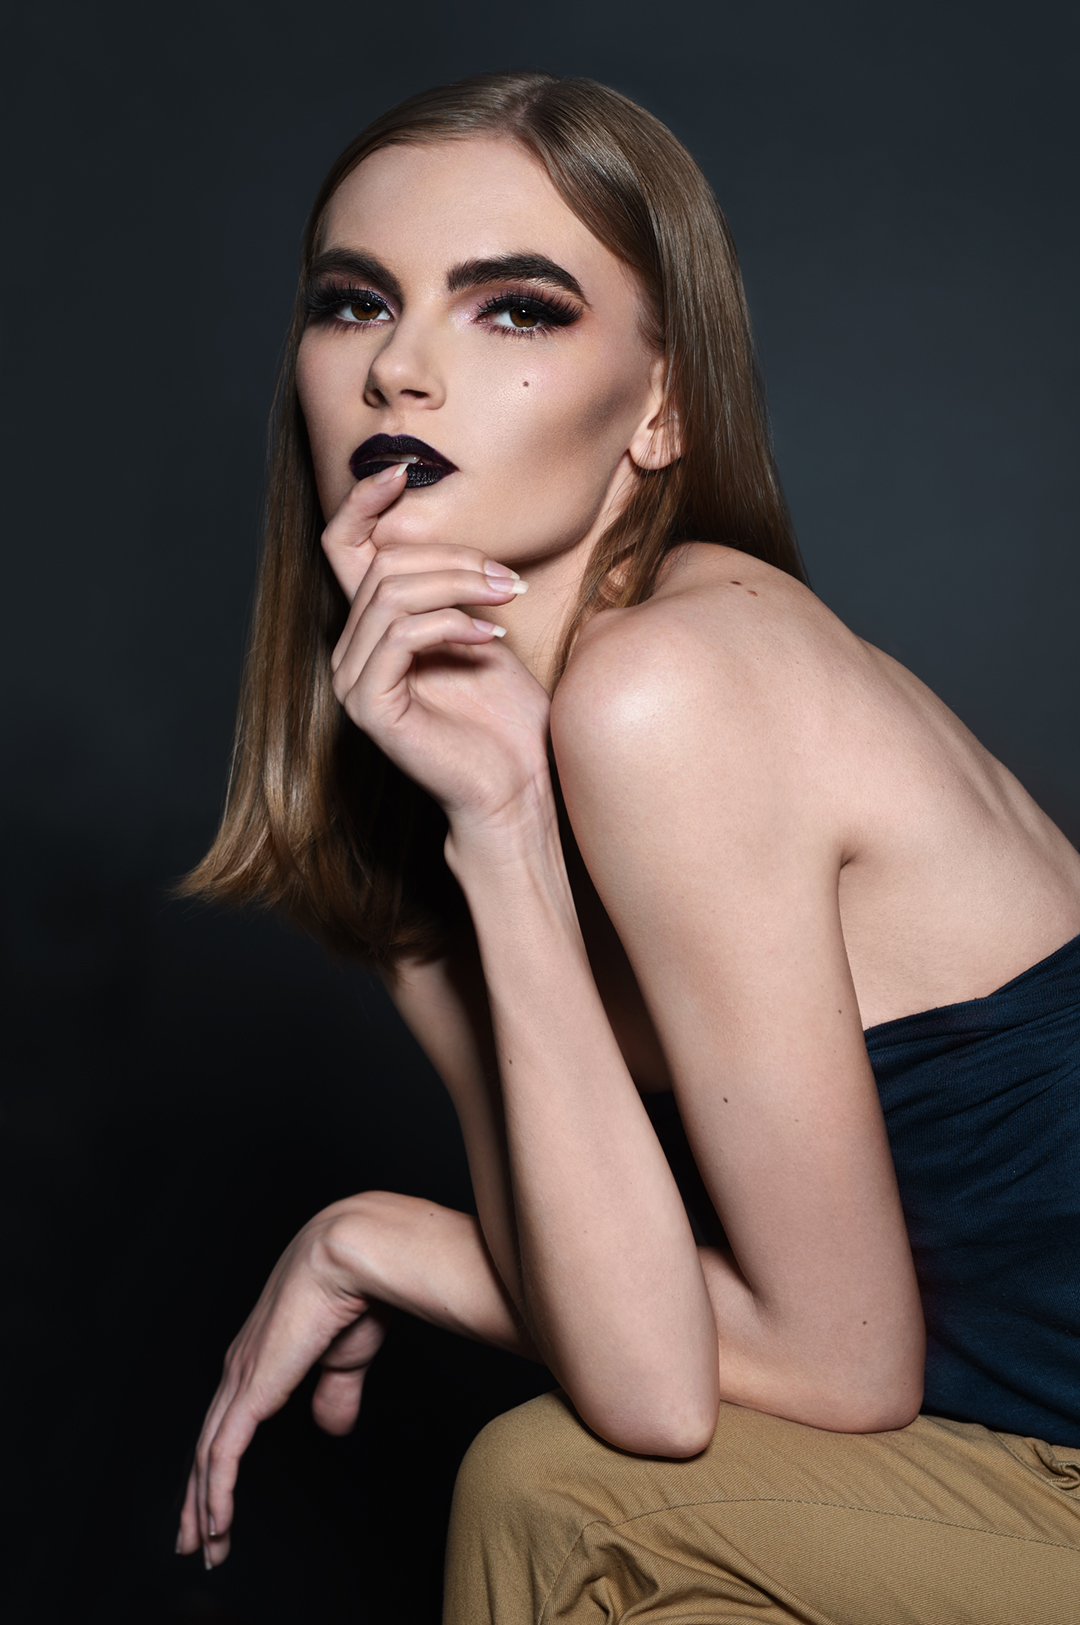
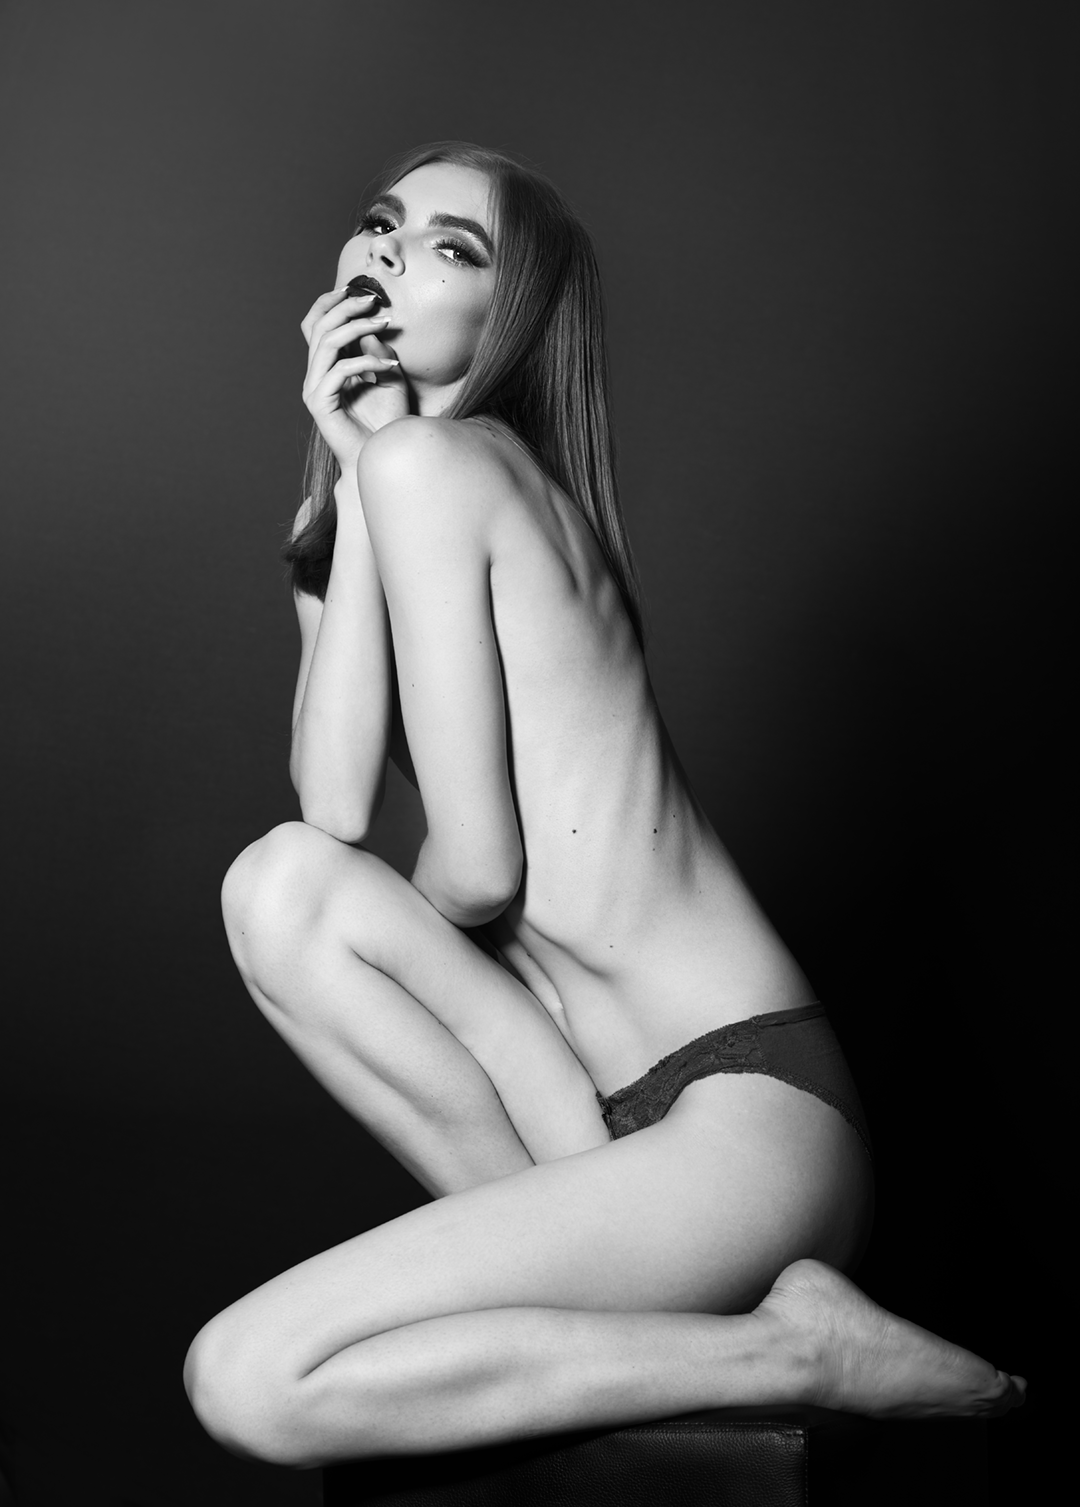
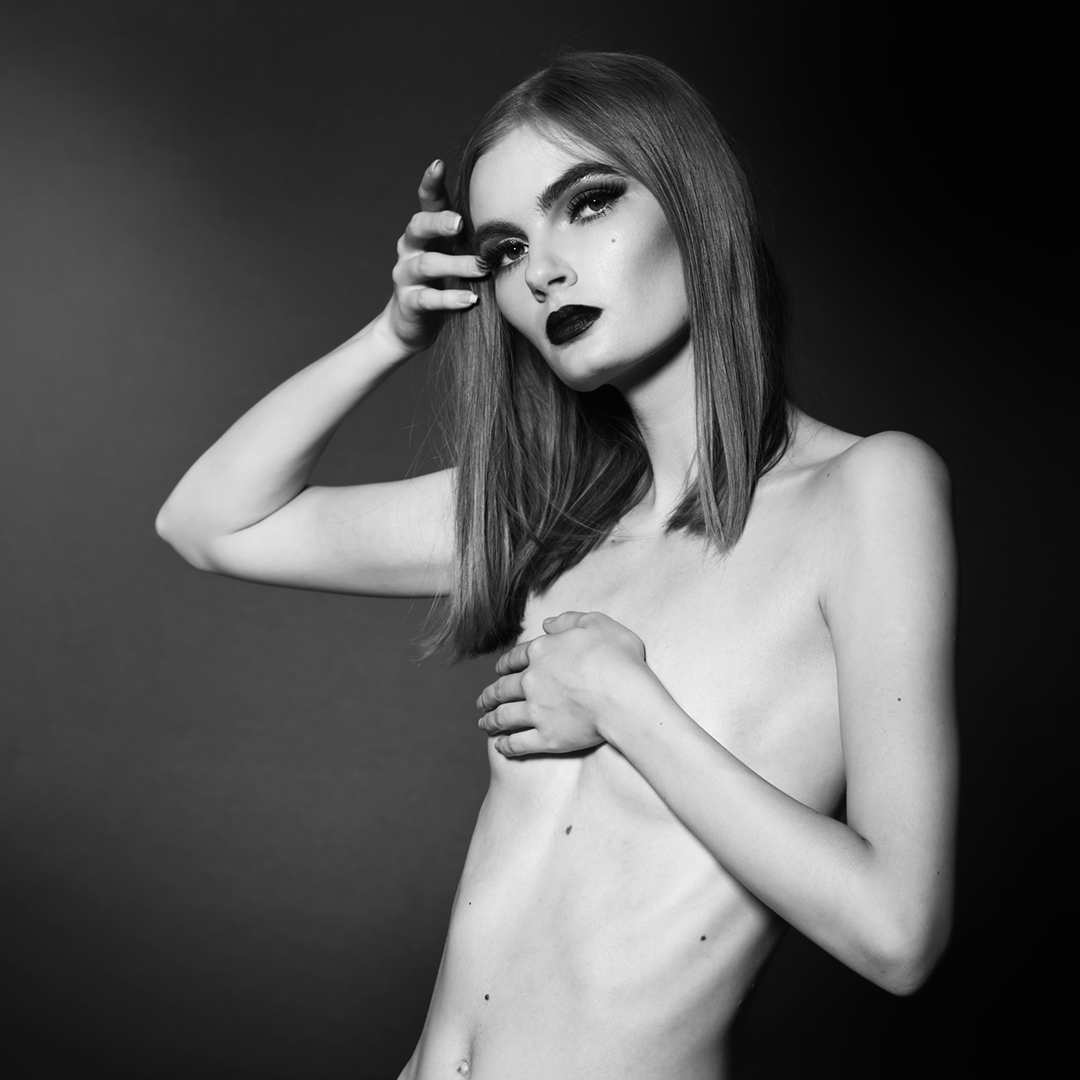
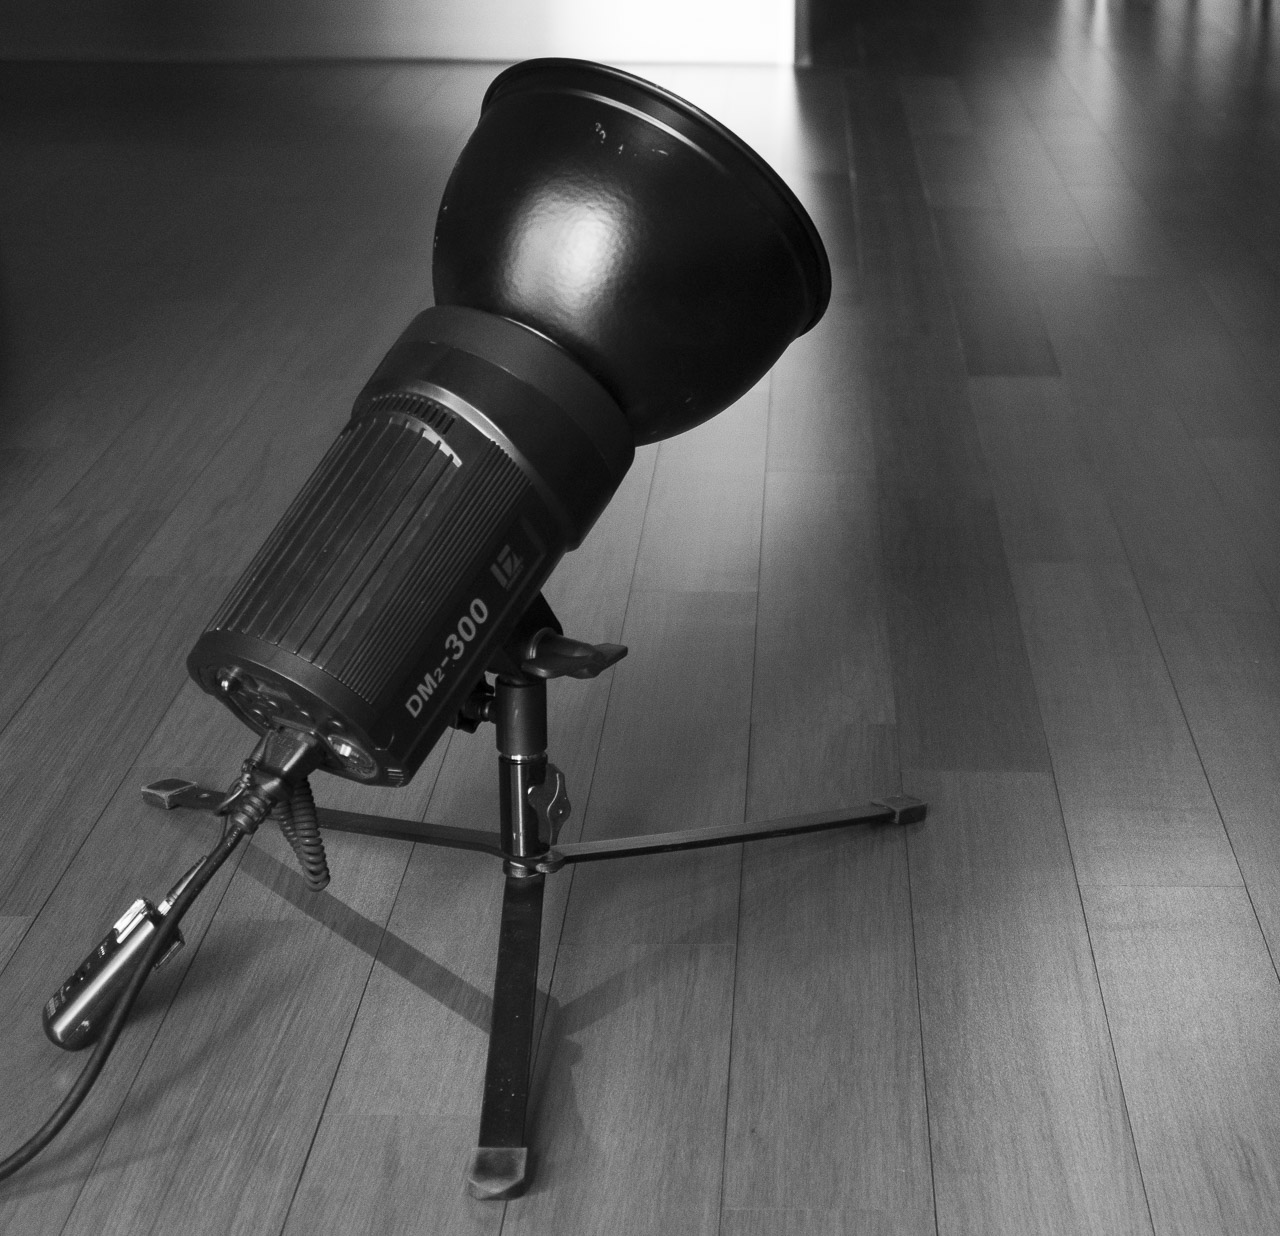
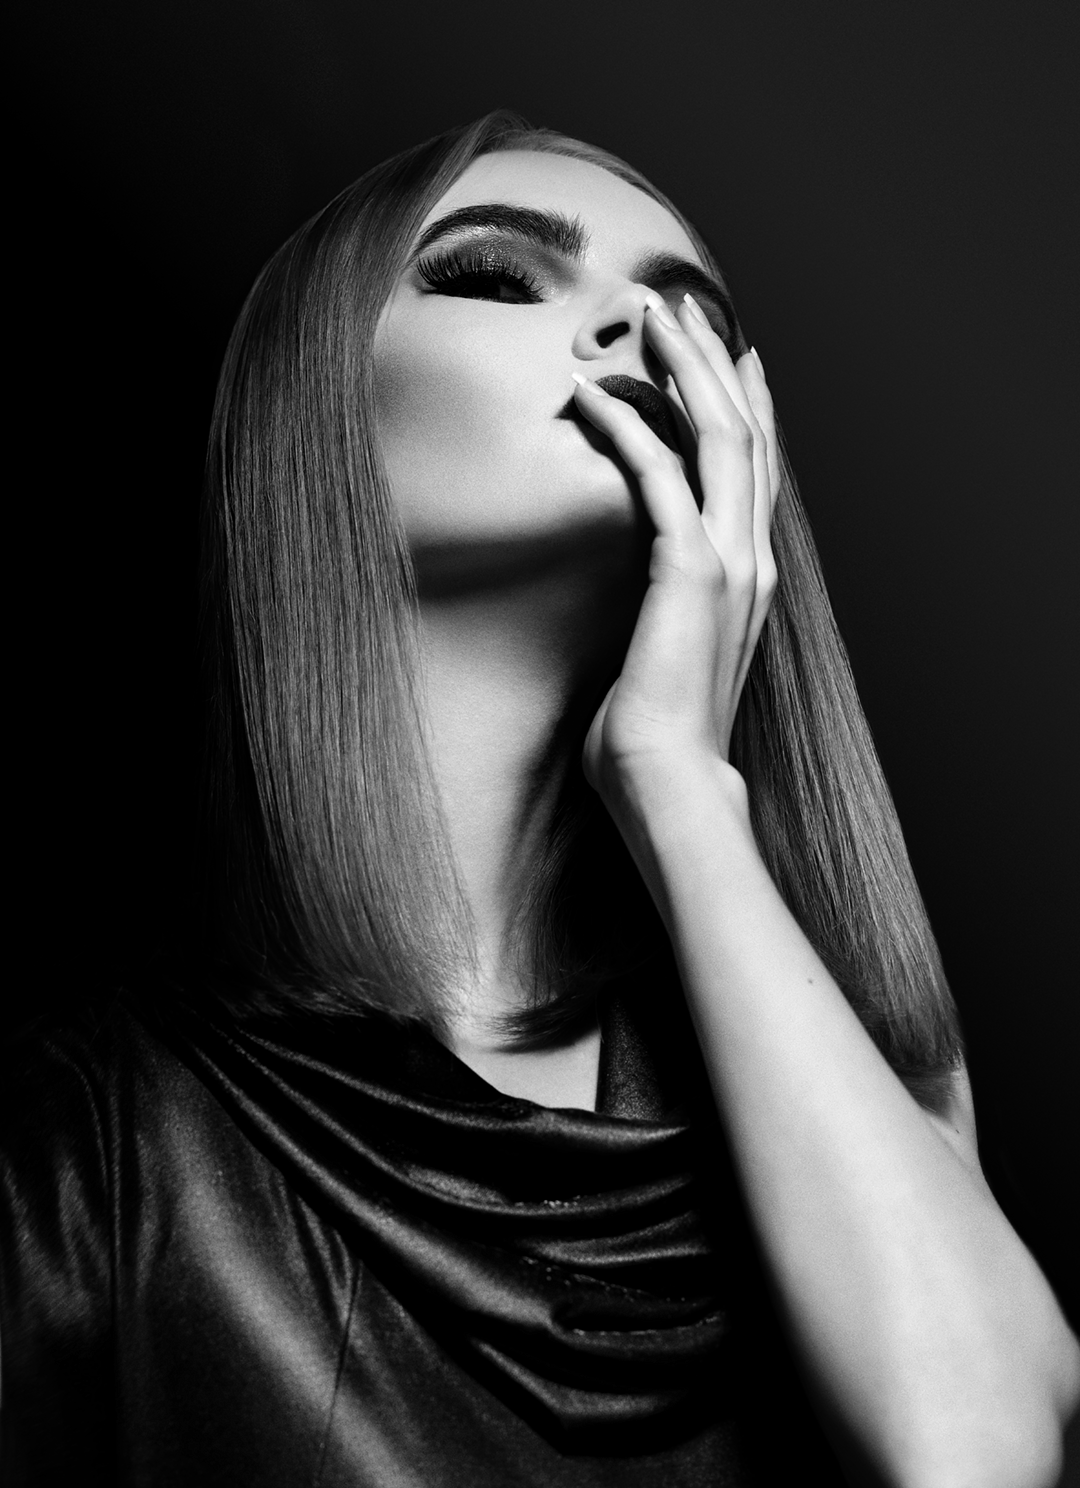
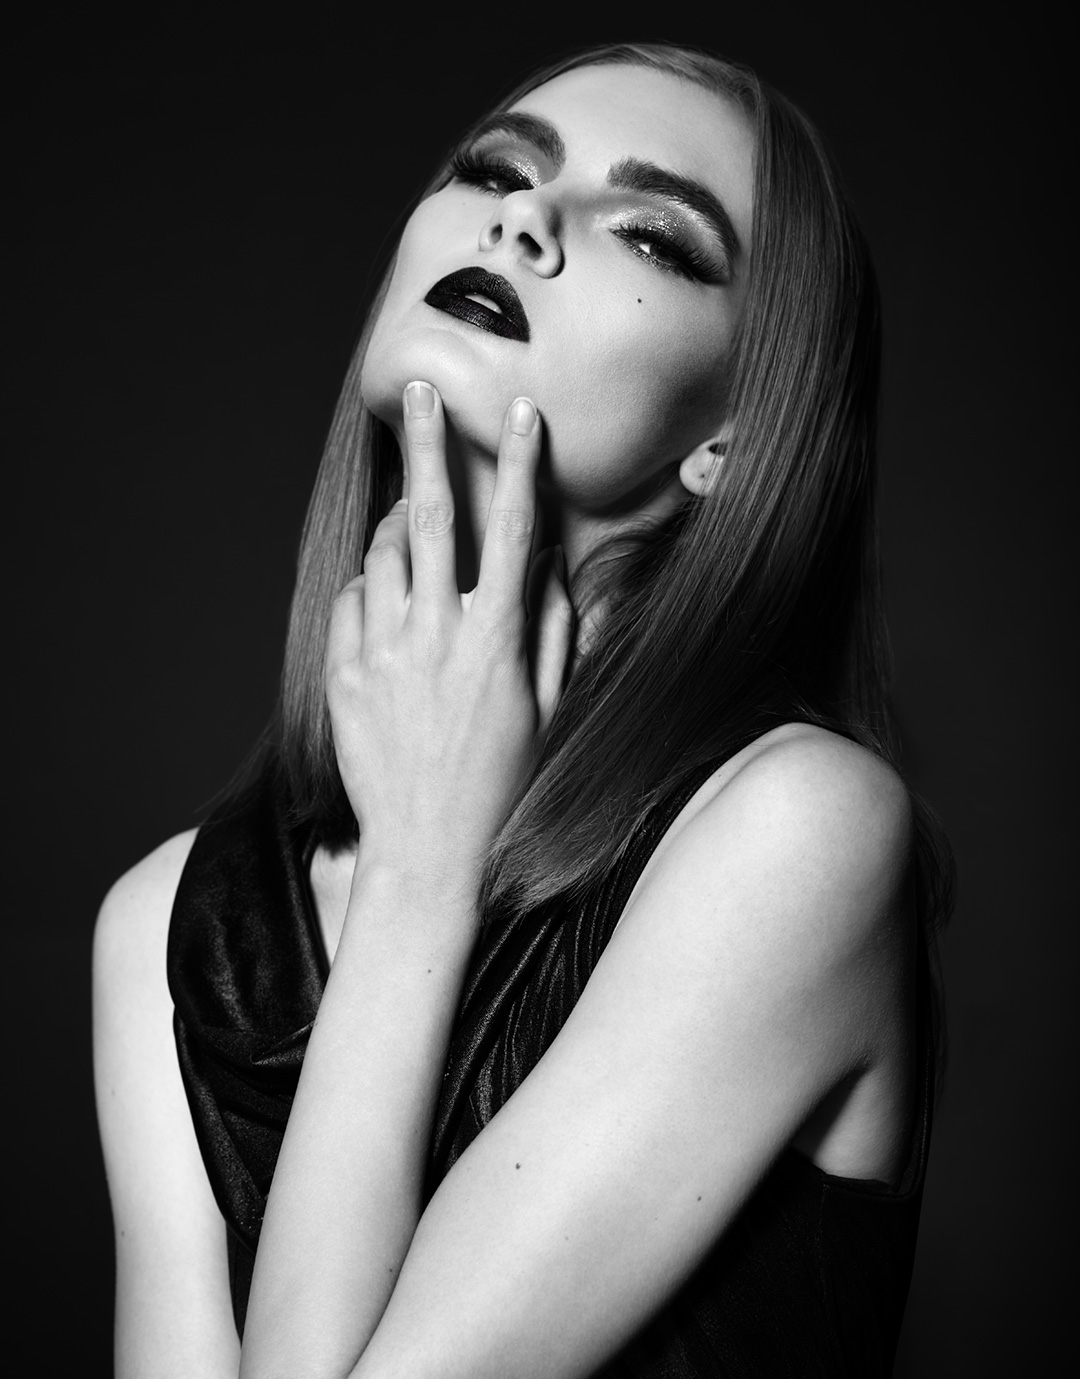
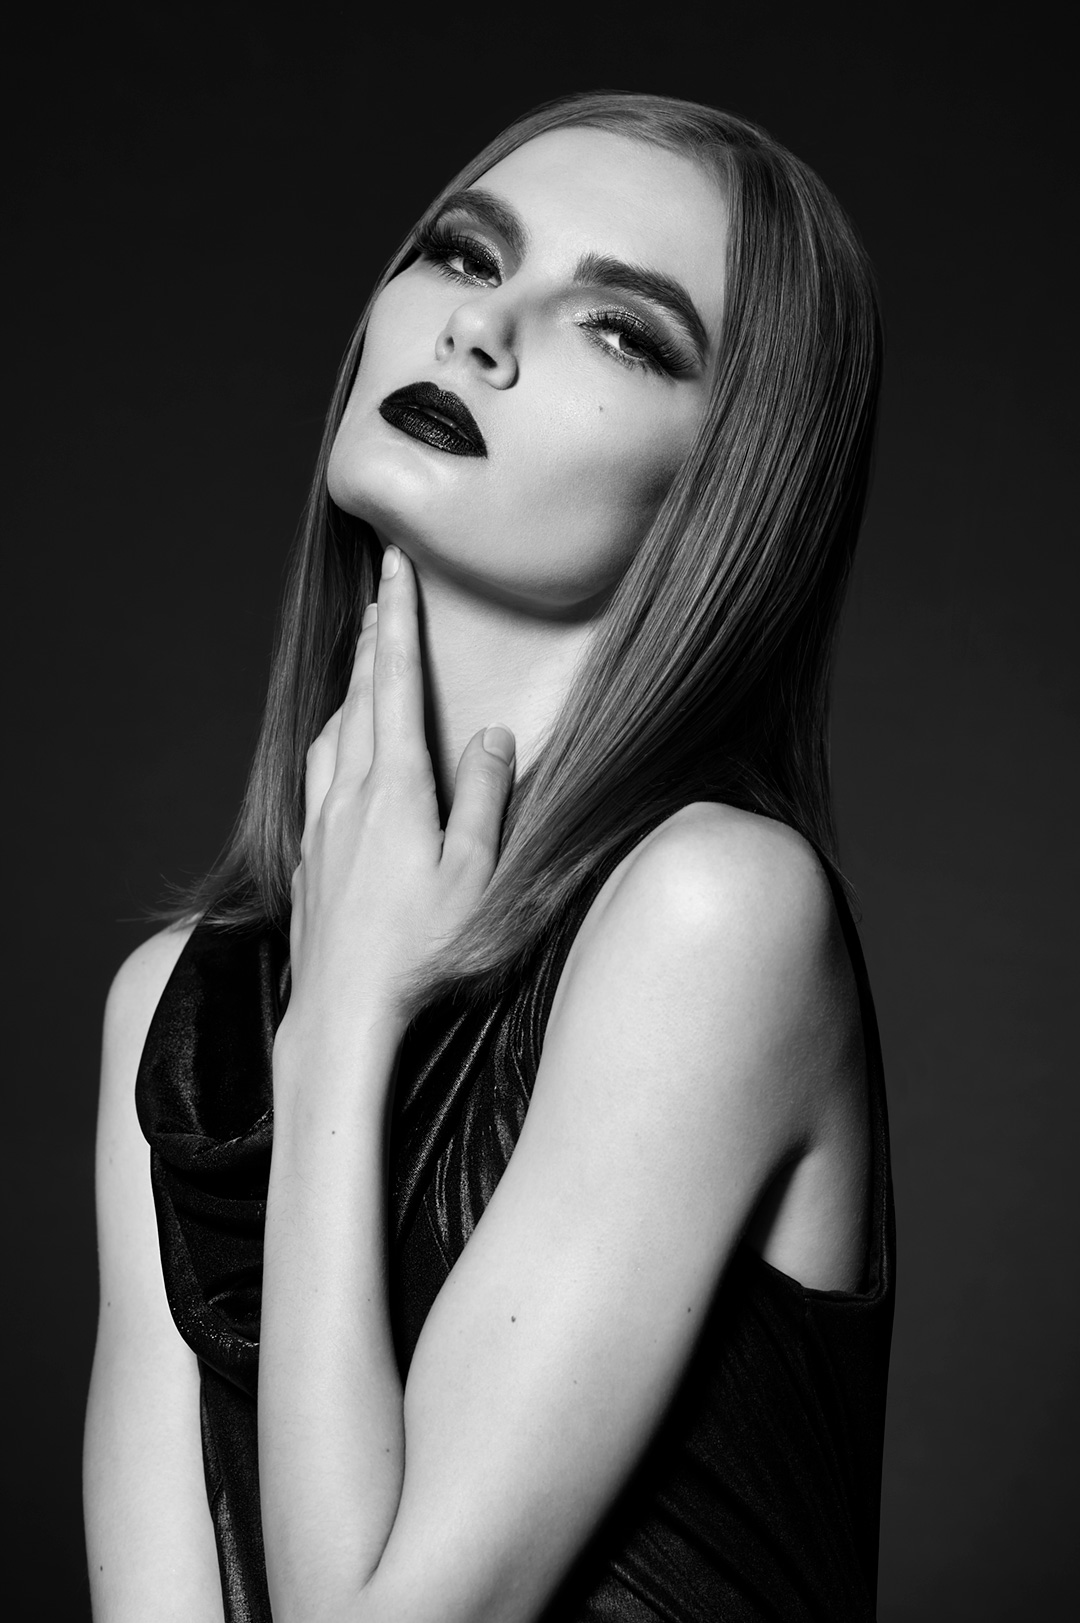
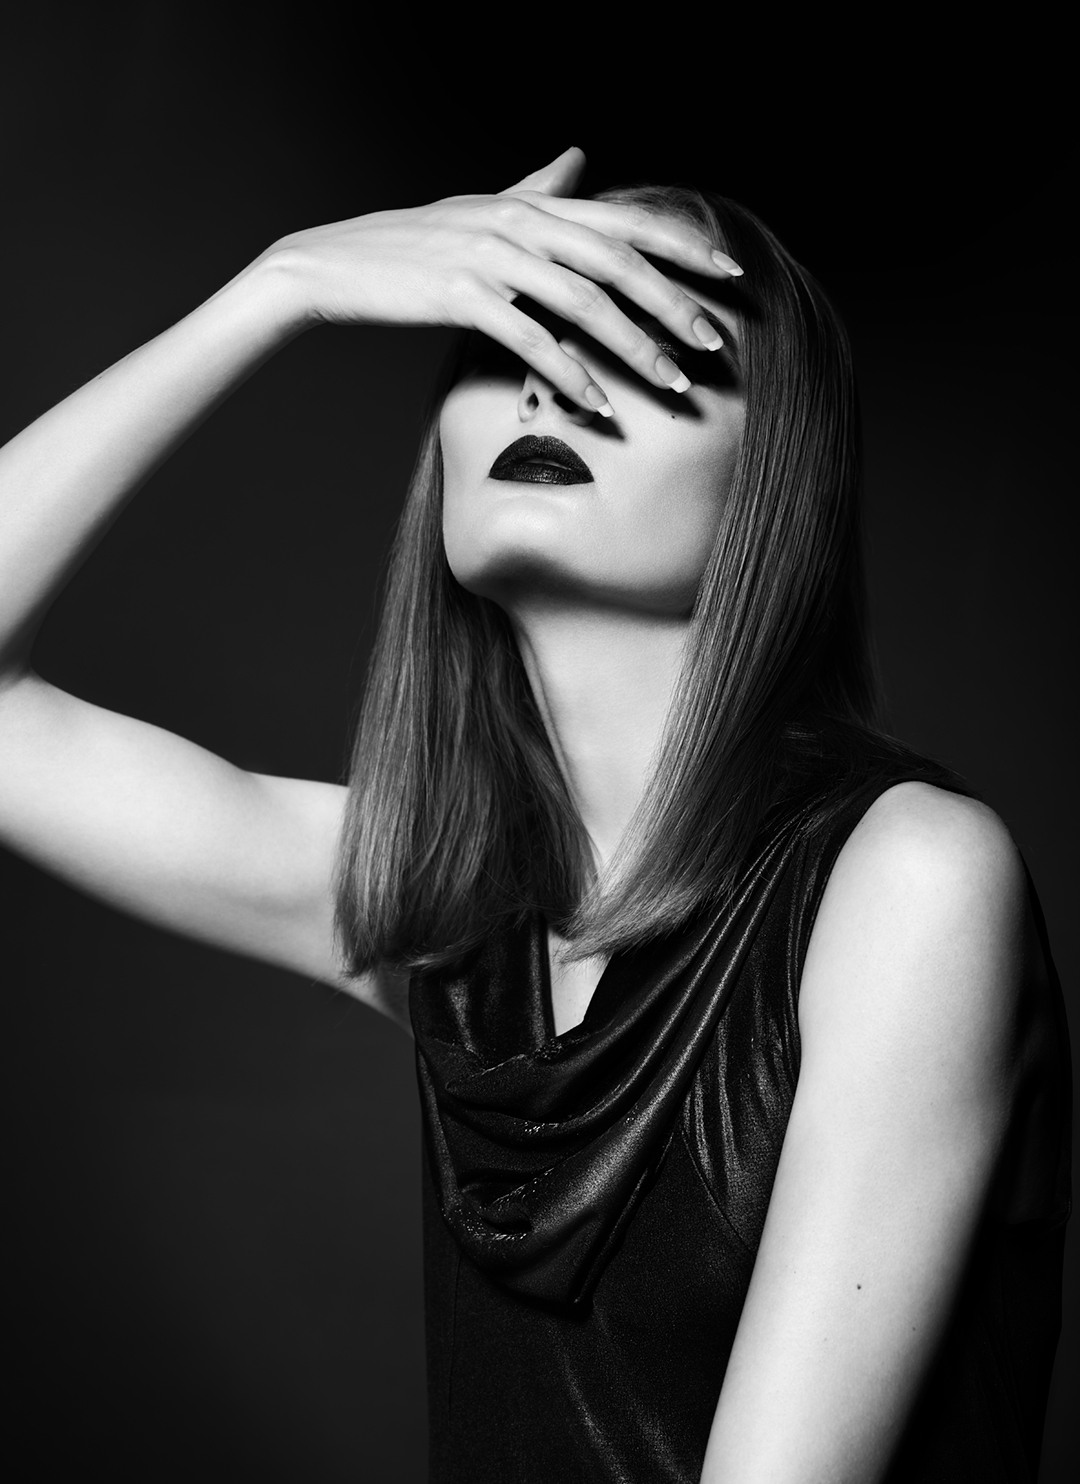
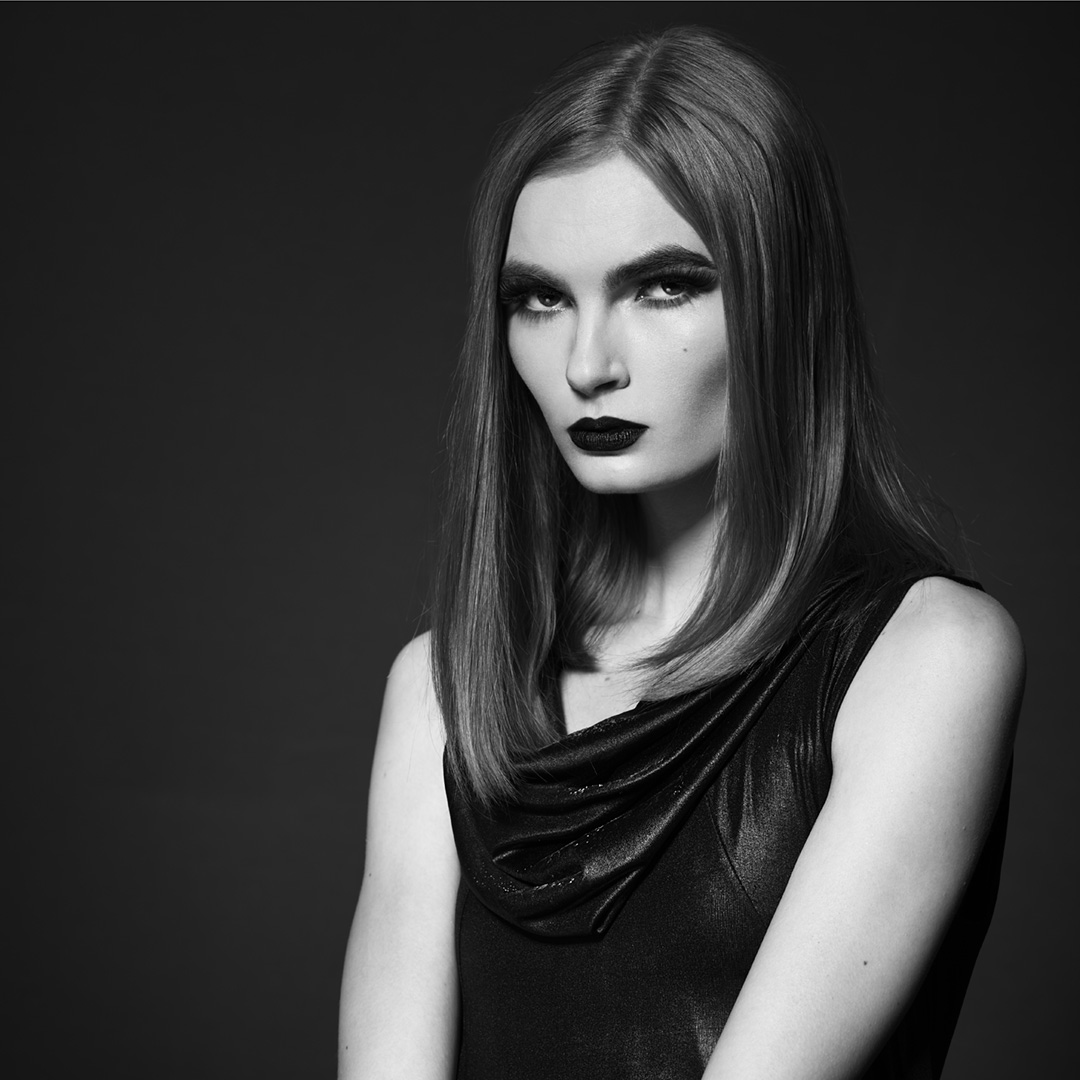
On the black background, I placed things directly related to the photoshoot with Nadya. The issues related to lighting stands are in all other places.
The light in the beauty shots was a bit too harsh, so I could have used a diffuser, but I didn’t. You won’t find those photos here because I haven’t started retouching them yet. Besides, they would have a different vibe – let today’s post remain black and white. Photos like the one above are usually treated as agency tests, meaning simple photos with very subtle retouching. The lighting was even simpler than on most of my tests, with just a 70 cm beauty dish with a grid and a lamp directed at a black fabric background. So no rim light, which I usually use, and no light to brighten shadows or create additional eye reflections. Besides, the lighting will be visible in the video that I have included in the later part of this post. Placing the light further away from the model would have been an overkill – the light would have been too harsh. Especially since the grid was in use. At times, the lamp was even too far away – at one point, it was 4.5 meters (14.7 ft) away from the model. By the way, this was another photoshoot that was supposed to be a spontaneous beauty shoot, but after a while, we ran out of varied styling options. So we it out that it would be best to take off the clothes and focus on wider shots. And that’s how these photos were created. In the end, I didn’t even use the boom during the photoshoot with Nadya. The lamp was on a regular stand, which I kept behind my back and constantly moved it with a chair on which I sat and took photos… A regular stand is faster to set up and easier to move when you’re not in the studio because I have to be careful not to bump into anything in my apartment.
Boom lighting stand
I can’t imagine not having a boom stand, and if I used a 50 cm/19 in in beauty dish instead of 70 cm/27 in, it would be even more necessary because then the main lamp would almost always be in front of me, not behind my back. A boom is also necessary for large modifiers to be able to set them at any angle, but I usually use a maximum of 90 cm/35 in, so even a regular stand is okay as long as it’s not supposed to be a completely overhead light. There is no specific boom model that I prefer, but there are improvements that I consider very important:
Wheels in the boom are mandatory
I have had several booms, and I have used various models in studios, and one thing is certain – wheels in the boom are an incredible help in setting up the light. Even when I had to pack up the equipment in the car to set up a studio somewhere for just a few hours, I always mounted the wheels (and then removed them, because otherwise the legs of the stand wouldn’t fold completely). It is much easier to operate with a boom with wheels, especially when the setup changes completely, for example, from central lighting to side lighting. Even minor adjustments are much more convenient. However, wheels are completely unnecessary in regular stands.
Crank is always a plus
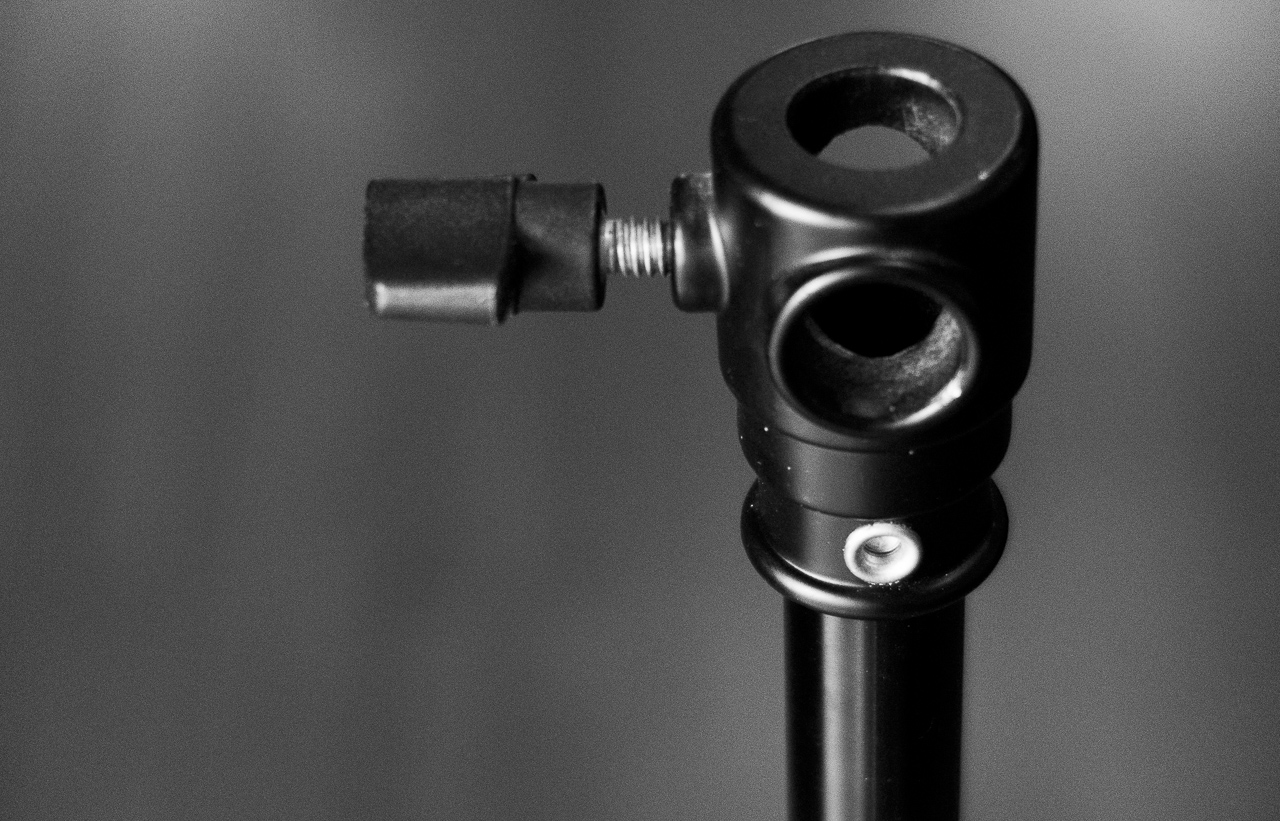
I also value a crank, or as it is professionally called, a “rotary knob”:
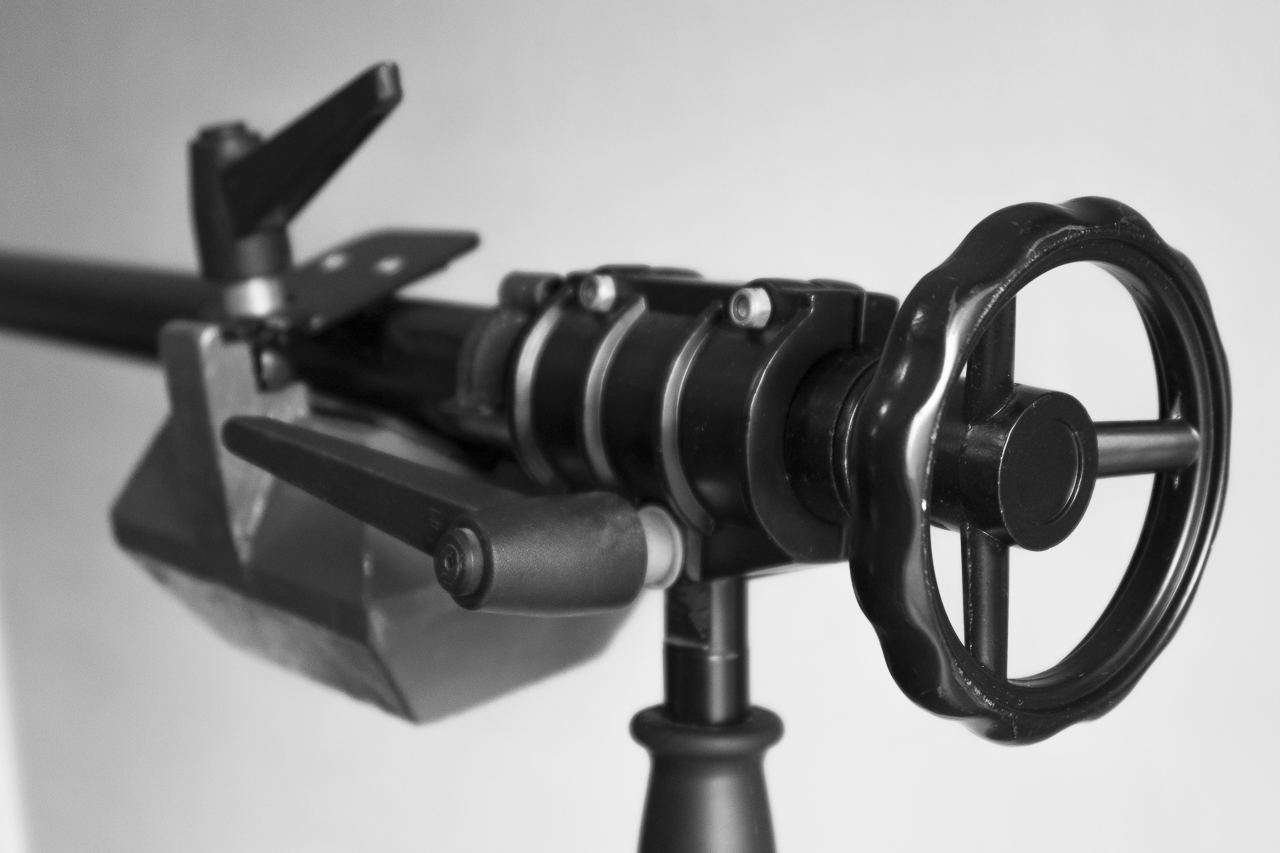
Thanks to it, you can adjust the tilt of the lamp without reaching for it. The knob changes the position of the pin on which the lamp is mounted, and this is especially useful for me when lighting from a great height because the crank is always so low that using it requires no effort at all. It also provides very high precision in setting the light, which is a significant convenience when using a beauty dish with a very dense honeycomb.
Rotary knobs are not present in the cheapest booms, but those from the mid-range can have them. Unfortunately, this is not something that can be purchased later. Either it’s there from the beginning, or not at all. Before I bought my first boom of this type, I heard opinions that the screw can wear out, etc. I haven’t experienced it myself, but if I were running a studio for rent and working day in and day out, I wouldn’t be surprised if such a stand refused to cooperate. Fortunately, nowadays even Manfrotto can be had for a really good price, just over twice as high as Jinbei (which, for this company, I consider a really good deal, although for this price, there is only a model with a declared load capacity of 5 kg (Manfrotto ML025BSL SUPER BOOM + stand). To have an even more solid model, the ML425B Black Mega Boom will cost more than twice as much. But no one said that good boom stands are cheap…
My current boom is a design similar to the Jinbei J2650T, but dedicated to slightly higher loads (which is unnecessary for my setup anyway). I also have a very simple Jinbei boom, similar to the one that used to be my main boom, and now I can use it, for example, for hair lighting, which is the other primary use of a boom. I then mount a 40 x 40 cm softbox on it and aim it up close at the hair. My first boom, on the other hand, was some almost basic Quantuum (now they bo by name Quadralite). I bought it because of its low price (below $100) and the wheels included in the set, which was a rarity at the time. However, at the very beginning, I used something else that I have mentioned many times on the blog – two regular stands connected by a plastic crank, which is normally used to mount a sun reflector. Of course, it was a makeshift solution, and one of the stands bent like a banana under the weight of the studio lamp with a beauty dish, so folding and unfolding it with each photo session became an increasingly challenging task.
Since the plan was to shoot beauty, I didn’t have a studio background prepared. Besides, I probably need to buy a new background because the current one has been in such a position for some time that it probably bent enough to be completely wavy. I also don’t have in my apartment any seating specifically for tests, such as all those bar stools and other high ones so that the model can sit almost standing up. So the posing options are very limited, but despite that, the models somehow manage. However, it’s time to buy some sitting accessories to diversify these poses.
Cheap and good lighting stands?
Let’s leave the booms and move on to standard lighting stands. Buying cheap models made of thin tubes at the very beginning, I consider… a very good decision! They are not very stable, they will not work with heavy modifiers, but are sufficient for speedlights or small studio lamps (without heavy modifiers or with not too large strips, etc.). Such stands are light, take up little space when folded, so they worked great for me on outdoor photo sessions. I had these cheap models of various brands, and I don’t see any difference between them – they are such simple constructions that it doesn’t surprise me (or I just had a lot of luck). More solid stands are definitely heavier and take up much more space in the bag (and differ slightly more between them). That’s why even when I had much better models, I still regularly used those bought at the very beginning. They have one more advantage – their legs can be spread out so that they only slightly protrude to the sides. Therefore, when photographing in a very small room, the lamp can be much closer to the wall than when on a solid stand. Of course, there are probably solid stands in which the column will not scrape the floor with a small leg spread, but in almost all of them, this will happen.
On today’s photo session, I only used more stable and heavier stands. When photographing on-site, I don’t have to worry about mobility, and there is enough space from the walls so that the leg spread doesn’t matter. If I were taking the equipment somewhere else, I would take one solid stand for the main lamp and some less heavy models for the rest of the lighting.
All the photos from this photo shoot were taken with identical settings: Nikkor 135 mm F/6.3, connected to Nikon D810 with ISO 80 and 1/200s. Unfortunately, somehow I didn’t check the file settings and I did the whole session without RAW files (!!!), but with JPGs with reduced quality… So there is no later change of white balance and almost unlimited possibilities of modifying brightness and contrast. It’s the first time in my life that this has happened to me. Although, in these photos, it doesn’t matter much (it will be worse with beauty), except that in two photos of faces, I had to deal with posterization that appeared during changes in the brightness and contrast of the background. In 14-bit RAW files, the problem would not occur at all, or only on a much smaller scale, and adding noise to the background would probably solve the problem. Additionally, on Facebook, I always try to save this type of photo as PNG because the posterization that this portal does with JPG files in very dark gradients is beyond human comprehension.
Standard lighting stands
Stand height
I need a high stand for the main lamp, but I have never needed more than 3 meters. So it’s important that it’s not one of the lowest and that’s it. However, with additional lamps, the maximum height of the stand is not important to me. I use them at a maximum of 2 meters, and usually even lower, so almost any model will be high enough.
Air cushioning
I have had standard and shock absorbing stands (i.e., those that slowly descend after unscrewing, instead of slamming down with full force). However, when unscrewing the stand, I always instinctively hold the lamp or the top of the stand, and to this day I have not had a situation where the lamp would descend uncontrollably. Despite this, it’s better to be insured, and if I had both options to choose from, I would choose cushioning. In Europe I have, among others, the Quantuum Air with such a function, which is currently sold as Quadralite Air 275. It’s a cheap model, but it works. In Bangkok, I use similar-class stands, including Jinbei, which are also air-cushioned.
Some stands have such strong air-cushioning that it takes noticeably longer to fold them. However, considering the photo session time, this is not a difference that would have any significance – at most, it will annoy for a few seconds.
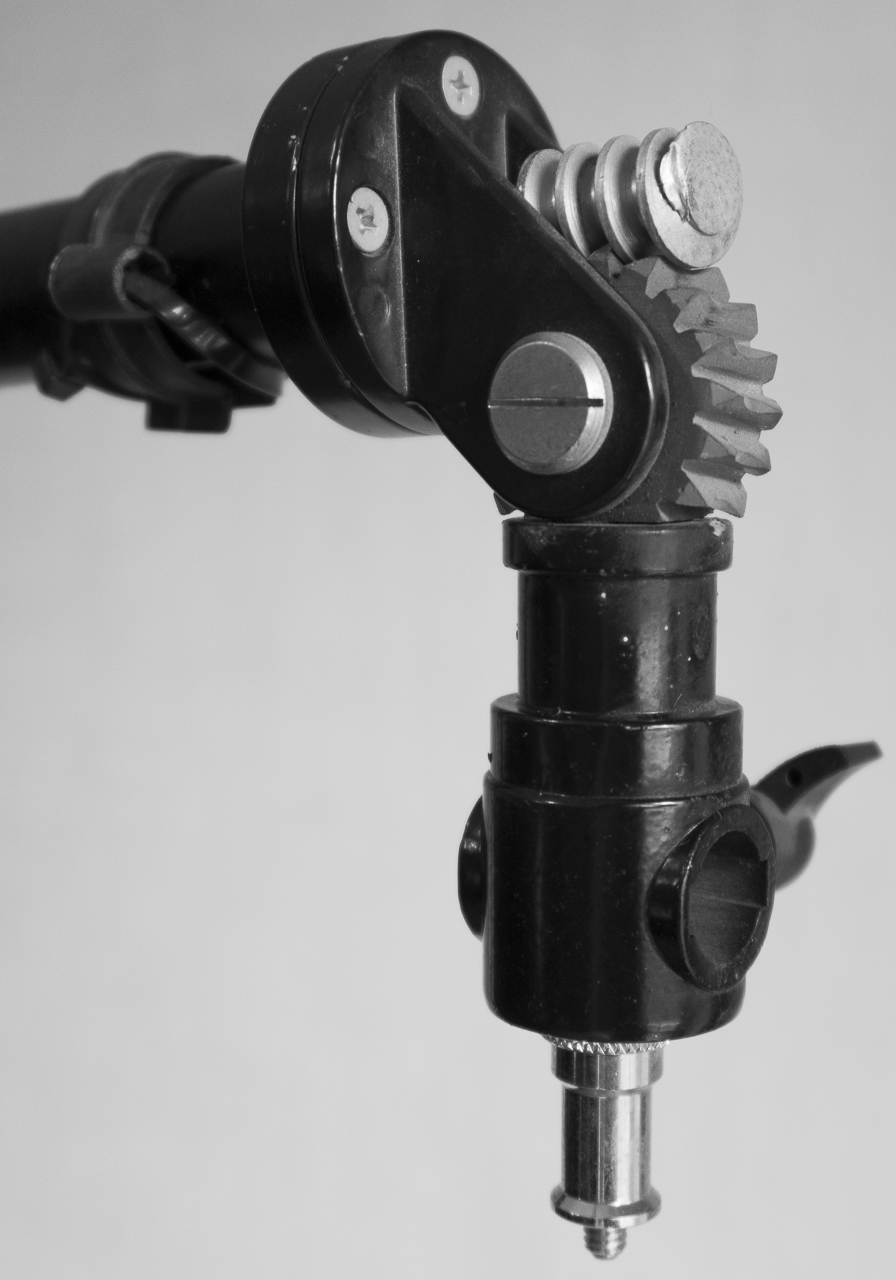
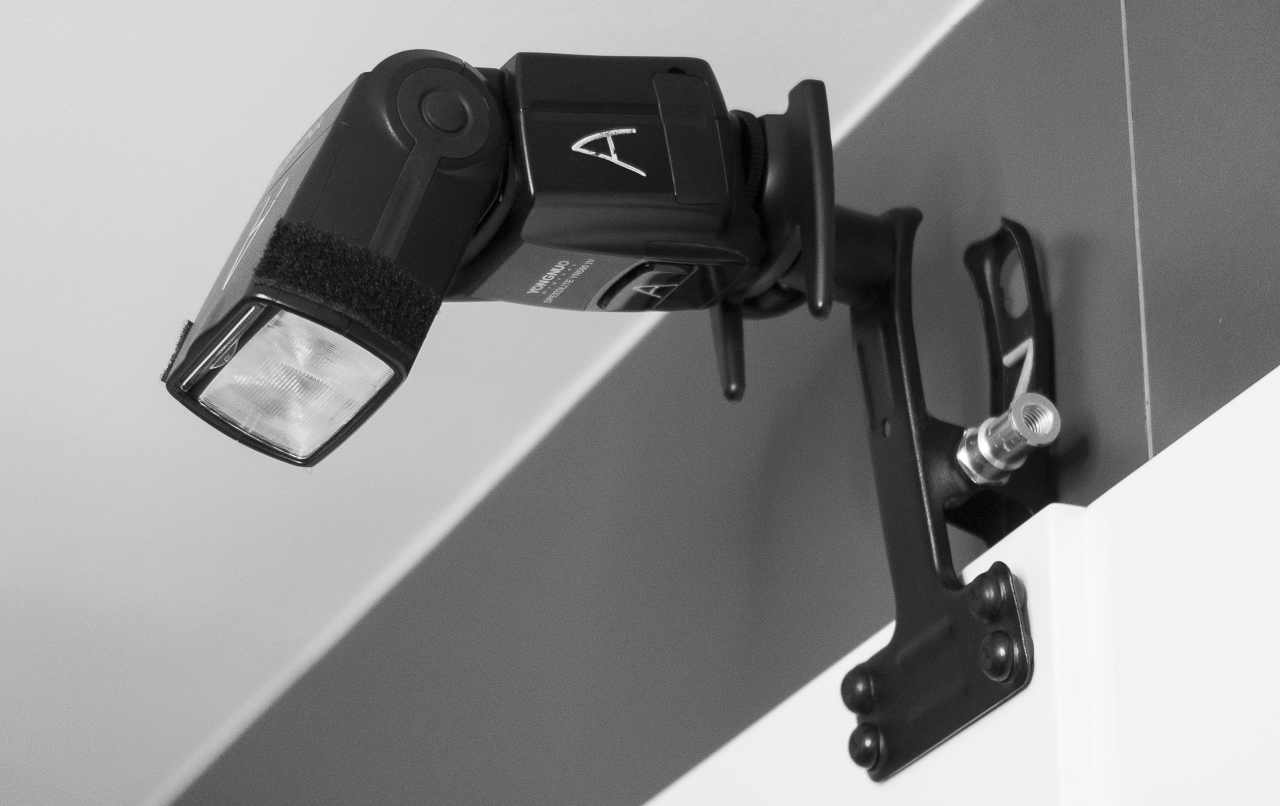
Mounting
Sometimes the stud/pin is permanently built into the stand, sometimes it can be pulled out. If so, the ideal for me is a mounting in which it can be mounted both vertically and horizontally:
This is a plus for me mainly in stands taken outdoors, where I use speedlights. I can then mount the lamps sideways (usually use rim light this way) without any additional adapter.
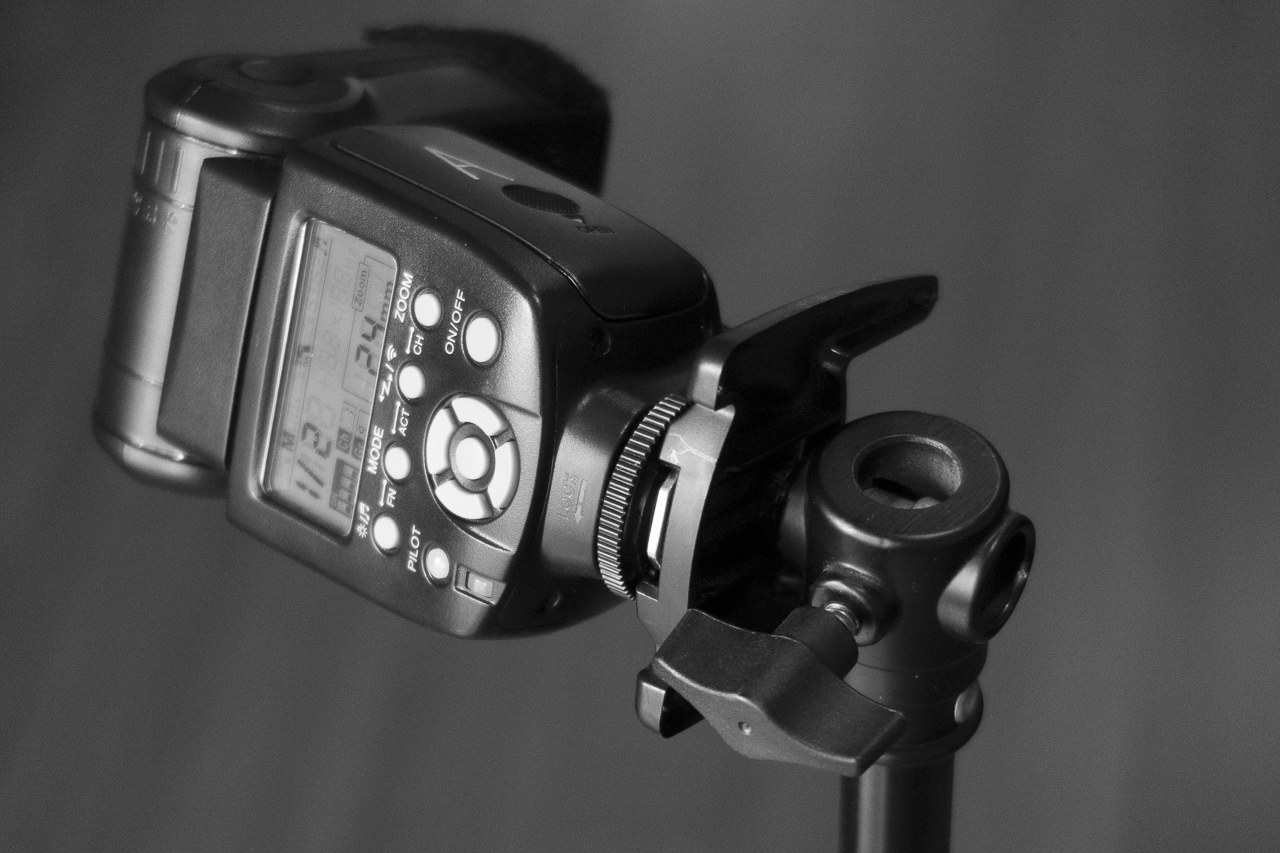
This is useful for two reasons:
1. Rim lights need to be lit high and narrow, so placing the lamp sideways is always better.
2. You have full tilt adjustment of the lamp despite the lack of additional accessories. If a studio lamp were mounted, it wouldn’t work due to the weight, but it works perfectly for speedlights.
All the light stands I use have a load capacity of up to 10 kg and weigh up to 2 kg themselves (excluding the boom, of course). I don’t use stands with very high load capacity because I don’t need.

Great and mainly black and white tests are made by Polish photographer Magdebursky – it is largely thanks to his photos that I started publishing this type of photos (i.e. not like his, but tests, not just beauty and fashion). For years, I thought that such photos made sense only for models, and the photographer had no reason to show them because such simple photos say nothing about his skills. However, Magdebursky’s tests appealed to me much more than most of the ones I came across, and certainly much more than my own, so my thesis was simply wrong ¯\_(ツ)_/¯.
Lightning stand for illuminating a studio background
Let’s move on to the lowest lighting tripod, which in my native language is called a “dog”. Probably because the lamp on it resembles a sitting dog in shape ¯\_(ツ)_/¯. I mainly use it to illuminate the background. I definitely prefer it in the option that allows mounting the lamp both at a height of about 50 cm and at ground level. Many tripods do not allow this because they have to be at least several centimeters high, which is why I use Jinbei L600F. The entire column can be unscrewed, so the lamp can be as low as if it were almost standing on the ground:
I don’t illuminate the background evenly, but rather want to create highlights on it, which in some places are clearly stronger than in other parts of the frame. A lamp placed almost on the ground can be the best option, although it requires a background without wrinkles because, when shining at such a large angle, any imperfection will be immediately more visible (which is why such lighting would not work with polypropylene backgrounds, which I hope no one is trying to use for such photos #teamcardboard).
A lamp placed on the ground also comes in handy in some outdoor locations. Additionally, such a low tripod can also be used to hold a lamp with an umbrella that creates highlights in the eyes and fills in shadows. I usually use a speedlight, which I can lay directly on the ground and bend the nozzle in the right direction, so I don’t need a tripod at all then. But if I were to use a studio lamp for this, such a tripod would be necessary (unless I use, for example, a lamp with a softbox instead of an umbrella).
After this session, I dusted off some of my studio equipment, so the next session will probably be planned to use a slightly more elaborate setup. I also finally brought back from Europe a second diffuser for the Firefly XL octabox. I left it there years ago, so when I used a softbox, I had slightly less diffused light (although I rarely use a softbox instead of a beauty dish, so those were some individual sessions).
Clips for attaching a lamp anywhere
Lightning stands can’t handle everything. It is known that thanks to clamps and duct tape, lamps can be mounted anywhere, especially speedlights. However, since I always have these two things on a shoot, I also use clips with lamp mount.
I use this very rarely, but when I do, it is irreplaceable with a regular stand. For example, suspending a speedlight under a chandelier, on a branch, etc. Basically, hard-to-reach places, so remote control of the lamp parameters is very useful then. An adapter that allows bending the lamp in any direction and mounting an umbrella can also be used between the lamp and the clip. Actually, that’s usually how I use it.

During the first few months in Bangkok, Nadya had a lot of work. After extending her contract, there was more free time – it’s impossible to predict how things will go in Thailand. However, most often, at the beginning, it is very difficult to get assignments, and it’s only in the second or third month that things start to pick up, which is closer to the end of the contract than the beginning. I know a lot of models who didn’t have a single job in the first few weeks, and then made up for it later.
Summary
As you can see, I have a lot of Jinbei equipment or equipment that is the same as what this company offers – this is due to two reasons. Firstly, Fripers.pl, the distributor of this company, sent me a lot of their equipment, and I described it on my blog a long time ago, but since almost everything still works today, I still use it. Secondly, Jinbei is a very popular brand also in other countries, but under a different name (some of their lamps are called Godox). So when I go shopping for photography equipment, I always look at what I already know first.
In a while, I will post the remaining photos from this photo session on Instagram, but for now, I have some other things on my mind. Nadya took some time off in Minsk, and then she will probably head to China, where she has been waiting for a contract for a long time. Someday I will have to write more about modeling there, as it is almost a factory of clothing photos and money. Posing for several hours a day, with styling changes at such a pace that it seems almost impossible.